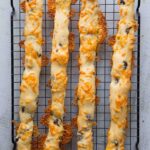
No-Knead Olives and Cheese Breadsticks
Servings: 8 sticks (about 15 inches long)
Calories: 204kcal
Once you take a bite of these olives and cheese bread sticks, you will want more! The recipe is so easy and they can be baked on the same day or the next day when you are ready!
Print Recipe
Ingredients
- 300 g bread flour (12.7% protein content) I use King Arthur's bread flour, plus more for dusting
- 5 g salt
- 6 g instant yeast
- 20 g oil
- 215 g water
- 100 g pitted black olives you can also use green olives
- 200 g cheese block I use monterey jack, divided
Topping:
Instructions
- Shred about 100 grams (about 1 cup) of the cheese block for topping. Cut the rest of the cheese into tiny cubes. Chop the olives into quarter pieces. You can cut into half for larger pieces
Prepare the dough:
- Combine all the ingredients in a mixing bowl using a sturdy spatula. Don't use your hands. Make sure there is no more visible dry flour. Cover and let it rest for 30 minutes
1st set of stretch and fold:
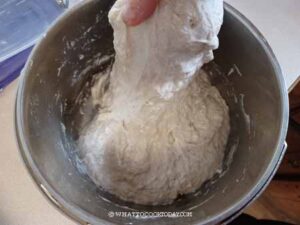
- After the rest, lightly wet your fingers, scoop and grab the edge of the dough from the bottom and gently wiggle it up to stretch it as far as it allows you to (don't force it and tear the dough)
- Then fold over to the center. Repeat this with the next edge. You can probably do about 4-5 stretches and folds for this first round.

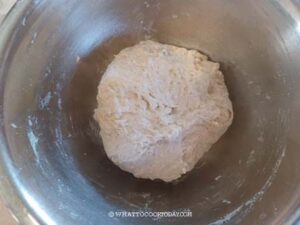
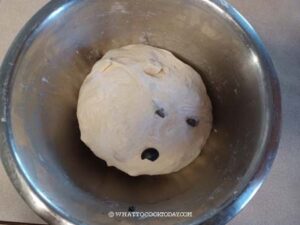
- Round it up into a dough ball with the smooth side up. Notice how much smoother the dough is now with some rest and just that first set of stretch and fold. Cover it back again and rest for another 30 minutes

2nd set of stretch and fold:
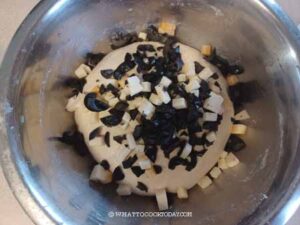
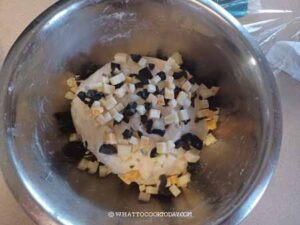
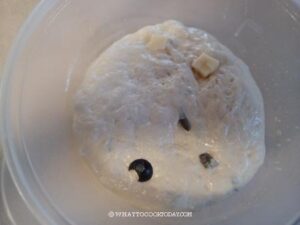
- Before performing the second set of stretch and fold, scatter 1/2 of the cheese cubes and black olives on top of the dough.
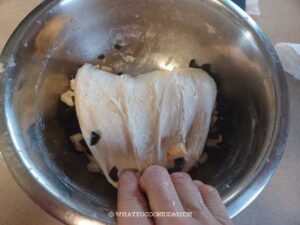
- Then perform the same stretch and fold with your wet fingers. Scoop and grab the edge of the dough from the bottom and gently wiggle it up to stretch it as far as it allows you to.
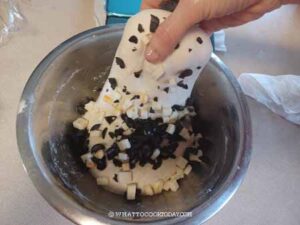
- Then fold over. You will notice that the dough is more taut and won't stretch as much. But you can probably still do about 4 stretches and folds. The olives and cheese won't be perfectly distributed yet, but they will
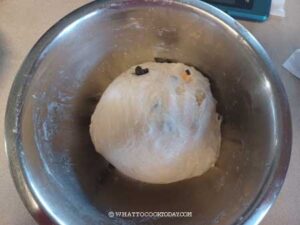
- Round it up into a dough ball again. Cover it back again and rest for another 30 minutes
3rd set of stretch and fold:
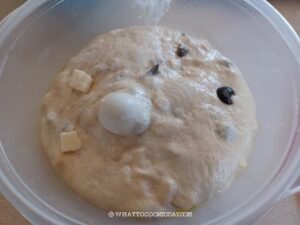
- Before doing this last set of stretch and fold, scatter the rest of the cheese cubes and black olives on top of the dough and repeat the same action you did the second round
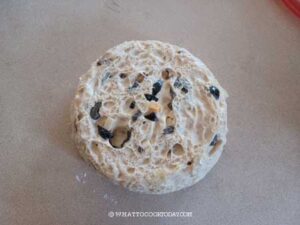
- Round it up into a dough ball. You will notice that the dough is smooth and strong now
If not baking on the same day:
- Lightly oil a container that has a tight-fitting lid and is large enough for the dough. Transfer the dough into the container. Cover with a lid and put in the fridge for a cold fermentation. You can keep the dough in the fridge for 24 hours but no longer than that
- The next day when you are ready to bake, get the dough out from the fridgeThe dough will rise some, but may not be double. Let it sit at room temperature for about 30 minutes before proceeding to the shaping step.
If baking on the same day:
- Lightly oil a container that has a tight-fitting lid and is large enough for the dough. Transfer the dough into the container. Cover with a lid. Let it proof at a warm place until double or it may even triple in volume, about 1-2 hours or longer, depending on the temperature where you are
Shaping:
- Line 2 baking pan with parchment paper. I use 2 half-sheet pans
- Lightly dust the top of the dough surface with some flour.
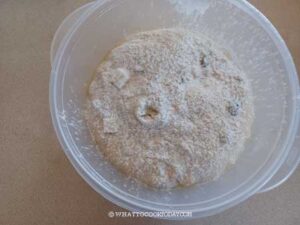
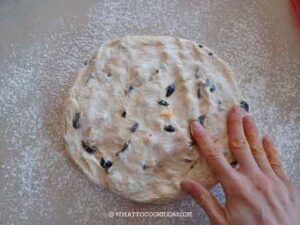
- Tip the dough out.
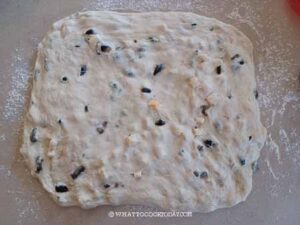
- Dust the work surface around the dough with some flour too. Use your fingers to pat the dough into a rectangle, about 10 x 18 inches (don't have to be exact). Just make sure it's no longer than your baking pan so they fit
- Use a bench knife and cut the dough, on the short side, into 8 pieces . If you want shorter breadsticks, you can divide into 16 pieces
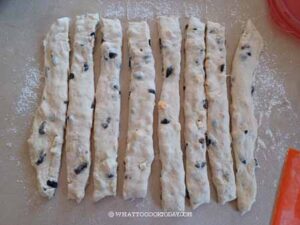
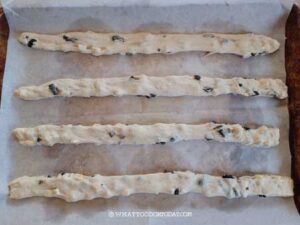
- For long breadsticks, gently pull on each dough strip to make it longer, almost as long as the long side of your baking pan and put them on the baking pan. I put about 4 strips on each pan
- For shorter breadsticks, gently pull on each dough strip to make it longer, about half the length of your pan or shorter if you prefer. You can fit in about 8 strips on each pan
- These are rustic breadsticks, so the shape doesn't have to be "perfect". That's the beauty of it!
Final proofing:
- Cover the dough strips with damp towels and let them proof again until puffy, about 30 minutes to 1 hour, depending on the temperature
- 10 minutes before the end of the final proofing, preheat your oven to 425 F (220 C) for conventional oven, 400 F (200 C) for convection oven
- Spray or brush the dough surface with some water and sprinkle the shredded cheese on top of each dough strip
- I highly recommend baking one tray at a time so they bake evenly. You can put the second tray in the fridge while waiting for the first one to bake. That way, the second tray won't be overproofed.
- Put the baking pan in the middle rack and bake for 15 - 18 minutes or until the bread is golden brown
- Remove from the oven and move the breadsticks to a cooling rack to prevent the bottom of the bread from getting soggy. Bake the second tray
Serving:
- These are best served warm while they are just freshly baked. So good!
How to store:
- Let them cool down completely on a cooling rack. I cut them in half because they are quite long, wrap them in aluminum foil and put them in a large freezer bag. They can be kept frozen for one month
How to reheat:
- You don't need to thaw. I spray the bread sticks with some water and then place them on a baking pan and bake for 5-8 minutes or until heated through in a preheated oven at 350 F (180 C) for conventional oven, 330 F (165 C) for convection. The crust and cheese will be crisp again. Serve immediately
Nutrition
Serving: 1long breadstick | Calories: 204kcal | Carbohydrates: 30g | Protein: 9g | Fat: 5g | Saturated Fat: 1g | Polyunsaturated Fat: 1g | Monounsaturated Fat: 3g | Trans Fat: 0.01g | Cholesterol: 3mg | Sodium: 615mg | Potassium: 119mg | Fiber: 2g | Sugar: 2g | Vitamin A: 63IU | Vitamin C: 0.003mg | Calcium: 101mg | Iron: 0.5mg