
No-knead Oatmeal Raisin Bread
Servings: 14 slices
Calories: 182kcal
This oatmeal raisin bread has become one of our family's favorite breads. It is delicious with soft, moist crumbs and easy to make without kneading.
Print Recipe
Ingredients
Soakers:
- 80 g old-fashioned oats
- 50 g milk I use 2% milk
- 35 g honey
- 35 g oil
- 135 g warm water
For the dough:
- 325 g unbleached all-purpose flour
- 108 g whole wheat flour
- 140 g water or more as needed
- 10 g salt
- 5 g instant yeast
- 80 g raisins
Topping:
- old-fashioned oats
Instructions
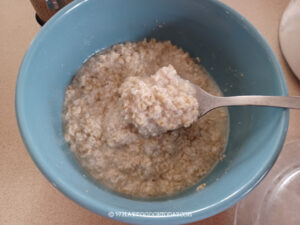
Prepare the soakers (can be done the day before):
- Put all ingredients for soakers in a bowl or a container. Let them soak for a minimum of 2 hours or as long as 24 hours.

- The mixture will be a bit gooey
Prepare the dough:
- Combine all the ingredients for the dough, except for the raisins, in a large mixing bowl. Add the soakers.
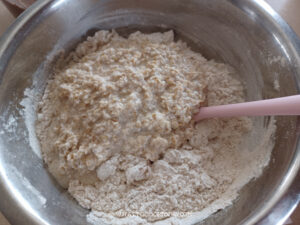
- Use a sturdy spatula to stir everything to combine into a very rough dough. Make sure everything is hydrated and no dry flour bits. If the dough is too dry, you can add a bit more water. It should form a ragged dough. Cover and let it rest for 20 minutes

3 sets of stretch and fold every 20 minutes:
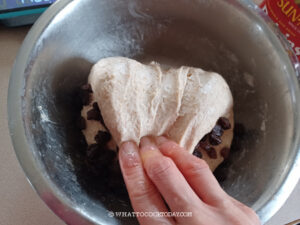
- After 20 minutes, perform the first stretch and fold. Lightly wet your fingers, scoop and grab the edge of the dough from the bottom and gently wiggle it up to stretch it as far as it allows you to (don't force it and tear the dough).
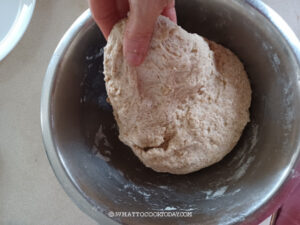
- Then fold over to the center. Repeat this with the next edge. You can probably do about 4 stretches and folds for this first round. You may not be able to stretch much, but don't worry. It will get more and more elastic as time goes

- Round it up into a dough ball with the smooth side up. Notice how much smoother the dough is now with some rest and just that first set of stretch and fold. Cover the dough again and rest for 20 minutes

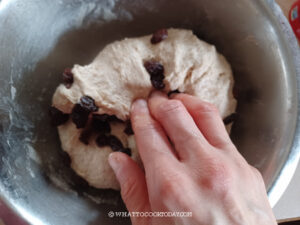
- Scatter 1/2 of the raisins on top of the dough
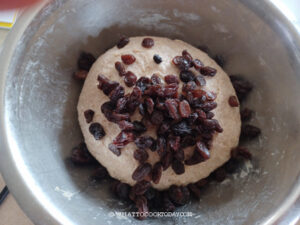
- Perform the same stretch and fold with your wet fingers. Scoop and grab the edge of the dough from the bottom and gently wiggle it up to stretch it as far as it allows you to. Then fold over. You will notice that the dough is more taut and won't stretch as much. But you can probably still do about 3-4 stretches and folds. The raisins won't be perfectly distributed yet, but they will
- Round it up into a dough ball again. Cover it back again and rest for another 20 minutes. Scatter the rest of the raisins on top of the dough and repeat the same step above.
- This is our last set of stretch and fold

Proof the dough:
- Cover the dough and let it proof at a warm place until doubles in volume, about 1 hour or longer, depending on the temperature where you are

Shaping:
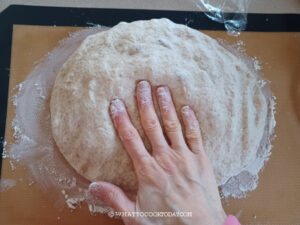
- Lightly dust your work surface. Transfer the dough on it. Use your hands to flatten the dough and push out as much air as you can to deflate the gas. Flatten the dough into about roughly about 10 x 10 inches

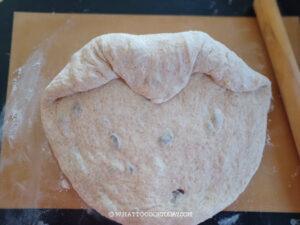
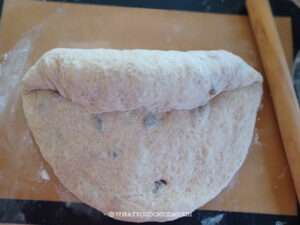
- Fold the two upper corners of the dough down.

- Then bring the center down
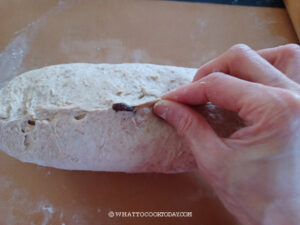
- Use the heel of your hand or your fingers to seal the seam
- Continue to roll down and seal the seam with the heel of your hand until you form a log shape
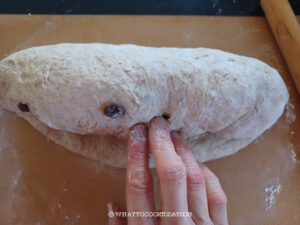
- Pinch the seams to seal
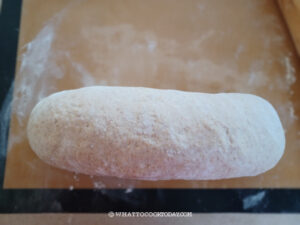
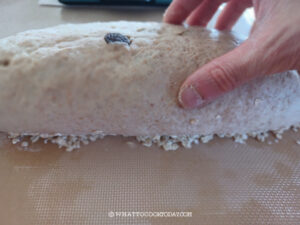
- Scatter about 1/4 cup of oats on a work surface.
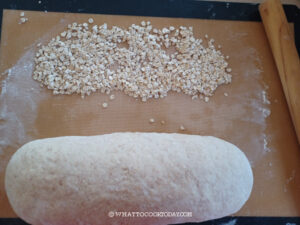
- Mist the top of the dough with some water and press the surface of the dough on the oats, rolling a bit back and forth to make sure the oats stick to the dough
Final proofing:
- Lightly grease the 9 x 4 x 4 inches Pullman loaf pan. You can also bake this in a 9 x 5 x 2 3/4 inches loaf pan. This gives you a shorter but wider loaf of bread
- Place the log inside the loaf pan. Push the dough down to fit the pan and to even out the dough
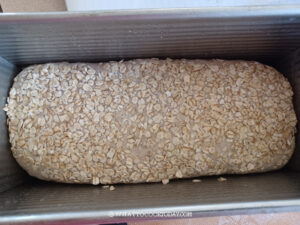
- Cover and let the dough proof until it is about 1-inch above the rim
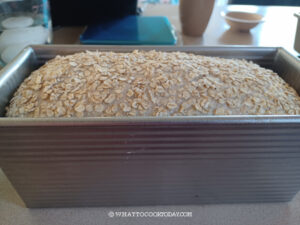
Baking:
- 10 minutes before the end of final proofing, preheat the oven to 350 F (180C) for conventional oven, 330 F (165 C) for convection oven
- Put the pan in the oven's middle rack. Bake for 35-40 minutes or until the bread is lightly golden brown. The internal temperature at the center of the bread should be at least 190 F (88 C)
Cooling:
- Gently wiggle the bread out of the pan and let it cool off on a cooling rack completely before slicing the bread

How to store:
- Let the bread cool down completely. You can keep them in an air-tight container for 3 days. They can also be kept frozen for up to 1 month in the freezer
Nutrition
Serving: 1serving | Calories: 182kcal | Carbohydrates: 34g | Protein: 5g | Fat: 3g | Saturated Fat: 0.4g | Polyunsaturated Fat: 1g | Monounsaturated Fat: 2g | Trans Fat: 0.01g | Cholesterol: 0.3mg | Sodium: 282mg | Potassium: 130mg | Fiber: 3g | Sugar: 2g | Vitamin A: 5IU | Vitamin C: 0.3mg | Calcium: 16mg | Iron: 2mg