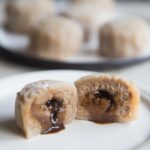
Brown Sugar Milk Tea Snowskin Mooncakes
Servings: 12 mooncakes
Calories: 221kcal
Whether you are a mooncake enthusiast or a bubble tea lover, the brown sugar milk tea mooncake offers a new way to celebrate the Mid-Autumn Festival with family and friends. It’s a flavorful symbol of how food can evolve while still honoring its deep-rooted cultural significance.
Print Recipe
Ingredients
Snowskin dough:
- 50 g glutinous rice flour sweet rice flour/mochiko flour, plus more as needed
- 40 g rice flour
- 20 g wheat starch not wheat flour or sub with cornstarch
- 40 g brown sugar light or dark brown sugar
- 150 g whole milk
- 20 g cooking oil
For dusting:
- 30 gr glutinous rice flour sweet rice flour/mochiko flour
Milk Tea (to be used in the custard filling):
- 180 g whole milk
- 10 g loose black tea leaves or use about 5 tea bags of black tea
Custard filling:
- 150 g milk tea you prepared
- 45 g brown sugar
- 60 g condensed milk
- 40 g cornstarch
- 45 g milk powder
- ¼ tsp salt
- 150 g eggs from 3 large-size eggs, beaten
- 75 g butter unsalted
For lava filling:
- 2 Tbsp Dark unsulphured Molasses see post below for substitutions
Instructions
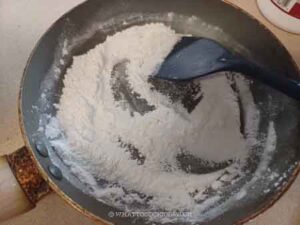
Stir-fry the glutinous rice flour you will use for dusting (can be done several days/weeks before):
- Place 30 gr of glutinous rice flour on a dry non-stick pan over medium heat. Stir fry for about 15 minutes or until the flour started to smell slightly nutty/toasted. Let it cool down completely. Store in an air-tight container at room temperature and they can be kept for weeks or even months
Prepare custard filling (can be done the day before):
- Put the milk in a small saucepan and bring to just when it starts to boil. Turn off the heat. Add the tea leaves or tea bags and let them steep for 10 minutes. Make sure all the leaves/bags are submerged in the milk. Measure out 150 g of milk tea. Discard the tea leaves/bags. Let the milk tea cool down a bit
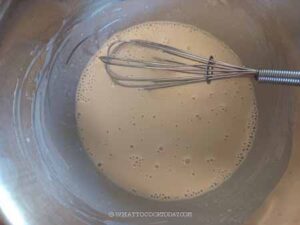
- Whisk eggs, milk tea, sugar, and salt together in a saucepan. Sift in flour and milk powder. Whisk to combine everything until it is smooth with no lumps. Pass it through a strainer to make sure we get rid of any lumps
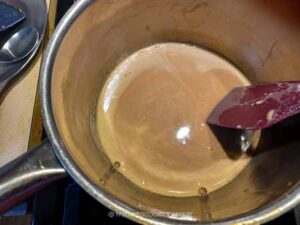
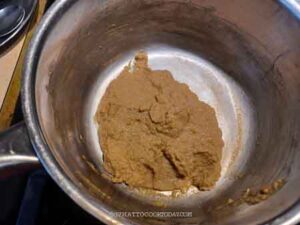
- Put on the stove over low heat. Keep whisking until the mixture gradually thickens to a custard consistency. I use a spatula in the photos, but I highly recommend using a whisk instead
- Add the butter and keep stirring until the butter melts and the custard is smooth.
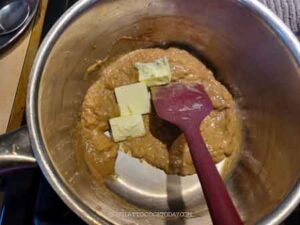
- It may seem like the custard is curdling, but just keep whisking until it is smooth. You can pass it through a sieve or use an immersion blender to make it smooth too
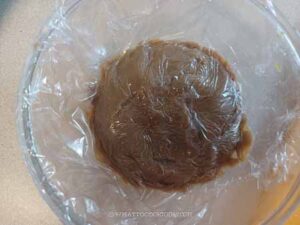
- Transfer into a shallow platter, spread it out and cover with a cling wrap, touching the surface of the custard directly to prevent skin from forming. I recommend to chill the filling for at least 2-3 hours before using
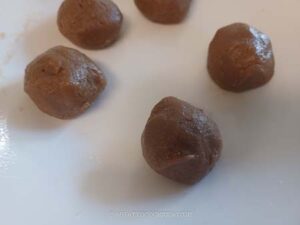
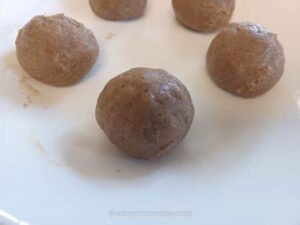
- When ready to use, portion out into 25-gram pieces and roll into a ball.
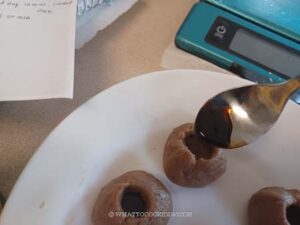
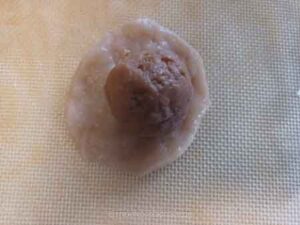
- Take one dough ball and use a chopstick to create a deep well , about 1/2 an inch wide and about 1/2 way deep.
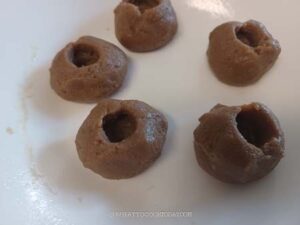
- Scoop about 1/2 teaspoon of molasses and fill the well. Don't try to fill up too much as you will have difficulty closing the well.
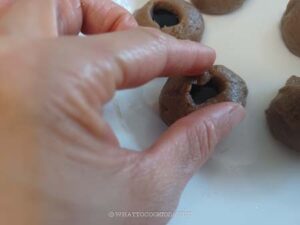
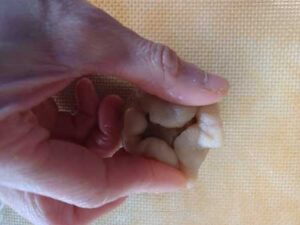
- Pinch the dough gently to seal the well. Gently roll the dough ball in between your palm to make it round again. Repeat with the rest.
- Keep them in a covered container and chill in the fridge while you work on the dough
Prepare the dough:
- Combine all the ingredients in a mixing bowl. Whisk until it is smooth with no lumps.
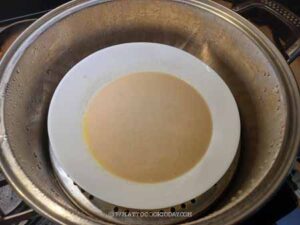
- Spray a shallow platter with non-stick spray and pour this batter into the plate
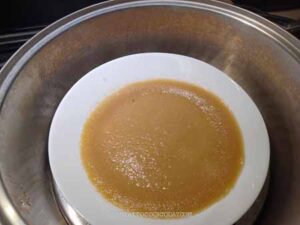
- Place this in the steamer and steam over high heat for 15 minutes. Wrap the lid of the steamer with a cloth to prevent condensation drips onto the dough. The top of the dough may appear a bit watery at first. Use a spoon to stir the steamed mochi while it’s still hot to form a large mass of dough
- Cover with a cloth for about 10-15 minutes so it's not too hot for your hands to knead. Don't use a plastic wrap as condensation will form and drip into the dough, making it wet
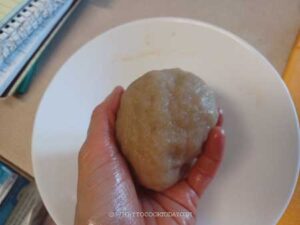
- When it's cool enough to handle, oil your palm lightly and knead the dough a few times to form a smooth non-sticky dough. The dough is very elastic and stretchy. The kneading part is important so that the dough will have that slightly chewy texture
- You can also use your standmixer with a dough hook attachment to knead the dough until it's smooth and elastic
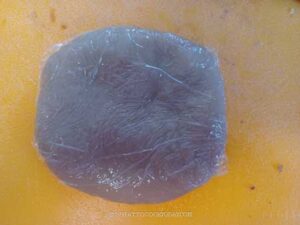
- Wrap the dough with a cling wrap and keep it chilled in the fridge. It's easier to work with the dough when it's cold
Shaping and moulding:
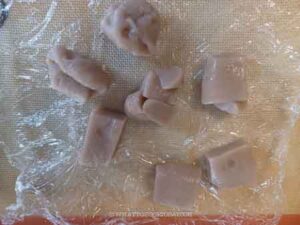
- Since I used 50-gram mould, I portioned the dough into a 25-gram piece (or less if you use larger mould
- Flatten the dough into about 4 inches round. Place the filling in the middle and wrap around it
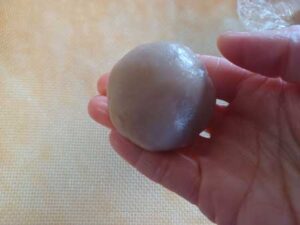
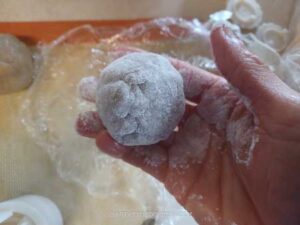
- Dust the dough with cooked glutinous flour you prepared earlier. Dust off excess flour.
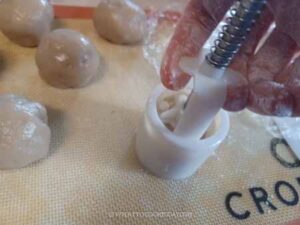
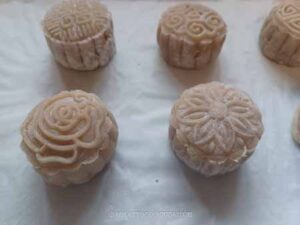
- Place this into the mould and press to imprint the pattern on the dough. Repeat with the rest of the dough and filling
How to store:
- Transfer to an air-tight container and keep chill in the refrigerator for 3-4 days. Keep in mind that the texture starts to change the longer you keep them in the fridge.
- For longer storage, freeze them. Snow skin mooncake freezes well. I put them on a baking tray lined with wax of parchment paper, not touching each other and then put it in the freezer for about one hour. They won't harden completely, but won't stick to each other. Transfer to a freezer bag or container. They can be kept this way for up to 2 months. When ready to serve, thaw at room temperature and they are ready to be served
Nutrition
Serving: 1piece | Calories: 221kcal | Carbohydrates: 28g | Protein: 5g | Fat: 10g | Saturated Fat: 5g | Polyunsaturated Fat: 1g | Monounsaturated Fat: 3g | Trans Fat: 0.2g | Cholesterol: 69mg | Sodium: 142mg | Potassium: 195mg | Fiber: 0.3g | Sugar: 15g | Vitamin A: 317IU | Vitamin C: 0.5mg | Calcium: 105mg | Iron: 1mg
