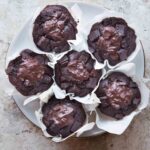
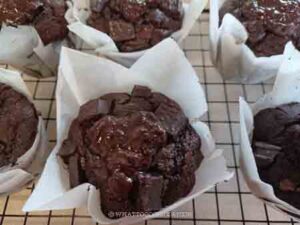
Olympic Village Chocolate Muffin
Servings: 12 muffins
Calories: 487kcal
The Olympic Village Chocolate Muffin is more than just a viral trend—it’s a celebration of rich chocolate, Olympic spirit, and the joy of recreating something unforgettable in your kitchen. It is family-approved in our house!
Print Recipe
Ingredients
Wet ingredients:
- 2 large eggs
- 170 g sour cream
- 120 g hot milk
- 60 g Dutch-process cocoa powder I highly recommend Dutch-process cocoa powder
- 1 tsp instant espresso powder
- 120 g neutral oil
- 200 g brown sugar
Dry ingredients:
- 210 g all-purpose flour
- 1½ tsp baking powder
- 1 tsp baking soda
- ¾ tsp salt
Add-ins:
- 170 g semi-sweet chocolate
- 170 g dark chocolate (70%)
Ganache:
- 80 g semi-sweet chocolate (60%)
- 80 g heavy cream
Instructions
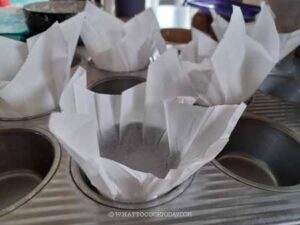
Fold your own tulip-shaped muffin liners (the easy way):
- To mimic the olympic chocolate muffin look, use the tulip-shaped muffin liners. You will need them because the muffin will rise taller than the regular size muffin liners.
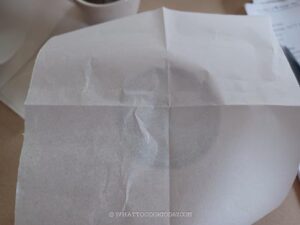
- Use brown color parchment paper if you have some. I just use regular white parchment paper. Cut 12 pieces of 6 x 6 inch square parchment
- Choose a cup that has a diameter roughly about the same size of the base of the muffin tin. Flip the cup upside down and place one piece of parchment paper on the center of the base of the cup
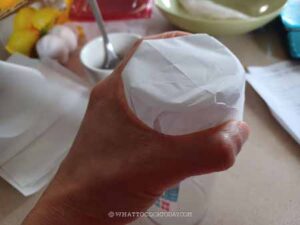
- Fold the edges of the paper down to create creases on the paper. Press them hard so the creases are more "define".
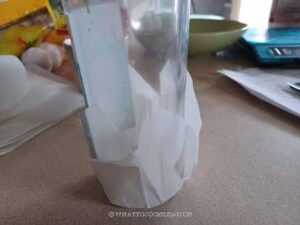
- Place the liner inside the muffin tin. Use the base of the cup to press it into the tin so they stay in better
Prepare muffin batter:
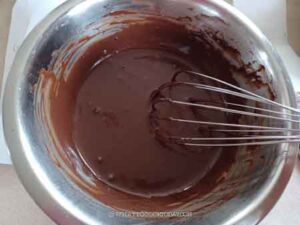
- In a large bowl, stir together hot milk, cocoa powder, and espresso powder into a thick paste. More details in my post below on why this is important
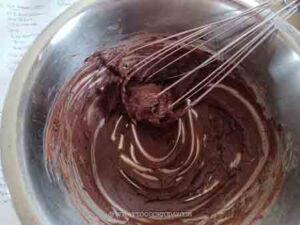
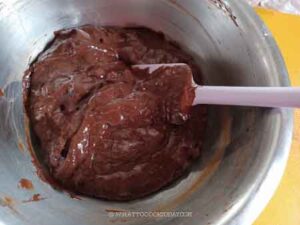
- Add eggs, sour cream, oil, and brown sugar. Whisk until smooth.
- Reserve about 80 grams of the chocolate for topping. For the topping, I cut the chocolate into larger chunks to mimic the Olympic chocolate muffin look. The rest that are folded into the muffin batter, I cut into smaller chunks
- A quick note on the chocolate. I recommend using high-quality European chocolate if you have access to some. More details in the post below
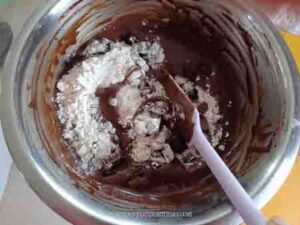
- In a separate bowl, whisk flour, baking powder, baking soda, and salt. Fold into the wet mixture along with the chocolate chunks until just combined—do not overmix.
Rest and preheat the oven:
- Cover the batter and let it rest while you preheat the oven to 425 F (220 C) for conventional oven. For convection oven, lower the temperature by 20 F (15 C)
Bake:
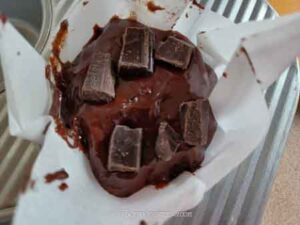
- Fill the muffin tin with the batter, all the way to the rim of the muffin tin (not the paper). It can be a bit tricky trying to fill the cups with the batter because the tulip-shaped parchment paper extends tall, kinda get in the way, but just take your time. Some batter may smear the parchment paper on the side, but it will bake into crusty bits and can be easily removed after baking
- Top with the reserved chocolate chunks, avoiding the center where we will pipe in or cut out some chunks to fill up the chocolate ganache
- Bake at 425°F for 5 minutes, then lower to 350°F (175°C) and bake for 15 minutes, or until a toothpick comes out clean (some melted chocolate smears are okay).
Cool completely:
- Let muffins rest in the tin for 5 minutes, then transfer to a wire rack to cool completely before filling them with ganache.

Make the ganache:
- Heat heavy cream to a simmer. Pour over chopped chocolate. Let sit 5 minutes, then stir until smooth.
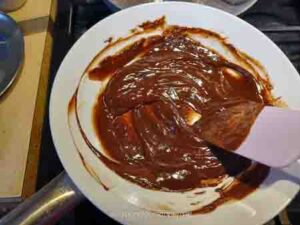
- The ganache is still too runny to be used as a filling at this time. Chill in the fridge for 15-20 minutes until it is firm enough but not too hard. If it gets too hard, just let it sit at room temperature for few minutes to soften and then stir it and it is ready to be used
Fill the muffins:
- I use a piping bag fitted with nozzle. Gently poke the nozzle into the center of the muffin, going in about 1 inch deep and gently squeeze the ganach out until it push out slightly to the top
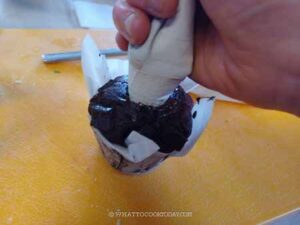
- Alternatively, use a knife to cut out a 1-inch deep, 1½-inch wide hole in each muffin. Spoon the ganache into the center to fill the hole. Replace the muffin top piece, gently push it down a bit and cover the seam with a little extra ganache for a smooth finish.
To serve:
- You can serve immediately if you can't wait. If you are patient, put them in an air-tight container and store them in the fridge. They turn denser and fudgier if you like that texture. Almost like a cross between brownies and cake. Even if you don't put them in the fridge, just serving them the next day somehow makes them taste better. The flavor is deeper after overnight
More tips:
- You can read more details on ingredients, substitutions, variations, and other tips in my post that may answer your questions not covered in the recipe card
Nutrition
Serving: 1muffin | Calories: 487kcal | Carbohydrates: 52g | Protein: 7g | Fat: 31g | Saturated Fat: 13g | Polyunsaturated Fat: 4g | Monounsaturated Fat: 13g | Trans Fat: 0.1g | Cholesterol: 45mg | Sodium: 323mg | Potassium: 250mg | Fiber: 5g | Sugar: 30g | Vitamin A: 249IU | Vitamin C: 0.2mg | Calcium: 97mg | Iron: 3mg
