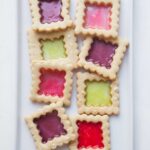
Stained Glass Cookies
Servings: 24 cookies or more (depending on size)
Calories: 100kcal
These stained glass cookies are easy to make, hold their shape, and are perfect for Christmas baking using colorful hard candies.
Print Recipe
Ingredients
For cookie dough:
- 240 g all-purpose flour
- ¼ tsp baking soda
- ¼ tsp salt
- 57 g unsalted butter softened
- 57 g cream cheese softened
- 46 g vegetable shortening I use butter-flavored but you can use regular
- 100 g sugar
- 25 g egg from 1/2 egg
- ½ tsp vanilla
- 20 pieces colorful hard candies I use life savers
Instructions
For the cookie dough:
- I know it can be a pain for recipe that uses 1/2 of an egg. Just beat the whole egg loose with a fork and measure out 25 grams (basically half of the egg) and keep the rest for other use (egg wash or add it into your morning scrambled eggs, etc)
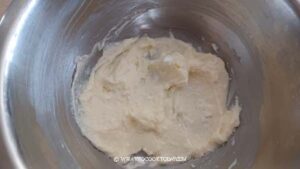
- Combine flour, salt, and baking soda in a bowl and set aside. Place shortening, butter, sugar, and cream cheese in a mixing bowl. If using standmixer use a paddle attachment. Beat the mixture until they are smooth and creamy. You can do this manually with a sturdy spatula but I found that the cream cheese won't distribute evenly
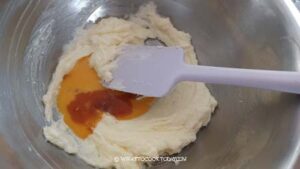
- Add the egg and vanilla and continue to beat until combined.
- Add the flour mixture and put on the lowest speed and beat until just combined.
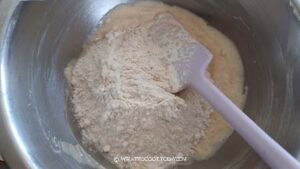
- Don't overmix. Scrape the side of the bowl if necessary to make sure everything is combined
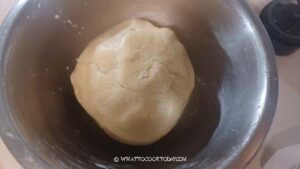
- Pat the dough into about 1/2 inch thick, wrap tightly with a plastic wrap and chill in the fridge for at least 1 hour or up to 3 days in the fridge. The chilling makes the dough easier to work with during shaping

When ready to bake:
- Preheat the oven to 350 F (180 C) for conventional oven. For a convection oven, lower the temperature by 20 F /15 C. Position the oven rack at the center of the oven
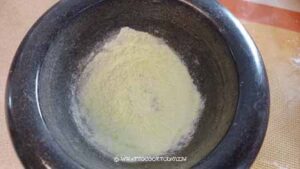
- Unwrap the candies and for me, the easiest way is to put a few in a mortar and use a pestle to crush them into fine powder. It is important to crush them into fine powder for the best result. You can also put them in a thick plastic bag and use a rolling pin to crush them into fine powder. The candies may puncture the plastic bag though and can be a bit messy. If you do different colors, keep the crushed candies separated
- Line 2 baking pan with parchment paper. Roll the dough out in between two pieces of parchment paper instead of a lightly flour your work surface. If you keep adding flour, the cookies will turn dry and tough. So, if you choose to roll on a work surface, try not to use too much flour.
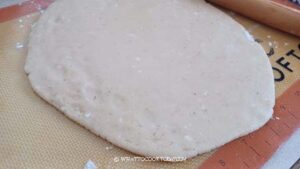
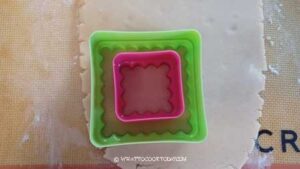
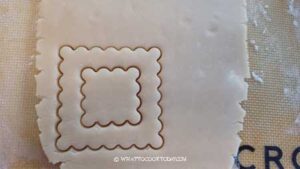
- Roll the dough out into 1/4-inch thickness (this thickness gives sturdy cookies). I like to dip my cookie cutter in a flour and then press the cookie cutter into the dough. Cut as close as possible. Use another smaller cookie cutter to cut out the center for the crushed candies later.
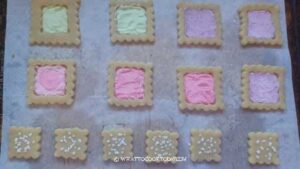
- Use an offset spatula and slide it under the cut out dough to help you lift it up and place the cut-out cookie dough onto the prepared baking sheet, about 1 inch apart, they don't spread much. You can also use the cut-out dough to make more stained-glass cookies or just bake them separately and decorate them as cut-out cookies with some icing
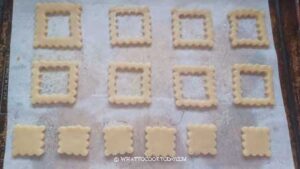
- Fill up the cut-out center with the crushed-up candies, about 3/4 full. Repeat with the rest of the dough
- Gather the scraped dough and simply push and press the scrapes together and roll it out again into 1/4-inch thickness and repeat the process. This dough is a dream to work with nevertheless. It remains soft and can endure many rerollings before it turns tough. Still, I try not to knead the dough too much unless I have to.
Baking:
- I recommend baking one tray at a time to get a good result. Bake for 12-13 minutes (depending on the size of the cookies). The edge should be just very lightly golden brown and the candies should have melted. It may appear soft but it will firm up as it cools down. So, don't overbake them
- Let the cookies cool down on the baking pan completely. The candies will harden as they cool down

Storage:
- Once the cookies have cooled down completely, keep them in an air-tight container in one layer with parchment paper in between each layer. They can keep for about 3-4 days at room temperature and a cool dry place. Longer than that, the candies start to get sticky, especially if it's humid where you are
Notes
This cut-out cookies recipe is adapted from King Arthur Baking’s with some modifications. I absolutely love the recipe!
Nutrition
Serving: 1cookie | Calories: 100kcal | Carbohydrates: 13g | Protein: 1g | Fat: 5g | Saturated Fat: 2g | Polyunsaturated Fat: 1g | Monounsaturated Fat: 2g | Trans Fat: 0.3g | Cholesterol: 11mg | Sodium: 61mg | Potassium: 16mg | Fiber: 0.3g | Sugar: 5g | Vitamin A: 97IU | Vitamin C: 0.5mg | Calcium: 5mg | Iron: 0.5mg
