This post may contain affiliate links. Please read our disclosure policy.
These stained glass cookies are easy to make, hold their shape, and are perfect for Christmas baking using colorful hard candies.
What Are Stained Glass Cookies?
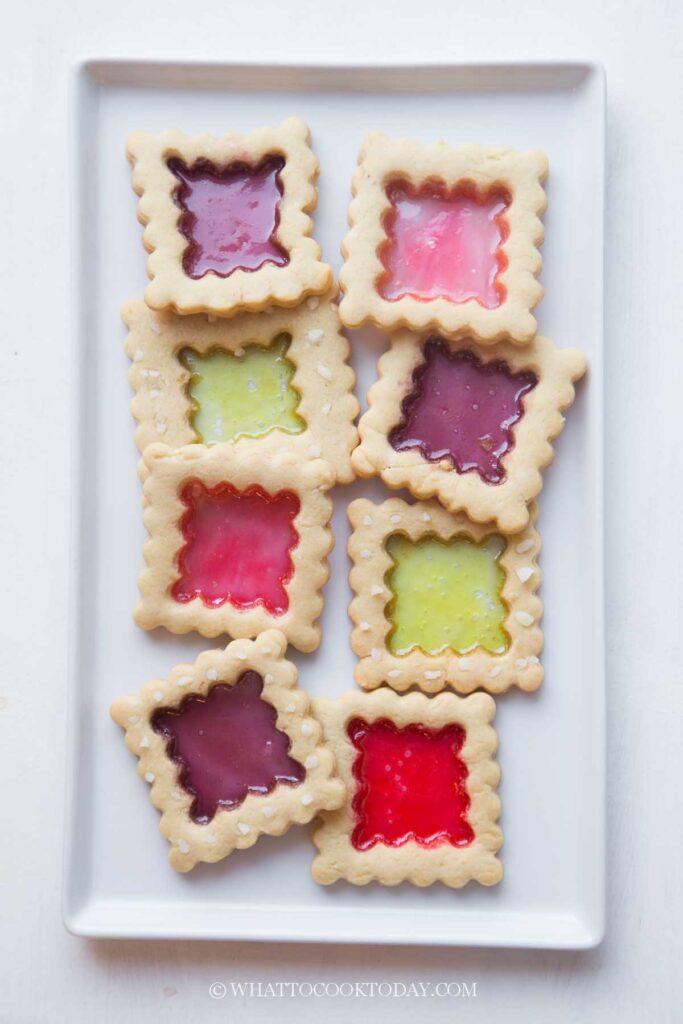
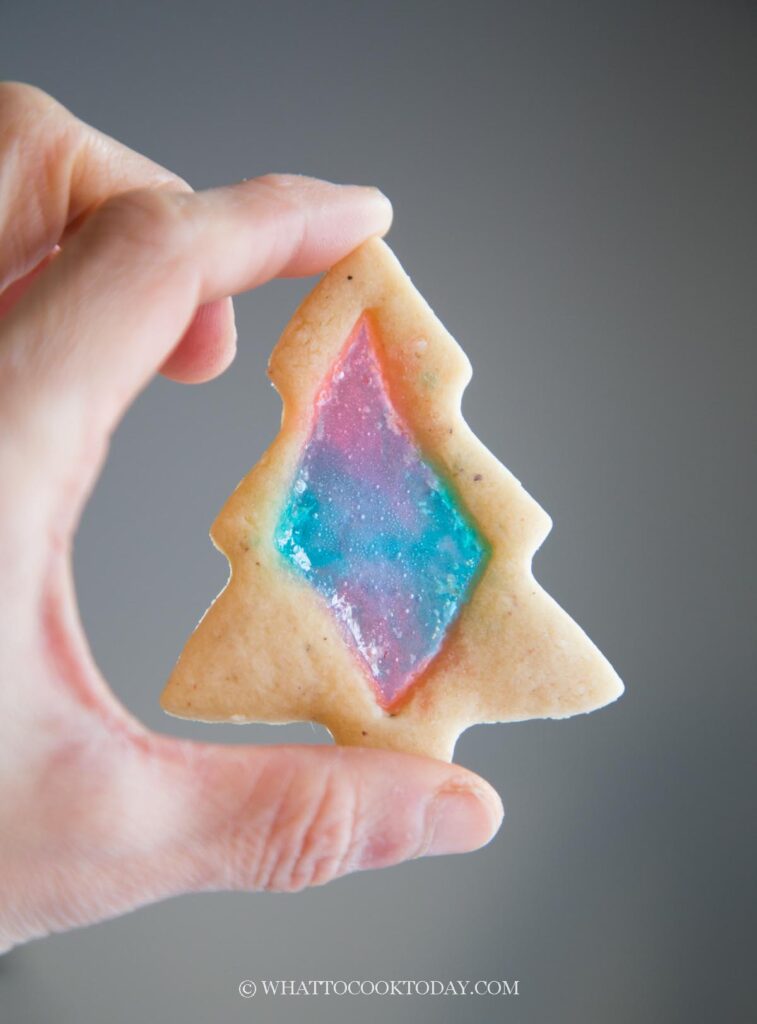
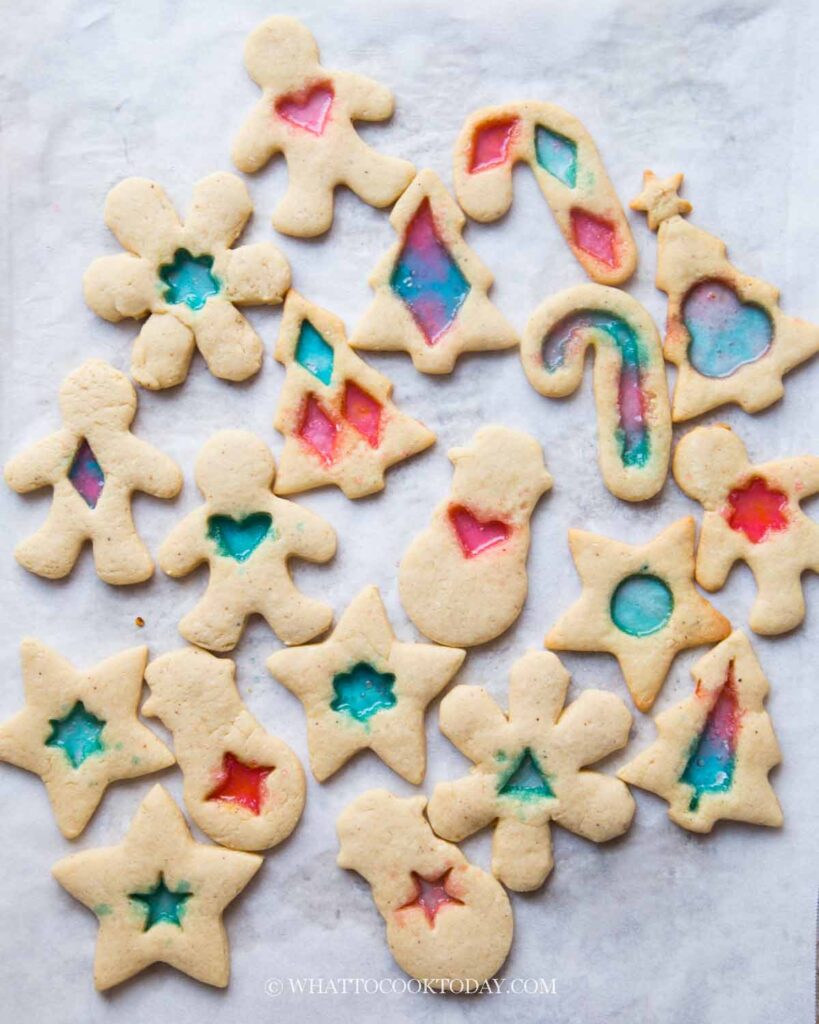
Stained glass cookies are cut-out cookies with the centers filled with melted hard candy. Once baked and cooled, the candy hardens into a clear, colorful “window” that looks just like stained glass. That’s where the name comes from. They are sometimes also known as Church window cookies.
While they’re especially popular during Christmas, stained glass cookies aren’t actually tied to one specific culture or tradition. They’re more of a decorative baking idea that became popular because of how striking they look—especially when shaped into stars, trees, or snowflakes and hung as edible ornaments.
The technique itself is simple: hard candies melt at a lower temperature than cookie dough bakes, so the candy liquefies in the oven while the cookie sets around it. As the cookies cool, the candy firms up again, creating that glossy, glass-like center.
I’ve made plenty of cut-out cookies over the years, but somehow stained glass cookies always felt a little intimidating. Melted candy in cookies? What if it leaks? What if it burns? 😅 Well, after Halloween, my kids had a lot of leftover hard candies, and I thought—why not finally give these stained glass cookies a try? I used my go-to cut-out cookie dough (the same one I use for my matcha cut-out cookies), and honestly… I should’ve tried this sooner. I made these with my 12-year-old son, and his official job was crushing the candies into fine powder (which he took very seriously). The result? Beautiful, colorful cookies that look fancy but are actually very doable.
Why You’ll Like This Recipe
- The cookie dough is sturdy and holds its shape well, even with cut-out centers.
- You can use leftover hard candies, which makes this a great post-Halloween or holiday baking project.
- The cookies aren’t overly sweet since the candy only fills the center.
- This dough is forgiving and can be rerolled several times without getting tough.
- It’s a fun recipe to make with kids—especially the candy-crushing part.
Ingredients and Substitutions
- All-purpose flour
Regular AP flour works best here for a tender but sturdy cookie. I haven’t tested this with gluten-free flour, but if you do, make sure it’s a 1:1 baking blend designed for cookies. - Baking soda
This gives just a bit of lift. Do not substitute with baking powder, or the cookies may puff up and lose their clean cut-out shape. - Salt
Balances the sweetness. Fine sea salt or regular table salt both work. - Unsalted butter
Adds flavor. If using salted butter, reduce the added salt slightly. - Cream cheese
This helps keep the cookies tender and gives them structure. Use full-fat cream cheese for the best results. I don’t recommend low-fat cream cheese as it can affect the texture. - Vegetable shortening
I use butter-flavored shortening, but regular shortening works just fine. Shortening helps the cookies hold their shape and prevents spreading. You can use all butter, but expect slightly more spread. - Granulated sugar
Provides sweetness and helps with browning. I don’t recommend substituting with brown sugar, as it will make the cookies softer and darker. - Egg
Only half an egg is used. Beating the egg first and measuring it out is the most accurate way. The remaining egg can be used for egg wash or other recipes. - Vanilla extract
Adds flavor. You can substitute with almond extract (use less, as it’s stronger) or leave it out if you want the candy flavor to shine more. - Hard candies
Clear hard candies like Life Savers or Jolly Ranchers work best. Any hard candies available where you are should work. Avoid candies with fillings, chocolate, or caramel. You can mix different colors together for a marbled stained-glass effect.
Frequently Asked Questions
- What are stained glass cookies?
Stained glass cookies are cut-out sugar cookies with the centers filled with melted hard candy. Once cooled, the candy hardens and looks like colorful stained glass. - What kind of candy is best for stained glass cookies?
Clear hard candies such as Life Savers work best. Avoid candies with fillings, chocolate, or caramel, as they don’t melt evenly or stay clear. - Do I need to crush the candy into powder?
Yes. Crushing the candy into a fine powder helps it melt evenly and prevents bubbling or cloudy centers. - Can I mix different candy colors together?
Yes. Mixing colors creates a marbled stained-glass effect and works especially well for Christmas cookies. - Do stained glass cookies spread while baking?
Very minimally. Using a sturdy cut-out cookie dough and chilling it beforehand helps the cookies keep their shape. - Can I make stained glass cookies ahead of time?
Yes. These cookies are best made 1–2 days in advance. After 3–4 days, the candy centers may start to get sticky. - Why did my candy center bubble or look cloudy?
This usually happens when the candy pieces are too large or not crushed finely enough. Overbaking can also cause bubbling. - Can stained glass cookies be used as Christmas ornaments?
Yes. Use a straw to poke a small hole near the top of the cookie before baking. Once cooled, thread ribbon through the hole and hang them on the tree. - Can stained glass cookies be frozen?
Freezing is not recommended. The candy centers can absorb moisture during thawing and become sticky or cloudy. - Why do stained glass cookies get sticky after storage?
Humidity is usually the cause. Store the cookies in an airtight container in a cool, dry place with parchment paper between layers.
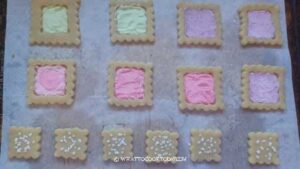
My son had fun cutting out the center pieces to fill up the crushed up candies. We don’t have matching big and small cutters, but he just creatively used different cutters to do it. This batch right here was done by him 🙂
Stained Glass Cookies
Ingredients
For cookie dough:
- 240 g all-purpose flour
- ¼ tsp baking soda
- ¼ tsp salt
- 57 g unsalted butter softened
- 57 g cream cheese softened
- 46 g vegetable shortening I use butter-flavored but you can use regular
- 100 g sugar
- 25 g egg from 1/2 egg
- ½ tsp vanilla
- 20 pieces colorful hard candies I use life savers
Instructions
For the cookie dough:
- I know it can be a pain for recipe that uses 1/2 of an egg. Just beat the whole egg loose with a fork and measure out 25 grams (basically half of the egg) and keep the rest for other use (egg wash or add it into your morning scrambled eggs, etc)
- Combine flour, salt, and baking soda in a bowl and set aside. Place shortening, butter, sugar, and cream cheese in a mixing bowl. If using standmixer use a paddle attachment. Beat the mixture until they are smooth and creamy. You can do this manually with a sturdy spatula but I found that the cream cheese won't distribute evenly

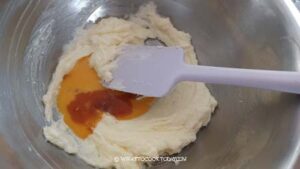
- Add the egg and vanilla and continue to beat until combined.
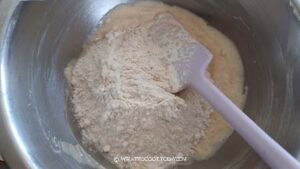
- Add the flour mixture and put on the lowest speed and beat until just combined.
- Don't overmix. Scrape the side of the bowl if necessary to make sure everything is combined
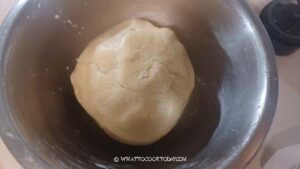
- Pat the dough into about 1/2 inch thick, wrap tightly with a plastic wrap and chill in the fridge for at least 1 hour or up to 3 days in the fridge. The chilling makes the dough easier to work with during shaping

When ready to bake:
- Preheat the oven to 350 F (180 C) for conventional oven. For a convection oven, lower the temperature by 20 F /15 C. Position the oven rack at the center of the oven
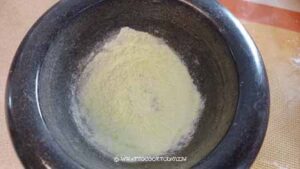
- Unwrap the candies and for me, the easiest way is to put a few in a mortar and use a pestle to crush them into fine powder. It is important to crush them into fine powder for the best result. You can also put them in a thick plastic bag and use a rolling pin to crush them into fine powder. The candies may puncture the plastic bag though and can be a bit messy. If you do different colors, keep the crushed candies separated
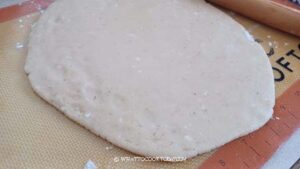
- Line 2 baking pan with parchment paper. Roll the dough out in between two pieces of parchment paper instead of a lightly flour your work surface. If you keep adding flour, the cookies will turn dry and tough. So, if you choose to roll on a work surface, try not to use too much flour.
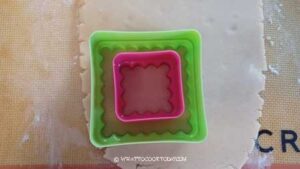
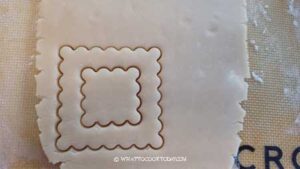
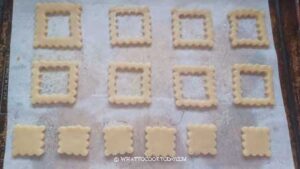
- Roll the dough out into 1/4-inch thickness (this thickness gives sturdy cookies). I like to dip my cookie cutter in a flour and then press the cookie cutter into the dough. Cut as close as possible. Use another smaller cookie cutter to cut out the center for the crushed candies later.
- Use an offset spatula and slide it under the cut out dough to help you lift it up and place the cut-out cookie dough onto the prepared baking sheet, about 1 inch apart, they don't spread much. You can also use the cut-out dough to make more stained-glass cookies or just bake them separately and decorate them as cut-out cookies with some icing
- Fill up the cut-out center with the crushed-up candies, about 3/4 full. Repeat with the rest of the dough
- Gather the scraped dough and simply push and press the scrapes together and roll it out again into 1/4-inch thickness and repeat the process. This dough is a dream to work with nevertheless. It remains soft and can endure many rerollings before it turns tough. Still, I try not to knead the dough too much unless I have to.
Baking:
- I recommend baking one tray at a time to get a good result. Bake for 12-13 minutes (depending on the size of the cookies). The edge should be just very lightly golden brown and the candies should have melted. It may appear soft but it will firm up as it cools down. So, don't overbake them
- Let the cookies cool down on the baking pan completely. The candies will harden as they cool down

Storage:
- Once the cookies have cooled down completely, keep them in an air-tight container in one layer with parchment paper in between each layer. They can keep for about 3-4 days at room temperature and a cool dry place. Longer than that, the candies start to get sticky, especially if it's humid where you are
