This post may contain affiliate links. Please read our disclosure policy.
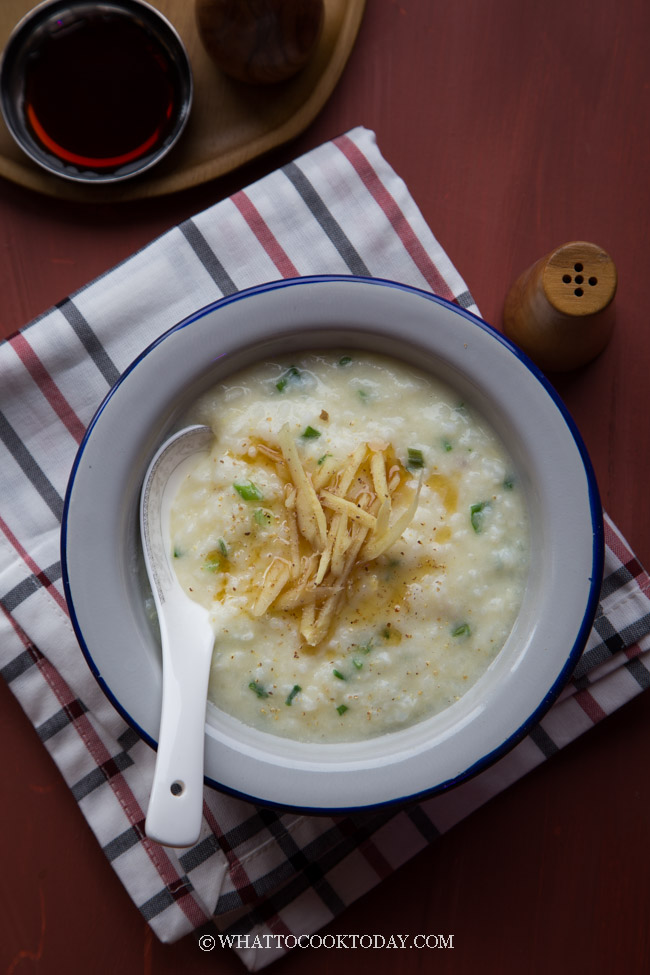
Learn how to make silky smooth Asian rice porridge (Congee). It can be done on the stove, rice cooker or Instant Pot.
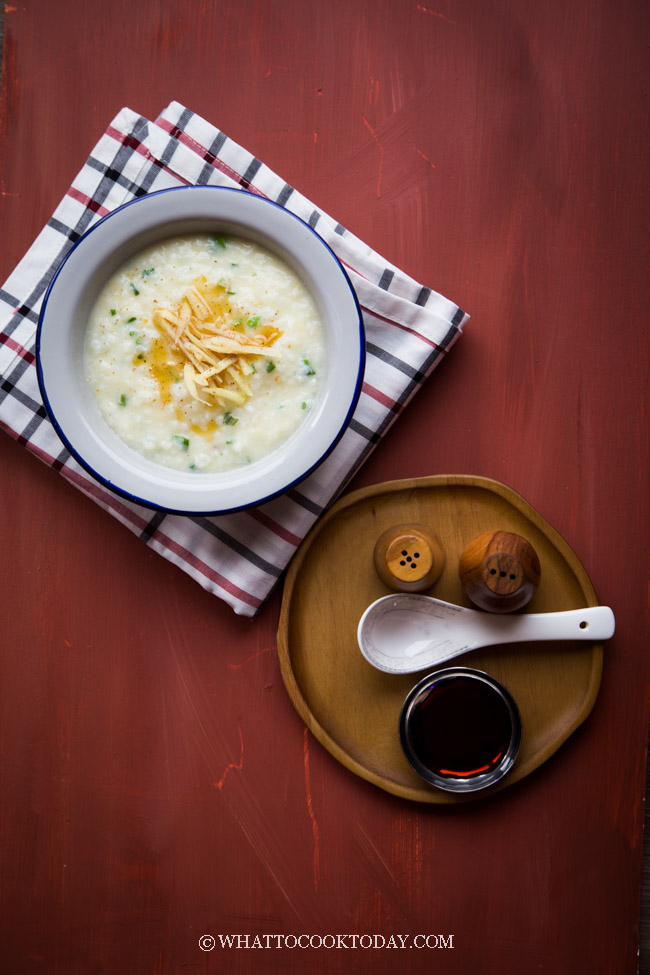
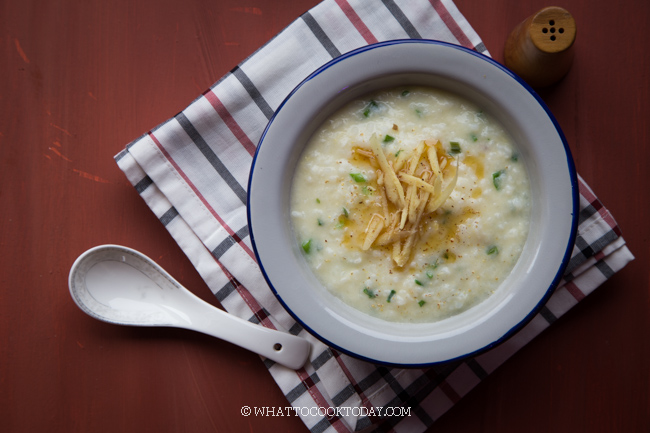
Basic Chinese Congee (Jook)
Making congee or known as jook in Cantonese, is pretty common in our household. I often make it for breakfast. I decided to write this post because I used to not sure how much water I needed to add in to get the result I wanted. The consistency of the porridge can vary depending on the amount of water or stock you add in. I personally like a medium thick to medium thin porridge. Some people like a thin porridge. So, I thought I might share this basic part of making Asian rice porridge using white rice.
What is frozen-rice congee ?
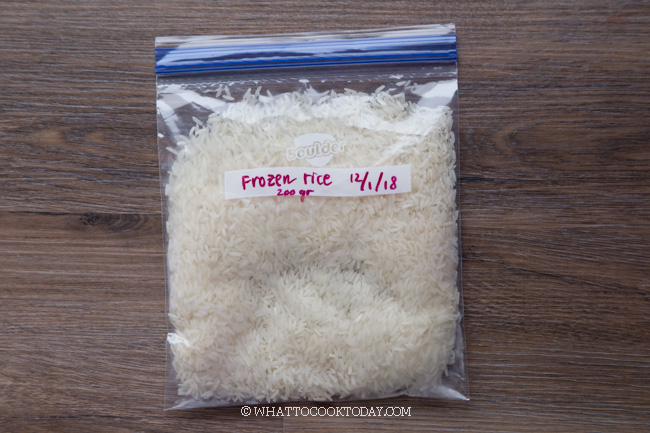
Another method that my mom taught me a while ago is cooking congee using frozen rice. The theory behind this is that when you freeze the rice and then cook it in hot boiling water, it will break down the rice grain faster and the starch from the broken grains will make the porridge silky and smooth. It also helps to shorten the cooking time a bit.
The best rice to make congee
I suggest using a more “starchy” rice such as jasmine rice (long-grain) and japonica rice (medium-grain). These two are perfect to make congee as it will give your congee a smooth, starchy and silky texture. Rice such as basmati rice doesn’t “gel” as much when you use it to cook porridge. The rice grain will most likely remain intact. If you still want to use basmati rice, I suggest pulsing it few times in a blender or food processor to break up the grains a bit before cooking. Do not turn it into a powder though
Rice to liquid ratio to cook congee
Everybody has a different preference when it comes to the consistency of porridge. I myself prefer a rice:liquid ratio between 1:9 to 1:10. Remember that the longer the congee sits, the thicker it becomes as it continues to absorb water.
This porridge is made with 1:7 ratio
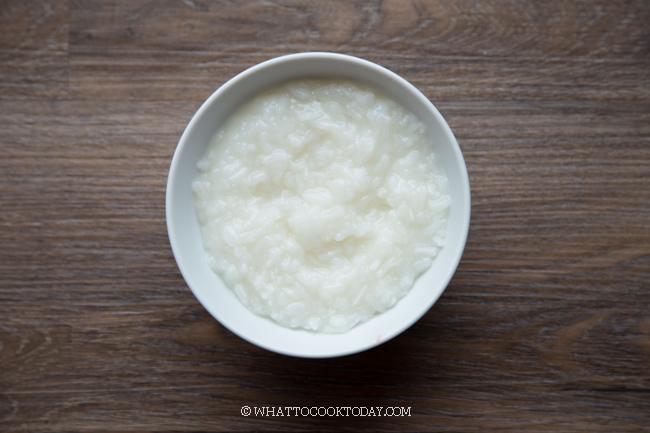
This porridge is made with 1:8 ratio
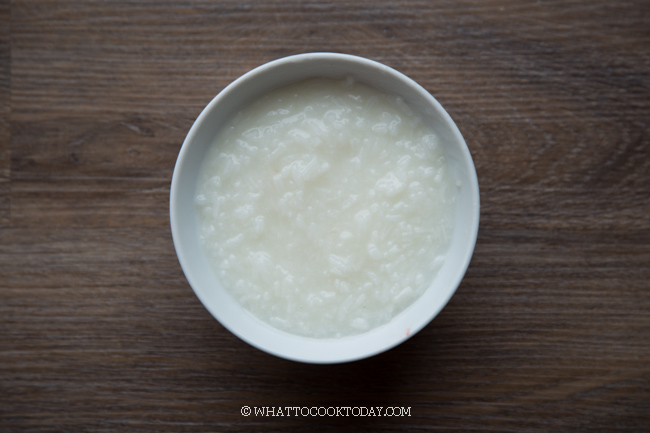
This porridge is made with 1:9 ratio
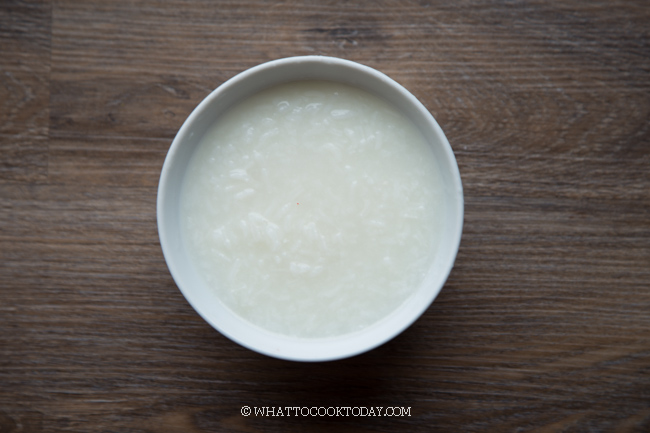
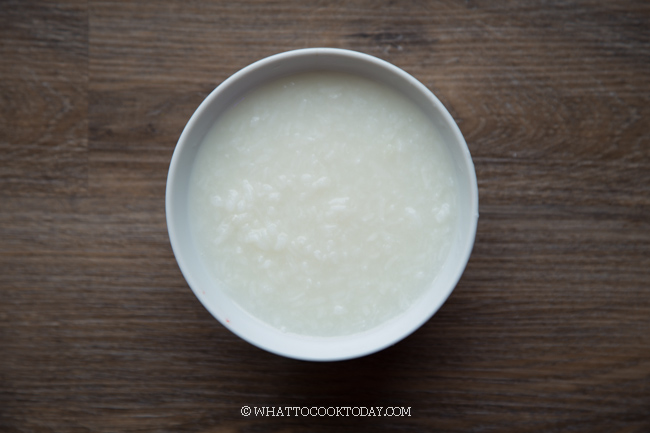
This porridge is made with 1:10 ratio
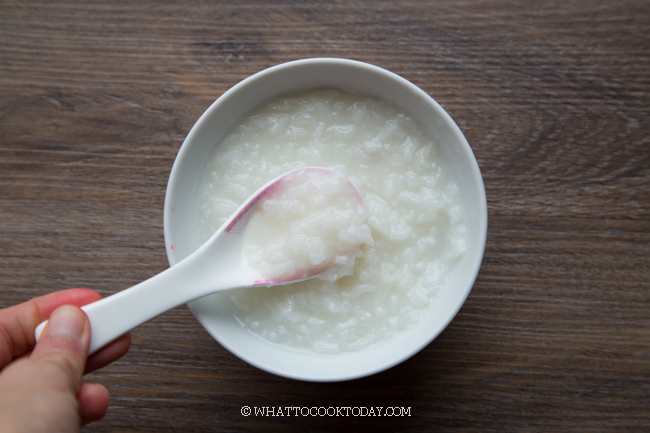
The 1:10 ratio may seem a bit thin at first, but after 10 minutes, the consistency has thickened even more (photo below), which is the consistency I like.
Step-by-step photos on how to cook congee at home
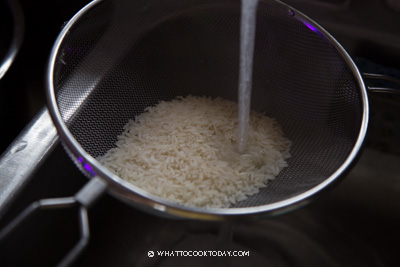
1. Just briefly rinse your rice
You want the starch in the rice as much as you can to thicken up the porridge nicely. This will give the congee a smooth and “creamy” consistency. Rinsing the rice is mainly just to get rid of impurity (if any)
2. Choose the rice : liquid ratio you like (as I mentioned above) and bring the liquid to a boil and add the rice in
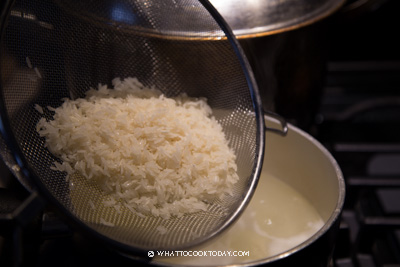
3. Bring it back to a boil
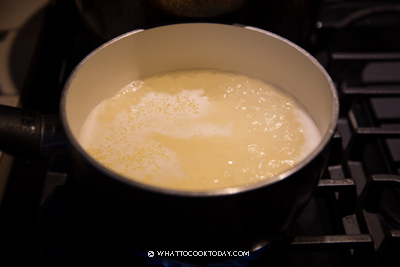
4. Stir it every now and then to prevent the rice from catching at the bottom of the pot
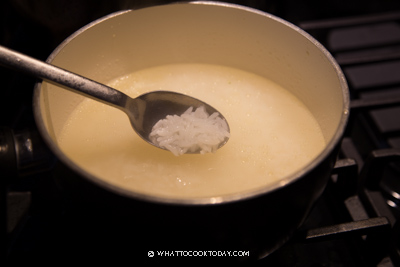
5. It will continue to get thicker as the starch is released from the rice grains
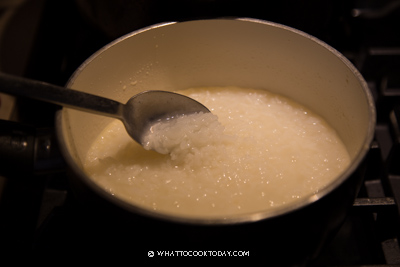
6. Once you are happy with the consistency, if you want to add a protein like ground pork, fish, chicken, etc, add it at this point and cook until the meat is cooked through. Season with salt to your taste if you want
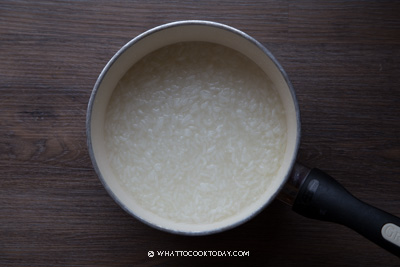
Do I need to soak the rice ?
FOR WHITE RICE: I’ve tried soaking and not soaking before and I don’t really find much difference in terms of texture and cooking time. Well, maybe a little faster if you soak the rice, but I don’t feel like it’s significant enough
FOR BROWN RICE: You definitely need to soak for as least 1-2 hours. This will help to shorten the cooking time. I recommend pulsing the rice in a blender or food processor to break up the grain a little bit. This helps to make the porridge “gel” a bit better
Tips for the best congee
1. Don’t over rinse the rice
The starch in the rice grains gives that smooth silky consistency. Do not over rinse it. If you get the rice that has been pre-washed, then you don’t even need to rinse the rice
2. Stir every now and then
If you cook on the stove, you need to stir the porridge every now and then to prevent the rice catching at the bottom of the pot and burn. The starch get burn quickly as it thickens
3. Use stock for extra depth of flavor
It does make a huge difference in terms of flavor when you use just plain water versus stock like chicken stock or other type of stocks
4. The rice : liquid ratio is just a guide
This also really depends on the rice you use, your rice cooker if you cook the congee with rice cooker. If it’s too thick, you can always thin it out by adding 1/2 cup or more of liquid or if it’s too thin, you can cook it longer to evaporate more liquid
What you can add to basic congee
Rice congee can also be made into a complete meal instead of just a plain congee. Here are some ideas:
1. PROTEIN
Add them after the congee has thickened. The raw protein will cook quickly
RAW PROTEIN: ground pork, ground turkey, fish slices, small boneless chicken pieces
COOKED PROTEIN: leftover shredded rotisserie chicken meat, century eggs, cooked salted duck/chicken eggs
MEATLESS PROTEIN: tempeh cubes, firm tofu cubes
2. VEGGIES
Add these frozen veggies after the porridge has thickened
FROZEN VEGETABLES (NO THAWING NECESSARY): edamame, frozen mixed vegetables, frozen corn, etc
FRESH VEGETABLES: diced carrots, sweet potato pieces. These need to be added the same time you start cooking the congee as they need time to cook until softened
How to store and reheat congee
Store: If you cook a big pot and have leftover, you can keep it in the refrigerator but try to finish it within 5 days.
Reheat: Simply reheat on the stove and you will need to add more water or stock to thin it out. The longer the congee sits, the thicker it gets. You can also reheat in the microwave by adding more liquid to thin out the porridge
Asian congee recipes you don’t want to miss
Bubur Ayam Betawi Kuah Kuning (Jakarta Chicken Rice Porridge)
Dried Scallop Abalone Congee (Porridge)
Bubur Manado Tinutuan (Manadonese porridge)
Easy Chicken Rice Congee / Porridge (Bubur Ayam)
Easy Chinese Fish Congee (Bubur Ikan)
Chinese Yam (Taro) and Pork Congee
Pork and century egg congee (Bubur pitan)
Easy Chinese Fish Congee (Bubur Ikan)
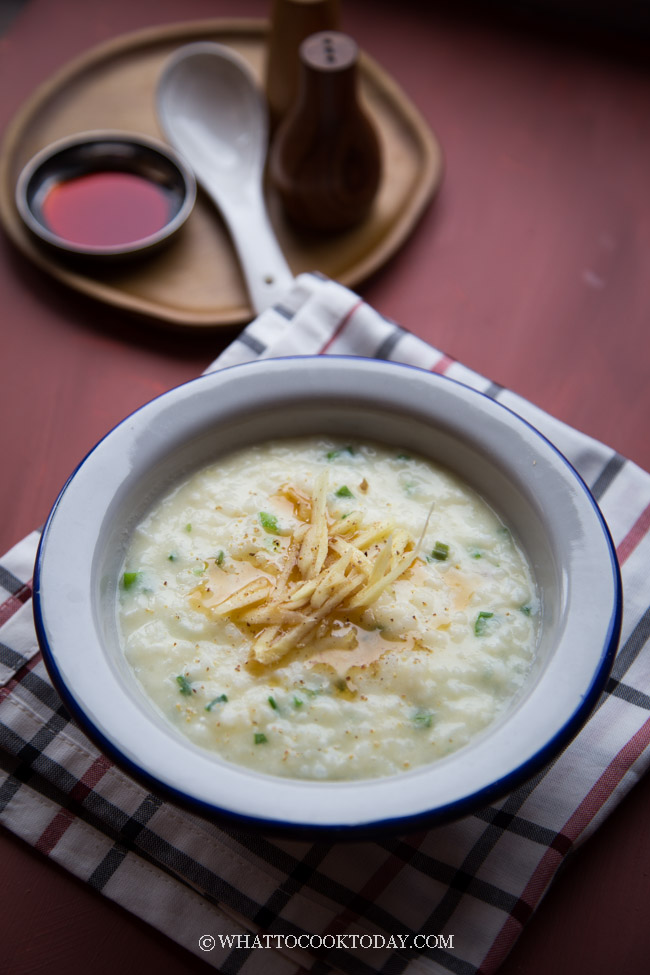
Asian Rice Porridge (Congee) Recipe and Video
Ingredients
For Stovetop and Instant Pot:
- 1 cup Jasmine rice see notes 1
- Use between 7 to 10 cups of liquid
- Salt to taste
For Rice cooker:
- ¾ cup Jasmine rice see notes 1
- Use between 7 to 8 cups of liquid
- Salt to taste
Instructions
- Whatever cup you use to measure the rice is the same cup you use to measure the liquid. The rice cup that comes with the rice cooker is smaller compared to the U.S. standard 1 cup measuring cup
Rice to Liquid ratio:
- For very thick porridge: Rice to liquid ratio is 1:7
- For thick porridge: Rice to liquid ratio is 1:8
- For medium-thick porridge: Rice to liquid ratio is 1:9 (not recommended if you use a rice cooker to cook a full recipe of 3/4 cup of rice, it may overflow)
- For medium-thin congee: Rice to liquid ratio is 1:10 (not recommended if you use a rice cooker to cook a full recipe of 3/4 cup of rice, it will overflow)
Prepare the rice:
- Just briefly rinse the rice for any impurities. You may not even need to do so because some brands have prewashed the rice Place the rice and water in a medium-large pot.
Cooking congee on the stove:
- Bring the water/stock to a boil and then lower the heat and add the rice. Bring it back to a boil and then lower the heat to medium to let it gently simmer for about 25-30 minutes, stirring every now and then to prevent the rice catching at the bottom of the pot. The rice grains will slowly release more starch and get smoother and creamier starting at about 20 minutes or so
- If you are adding meat like chicken, beef, pork, fish, add only after the porridge has thickened. Add them in at this point and stir until they are cooked through. Season with salt to your taste and serve immediately while the porridge is hot
- The longer the porridge sits, the thicker it will get. You can always thin it out by adding more water or stock
Cooking congee with Instant Pot Pressure Cooker:
- Place 1 cup of rice with the amount of water ratio you choose to use. 9 cups is a good one to start if it’s your first time making it in instant pot. Less liquid is lost when you cook in Instant pot, so 9 cups of liquid is almost equivalent to 10 cups of liquid cooking on the stove
- Press pressure cook and set to high pressure. Set timer to 30 minutes. When it’s done cooking, release pressure naturally, which may take about 10-15 minutes
- If the porridge is too thick, you can always think it out by adding more water or stock. If you want to add protein like meat or fish, turn on the saute mode and bring it to a boil and then add in the meat and cook until they are cooked through. Season with salt to your taste
Cooking congee with rice cooker:
- Please note that rice cookers come in different sizes. I can only cook up to 3/4 cup of rice (using my rice cooker cup) with 7-9 cups of liquid, with 9 cups being the maximum amount of liquid using my rice cooker cup. If you use U.S. Standard measuring cup, no more than 8 cups to be on the safe side. Trying to cook more than and it may overflow when it boils. There should be a max line on your rice cooker pot to show you how much you can fill it up. Do not go over the line
- Add rice and liquid to the rice cooker. Close the lid and if your rice cooker has porridge setting, use that. If not just press cook and cook for one cycle. When it's done I recommend to wait for another 10-15 minutes to see if it has thickened up to the consistency you like. The longer it sits, the thicker it gets. After that, check the consistency. If it's too thick, you can always add more liquid and stir. It should thin out to the consistency you prefer. What turns out to be watery ended up being so thick when I leave it sitting for an hour or longer. So keep that in mind
Frozen rice congee:
- Place 1 cup of briefly washed rice or whatever quantity you want in a freezer-friendly bag and let it freeze for at least 6 hours (12 hours if you have the time). You can freeze several bags for future use too. Frozen rice be kept in the fridge for up to 3 months
- When ready to cook, place water or stock in a medium-large pot and with the amount of water ratio you like. I use 9 cups and bring to a boil and then add the frozen rice grains (without thawing). Bring it back to a boil and lower the heat to low-medium. let it simmer for 20 minutes over medium heat until thickened to the consistency you like. Stir every now and then to prevent the rice from catching at the bottom and burn
- If you are adding meat like chicken, beef, pork, fish, add only after the porridge has thickened. Add them in at this point and stir until they are cooked through. Season with salt to your taste and serve immediately while the porridge is hot
RECOMMEDED TOOLS
Marv’s Recipe Notes
*Nutrition facts are just estimates and calculated using online tools*


69 comments
I’m going to try and make this in a slow cooker it has high and a low setting it will eventually come to a boil
Made it. Loved it. Jasmine rice, 1:7 water. Guessed amounts of salt, white pepper, sesame oil, soy sauce, and chicken pieces.
I had never heard of congee, so googled it after watching the movie “How to Make Million Before Grandma Dies,” in which Grandma made and sold congee beside railroad tracks in Talat Phlu, one of Bangkok’s Chinatowns.
Hello John, I’m glad you give it a try! I have never watched that movie before! I have to check it out! Thank you for trying and for your comment!
I found your pictures of the different ratios of rice to water very helpful. Always enjoy your recipes and explanations on why you do it the way you do. Keep the recipes coming.
Thank you David! I’m glad you find them useful 🙂
This recipe is not right. Do you put the rice in the water then bring to a boil as it says in one paragraph, or do you add the rice to the water after it starts to boil? The cooking time is not right either. It’s been cooking on medium heat for over 40 minutes and still not medium thick.
You bring the liquid to a boil and then you add the rice. This recipe uses Jasmine rice, what kind of rice did you use ?