This post may contain affiliate links. Please read our disclosure policy.
These fudgy, chewy cocoa mochi brownies are rich, dark, and deeply chocolatey with that irresistible springy bouncy mochi chew. Naturally gluten-free and easily dairy-free!
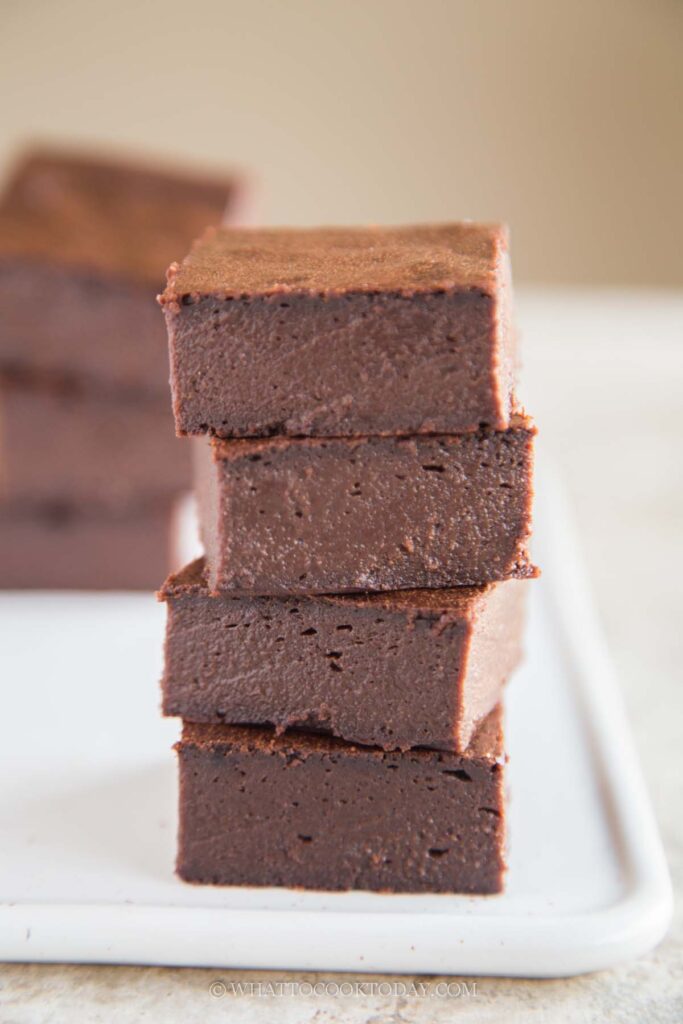
These fudgy chewy cocoa mochi brownies are unlike any mochi brownies I’ve made before. They get a special treatment that makes them truly stand out — deep, dark chocolate flavor with that bouncy, springy mochi chew. It’s rich, it’s fudgy, it’s grown-up chocolate bliss! 🍫
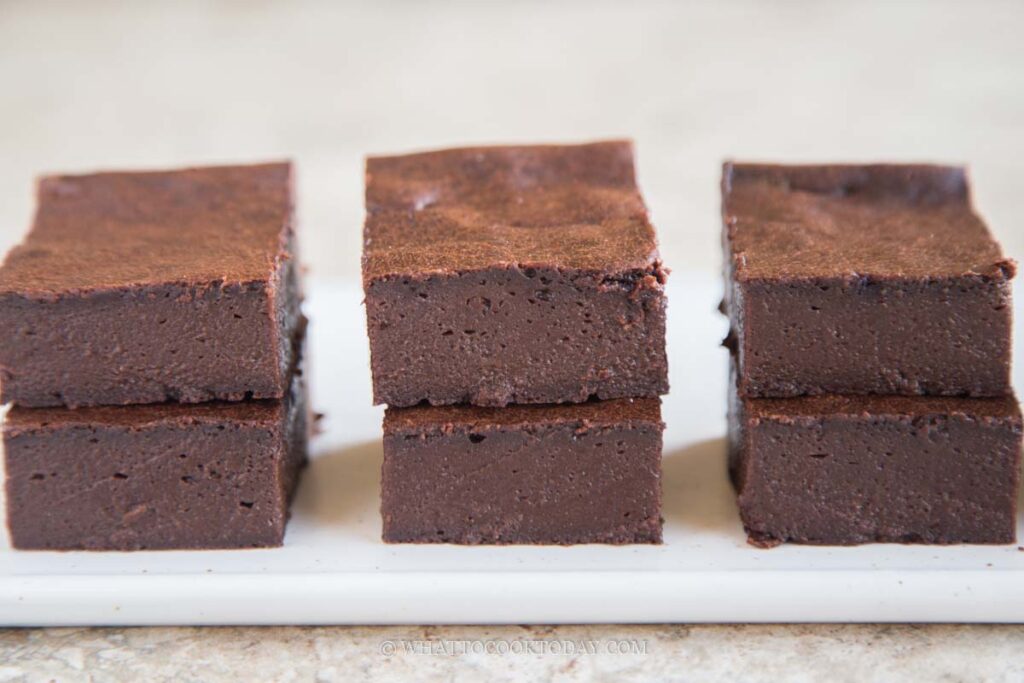
I love how the texture turns out — not overly dense or sticky, but delightfully chewy with just enough structure to hold its shape. The secret is in beating the batter and precooking it slightly, which not only gives that signature springy bite but also removes any “starchy” taste from the glutinous rice flour.
And the best part? These brownies are naturally gluten-free and can easily be made dairy-free too using coconut milk and vegan butter (which is what I did!).
Why You’ll Like This Recipe
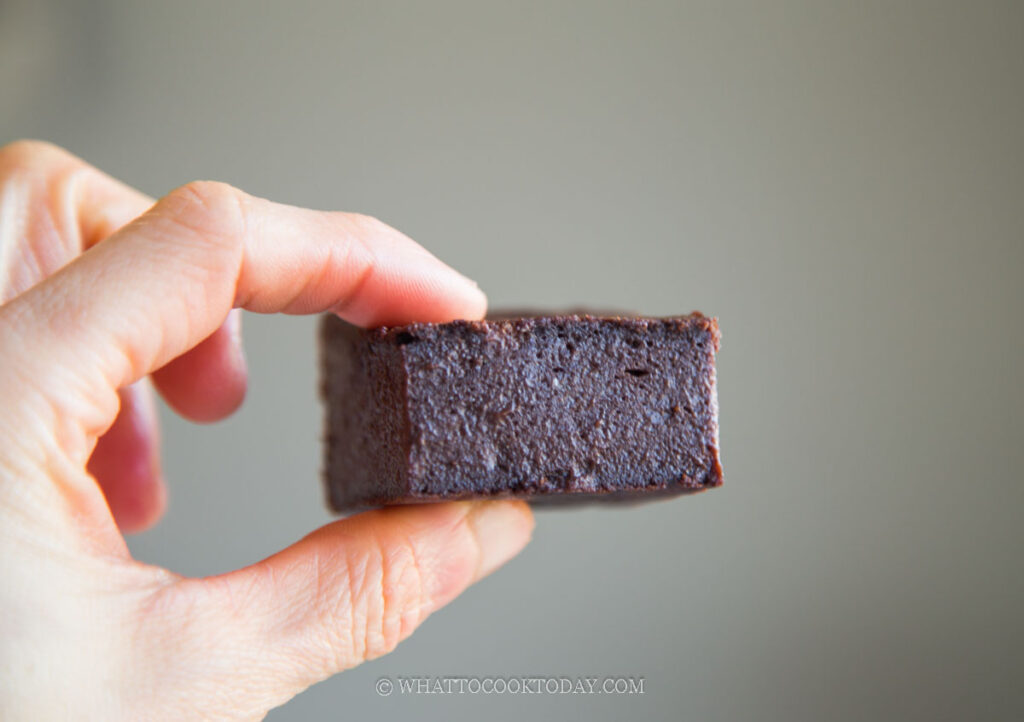
- Incredible texture – Chewy, fudgy, and bouncy all at once. You get that mochi stretch with the rich brownie flavor.
- Intense chocolate flavor – Made with Dutch-processed cocoa powder and instant coffee for maximum chocolate depth.
- Naturally gluten-free – Made entirely with mochiko (glutinous rice flour).
- Customizable – Use dairy or coconut milk, regular or vegan butter — it works beautifully either way.
Ingredients and Substitutions
- Dutch-process cocoa powder: Gives deep, rich flavor and dark color. Regular cocoa can work, but the flavor won’t be as intense.
- Instant coffee: Enhances the chocolate taste without making it taste like coffee. You can also use espresso powder. Just half the amount!
- Coconut milk: Use canned full-fat coconut milk for a tender, fudgy texture. Whole milk will work just fine too. I don’t recommend using low-fat or fat-free milk.
- Butter: Use unsalted butter or vegan butter for a dairy-free version.
- Powdered sugar: Sweetens while keeping the crumb soft and smooth.
- Mochiko or glutinous rice flour: Creates that signature mochi chew. There is NO substitute for this. DO NOT use regular rice flour. The result will be totally different and not sure what you will get, but most likely not mochi texture lol
- Eggs: Give structure and richness. I don’t recommend any substitution for this
- Vanilla extract: Adds aroma and rounds out the chocolate flavor.
- Salt: Balances sweetness and deepens the chocolate profile.
Tips for Success
- Really mix that batter vigorously! Don’t skip or shorten this step — it’s what gives you the best texture.
- Use Dutch cocoa for that deeper chocolate flavor and darker color.
- Don’t overbake — these brownies stay slightly soft and fudgy even after cooling.
- Cool completely before slicing — this helps the texture set and makes cleaner cuts.
- Store properly — these taste even better the next day as the texture develops!
Serving Suggestions
- Enjoy them as-is with a cup of coffee or tea
- Top with a light dusting of cocoa powder
- Add a scoop of vanilla ice cream or whipped cream for dessert

Frequently Asked Questions
- Can I use regular cocoa powder instead of Dutch-process?
Yes, but Dutch-process cocoa gives a deeper, smoother chocolate flavor. - Why beat the batter so long?
Beating the batter builds elasticity in the glutinous rice flour, giving that chewy mochi texture and preventing a raw, starchy taste. - Can I use regular milk instead of coconut milk?
Absolutely. Whole milk works fine. Coconut milk just adds extra richness and moisture. - How do I store these brownies?
Keep them in an airtight container at room temperature for up to 3 days, or up to 1 month in the freezer. Simply thaw at room temperature before serving
These fudgy, chewy cocoa mochi brownies are pure chocolate indulgence — rich, bold, and satisfyingly chewy. The way the batter is “precooked” and beaten transforms it into something truly unique — part brownie, part mochi, all delicious.
Fudgy Chewy Cocoa Mochi Brownies
Ingredients
- 70 g Dutch Cocoa powder
- 1 Tbsp instant coffee
- 313 g coconut milk I used canned coconut milk
- 113 g unsalted butter
- 180 g powdered sugar
- 125 g mochiko flour (or glutinous rice flour)
- ½ tsp salt
- 165 g eggs from 3 large-size eggs
- 2 tsp vanilla extract
Instructions
- Preheat the oven to 350 F (180 C) for conventional oven. Please lower the temperature by 20 F (15 C) for a convection oven
- Oil a 8 x 8 inch square metal cake pan and line with parchment paper sling, overhang on the side for easier removal
Prepare brownie batter:
- In a mixing bowl, add powdered sugar, mochiko flour, and salt and just mix to combine. Set aside

- Combine cocoa powder, instant coffee, and milk in a saucepan. Whisk until combined. Put this on the stove over medium heat. Add butter cubes and cook until the butter melts and mixture starts to come to a boil. Lower the heat to simmer and let it cook for about 5 minutes

- Pour the hot milk over the flour mixture

- Vigorously start stirring it with a sturdy spatula for a full 2-3 minutes. You will need it to really beat the batter so it gives that springy texture and to avoid that "starchy" taste of glutinous rice flour/mochiko flour. Alternatively, you can do this with a stand mixer fitted with a flat beater (beat it on medium speed for about 2 minutes)

- Then add egg, one at a time

- Continue to mix until all eggs are in and the batter is smooth and nicely combined

- Scrape the batter into the prepared pan and smooth it out with rubber spatula

Bake:
- Bake in the middle rack for 40-50 minutes or until the center spring back when you gently press on it. There is no need to do a toothpick test as it won't be accurate

Cool down:
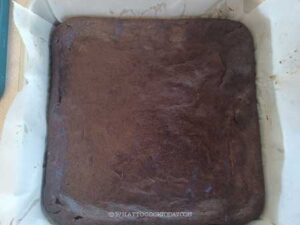
- Let the brownies cool down in pan for at least 10 minutes. Then transfer to a cooling rack to let it cool down completely before cutting
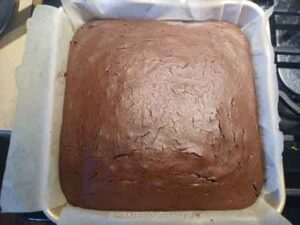
- The cake will be "puffy" when it first gets out of the oven, but it will shrink down a bit after cooling down, and that's normal

2 comments
Fabulous receipe for chewy brownies with twist of coconut milk flavour. Thank you Marvellina!
Hi Sylvia, I’m so glad you like it ! 🙂