This post may contain affiliate links. Please read our disclosure policy.
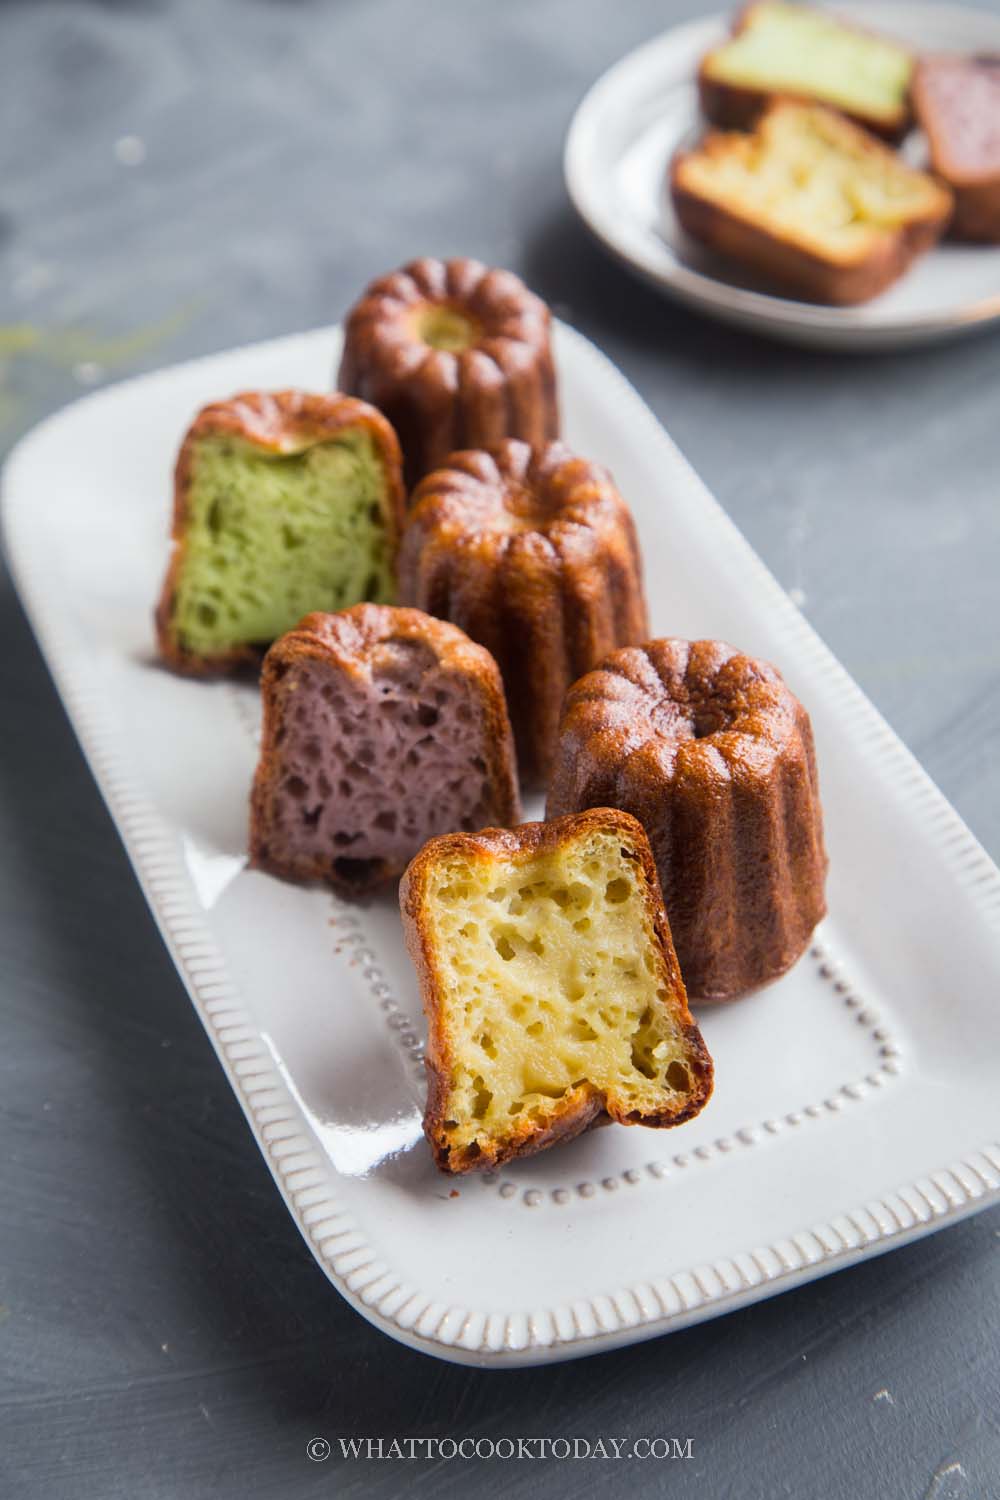
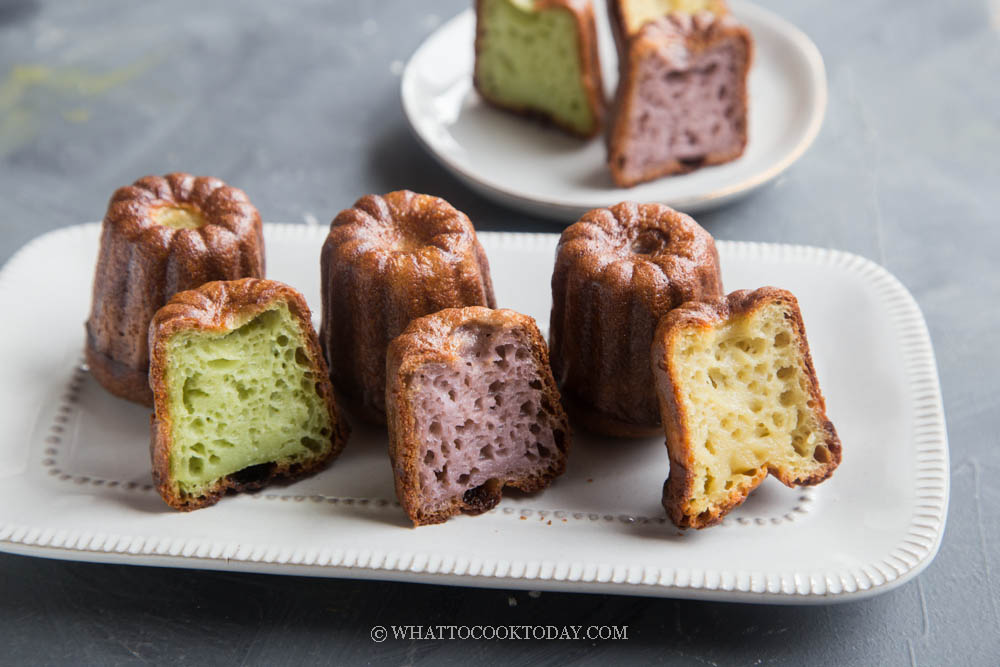
This tutorial is to show you how to bake the delicious French canelé using regular muffin tins and with a canelé mold cake pan and without using any beeswax. I made them in original rum and vanilla flavor, pandan flavor, and ube flavor. The canelés can be made without rum as well.
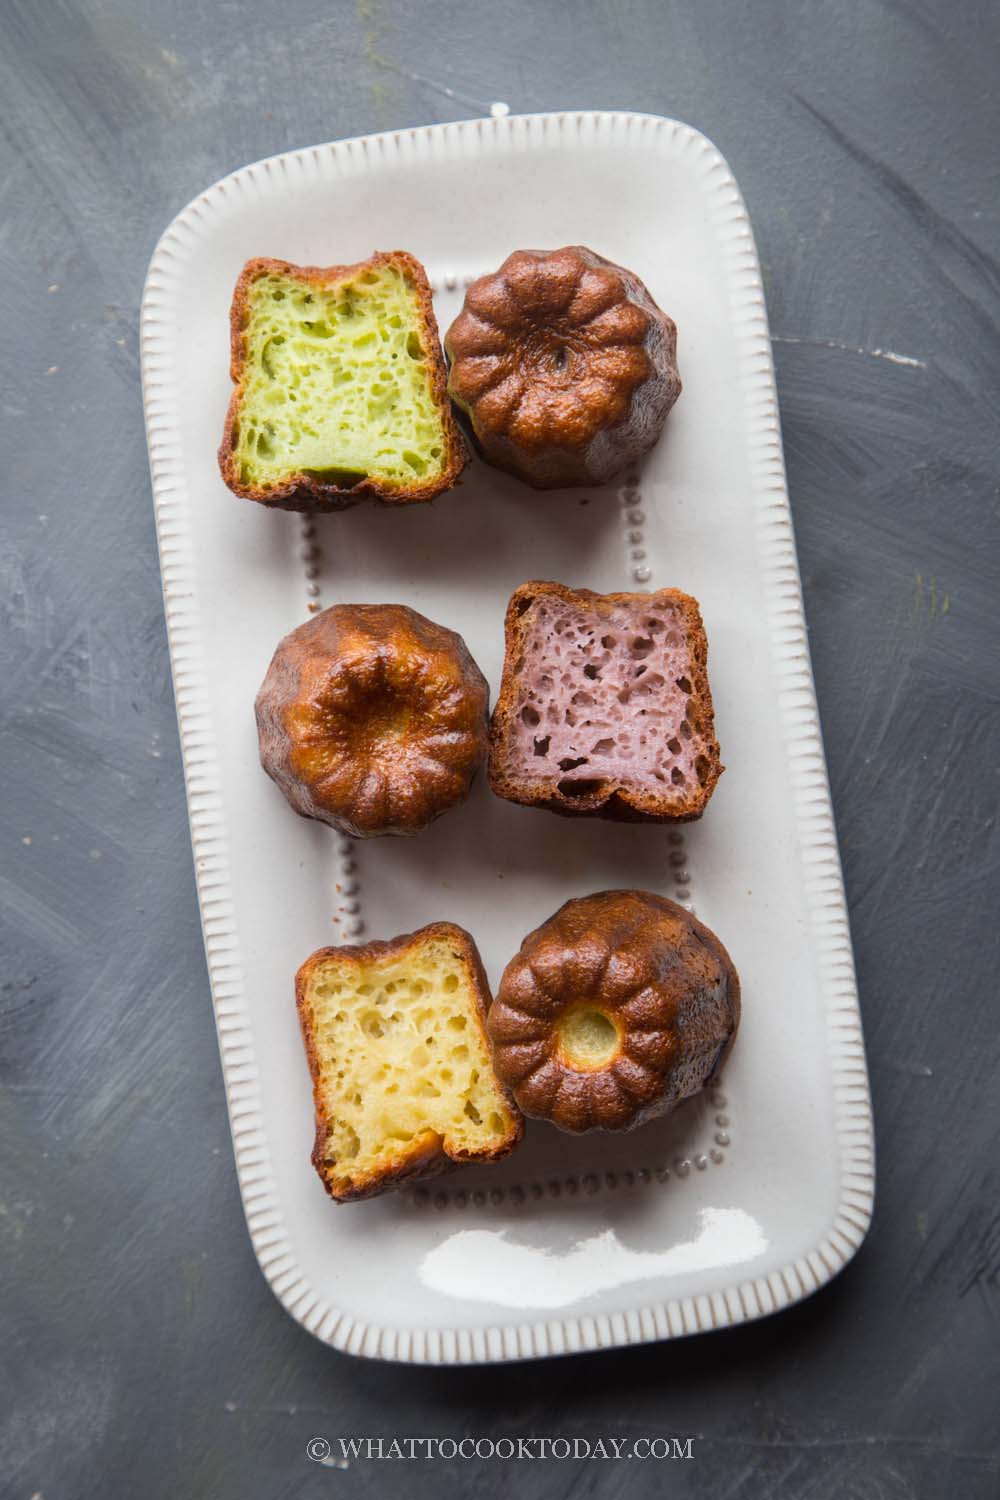
So this year I’ve told myself that I want to learn to bake more French pastry, cakes, and bread. Few years ago I tasted a canelé made by a friend. It was really good. I wasn’t all that interested in baking at the time and so I didn’t really fully appreciate it. After watching many youtube videos about canelé making I decided to join the Canelé wagon 😉
What is Canelé or Cannelé?
It’s one of the French pastries, that originated in Bordeaux. Canele is made with milk, eggs, butter, and sugar, and flavored with rum and vanilla. and then baked at a very high temperature in a cylinder-shaped fluted mold made with copper coated with beeswax. The result is a thick caramelized crust on the outside and soft custardy inside. The outside crust has a shiny sheen, thanks to the beeswax that coats the inside of the mold. This contrast in texture is what people love about eating canelé.

Can I bake canelé in regular muffin pans?
Yes, you can. It’s not traditional for sure. If you are hardcore, you probably won’t go this route. If you just want to taste how canele is like without investing in the expensive copper molds, the canele still turns out really good to be honest. They don’t have the beautiful fluted look of the traditional canelé, but you get that contrast of texture between the crust and the inside. So if you have a muffin pan, you can make canelé.
Alternative to the expensive copper moulds for canele
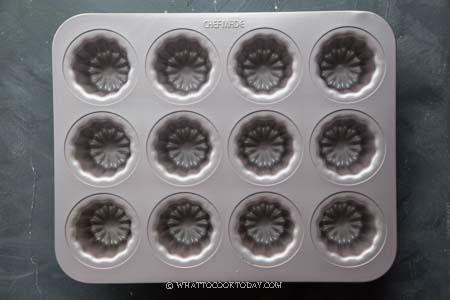
I don’t want to (or not ready to) purchase the expensive copper moulds. I’ve been seeing many people have been successful in making caneles using carbon-steel canelé mould cake pan, similar to muffin pan, except it has the traditional fluted look of canele copper mold. This is the one I got from Amazon and I’ve baked caneles with this pan 5 times so far and they turned out really good and I couldn’t be happier.
Ingredients
Let’s talk about the basic ingredients here to make canele
1. Whole milk
I suggest using whole milk and don’t replace it with low-fat or skim milk. I’ve never tried it with nut milk, so I can’t tell you how that would affect the result
2. Butter
I used unsalted butter.
3. Sugar
I use granulated sugar. Feel free to use caster sugar
4. Eggs
I usually use large eggs, which is about 58-60 grams with the shell
5. Bread flour
I have tried with all-purpose flour and I found that using bread flour helps to prevent the batter not to “mushroom” during baking. It gives the canele a “stronger” structure
6. Vanilla and rum extract
Traditional canele is made with these two flavors. Please use pure vanilla and rum extract. Avoid imitation
7. Rum
You can use either dark or light rum. I use dark rum for a bolder flavor.
Baking canele without beeswax
This is another thing I don’t want to deal with when it comes to baking canele. The beeswax. I want something simpler but still with a good result. Some folks will mix half beeswax and half butter to coat the mold. I can tell you that I have used only butter to coat the molds and my caneles have a beautiful sheen to them too (and extra buttery flavor to boot).
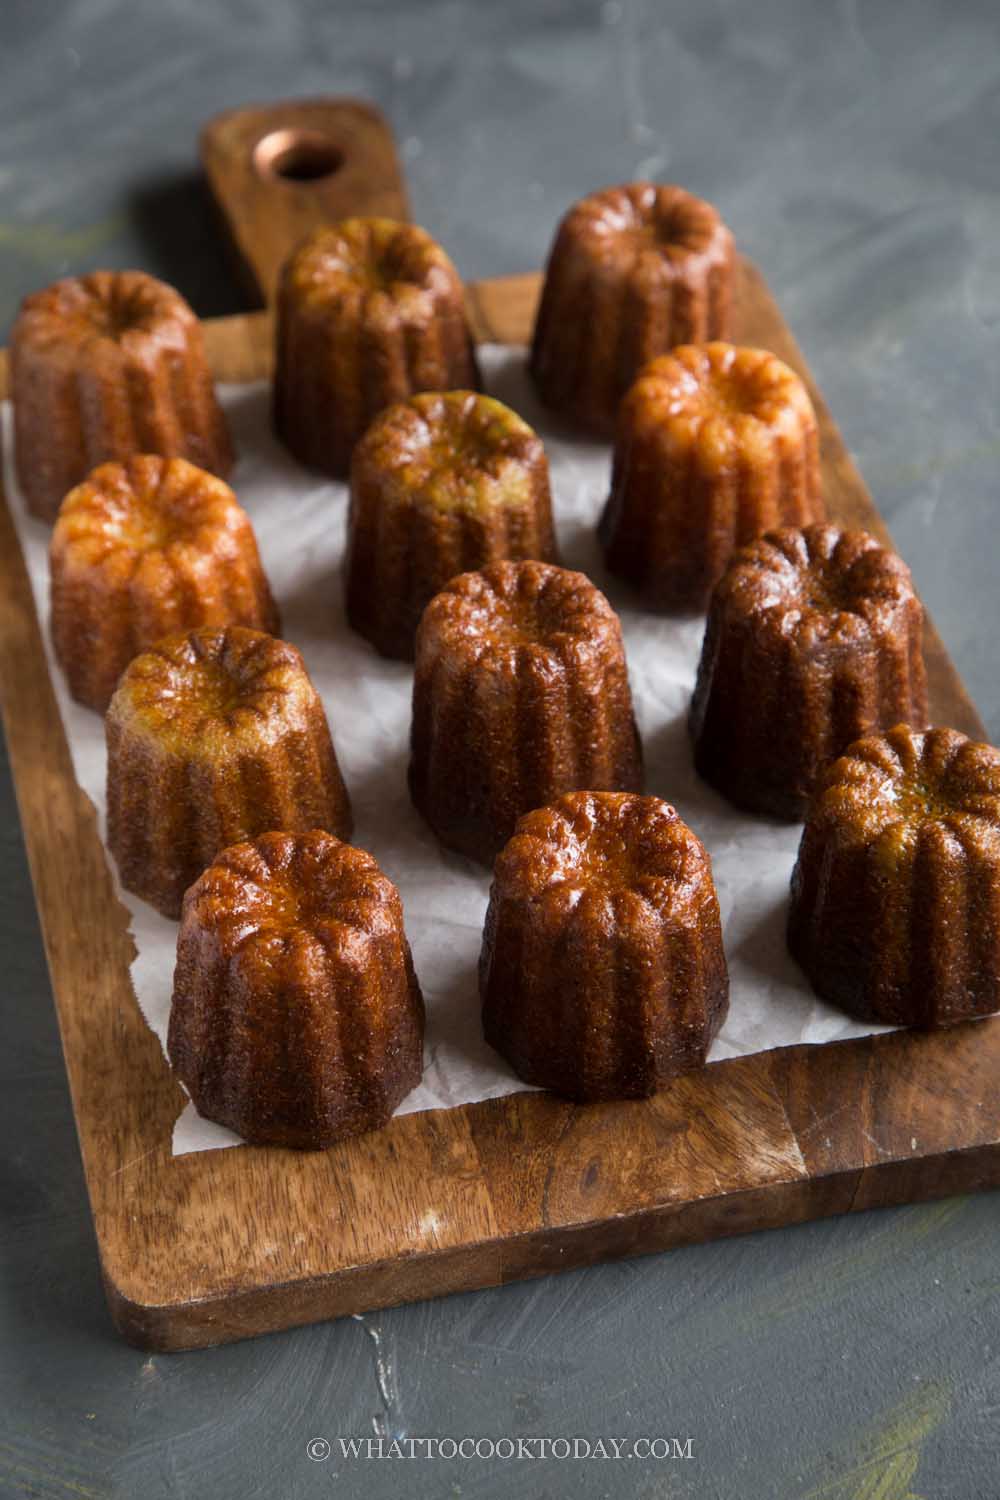
Canele without rum (alcohol)
You can replace the rum in the recipe with another liquid such as milk or another flavor. Since I also made pandan and ube flavor, I replaced the rum extract and vanilla extract with pandan extract and ube extract.
Suggested timeline to make canele
Day 1 morning
– Prepare the batter, cover, and store in the fridge for at least 48 hours and up to 5 days
48 hours later or longer
– Get the batter out to let it sit at room temperature for at least 1 hour, 2 hours if you can
– Prep the muffin tins or the canele mold
– Gently stir to combine, but don’t whisk too much. We don’t want air bubbles
– Bake and remove from the pan immediately to let them cool down and crisp up, allow about 1 hour
– Serve on the same day if possible
Important tips for success
1. Weigh the ingredients
I strongly encourage you to use a kitchen scale for accuracy
2. Let the batter rest for at least 48 hours
Sorry, not cheating on this one. I strongly suggest waiting for 48 hours. This allows the flour to be hydrated and for the fullest flavor possible. Trust me, it’s worth the wait.
3. The batter needs to be at room temperature before baking
This is very important or the canele won’t turn out right. It may cause the inner part of the canele to be hollowed
4. Do not incorporate too much air while mixing
After resting the batter, we need to stir it to combine as some of the flour has settled at the bottom of the container. Gently stir to mix and don’t whisk vigorously. Strain the batter if necessary to get rid of lumps
5. Avoid filling the batter too much
From my experience, this causes the batter to rise too high, creating a mushroom shape that won’t settle back in
6. Preheat the oven
Make sure you oven is well-preheated for at least 10 minutes before you start baking
7. Initial high temperature is necessary
Canele is baked at a very high temperature at the beginning to caramelize the sugar and form that outer crust and then the temperature is lowered to continue cooking the custard on the inside
The canele recipe is adapted from here. I’ve tried several different recipes and like hers the best.
Canelé de Bordeaux (No Beeswax) – Assorted Flavor
Ingredients
- 500 ml whole milk (full-cream milk)
- 30 gr butter unsalted, plus more for brushing the mold
- 200 gr granulated sugar
- 125 gr bread flour
- 45 gr egg yolks about 2 yolks
- 50 gr whole egg (without the shell)
- 3 gr salt
For original rum vanilla flavor:
- 5 gr vanilla extract
- 5 gr rum extract
- 60 ml dark rum can be replaced with milk or other flavor of your choice
For pandan flavor:
- 60 ml coconut milk
- 1 tsp pandan extract
For ube flavor:
- 60 ml coconut milk
- 1 tsp ube extract
To coat the mold or muffin tins:
- 2 Tbsp butter softened
Instructions
Prepare the batter:
- Heat milk and butter until it just come to simmer and turn off the heat immediately. Do not let it boil over. Let it cools down to lukewarm
- In another mixing bowl, whisk the egg yolks, whole egg with sugar and salt until well combined. Add the extract and rum or whatever flavor you are using. whisk again to combine. Sift in the flour and whisk to combine
- Temper the eggs mixture with the lukewarm milk by pouring a bit to the egg mixture while whisking gently at the same time. Then continue to pour the rest and whisk to combine
Strain the batter:
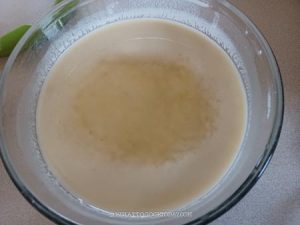
- Strain the batter through a mesh strainer to smooth out any lumps. I strained mine twice. Transfer to a container with a tight-fitting lid and put this batter in the fridge for at least 48 hours or up to 5 days. I won't go any longer than 5 days. 48 hours is the minimum
On the day you want to bake the caneles:
- Bring the batter out and let it sit at the counter for at least 1 hour, 2 hours if you have the time. We want the batter to be at room temperature (room temperature is about 68 F/ 20 C)

- Preheat oven at 450 F (230 C). My oven is conventional with only bottom heat. If you are using a convection oven (top and bottom heat). I would keep the same temperature but you may want to shorten the baking time.
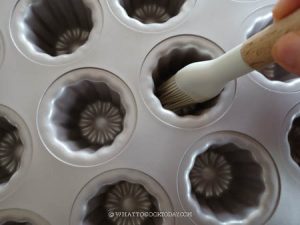
- Brushing the muffin tin or canele pan with softened butter evenly all over

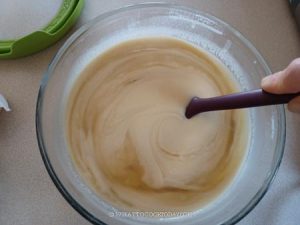
- Gently whisk the batter to mix as most of the flour may have settled at the bottom of the container. Do not whisk vigorously as we do not want to add too many air bubbles into the batter

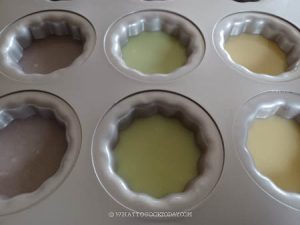
- Pour the batter into the mold, only about 3/4 full. You may think you need to fill up more, but don't be tempted to. If you fill it up too full, the caneles may rise too high and won't settle back in, creating that "mushroom" top, which we don't want

- My muffin tin has about 80 ml capacity (3/4 full) and my canele mold has 65 ml capacity (3/4 full)
- Just to show you that these were filled a bit too much

Baking:
- Place the pan in the middle rack and bake at 450 F (230 C) for 15 minutes with a conventional oven and 10 minutes with a convection oven. Lower the temperature to 375 F (190 C) without opening the oven door. Continue to bake for 55-60 minutes or until the caneles have that deep brown color. The time is just for reference. You may need to experiment to get it right with your oven
- It's normal that the caneles will start to rise at first, which is why you don't want to fill up too much

- It continues to rise more, but it won't mushroom to the side and they will fall right back in when you cool them down later

Cooling down:
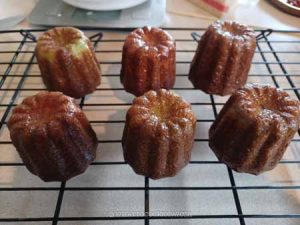
- Once they are done baking, remove from the pan immediately onto a cooling rack. They feel soft and that's normal. Let them cool down for at least 1 hour. The outer crust will crisp up nicely for you

How to store:
- Caneles are best eaten on the same day. You can keep them in a container in the fridge for about a week. The outer crust will soften.
- Caneles also freeze very well. I wrap each one in a cling wrap and then put inside a freezer bag, push all the air out and seal tightly. They can be kept in the freezer for 3 months. Though I tried to keep for one month for best result
How to recrisp caneles:
- If you keep them in the fridge, simply reheat in the oven at 450 F for 5 minutes and then let them sit for 30 minutes or so to crisp back up
- If the caneles are frozen, you don't need to thaw. Reheat at 500 F for 5 minutes or 450 F for about 8-10 minutes and then let then sit for 30 minutes or so to crisp back up
*Nutrition facts are just estimates and calculated using online tools*
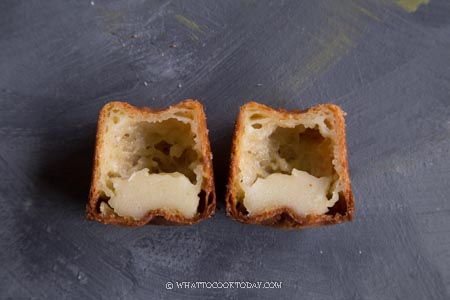
Why caneles have a hollow inside?
There are a few possibilities:
1. The batter is not at room temperature when you bake it
2. You have filled up the mold too much with the batter
3. The caneles may have not cooked long enough
Did you make this canele without beeswax recipe?
I love it when you guys snap a photo and tag to show me what you’ve made 🙂 Simply tag me @WhatToCookToday #WhatToCookToday on Instagram and I’ll be sure to stop by and take a peek for real!




26 comments
I’ve made these twice now and they’ve turned out great! But I also added 2 vanilla beans – scraped the vanilla into the milk mixture, and also left the bean pods in the batter when I placed into the fridge for several days.
Yum!! Great idea with the vanilla beans and the way you did it would make the vanilla flavor even stronger!
I followed your recipe to the T and baked them this morning. I shortened the bake time because I started to smell them burning. Ugh, I so wanted them to be great for Easter. I will have to try again and shorten the time even more. They rose beautifully, but the outside is very dark and tastes burnt.
Hi Betsy, sorry you didn’t get to serve them for Easter! Maybe it worth trying to lower the temperature to maybe 425 F (220 C) and shorten the cooking time a bit ?
hi, i’m excited to try your recipe but i have question, for the original rum flavor you mentioned that the dark rum could be replaced with milk, does that mean if i replace the dark rum with milk the overall recipe will need 560ml of milk? dark rum is very hard to come by from where i live 😊
Hi Nana, you are right, the total amount of milk will be 560 ml if not using the rum. I hope the caneles turn out great for you!
thank you! cannot wait to try the recipe <3
Good luck Nana! Let me know how they turn out for you 🙂
Thanks for these ideas. I just took a class on baking canele and the recipe we got was nearly identical to yours. A class of 10 of us made them in many different molds, from silicone to carbon steel individual and clustered molds to copper molds. The only ones that did not work well were the silicone, even the fancier silicone ones did not create the great crust. I put the oven on 500 for the first 15 min and then lower the heat and haven’t had any puffing out of the mold. BTW, I used cooking spray instead of butter, although I think I’ll try butter only because there are so many weird ingredients in the cooking spray.
I want to try your pandan and ube flavors. Today I made some that were coffee flavored – I replaced the rum with 3/4 t. Of espresso powder. They were really good. I also want to try an orange/almond flavor. Everyone loves them. (I want to try them in a muffin pan too just for fun.)
Hi Anne, Thank you so much for sharing your experience in the baking class. Now I know I can skip the silicone molds for canele! Now, I’m tempted to try the coffee flavored canele too!!! The muffin pan ones won’t have the nice look like the traditional canele, but still has that crisp crust and custardy inside! 🙂