This post may contain affiliate links. Please read our disclosure policy.
This Flourless Chocolate Chiffon Layer Cake is truly special — soft, airy, and light like a chiffon, yet rich and chocolatey like a mousse cake. Every bite is pure chocolate bliss without being too heavy.
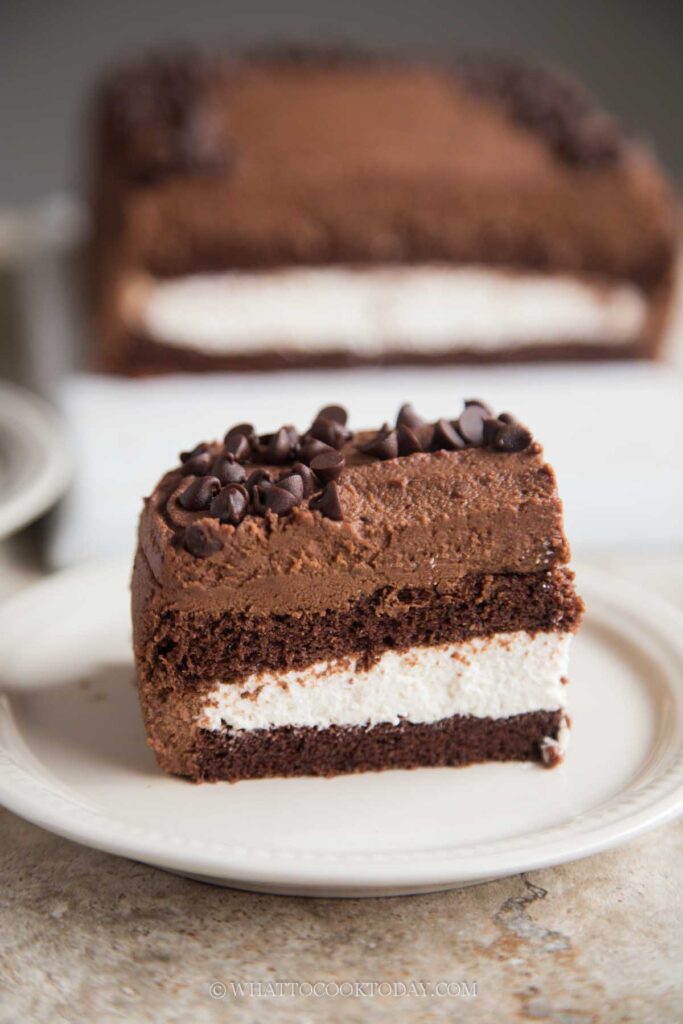
If you’ve ever had a flourless chocolate cake, you probably know how rich, dense, and fudgy it usually is. Don’t get me wrong—I love a good classic flourless chocolate cake too! But this Flourless Chocolate Chiffon Layer Cake is a game-changer. It’s so soft, light, and airy, yet still deeply chocolatey thanks to the Dutch-process cocoa. It’s like a chiffon cake and a mousse cake had a baby—and it’s baked right in a sheet pan!
This is probably one of my all-time favorite flourless chocolate cakes. The chiffon method—where you separate the egg whites and yolks—creates that wonderful lift and fluffiness. Despite its light texture, it’s full of flavor. The cream filling is not overly sweet, and that chocolate mousse frosting? Oh my goodness. It’s silky, rich, and melt-in-your-mouth good.
You honestly have to see the look in my kids’ and husband’s eyes when they take their first bites—it says it all! This cake is heavenly, and the best part? You don’t need a chiffon tube pan to make it. Everything bakes in one quarter sheet pan.
Why You’ll Like This Recipe
- Soft and airy texture – It’s flourless, but feels just like chiffon—light, fluffy, and moist.
- Deep chocolate flavor – Dutch cocoa brings a rich, intense chocolate taste.
- Simple to make – No fancy pan needed; everything bakes in a single sheet pan.
- Balanced sweetness – The cream and frosting are not cloyingly sweet, just perfect.
- Elegant yet easy – Looks fancy enough for special occasions, but totally doable for everyday baking.
Ingredients and Substitutions
For the cake:
- Egg yolks – large eggs work best
- Sugar – regular granulated sugar
- Dutch-process cocoa powder – gives deeper flavor and color
- Milk – 2% or any non-dairy milk works fine
For the cream filling:
- Gelatin powder – helps stabilize the whipped cream
- Heavy cream – keep it cold for the best whipping volume. Do not use half and half
- Powdered sugar – lightly sweetens the cream
- Vanilla extract – for aroma and flavor
For the easy chocolate mousse frosting:
- Instant coffee – enhances the chocolate flavor (you won’t taste the coffee!)
- Semi-sweet chocolate chips – use good quality
- Unsalted butter – adds smooth richness
- Heavy cream – the base for the mousse texture. Do not use half and half
- Powdered sugar and vanilla extract – just enough for balance
For decoration (optional):
- Mini semi-sweet chocolate chips or chocolate curls
Tips for Success
- Use room temperature eggs. They whip up more easily and create better volume.
- Beat the meringue on medium speed. It takes longer but gives you a smoother, more stable structure.
- Don’t overmix the batter. Fold gently to keep the cake airy.
- Cool upside down first. This prevents the cake from shrinking too much.
- Don’t overwhip the frosting. Stop as soon as it thickens; otherwise, it can turn grainy.
- Chill before serving. The mousse frosting sets beautifully and the flavors deepen overnight.
How To Store the Cake
- Refrigerator: Keep covered for up to 3 days.
- Freezer: Freeze whole or sliced for up to 1 month. I place them in the freezer unwrap for about an hour to partially freeze and then wrap the whole cake or slices in cling wrap. You can wrap the whole cake in another layer of foil for extra protection. I put the slices in a freezer bag, push all the air out and seal the bag. Remove the wrapping and place inside an air-tight container to thaw in the fridge overnight before serving. You can thaw them at room temperature until they soften before serving too.
Frequently Asked Questions
- Can I bake this in a different pan?
Yes. You can double the recipe and bake it in a half sheet pan if you want a larger cake. - Can I bake the cake ahead and assemble next time?
Yes, once the cake has cool down completley, you can cut in half and then wrap each one with a cling wrap tightly and put in a freezer bag. They freeze well for up to one month. Simply thaw at room temperature or overnight in the fridge before assembling - Do I need Dutch-process cocoa?
It’s highly recommended for its deep, smooth chocolate flavor. Natural cocoa will work, but the flavor and color will be lighter. - Can I skip the gelatin in the cream filling?
You can, but the cream will be softer and might not hold its shape as well for layering. - Can I freeze this cake?
Yes! Once frosted, wrap tightly and freeze for up to 1 month. Thaw overnight in the fridge before serving.
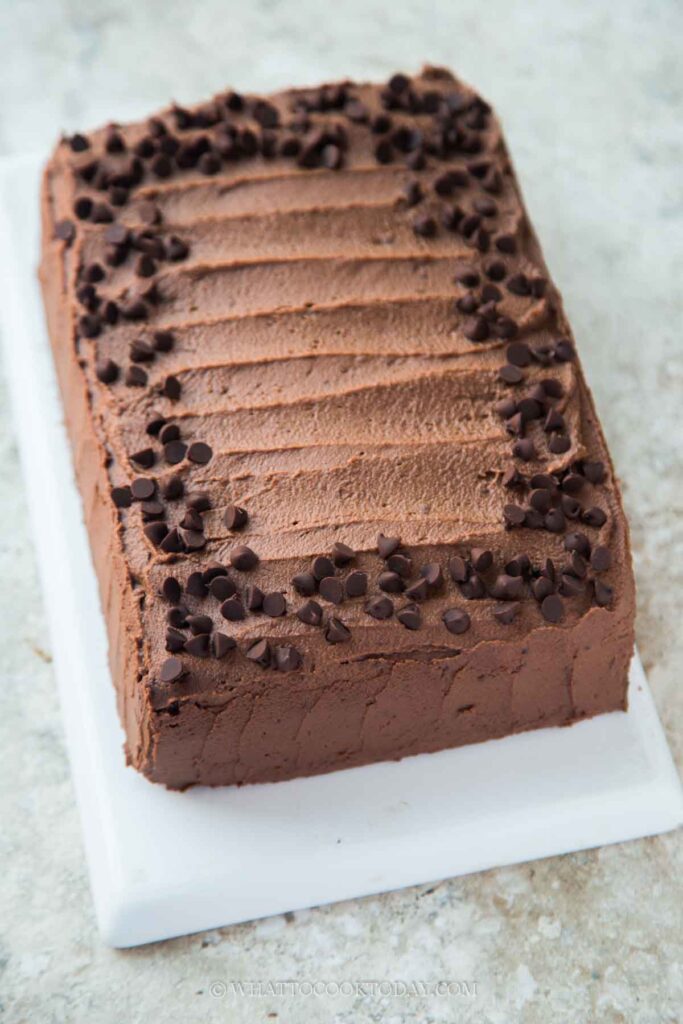
It’s one of those cakes that looks impressive but comes together easily in one pan. Perfect for birthdays, holidays, or just when you want to spoil your family with something decadent but not over-the-top.
Once you make it, you’ll understand why this is one of my most favorite flourless chocolate cakes ever!
Flourless Chocolate Chiffon Layer Cake
Ingredients
For the cake:
- 72 g egg yolks from 4 egg yolks (large-size eggs)
- 20 g sugar
- 20 g Dutch cocoa powder
- 15 g milk I used 2% milk, non-dairy works too
For the cream filling:
- 1 tsp gelatin powder
- 2 Tbsp water
- 400 g heavy cream
- 3 Tbsp powdered sugar
- 1 tsp vanilla
For easy chocolate mousse frosting:
- 1 ½ tsp instant coffee
- ¾ Tbsp water
- 128 g semi-sweet chocolate chips
- 2 ¼ Tbsp unsaltedbutter
- 180 g heavy cream
- 1 Tbsp powdered sugar
- ½ tsp vanilla extract
For decorating: (optional)
- Mini semi-sweet chocolate chips
Instructions
- We will bake this cake in a quarter sheet pan to make a rectangle shape layer cake
- Brush some oil on your quarter sheet pan. Line with parchment paper on all sides. The oil helps the parchment to stick better to the pan
- Preheat the oven to 350 F (180 C) for a conventional oven. Please lower the temperature by 20 F (15 C) if using a convection oven. Position the oven rack 3rd rack from the bottom
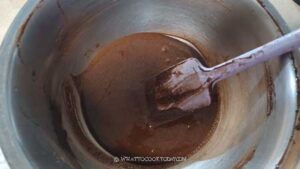
Prepare cake batter:
- Combine egg yolks, sugar, cocoa powder, and milk. Whisk until smooth.

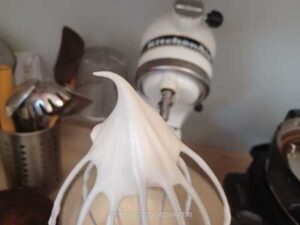
Prepare the meringue:
- In a clean, grease-free bowl, beat the egg whites with salt until foamy, Then add lemon juice/vinegar until the foamy has fine bubbles. Gradually add the sugar in 3 additions
- I beat them at medium speed (speed 4 on Kitchen Aid). This will take a bit longer than beating at high speed. I used to do higher speed (speed 6 or even 8), but the meringue is smoother and nicer when I maintain the speed on 4 and much more stable too.
- I highly recommend stopping several times to check on the consistency and scraping the sides of the bowl to make sure no sugar left on the side of the bowl. Whip until you reach a stiff peak but still have a slight bent on the tip. Then lower the speed to 2 and whip for 1 minute to even out large bubbles and stop beating
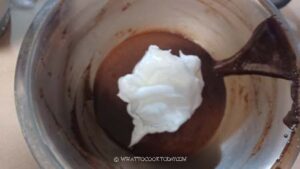
Combine:
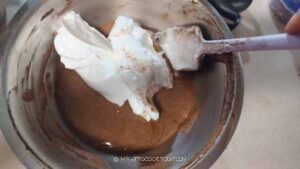
- Gently fold in 1/3 of the meringue into the thick batter.
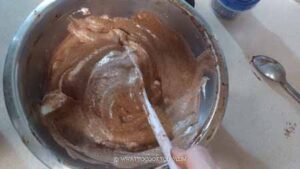
- Using a rubber spatula, swipe from the side and gently fold over to mix and then continue. Repeat this motion several rounds. Since the batter is a bit thicker, it's okay to take a bit more time to make sure the meringue and the batter really combined. You shouldn't see any streaks of egg white meringue. You can be a bit more "rough" for this first round.
- Continue on with the second 1/3 of the meringue again to mix. You want to be gentler now but make sure the two are well-combined.
- Continue with the last 1/3 and the batter should be well-combined and you shouldn't see any streaks of white meringue and the batter has really good volume and airy
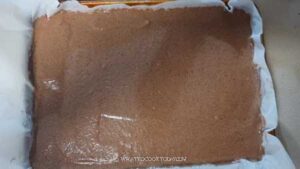
- Pour the batter into the prepared pan. Use a rubber spatula or an offset spatula to smooth the top evenly. Make sure it's the same height all around
- Tap the pan on the counter a few times to release big air bubbles.

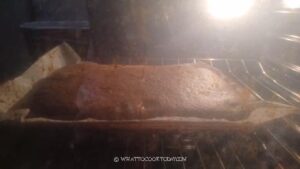
Bake the cake:
- Place it in a positioned rack and bake for 30 minutes. The cake should spring back lightly when you press on it gently and the top is dry to touch. Nothing should stick to your finger
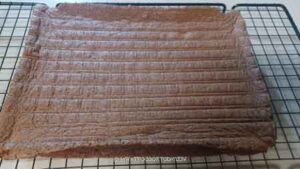
Cool down:
- Drop the pan on the counter. Put a cooling rack on top and then flip over and cool it this way for 5 minutes (in this upside-down position)
- Then gently peel off the parchment paper, starting from the edges
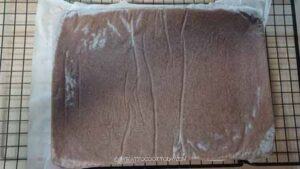
- Then place another cooling rack and flip it back. Let it cool completely on the rack
- The sides of the cake will buckle as it cools down. The cake may look "ugly" now and you may think that you messed up, but it's normal. The filling and the frosting will cover all this


Prepare the cream filling (can be done the day before)
- Place the gelatin and water in a small heat-proof bowl to let it bloom for 5 minutes. Then you can microwave it in a 5-10 second burst and stir it each time until the gelatin turns clear. Don't overheat it or it loses its setting power. Set aside
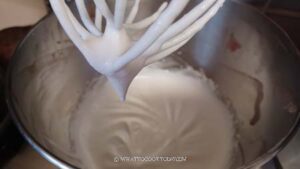
- Set aside 2 Tbsp of the 400 g heavy cream to mix with the gelatin later. Put the rest of the heavy cream, powdered sugar, and vanilla in a mixing bowl or a bowl of a standmixer fitted with a whip attachment. Whip on medium speed until the cream is soft peak.
- Combine the melted gelatin with 2 Tbsp of heavy cream and mix. Pour this into the heavy cream mixture and continue whipping until it is just firm but be careful not to overwhip or it will turn grainy and curdle.
- If you prepare ahead, cover with a cling wrap and store in the fridge until the next day
Assembling:
- Once the cake has cooled down completely, trim the 4 edges to make it need. Cut the cake into half.
- I cut four strips of parchment paper, about 10 x 3 inches and place them around the outer edges of the cake plate you are going to decorate the cake on. This is to keep your plate clean when you fill and frost the cake later. When you are done, you can simply pull the parchment strips off and your cake plate should be pretty clean
- Place one layer of the cake upside down on the plate and the parchment paper touches all the edges of the cake.
- If you prepare the cream ahead (like the day before) and it gets too firm, you can leave it at room temperature for 15-20 minutes and then use a rubber spatula to fold the cream a few times to smooth things out and to soften it lightly
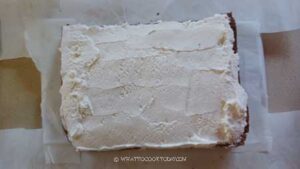
- Spread the cream filling on the cake evenly using an offset spatula.
- Top with another layer of the cake, right side up. Put this in the fridge to let it set while you prepare the mousse frosting


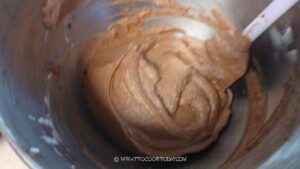
Prepare the mousse frosting: (prepare this only when you are ready to frost the cake)
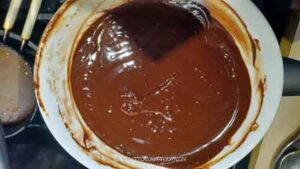
- Combine the instant coffee with warm water to let it dissolve. Place the chocolate in a heat-proof bowl and set on top of a double boiler over medium low heat. Add the coffee and butter and stir with a rubber spatula until the chocolate starts to melt. When there are still a few chocolate remains, remove from the heat and keep stirring until all the chocolate has melted
- Let the chocolate stand at room temperature to cool down for about 15 minutes
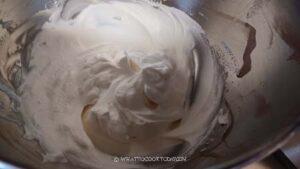
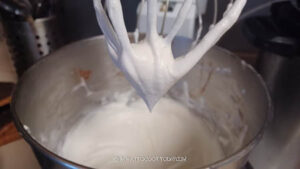
- Using the same bowl you use to make the cream filling, add heavy cream, powdered sugar, and vanilla extract. Whip the cream until it just nicely thickens and barely hold any shape. It is very important NOT TO whip the cream until it is firm and hold its shape. It will make your frosting grainy later
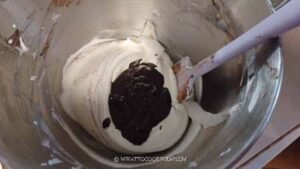
- Add 1/2 of the melted chocolate into the cream and use a rubber spatula to gently fold it into the cream until they are halfway combined
- Then add the rest and mix until everything is just combined and form a medium soft peak. It may seem soft now but the frosting will set in the fridge later because the chocolate will help it set firm
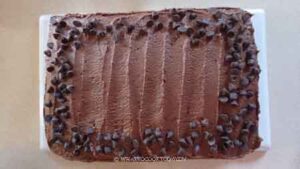
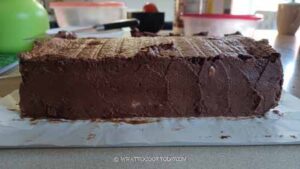
Frost the cake:
- Remove the cake from the refrigerator. Starting from the top, spread the frosting evenly on top and then start to frost the four sides using an offset spatula to smooth them. I use up all the frosting. The top layer should be pretty thick. You may think that it's a lot of frosting, but trust me, it's not!
- Just know that the more you work the frosting, the firmer it gets, and if you work it too much, it may turn grainy. Which is why I recommend not to overwhip the heavy cream in the first place so when you are frosting the cake, it looks smoother
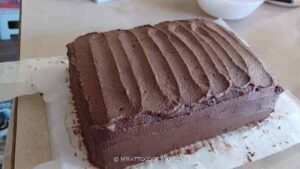
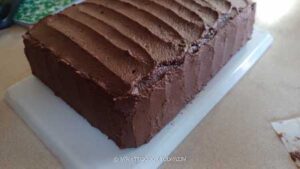
- I use my offset spatula to create some patterns on top of the cake. If you want to decroate with mini chocolate chips, do it here. I forgot and did it later after the frosting has set, but oh well, it still turned out ok.
- Leave the strips of parchment paper on the plate for now. We will remove this when the frosting has set firm in the fridge. If you pull them now, the frosting will smudge the plate, which defeats the purpose
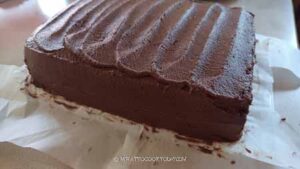
Chill the cake:
- Chill the cake in the fridge for at least 6 hours or overnight to let the frosting set. Then gently remove the strips of parchment paper and wipe off any smudges
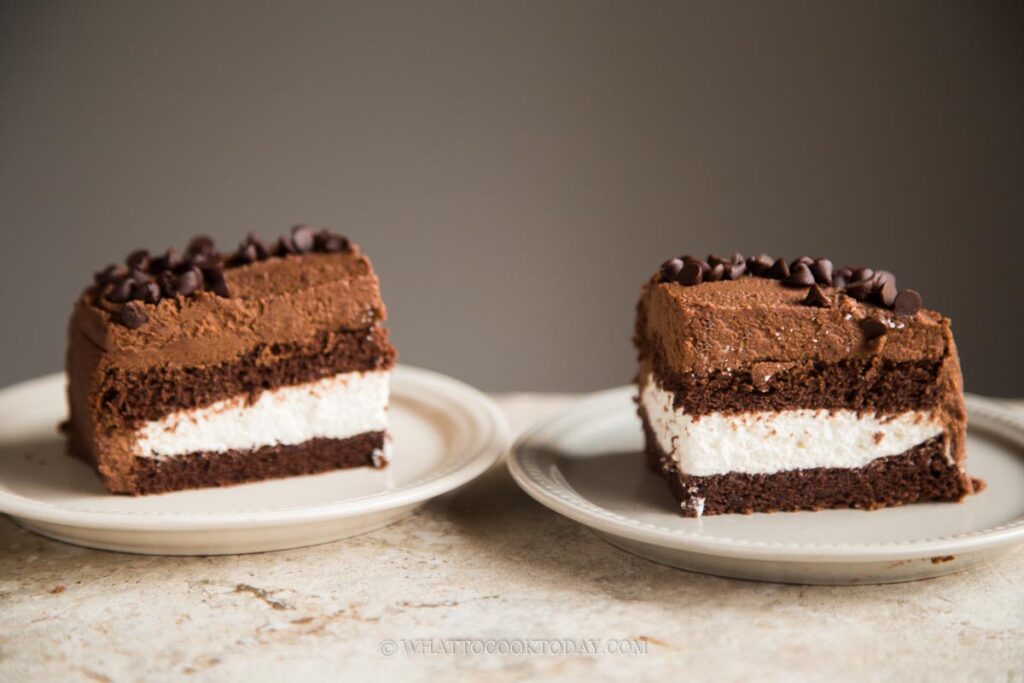
To serve:
- This cake is very light and airy. I suggest to cut from the short side of the cake first. Use a pointy part of the serrated knife to go into the cake first and then use a sawing motion to cut the cake. Wipe the knife clean after each cut