This post may contain affiliate links. Please read our disclosure policy.
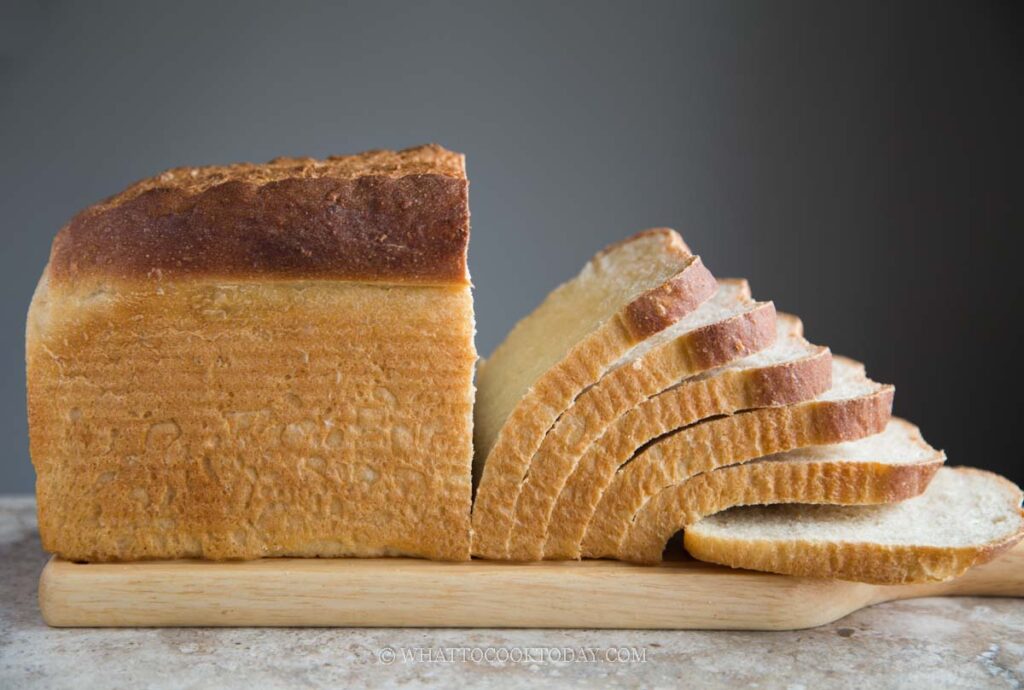
This easy yogurt sandwich bread bakes up tall, soft, and rustic with just a few simple ingredients. Perfect for sandwiches and toast, and it freezes beautifully too!
Tall, Rustic, and Perfect for Toast or Sandwiches
This yogurt sandwich bread has quickly become one of my go-to bakes. It’s ridiculously simple to make, uses just a handful of pantry staples, and yet it turns out so soft, so tall, and honestly, just so good. The kind of bread that feels like it took way more effort than it actually did (but we’re not telling anyone, right?).
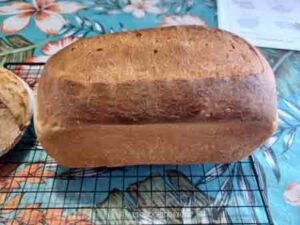
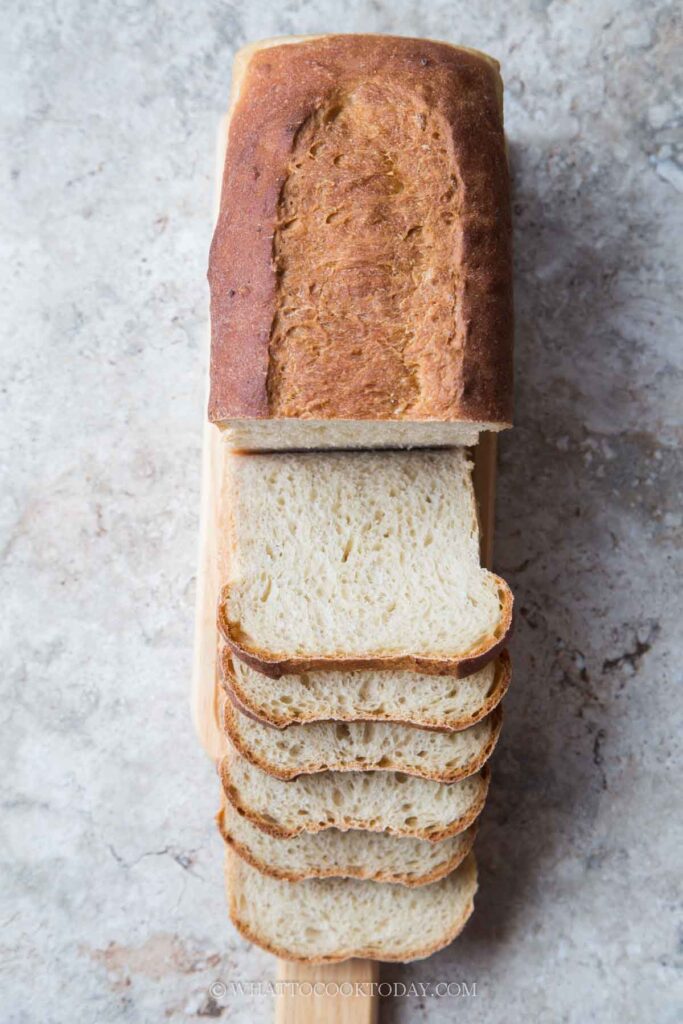
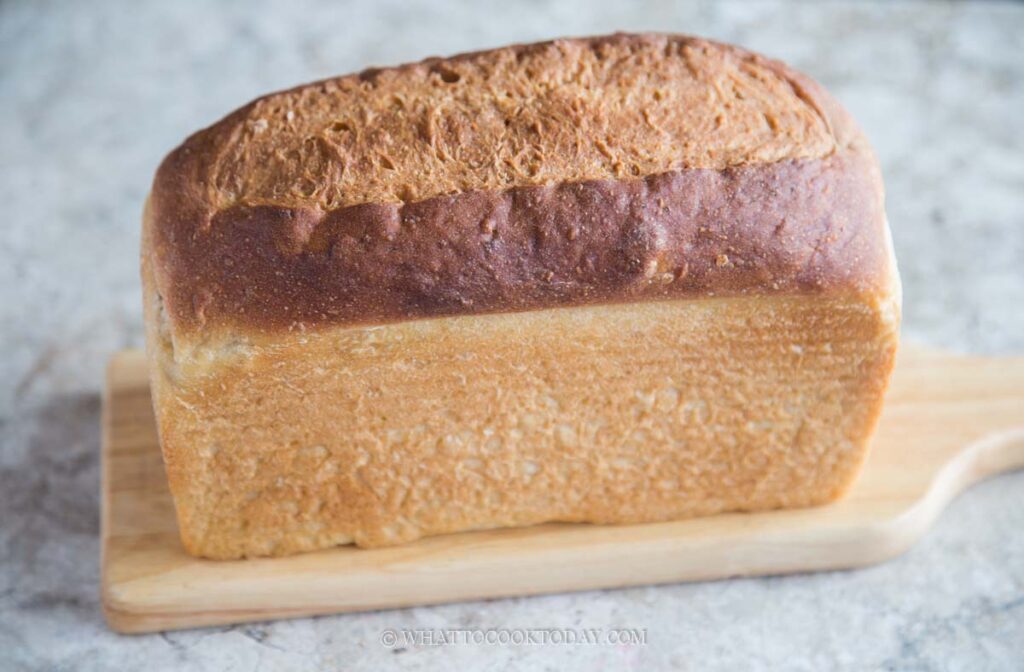
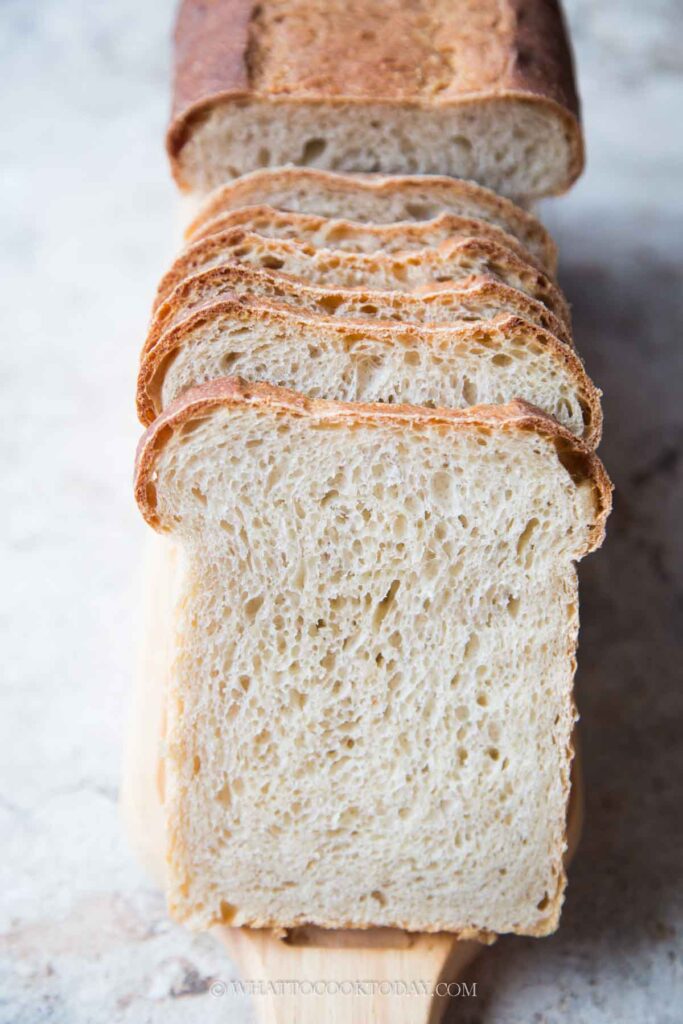
The loaf bakes up nice and tall with that charming, rustic old-school look—no lid or fancy shaping tricks needed. It’s got a soft, spongy crumb that’s perfect for sandwiches and even better for toast. And that bit of yogurt (or full-fat sour cream) in the dough? Game changer. It gives the bread just the right amount of richness and softness without being heavy.
You can use a standard 9×5 loaf pan or a 2-pound Pullman pan (I use the small USA Pan Pullman). Either way, you’ll end up with a hearty, golden loaf that makes your kitchen smell amazing and breakfast/lunch/snack times way more exciting.
Why You’ll Love This Bread
1. Only 7 simple ingredients (and no, none of them are weird)
2. Super soft and tender, but holds up great to sandwich fillings
3. Makes the best toast—crispy edges, fluffy inside
4. Freezes like a dream, so you can slice and stash it away for later
5. That homemade bread satisfaction without the drama
Ingredients & Substitutions
Here’s a quick breakdown of the ingredients you’ll need and a few simple swaps you can make if needed:
1. Bread flour
Bread flour gives the loaf that nice chewy structure and soft, spongey crumb. You can use all-purpose flour in a pinch, but the texture will be slightly less chewy and a bit softer overall. Still delicious though!
2. Whole-milk Green yogurt
This adds richness, moisture, and a subtle tang. If you don’t have Greek yogurt, full-fat sour cream works beautifully. I’ve used both and couldn’t pick a favorite.
3. Unsalted butter
Butter adds flavor and softness to the crumb. You can sub with neutral oil like avocado or light olive oil if you need to, but the flavor will be slightly different.
4. Sugar
A small amount just to help feed the yeast and balance the flavor. You can skip it if you want a completely sugar-free loaf, but I think it helps round things out.
5. Fine sea salt
Salt is important not just for flavor, but for strengthening the dough structure. If you’re using table salt, use a little less since it’s finer.
6. Instant dry yeast
Also known as “quick-rise” or “bread machine yeast.” If you only have active dry yeast, you’ll need to activate it in the warm water first with the sugar and let it sit until foamy before mixing it with the rest of the ingredients.
How to Store
This bread keeps well at room temperature in an airtight container for up to 3 days. But honestly? I usually slice it all up and freeze it.
Here’s my little system: I wrap 4 slices together in cling wrap, then wrap in foil, and toss them in a freezer bag. That way I can pull out just what I need for toast or sandwiches. You can thaw them at room temp or even toast them straight from frozen. Super handy for busy mornings.
If you’ve been wanting to bake bread at home but don’t want anything fussy, this is the loaf to start with. It’s comforting, satisfying, and so rewarding when you pull that tall golden loaf out of the oven. Try it once, and I have a feeling it’ll become your new go-to too.
If you bake it, don’t forget to tag me—I’d love to see your tall sandwich loaves!
Easy and Soft Yogurt Sandwich Bread
Ingredients
- 500 g bread flour
- 2 ½ tsp instant dry yeast
- 2 tsp sugar
- 12 g fine sea salt
- 125 g whole-milk Greek yogurt or full-fat sour cream
- 250 g water
- 2 Tbsp unsalted butter
Instructions
Mix it all up
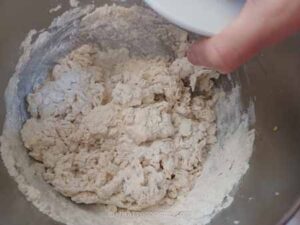
- Toss everything into your stand mixer bowl—yep, just dump it all in: flour, yeast, sugar, salt, yogurt, water, and butter. I like to use the dough hook to give everything a quick manual stir first (so the flour doesn’t go poof everywhere when the mixer starts).

Knead that dough
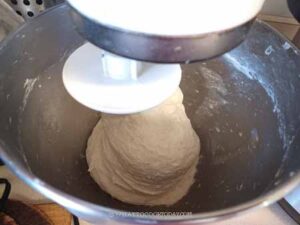
- Start on the lowest speed and let it knead for about 3 minutes, just to get everything mixed. Then bump the speed up a notch and knead another 3 minutes. Finally, go up to medium speed (speed 4 on a KitchenAid) and knead for 5–8 minutes, or until the dough is soft, smooth, and stretchy.
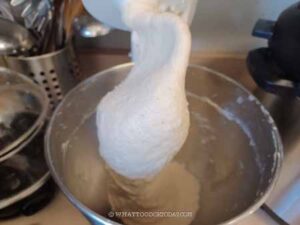
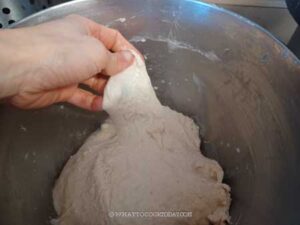
- It’s gonna be a little sticky—that’s what we want! It should clear the sides of the bowl but still stick a bit to the bottom. You might need to scrape the sides halfway through the kneading. Totally normal. The dough is elastic
- When you thinly stretch a small amount of the dough, it doesn't break easily. The gluten is well-formed and the dough is done kneading
First rise (aka nap time)
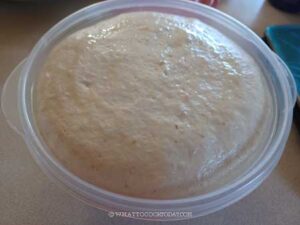
- Rub a little oil on your hands and shape the dough into a rough ball. Pop it into a lightly oiled bowl, cover it up, and let it proof somewhere warm until it doubles in size—usually around an hour.
Shape the loaf
- You can use a standard 9×5 loaf pan or a 2-pound Pullman pan (I use the small USA Pan Pullman). I lightly oil all sides of the pan
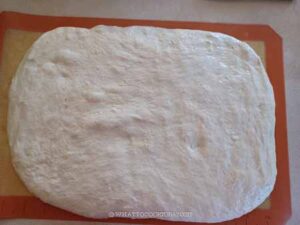
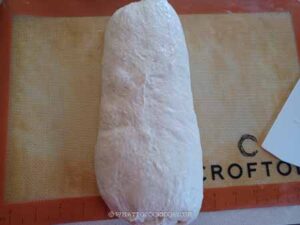
- Once it’s puffed up, deflate it (gently punch it down—very satisfying), and turn it out onto a lightly oiled surface. Pat it into a rectangle that's about 2 inches shorter than the long side of your pan.
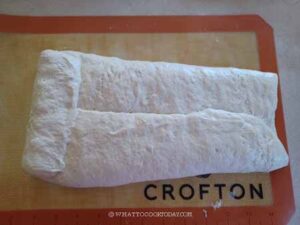
- I like to fold the two long side over to meet at the center and then roll it down tightly from the top to build tension.
- The dough may get "longer" as you roll, it's normal
- If your roll ends up longer than your pan, no worries—just smush it in a bit and press the top down to level it out. It’ll rise nice and even in the oven.
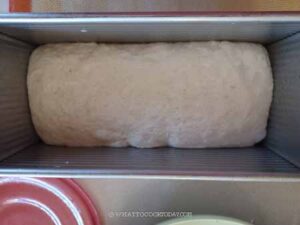
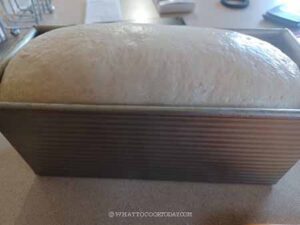
Second rise
- Cover the pan with oiled plastic wrap and let it proof again until it’s peeking out about 1 inch above the rim. This second rise usually takes about 45 minutes to 1 hour, depending on how warm your kitchen is.
Preheat and slash
- About 15 minutes before it’s done rising, preheat your oven to 375 F (conventional). If you’re using convection, drop it down to 350 F. I like to give the top a quick slash with a bread lame—it’s totally optional but adds that rustic touch.

Bake!
- Bake the bread for 45-50 minutes or until it’s a deep golden brown and sounds hollow when you tap it. If you’re a thermometer person, the inside should hit at least 190°F.
Cool completely
- As soon as it’s done, take it out of the pan and place it on a wire rack to cool completely. (Yes, I know it smells amazing, but give it time to cool completely or the inside might get gummy.)