This post may contain affiliate links. Please read our disclosure policy.
Make this amazingly flavorful rice dish made with roasted pork belly pieces and mustard greens. A satisfying rice dish that is perfect for any day of the week. The recipe can be made on the stove, with an Instant Pot or a Rice Cooker.
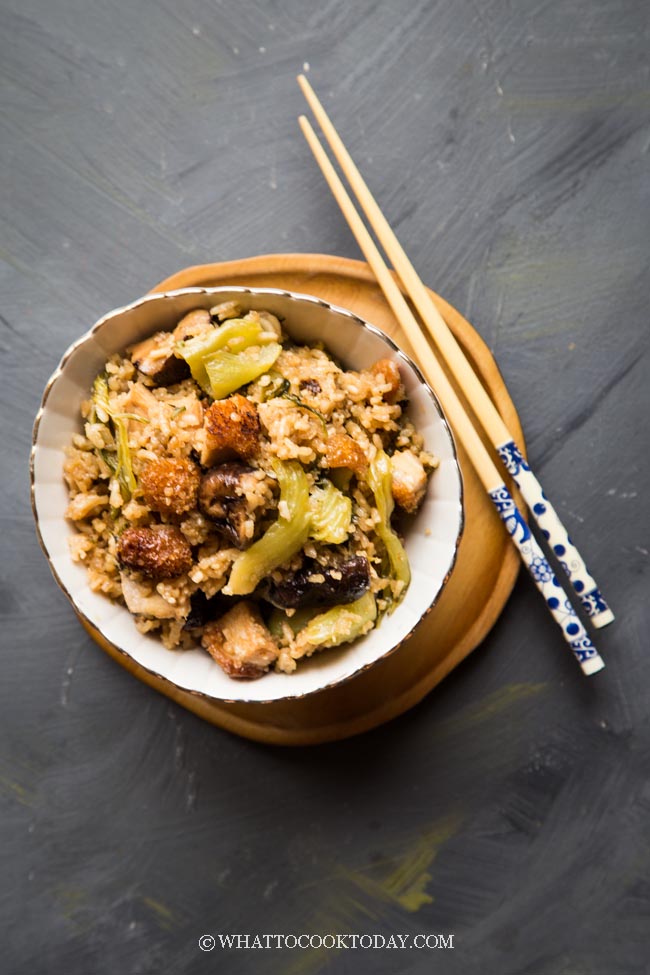
Asian mustard greens pork belly rice or known as kua chai pui, is quite a popular one-pot rice dish at my hometown, Medan in Indonesia. My mom made kua chai pui quite often. The rice dish is also very flavorful thanks to the umami flavors lend by the shiitaki mushrooms and dried shrimps (ebi). This is a complete meal if you ask me and perfect for meal planning too. What I love about this dish is the Asian Mustard Green itself. It’s the giant stalk of the mustard Green that I like. I remember how I used to always pick all the stalks when my mom made it and when it’s time for a meal my mom often said “someone must have picked through this and left us with just rice and meat”.
ASIAN MUSTARD GREENS (KUA CHAI / GAI CHOY / SAWI PAHIT)
In my hometown, Medan, we call this mustard greens as kua chai in Hokkian language or sawi pahit in Bahasa. The Asian mustard greens look slightly different than the one I’ve seen here in the U.S. These have bigger wider stalks. Mustard greens are hardy vegetables. They can withstand long cooking without breaking apart. So you will see them being used a lot in stews, soups, and also in a rice dish like this kua chai pui. They are also pickled in salt brine to make kiam chai (literally mean salty vegetables).
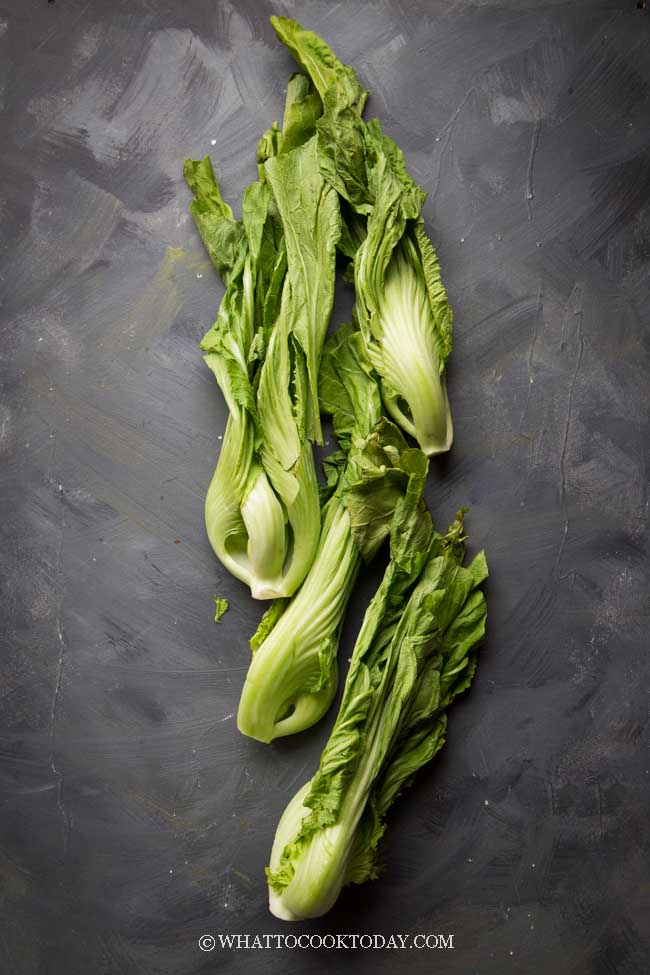
Asian Mustard Greens (Kua Chai / Gai Choy)
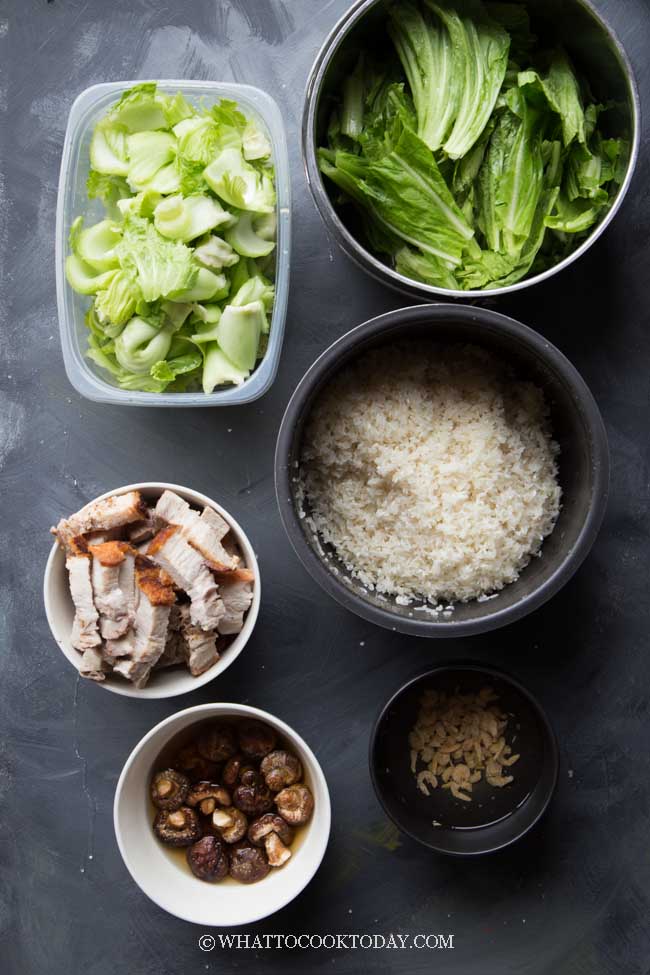
MAIN INGREDIENTS
1. JASMINE RICE
You can also use any white long-grain rice to make this dish
2. ASIAN MUSTARD GREENS
If you can’t find or there’s none where you are, you can use regular mustard greens
3. DRIED SHIITAKE MUSHROOMS
You can also use a fresh one and skip the soaking part
4. DRIED SHRIMP (EBI)
This is usually available at Asian grocery store. DO NOT replace with regular shrimp. They don’t give the same flavor. You can skip if you absolutely can’t find any.
5. CRISPY ROAST PORK BELLY
You can make your own following my easy roast pork belly with cracklings or buy some from Asian grocery store
HOW TO MAKE KUA CHAI PUI / KAI CHOY FARN FROM SCRATCH
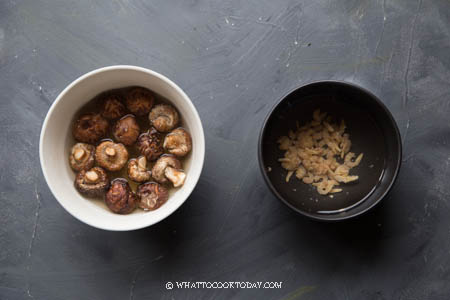
1. SOAK THE DRIED SHRIMP AND MUSHROOMS
Soak them in warm water until they have softened and plump
2. RINSE THE RICE
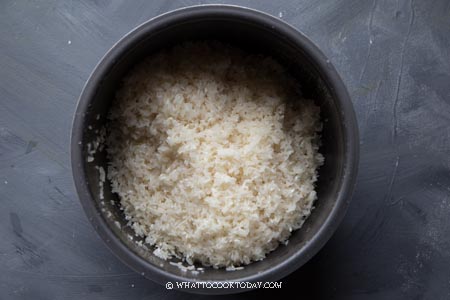
Rinse the rice in several changes of water until the water runs clear. Drain off all water
3. PREPARE THE MUSTARD GREENS
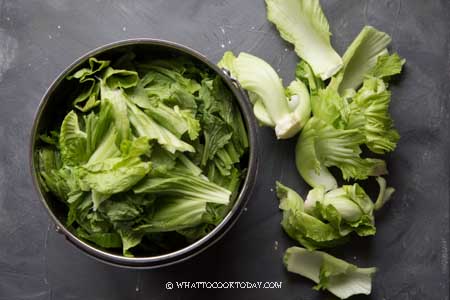
Wash them clean and then separate the big stalks from the leaves. I prefer doing this because the stalks take a bit longer to cook compare to the leaves
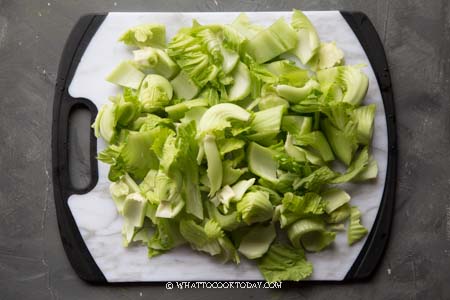
Roughly chop the stalks into smaller pieces
3. PRECOOK THE MUSTARD GREENS
Preheat your wok/ pot with 1 Tbsp cooking oil. Add the mustard green stalks and stir fry until they are soft, about 5 minutes or so
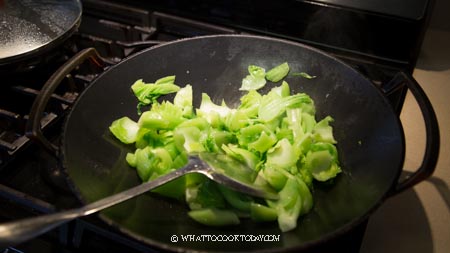
Add the leaves and cover with a lid to let them cook until they are wilted, but not mushy and they will shrink in size too. Remove and set aside
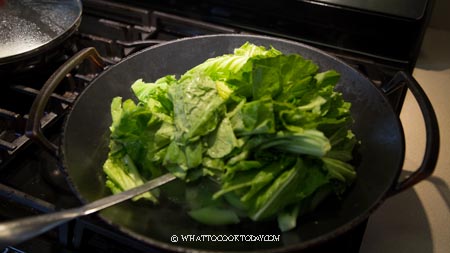
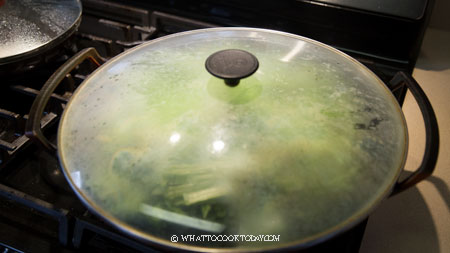
Discard all the extra liquid
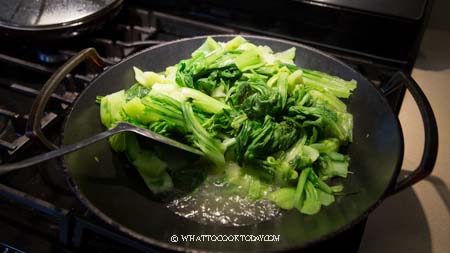
look at all the extra liquid from the greens
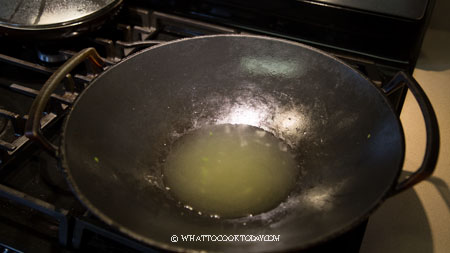
discard all the liquid
4. PRECOOK THE RICE
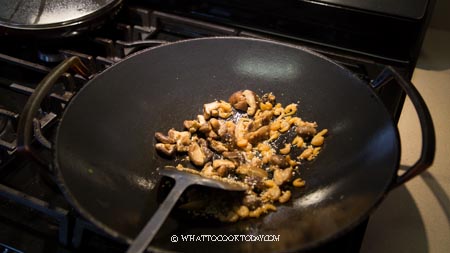
Wipe the wok/pot clean, and then add 2 Tbsp of cooking oil. Saute garlic until fragrant. About 10 seconds. Add dried shrimps and mushrooms and saute for another 1 minute until really fragrant
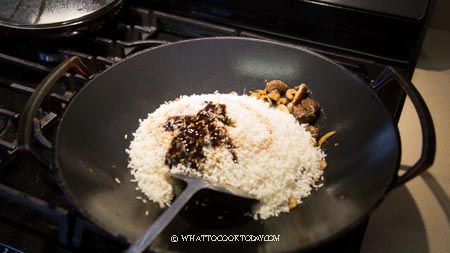
Add the rice followed by seasonings. Stir until the rice picks up the seasonings
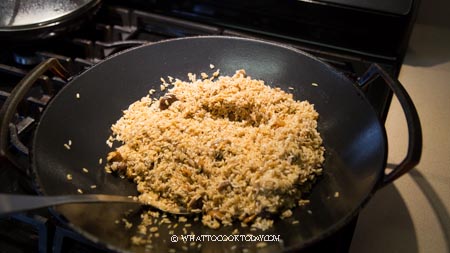
Add the pre-cooked mustard greens
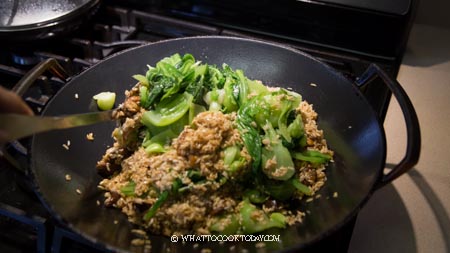
Stir to mix everything
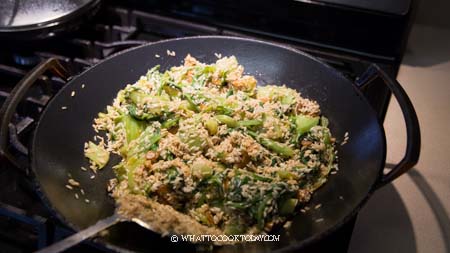
Add roast pork belly and give it a stir again to mix everything

5. TRANSFER TO RICE COOKER OR INSTANT POT
If you use instant pot, pour the chicken stock into the inner pot first. I figured this out after several rounds of cooking any kind of rice with Instant Pot. It helps to prevent triggering the “BURN” alert.
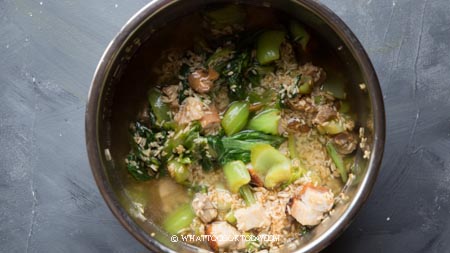
If you use rice cooker, transfer the rice mixture into the inner pot of rice cooker. Pour in the chicken stock and stir to mix everything in the pot and the rice is submerged in the liquid. Use a white-rice setting if your rice cooker have one or just use a normal cycle you normally would cook a white rice, which is about 20 minutes. Let it sit for 10 minutes before opening the lid to fluff the rice
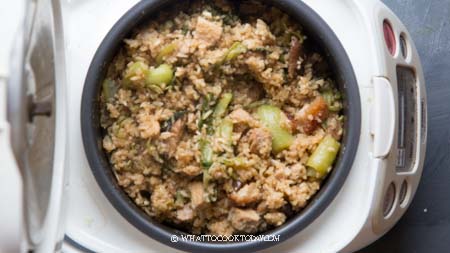
Now are you ready to dig in?
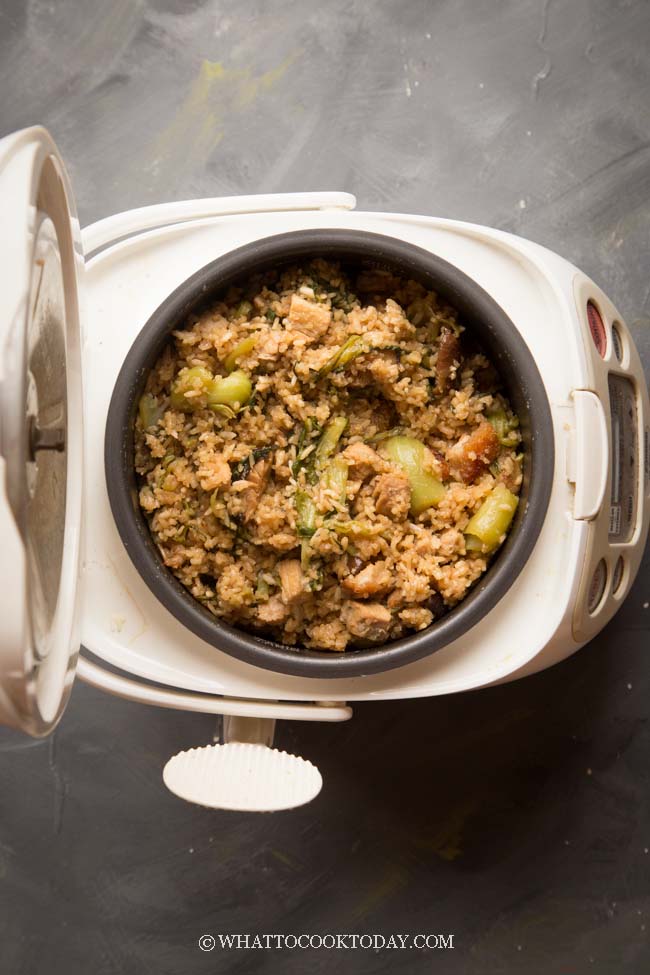
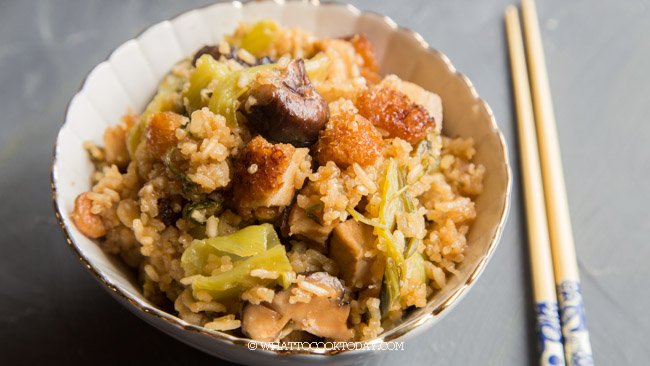
I just love how the rice clings to the meat and mustard greens!
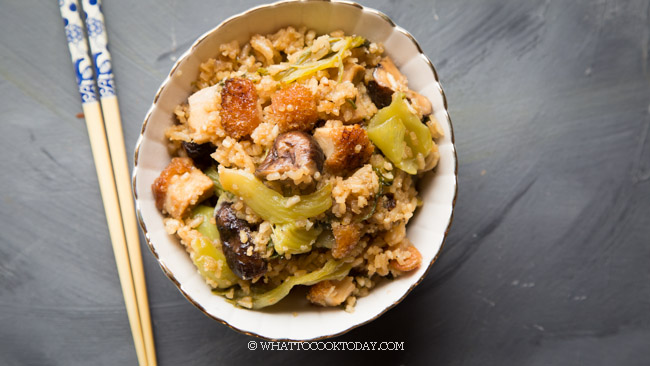
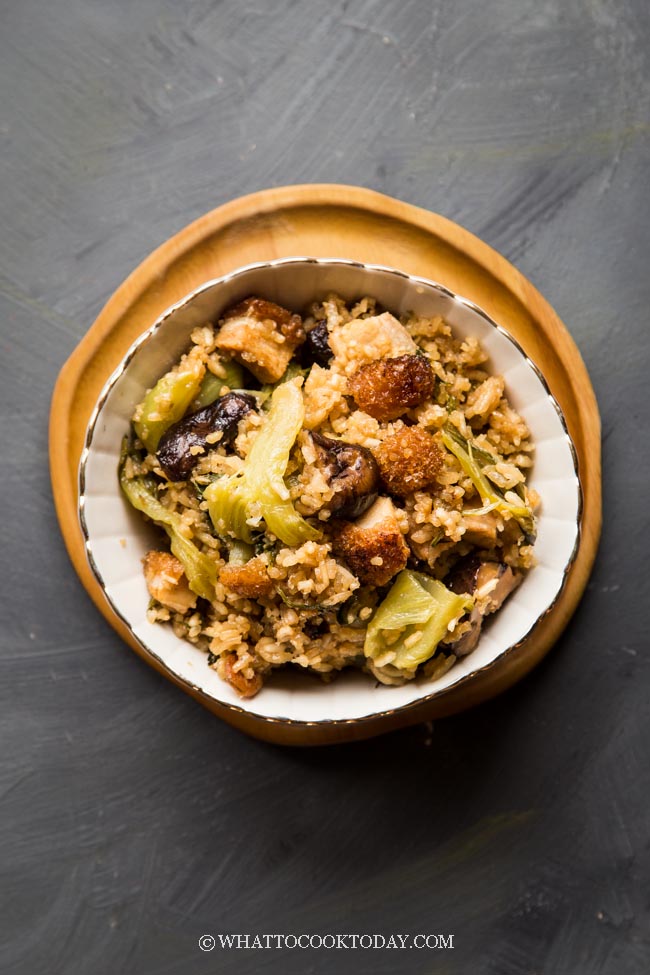
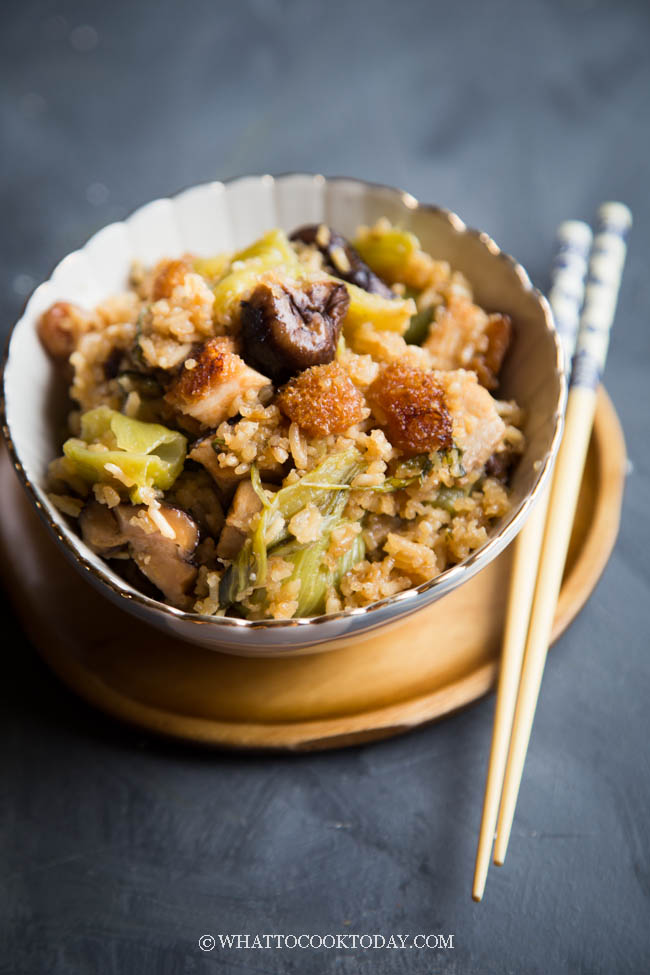
DID YOU MAKE THIS KAI CHOY FARN RECIPE?
I love it when you guys snap a photo and tag to show me what you’ve made 🙂 Simply tag me @WhatToCookToday #WhatToCookToday on Instagram and I’ll be sure to stop by and take a peek for real!
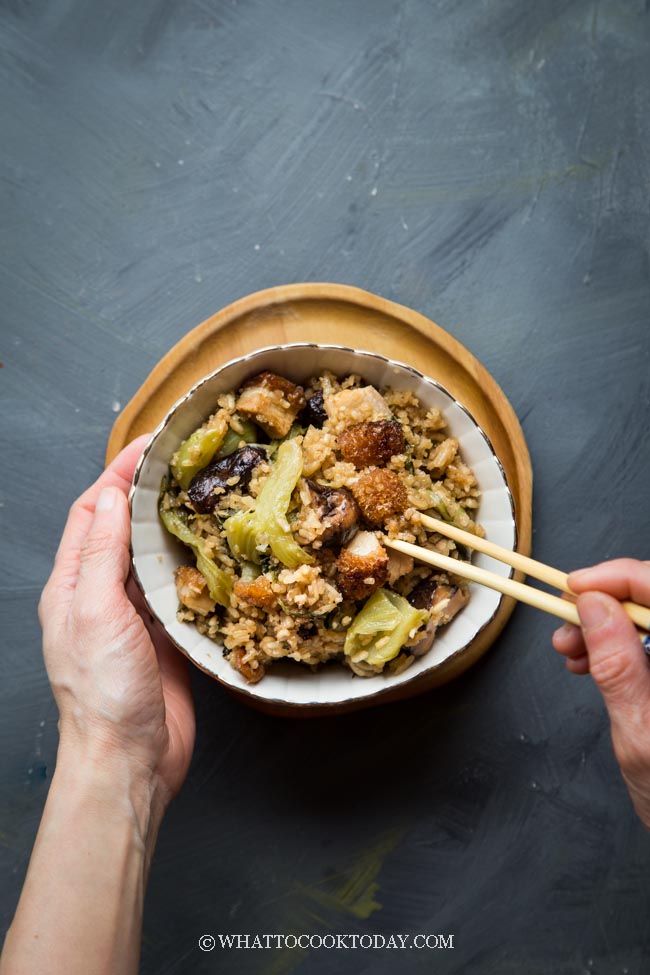
Kai Choy Farn / Kua Chai Pui (Mustard Greens Pork Belly Rice)
Ingredients
- 500 gr kua chai (sawi pahit)
- 4 Tbsp cooking oil divided
- 3 cups jasmine rice or any long grain white rice
- 5 shitake mushrooms soaked in warm water until soft and thinly sliced
- 3 cups chicken stock 3 1/2 cups if cooking on the stove
- 300 gr crispy roast pork belly homemade or store-bought, cut into bite-size pieces
Aromatics:
- 5 cloves garlic finely minced
- 80 gr dried shrimp soaked until soft and finely chopped
Seasonings:
- 2 Tbsp oyster sauce
- 2 Tbsp kecap manis
- 1 Tbsp soy sauce
- 1 Tbsp fish sauce
- ¼ tsp ground white pepper
Instructions
- Soak dried shrimp and dried mushrooms in warm water until they have softened and plump
- Wash the rice in several changes of water until the water runs clear. Drain off all the water using a strainer so the rice is really dry
Prepare kua chai:
- Wash them clean and then separate the big stalks from the leaves. I prefer doing this because the stalks take a bit longer to cook compare to the leaves
Precook kua chai:
- Preheat your wok/ large heavy-bottom pot with 1 Tbsp cooking oil. Add the mustard green stalks and stir fry until they are soft, about 5 minutes or so
- Add the leaves and cover with a lid to let them cook until they are wilted, but not mushy and they will shrink in size too. Remove and set aside. Discard all the extra liquid
Precook the rice:
- Wipe the wok/pot clean, and then add 2 Tbsp of cooking oil. Saute garlic until fragrant. About 10 seconds. Add mushrooms and dried shrimps and saute for another 1 minute until really fragrant
- Add the rice followed by seasonings. Stir until the rice picks up the seasonings. Add the pre-cooked mustard greens and roasted pork belly and stir again to mix everything. Transfer this to the inner pot of the rice cooker or instant pot. If cooking on the stove, there's no need to transfer
If cooking on the stove:
- Pour in 3 1/2 cups of the chicken stock and stir to mix everything inside the wok or pot. Bring it to a boil then lower the heat to low and cover with a tight-fitting lid. It's important that the heat is on low or it may boil over and water may dry up too quickly and you get a crust or uncooked rice at the bottom of the pot
- Let the rice cook for 20 minutes over low heat and then turn off the heat and wait for 10 minutes before opening the lid. The rice is still absorbing the liquid and continue cooking over residual heat. Then open the lid and fluff the rice
If using rice cooker:
- Pour in the chicken stock and stir to mix everything in the pot and the rice is submerged in the liquid. This is especially important so your rice cooks evenly. Use a white-rice setting if your rice cooker have one or just use a normal cycle you normally would cook a white rice, which is about 20 minutes. Let it sit for 10 minutes before opening the lid to fluff the rice
If using Instant Pot:
- Pour the chicken stock into the inner pot first. I figured this out after several rounds of cooking any kind of rice with Instant Pot. It helps to prevent triggering the "BURN" alert. If you put the rice mixture into the inner pot first then the liquid, the rice grains will get burn at the bottom of the pot, which normally won't happen with regular a rice cooker
- Once the liquid is in, add the rice mixture on top and gently press the rice mixture in to make sure they are submerged in the liquid. Close the lid and turn the steam release valve to "sealed". Press "rice" setting and let it cooks using that setting. You can also use "pressure cook" setting and cook them on high for 2 minutes. Then wait 10 minutes and release pressure fully on either setting you use. Fluff the rice


18 comments
Big hit with the hubs. Will definitely make it again.
Made the roast pork in the air fryer (forgot to marinade it). Turned out pretty good for homemade!
Thanks Marvellina for sharing! Tried this recipe yesterday and it tasted so good! Look forward to trying your other recipes 🙂
Hi Rina, I’m happy to read this 🙂
Hi ci! Aku baru pertama kali coba masak ini. Thanks banget utk tips nya baru di blog cici aja aku baca soal tumis sayur nya dulu krn bakalan ngeluarin banyak air. Alhasil nasi kuachaipui ku pulen fluffy 😍 aku ga campur beras ketan soalnya. Kamsia ya ci 🥰
Hi Felicia, sama sama ya! Aku yg baca reviewnya juga seneng jadinya 🙂
Hi Marvellina, I’m so happy to stumble upon your blog. My parents too, are from Medan and my mom used to prepare kuai cai pui when I was little which I loved it. Thanks for sharing this recipe and yes, totally agree with the others about your photography skills. The pictures are wonderfully captured! ❤️ I’ll be sure to tag you when I prepare this dish. Take care!
Hi Angelina. I’m glad you found my blog 🙂 I can’t wait to see your kua chai pui 🙂
Is it possible to cook this in a stove-pot if I don’t have a rice cooker/ instant pot? How would you recommend that to be done? Looks delicious!
Hi Rebecca, I have updated the recipe card with instructions to cook on the stove. I hope it helps. Please let me know if anything is unclear. Thanks 🙂