This post may contain affiliate links. Please read our disclosure policy.
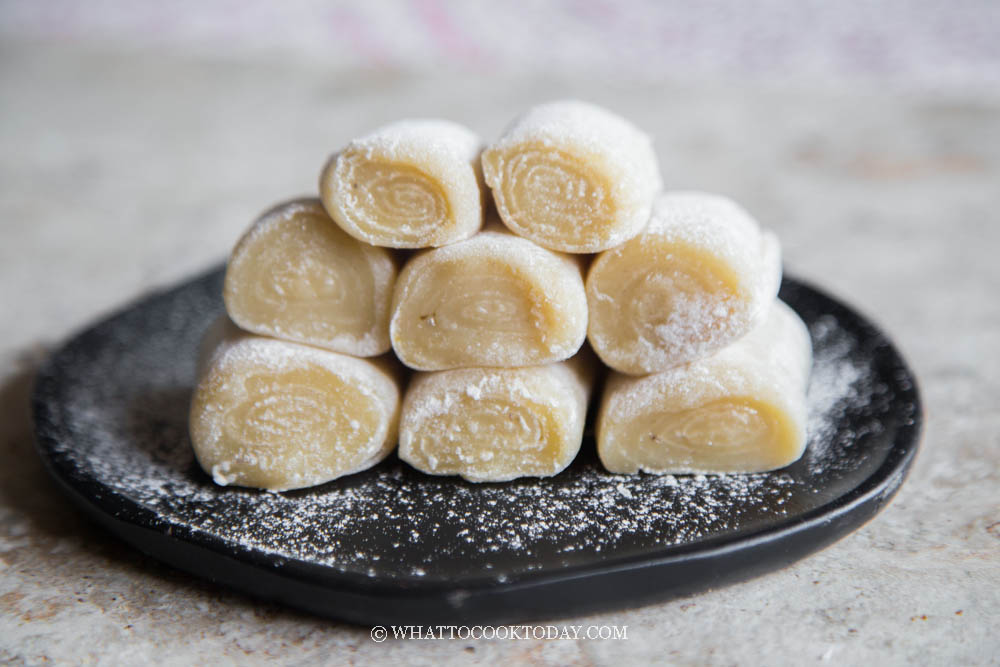
Soft and chewy Hong Kong-style mochi rolls flavored with real bananas are childhood favorites. They are so easy to make and have a nice texture and the right amount of sweetness.
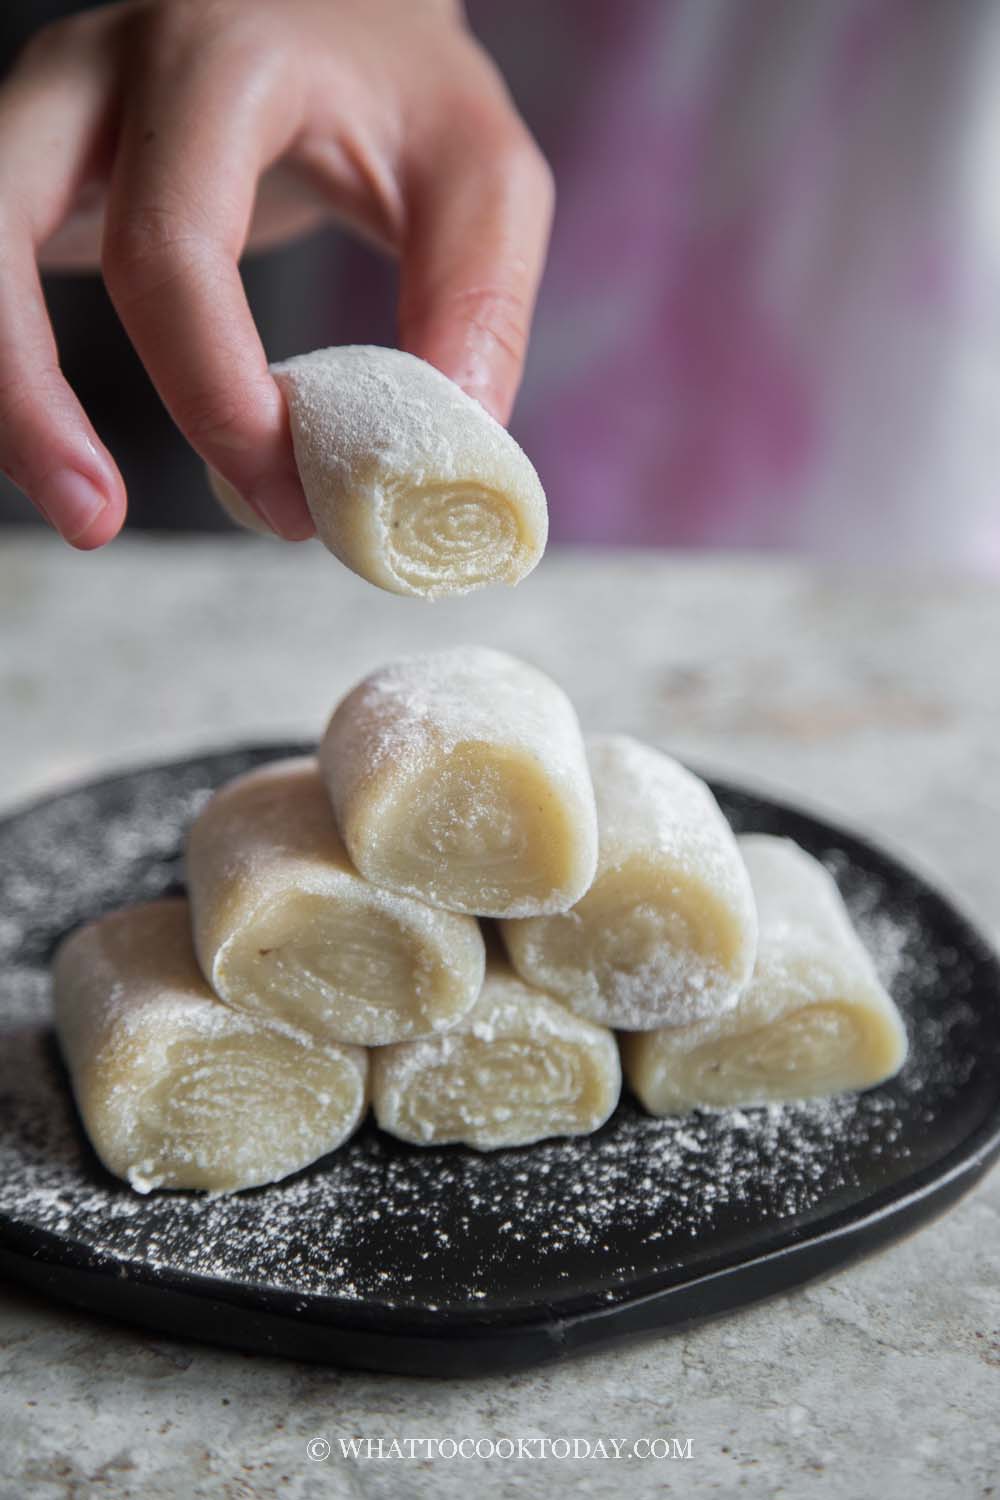
I told my kids that I grew up with these mochi rolls as a kid, not banana flavor in particular, but I remember them being pink in color (most likely from a food coloring). Every time I saw them at the market or grocery store, I would nag my mom to get some. It’s one of my favorite childhood snacks! And now it’s my kids’!
Why you’ll like this recipe
1. Recipe is easy and forgiving
Really, there’s not much skills needed to make these banana mochi rolls.
2. Soft and chewy mochi
The texture is simply amazing. Soft yet chewy at the same time. My kids couldn’t get enough of these
3. Made with real bananas and no extract
Many recipes uses banana extract, but I want something made with real bananas. Afterall, we all bound to have that overripen bananas and this is one of the recipes you can utilize to use up some of those bananas
How to make Hong Kong-style banana mochi rolls
1. Put 100 grams of glutinous rice flour on a dry pan. Toast this over medium-low heat for 5 minutes until the flour is lightly brown in color. Remove from the heat and let it cool down before using
2. Put the bananas, sugar, water, oil, glutinous rice flour, and rice flour in a blender and process into a smooth batter. If you don’t have a blender, you can mash the banana by hand and then combine it with the rest of the ingredients to make a smooth batter. Strain the mixture if necessary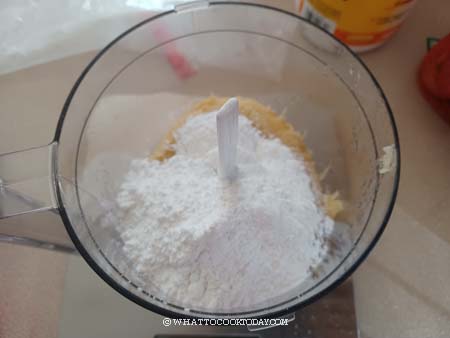
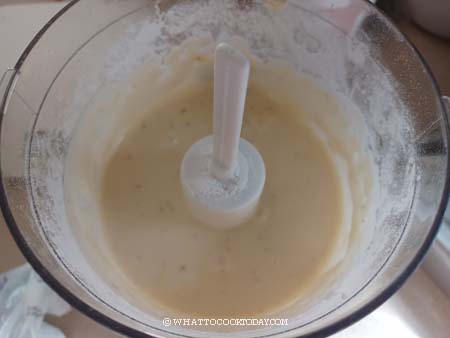
3. Pour the batter into a lightly oiled plate or a pan. Preferably the plate or pan is wide enough so the batter won’t be too thick and take longer to steam. An 8 x 10 inch pan or a shallow plate will do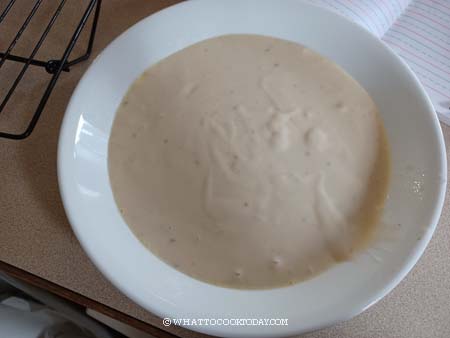
4. Cover with aluminum foil or wrap the lid of the steamer with a cloth to prevent water condensation from dropping onto the cake surface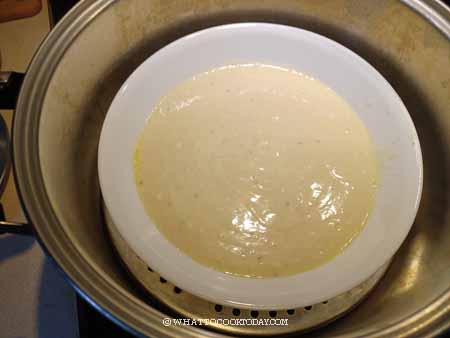
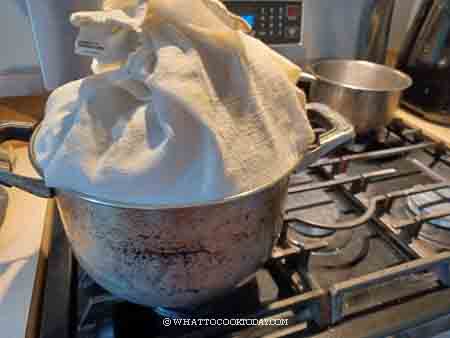
5. Steam over medium-high heat for 20 minutes 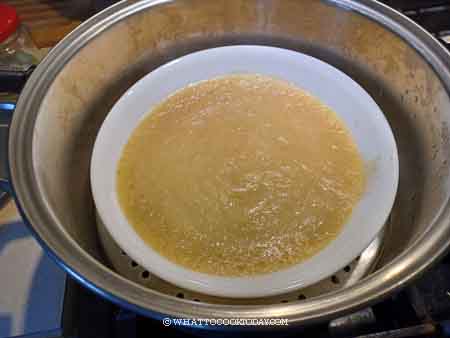
6. Use a rubber spatula to stir and fold the cooked mochi dough, sort of like kneading the dough. The dough is sticky at this point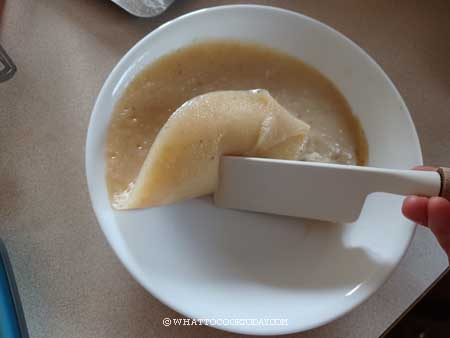
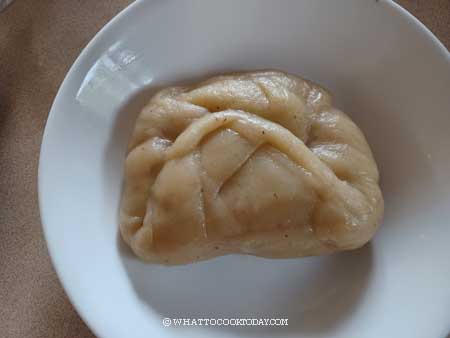
7. Dust your work surface with the toasted glutinous rice flour you prepared earlier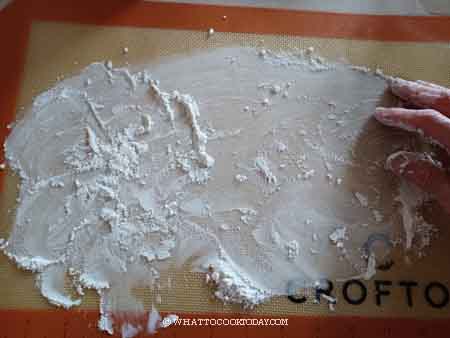
8. Transfer the dough onto that floured surface. Dust the top with some toasted flour. Use a rolling pin to roll it out into a rectangle, about 1/8-inch thick rectangle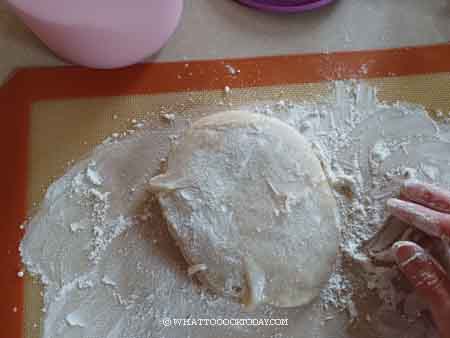
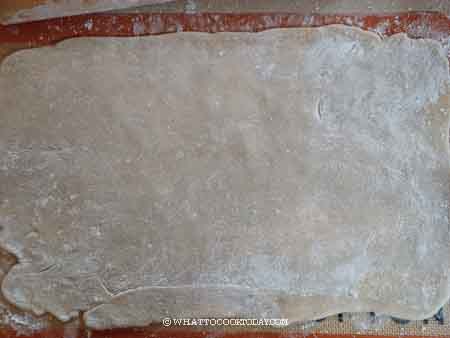
9. Cut the rectangle into half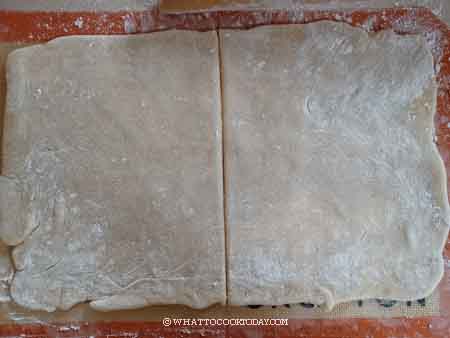
10. Start rolling the dough up like a Swiss roll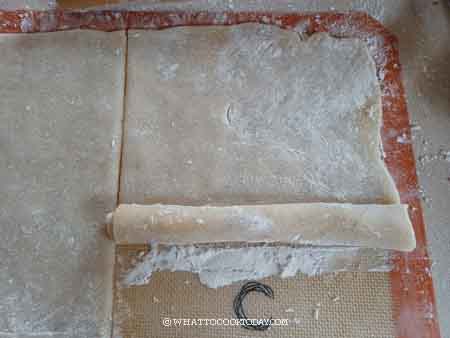
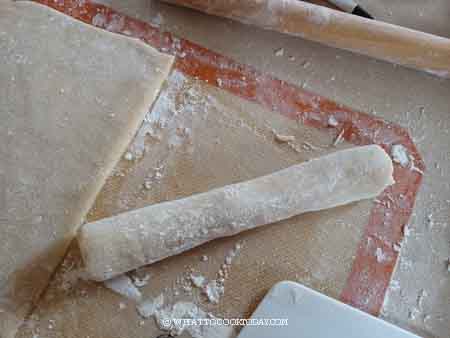
11. Use a bench scraper or knife to trim off both ends for a neat presentation. Then cut into about 3 inches long mochi roll. Dust with some toasted flour as needed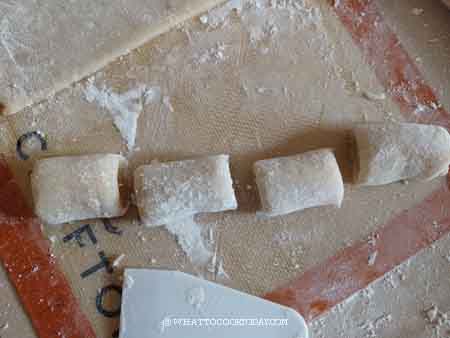
How to store
This can be stored at room temperature in an air-tight container for a day or two. For longer storage, keep them in the freezer. They freeze very well. Simply thaw at room temperature before serving. Do not store it in the fridge as it will dry out and the texture also suffers.
Did you make this Hong Kong-style banana mochi roll recipe?
I love it when you guys snap a photo and tag to show me what you’ve made 🙂 Simply tag me @WhatToCookToday #WhatToCookToday on Instagram and I’ll be sure to stop by and take a peek for real!

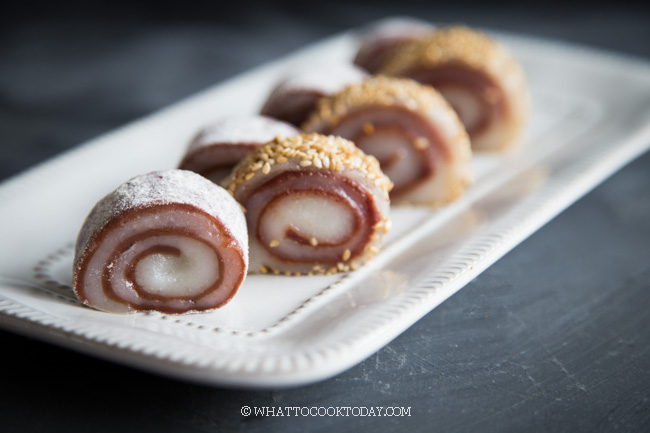
You may also like these mochi rolls with red bean paste
Chinese Banana Mochi Rolls (Made with Real Bananas)
Ingredients
- 300 gr peeled bananas
- 150 gr glutinous rice flour
- 50 gr rice flour
- 100 gr sugar
- 100 gr water
- 1 Tbsp oil
For dusting:
- 100 gr glutinous rice flour
Instructions
- Put 100 grams of glutinous rice flour on a dry pan. Toast this over medium-low heat for 5 minutes until the flour is lightly brown in color. Remove from the heat and let it cool down before using. This is to be used for dusting later, not to prepare the batter
Prepare the batter:
- Bring the water in the steamer to a boil
- Put the bananas, sugar, water, oil, glutinous rice flour, and rice flour in a blender and process into a smooth batter. If you don't have a blender, you can mash the banana by hands and then combine with the rest of the ingredients to make a smooth batter. Strain the mixture if necessary
Steam the cake:
- Pour the batter into a lightly oiled plate or a pan. Preferably the plate or pan is wide enough so the batter won't be too thick and take longer to steam. An 8 x 10 inch pan or a shallow plate will do. Cover with aluminum foil or wrap the lid of the steamer with a cloth to prevent water condensation from dropping onto the cake surface
- Steam over medium-high heat for 20 minutes or until a toothpick inserted comes out with a bit of sticky dough smeared on it is fine as long as the dough is no longer raw or wet
To cook the dough in microwave:
- Pour the batter into a lightly oiled microwave-safe bowl. Cover with a cling wrap, leaving a bit of gap at the edge to let the steam vent. You can also use a microwave-safe plate or lid, leaving a bit of gap.
- Cook on high power for 90 seconds and then carefully remove from the microwave and uncover the cling wrap or cover and use a sturdy spatula or spoon to stir the mixture. The edge usually cooks first and the center and bottom are not cooked through. Give the batter a good stir to mix everything. Cover with a cling wrap again and cook for another 1 minute.
- Remove from the microwave and check and see if the dough is cooked through by giving it a good stir again. If not, cover and give it another 30-second burst and check again. Proceed to shaping
Shaping:
- Lightly oil a sturdy rubber spatula to stir and fold the cooked mochi dough, sort of like kneading the dough to make it elastic. Keep kneading it until the dough is elastic The dough is sticky at this point
- Dust your work surface with the toasted glutinous rice flour you prepared earlier. Transfer the dough onto that floured surface. Dust the top with some toasted glutinous rice flour you prepared earlier. Use a rolling pin to roll it out into a rectangle, about 1/8-inch thick rectangle. Dust with flour as needed if it feels sticky
- Cut the rectangle into half. Start rolling the dough up like a Swiss roll. Use a bench scraper or plastic knife to trim off both ends for a neat presentation. Then cut into about 3 inches long mochi roll. Dust with some toasted flour as needed and brush off any excess
- They are best served on the same day. They can be stored in an air-tight container at room temperature for a day or so. They freeze very well too. Simply let them thaw at room temperature for 30 minutes or so before serving. Keep the extra flour you toasted earlier in an air-tight container. You can dust the mochi roll again after they are thawed (if you freeze them) before serving

41 comments
Could I use mango instead of banana?
Hi Miranda, I’ve never tried this particular recipe with mango. The consistency of mango and banana is slightly different, so I’m not sure if it’s going to be a 1:1 substitution or not.
Hello! I want to make it tonight for a party tomorrow. How should I store them?
Thank you!
This can be stored at room temperature in an air-tight container for a day or two. For longer storage, keep them in the freezer. They freeze very well. Simply thaw at room temperature before serving. Do not store it in the fridge as it will dry out and the texture also suffers.
Looking forward to trying! Can I substitute butter for oil?
Hi Anna! sure, butter is perfectly fine, better aroma too 🙂
Just made these today and they turned out great! Very easy to make. I steamed mine in a silicone cake pan. Now I need more ripe bananas so I can make another batch!
Hi Lilac,
I’m glad the recipe turned out great for you! 🙂 Thank you for trying and for letting me know how it went 🙂
Hi Marvellina,
I went to the store last night in search of ripe bananas and made a second batch today. They are so yummy and super addictive! I would really like to make something similar, but with cooked taro in place of bananas. Any suggestions on how to go about it? I like how these are rolled (no filling). They are fun to eat like the fruit roll-up candy.
Hi Lilac,
wow…taro one sounds great. I haven’t personally tried it myself though. I would say most likely you can sub it with the same amount of banana. taro may not be as sweet as banana so you can adjust the amount of sugar. You want to steam the taro first before using it. I will have to try it out myself one of these day
Thank you! I’ll come back and update you once I’ve tried it out using taro.
Please do 🙂
I’m trying this recipe now and my steamed dough is sticking to the dish (although I lightly oiled). Does this mean I didn’t seam long enough? It’s not coming together into a nice clean dough like yours. It’s very gooey. Will it come together better when it’s cooked a bit? Or would I adjust the amount of flour so it’s not so gooey?
If you poke a toothpick into the dough it should come out pretty clean, slightly sticky is fine as long as it’s no longer wet. The dough is sticky after steaming and you use spatula to “knead” it few times and then transfer to a floured surface to ease that stickiness. It shouldn’t be gooey, it should feel like a sticky dough