This post may contain affiliate links. Please read our disclosure policy.
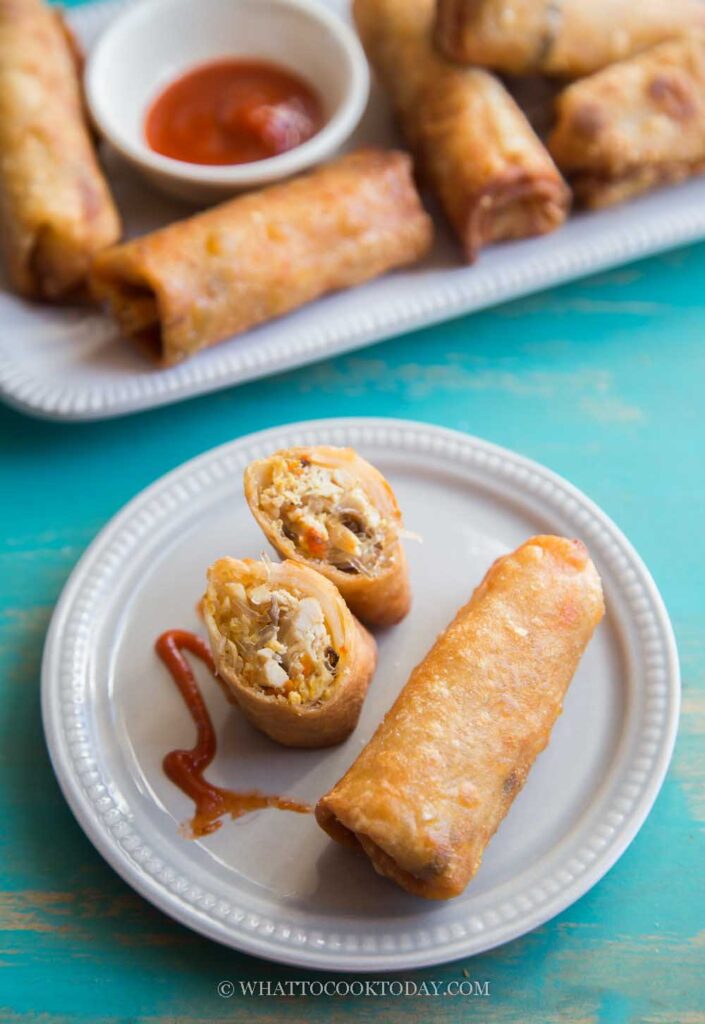
These gluten-free spring roll wrappers are just as delicious and versatile as traditional spring roll wrappers. They are made with easy-to-find gluten-free flour/starches and making your own is much more economical and healthier than store-bought. I’m also sharing how to make a simple and delicious filling for Chinese spring rolls.
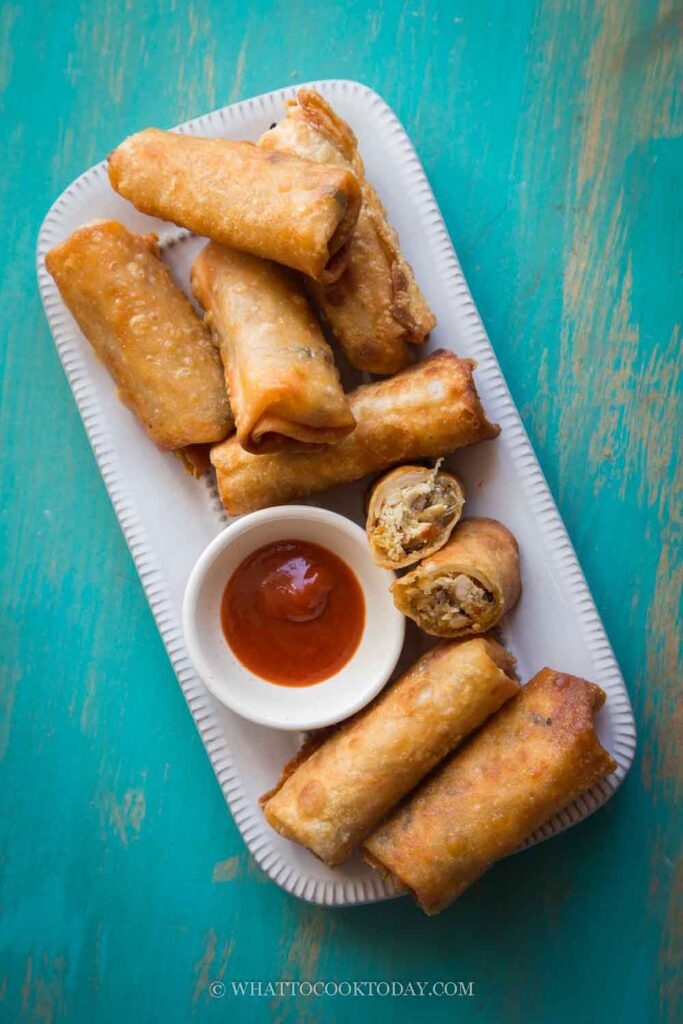
Making gluten-free food is always a challenge for me. I don’t have to be on a gluten-free diet, but I’m always intrigued to try a gluten-free version of some recipes. It’s a beast on its own! Gluten-free cooking and baking can be challenging, but with patience and experimentation, it’s possible to create delicious gluten-free foods that are just as good as traditional recipes. By being familiar with the properties of gluten-free flours and ingredients, and with the right techniques, it can be done!
The technique works
A while ago I saw this video on YouTube and looking at all the ingredients, it sent me to work on it immediately! Hats off to Lucy Meishi who has really approached gluten-free cooking and baking in a different way. Perhaps the only one I’ve seen so far that utilizes this technique to make her gluten-free recipes. Instead of using binders such as xanthan gum, guar gum, psyllium husk, etc to make sure the gluten-free dough comes together, her technique is by scalding the gluten-free flour (tapioca and rice flour in this particular recipe) with hot boiling water. This technique is actually pretty common in a lot of Chinese cooking, baking, and pastry-making. The hot boiling water will gelatinize the starch, causing the starch granules to absorb water, swell, and dissolve into a paste and making the starches become very flexible and stretchy. The process of gelatinization in these starches helps a lot in providing the flexibility that is often lacking in gluten-free dough.
Why you’ll like this recipe
1. You don’t need the expensive gluten-free premix flour
GF premix flour varies from brand to brand and it’s hard to achieve the same result because of this
2. There is no binder used in the recipe
You don’t have to use xanthan gum, guar gum, psyllium husk, etc
3. Ingredients are so easy to find
If you look at the ingredients and if you are already on a gluten-free diet, you most likely have all the ingredients already
4. The recipe is dairy-free and eggless
Ingredients
If you look at the ingredients below, you can see how simple the ingredients needed to make the gluten-free spring rolls.
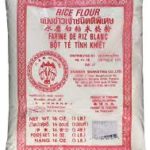
1. Rice flour
I use finely milled rice flour from the store. I usually use this Thai brand. But you can use any brand as long as they are very fine in texture
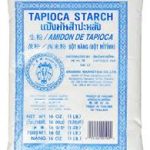
2. Tapioca starch
Tapioca starch and tapioca flour are the same things, at least here in the U.S. They are the starches extracted from tapioca/cassava roots.
3. Mashed potatoes
The original recipe uses sweet mashed potatoes, but I didn’t have any at the time and I use regular mashed potatoes
4. Salt
I usually use fine sea salt. The purpose of the salt is more for a taste
5. Hot boiling water
It is important that the water is really hot. We need it to gelatinize the starches, which is an important part of the success of this recipe
How to make gluten-free spring rolls
1. Peel the potato and cut it into slices. Steam over high heat for 5 minutes. Alternatively, you can peel the potato and cut it into small cubes and put them in a small saucepan. Cover with just enough water and bring to a boil. Boil for about 8-10 minutes or until they are fork-tender. Drain off all the water. Mash the cooked potato with a fork while they are still warm.
2. Combine rice flour, tapioca starch, and salt in a heat-proof mixing bowl. 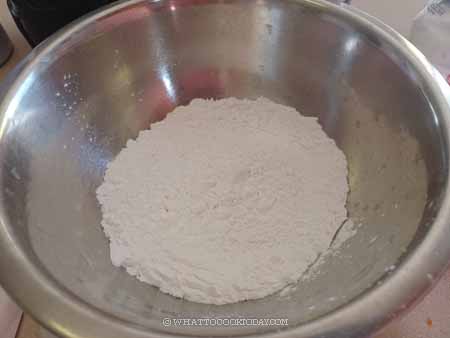
3. Bring 90 g of water to a rolling boil. I boil a bit extra to account for evaporation during boiling or in case you need a bit extra. 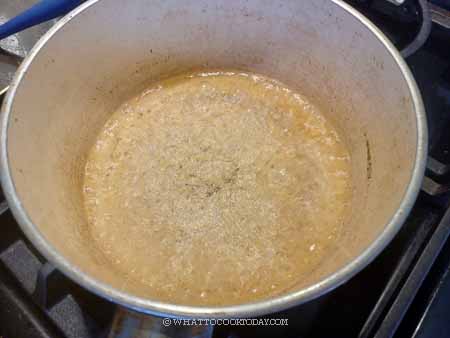
4. Then pour 70 g into the flour mixture while stirring with a chopstick or a spoon on the other hand. 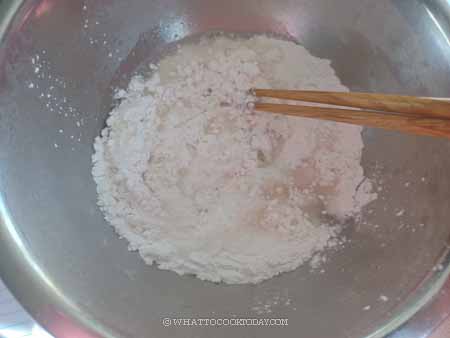
5. Add the mashed potato and then knead with your hand into a dough. If the dough feels too dry, you can add a bit more of the water you boil earlier and continue to knead for about 5 minutes until you get a nice dough. 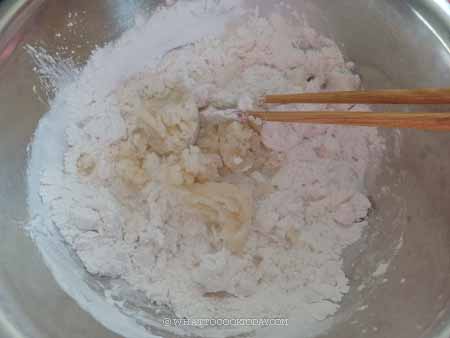
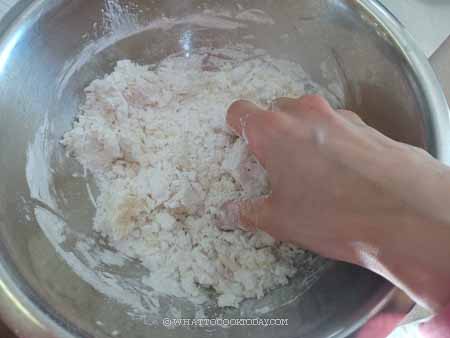
6. Cover and let it rest for 20 minutes so the starches have time to absorb the liquid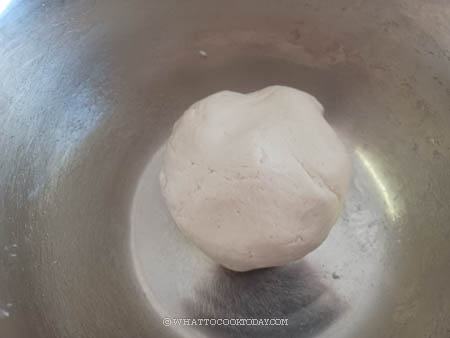
7. After the rest, give the dough some kneading, about 2-3 minutes to make sure it’s soft and elastic. Divide into 8 equal pieces. Keep them covered tightly. Work with one dough at a time.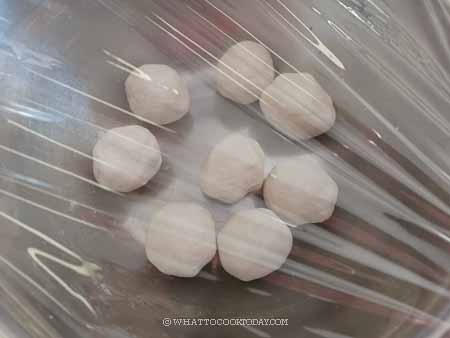
8. Flatten the dough into 4-inch circle. 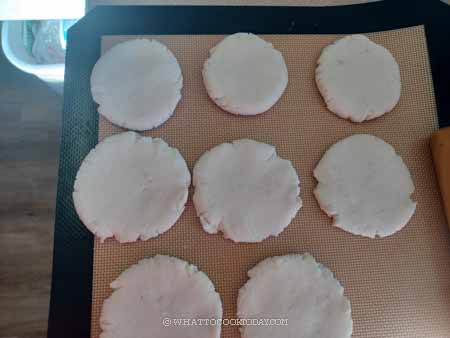
9. Roll out into a large circle, about 7 inches. As you can see in the photos above that I’m not good at rolling it into a round shape. I got a rectangle shape instead . But in a way, it makes it easier to wrap the filling too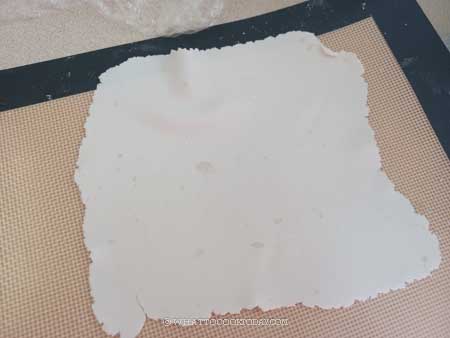
10. Continue with the rest of the dough and keep the rolled-out dough covered with plastic wrap to prevent them from drying out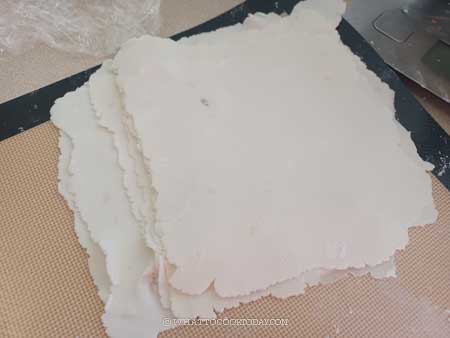
11. Preheat a large heavy-bottom pan. When you drop water on the pan and it evaporates quickly, the pan is ready. Place one wrapper on the hot pan. I spray with a bit of water, cover with the lid and cook for about 1-2 minutes on one side and then flip over to the other side and cook. Don’t let them brown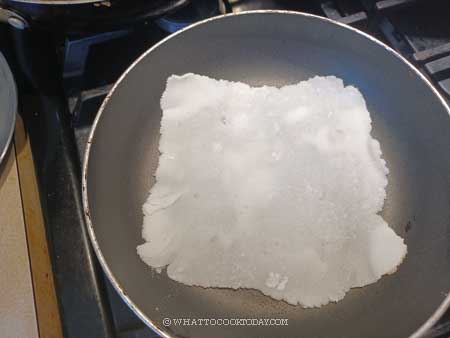
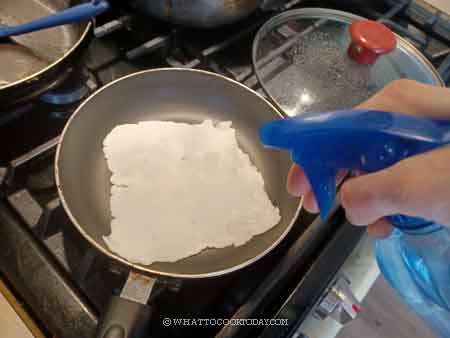
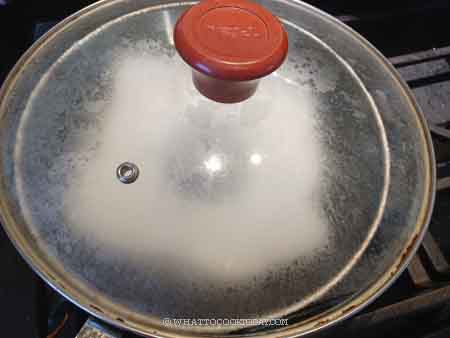
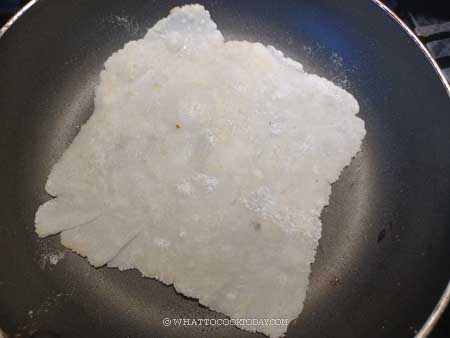
12. Remove the wrapper from the pan and keep them covered with a clean towel to make sure they stay soft. Continue cooking the rest and stack them up and covered them with a towel
13. Put the tapioca starch and water in a saucepan over medium heat and keep stirring until the mixture turns into a paste consistency. Turn off the heat and let it cool completely
14. Scoop 1-2 tablespoons of filling on the lower end of the wrap near you. Fold the bottom over to cover. Fold the two sides over. Smear the two sides and the top with some glue paste you made earlier and continue to roll up into a spring roll shape. Continue with the rest of the wrapper and filling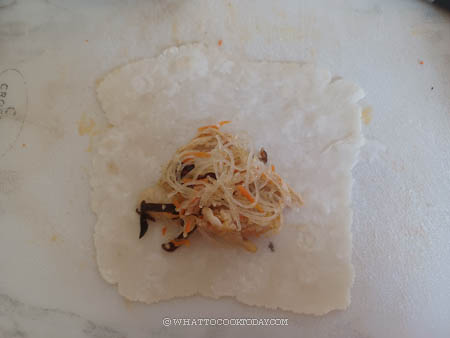

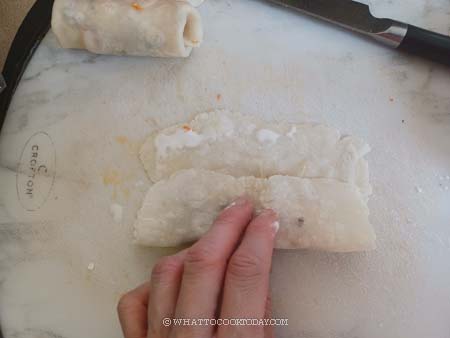
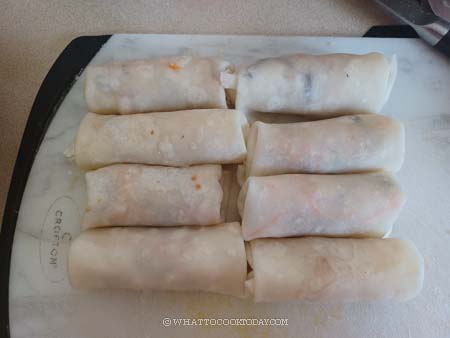
15. Preheat about 2 inches height of oil in a saucepan. When you put a skewer in, the oil bubbles around it. The oil is ready. Fry 3 pieces of the spring roll until light golden brown. Remember to fry in batches. 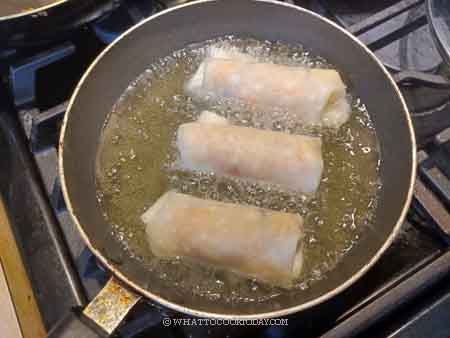
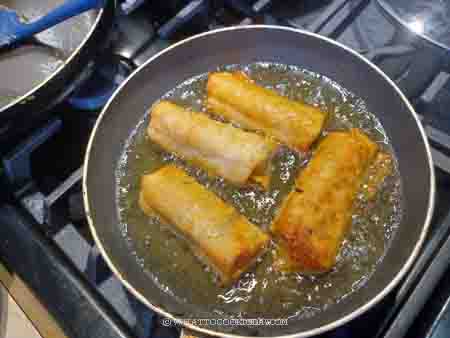
16. Put on an absorbent paper towel and continue frying the rest. If you want them extra crispy, bring the oil back to hot and then fry them again very briefly. This second frying will crisp the wrappers up further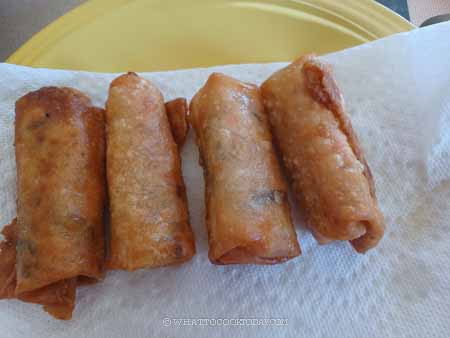
17. Serve them warm as is or with your favorite sweet chili sauce or any chili sauce
How to make ahead
Once you are done wrapping the spring rolls, place them on a baking pan lined with parchment or wax paper and arrange the spring rolls on top. They can be close to each other but not touching, to prevent sticking to each other. Let them freeze in the freezer for one hour for flash freezing. Then transfer to a freezer bag. They won’t stick to each other anymore. Push all the air out and seal. Keep in the freezer for no more than a month for the best result. When ready to serve, do not thaw. They can be fried in a frozen state. They may need a bit extra time. Make sure you control the heat so the wrappers won’t get burned and the filling is still frozen.
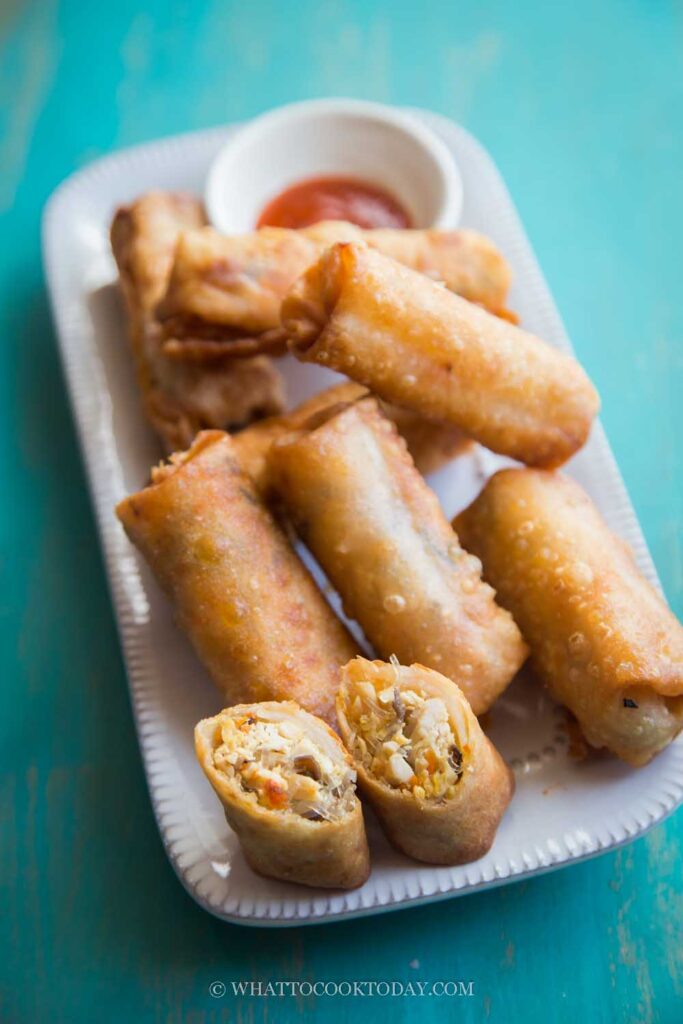
Did you make this gluten-free spring roll wrappers recipe?
I love it when you guys snap a photo and tag it to show me what you’ve made. Simply tag me @WhatToCookToday #WhatToCookToday on Instagram and I’ll be sure to stop by and take a peek for real!
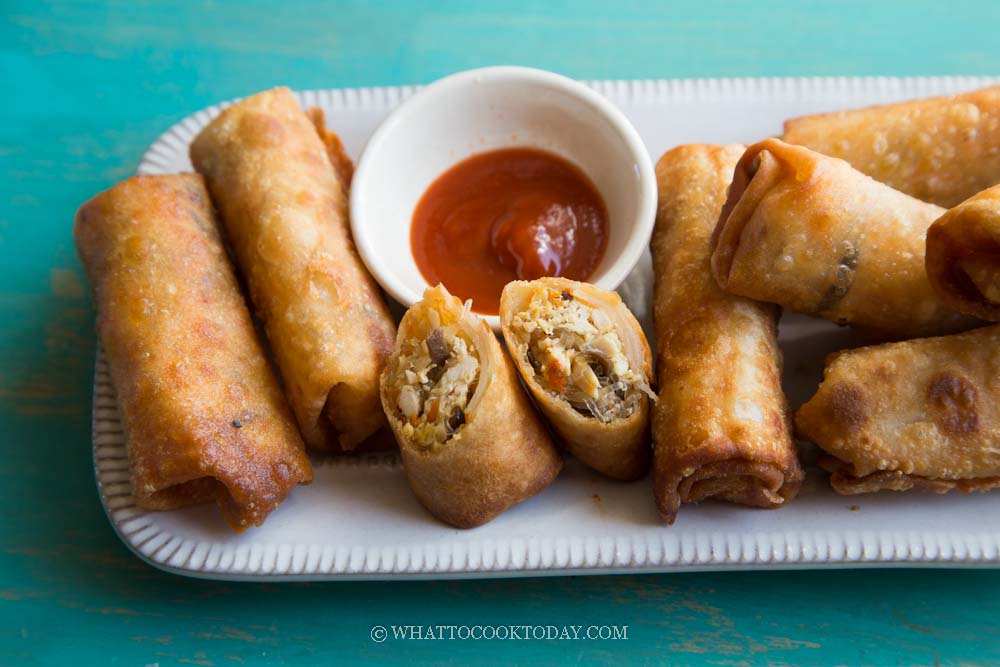
How To Make Gluten-Free Spring Roll Wrappers
Ingredients
For the wrapper:
- 60 g rice flour plus more for dusting
- 40 g tapioca starch
- 50 g mashed potato
- ⅛ tsp salt
- 70 g hot boiling water see notes 1
For the glue: (to help seal the wrapper)
- 2 Tbsp water
- 2 tsp tapioca starch
For the filling:
- 150 g boneless skinless chicken thigh see notes 2
Marinade for chicken:
- 1 Tbsp gluten-free tamari
- ½ tsp sesame oil
- ¼ tsp sugar
Other ingredients:
- 1 Tbsp cooking oil
- 1 clove garlic minced
- 20 g mungbean thread noodles
- 2 g dried wood ear mushrooms
- 50 g shredded carrots
- 1 Tbsp gluten-free tamari
- 1 tsp sesame oil
- ½ tsp sugar
- ⅛ tsp ground white pepper
For frying:
Instructions
Prepare the filling: (can be prepared a few days before)
- Cut the chicken into thin strips. Add the marinade and toss to mix and let it marinade for 30 minutes while you prepare other things
- Soak the wood ear mushrooms in warm water until they are triple in size. Cut into strips
- Soak the mung bean noodles in warm water until soft. Use a kitchen shear to cut into shorter pieces, about 2-inch pieces
- Preheat a pan or wok. Add cooking oil and garlic. Saute for about 10 seconds. Add the chicken and saute until they turn opaque. If you are using shredded cooked chicken meat, don't add it yet
- Add the mushrooms, carrots, and the rest of the ingredients. Saute to mix everything. Have a taste and adjust as needed to your taste. Remove from the heat and set aside to let it cool down completely before wrapping. Keep in the fridge if you make ahead
Prepare the dough:
- Peel the potato and cut into slices. Steam over high heat for 5 minutes. Alternatively, you can peel the potato and cut into small cubes and put them in a small saucepan. Cover with just enough water and bring to a boil. Boil for about 8-10 minutes or until they are fork-tender. Drain off all the water
- Mash the cooked potato with a fork while they are still warm.
- Combine rice flour, tapioca starch, and salt in a heat-proof mixing bowl. Bring 90 g of water to a rolling boil. I boil a bit extra to account for evaporation during boiling or in case you need a bit extra. Then pour 70 g into the flour mixture while stirring with a chopstick or a spoon on the other hand. Add the mashed potato and then knead with your hand into a dough. If the dough feels to dry, you can add a bit more of the water you boil earlier and continue to knead for about 5 minutes until you get a nice dough. Cover and let it rest for 20 minutes so the starches have time to absorb the liquid
- After the rest, give the dough some kneding, about 2-3 minutes to make sure it's soft and elastic. Divide into 8 equal pieces. Keep them covered tightly. Work with one dough at a time. Dust your work surface with some rice flour. Flatten the dough into 4-inch circle. Roll out into a large circle, about 6 inches. As you can see in the photos above that I'm not good at rolling it into round shape. I got a rectangle shape instead 🙂 But in a way, it makes it easier to wrap the filling too
- Continue with the rest of the dough and keep the rolled-out dough covered with plastic wrap to prevent them from drying out
Cook the dough:
- Preheat a large heavy-bottom pan. When you drop water on the pan and it evaporates quickly, the pan is ready. Place one wrapper on the hot pan. I spray with a bit of water, cover with the lid and cook for about 1-2 minutes on one side and then flip over to the other side and cook. Don't let them brown
- Remove the wrapper from the pan and keep them covered with a clean towel to make sure they stay soft. Continue cooking the rest and stack them up and covered with a towel
Prepare the glue:
- Put the tapioca starch and water in a saucepan over medium heat and keep stirring until the mixture turns into a paste consistency. Turn off the heat and let it cool completely
Assembling:
- Scoop 1-2 tablespoons of filling on the lower end of the wrap near you. Fold the bottom over to cover. Fold the two sides over. Smear the two sides and the top with some glue paste you made earlier and continue to roll up into a spring roll shape
- Continue with the rest of the wrapper and filling
Frying:
- Preheat about 2 inches height of oil in a saucepan. When you put a skewer in, the oil bubbles around it. The oil is ready. Fry 3 pieces of the spring roll until light golden brown. Remember to fry in batches. Put on an absorbent paper towel and continue frying the rest
- If you want them extra crispy, bring the oil back to hot and then fry them again very briefly. This second frying will crisp the wrappers up further
Serving:
- Serve them warm as is or with your favorite sweet chili sauce or any chili sauce
RECOMMEDED TOOLS
Marv’s Recipe Notes
- Depending on the potato and the starches, you may need more water or you may not
- You can also use shredded cooked leftover chicken meat or other types of meat such as ground pork or ground beef. A meatless option would be firm tofu cut into fine strips


7 comments
The flavor of these were great! Mine never would have held together had I tried to oil-fry them, however, so I instead popped them in the air-fryer.
Hi Athena, were you having trouble with the dough ?
My husband just made the wrappers. We already had filling in our freezer. These wrappers are great! Easy dough to roll out, and held together well in the frying process. Ours turned out a little chewier than our traditional wrappers, so going to try the extra crispy suggestion next time, but flavor was very good. A very successful practice session for when our gf son comes to visit.
Hi Patricia, I’m glad the recipe worked out for you. You can try double frying to see if that makes them crispier. I hope if you make them for your son, he’ll enjoy them 🙂
I’m allergic to potatoes and sweet potatoes. Are there any substitutes?
Hi, I’m sorry I haven’t tried it with any other alternatives.
Tania, I wonder if cauliflower mash would work. Yucca is also similar to potatoes texture/taste/color. The only other vegetables to try would make the dough colorful, ie: beets, pumpkin or squash. Best of luck experimenting. I also have allergies and some unknown, so not sure if I would be able to make them, but they look delicious.