This post may contain affiliate links. Please read our disclosure policy.
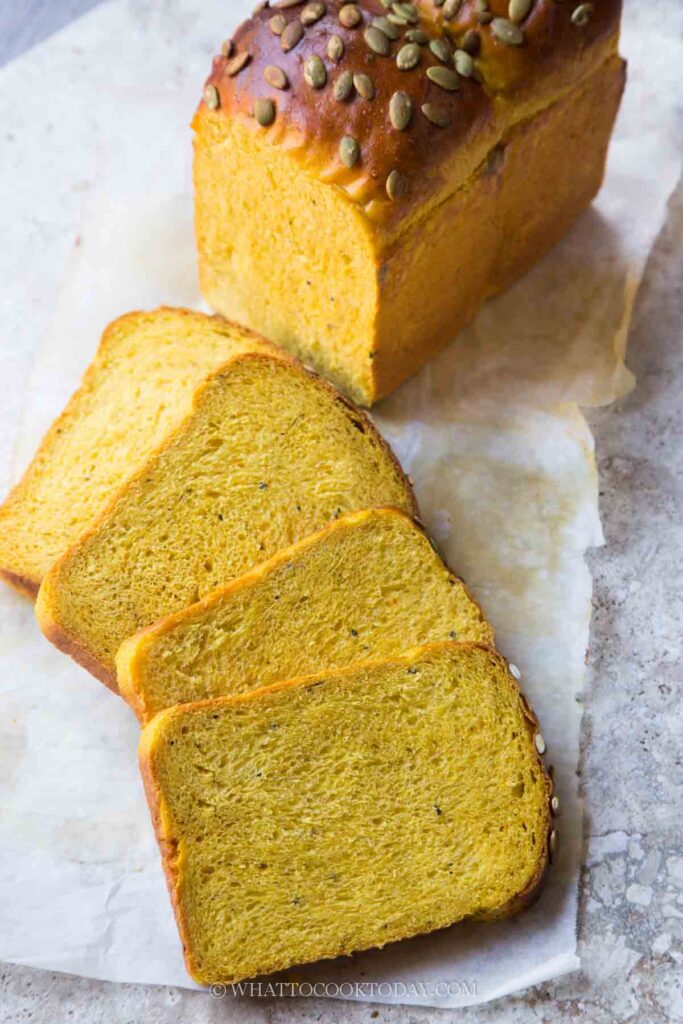
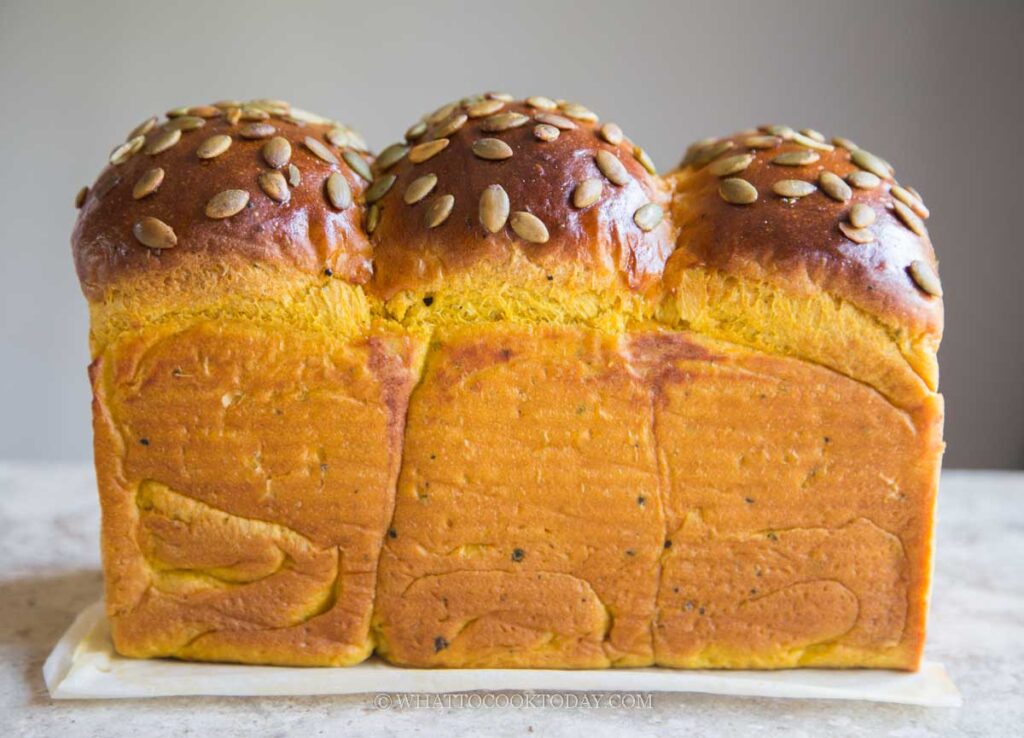
This Kabocha Squash Shokupan (Milk Bread) is soft, fluffy, and naturally golden from real kabocha squash puree. Easy to make with simple ingredients and a beautiful result.
Six pounds of kabocha squash later… and my kitchen has been filled with all sorts of sweet and savory creations. Not that I’m complaining — I absolutely love kabocha squash. Its naturally sweet, nutty flavor and velvety texture make it one of my favorite ingredients to work with.
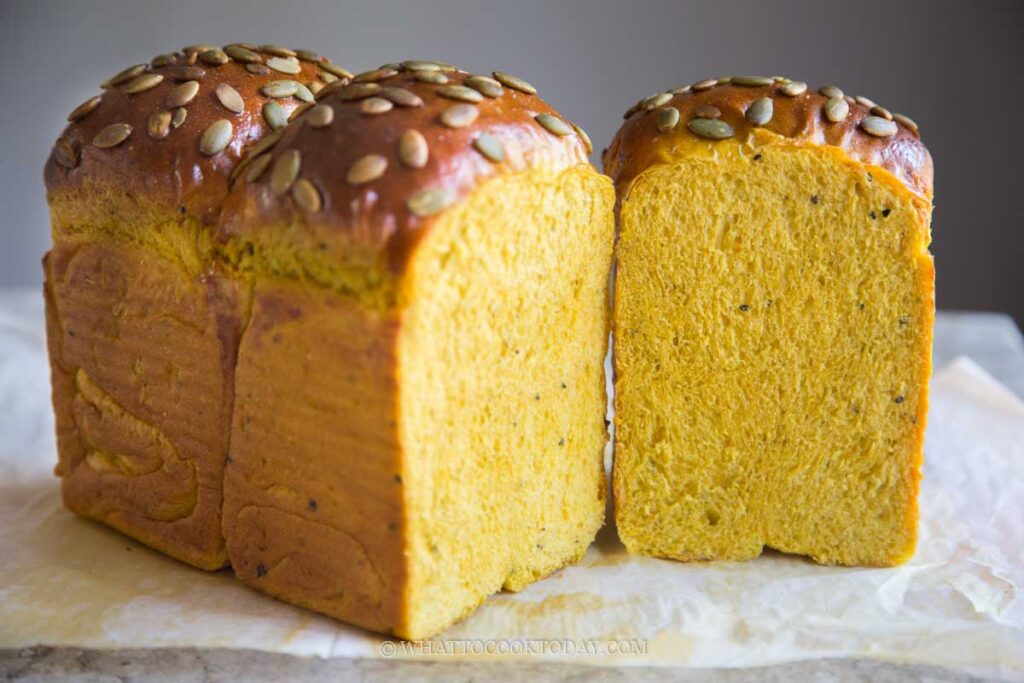
This time, I decided to turn some of that golden goodness into this Kabocha Squash Shokupan (Milk Bread). The dough itself takes on the most gorgeous orange-yellow hue, and the bread turns out soft, fluffy, and just slightly sweet. I usually make my milk bread with tangzhong, but some days I just want something more straightforward. And guess what? This version still yields beautifully soft bread without that extra step
Why You’ll Like This Recipe
- Naturally beautiful color – The kabocha squash gives the bread a warm, golden glow without any artificial coloring.
- Soft and fluffy texture – Even without tangzhong, this milk bread stays tender and airy.
- Subtle sweetness – The natural sweetness of kabocha pairs so well with both sweet and savory toppings.
- Great for toast or sandwiches – Makes a killer breakfast toast or a fun twist on your usual sandwich bread.
- No fancy technique needed – Simple ingredients, easy steps, and reliable results.
Ingredients and Substitutions
- Bread flour – I use 12.7% protein content for a nice chewy structure.
- Kabocha squash puree – You can substitute with pumpkin or butternut squash, but you may want to hold back a bit on the liquid as pumpkin and butternut squash contain more water compared to kabocha.
- Milk – Whole milk gives the softest result, but low-fat or non-dairy milk also works.
- Oil – Neutral oil like canola, avocado, or grapeseed works best
- Sugar – Adds light sweetness and helps browning.
- Salt – Essential to bring out overall flavor
- Milk powder – Adds richness and that signature “milky” flavor in shokupan.
- Instant yeast – Quick, reliable rise. If you use active dry yeast, be sure to bloom them for 10 minutes in a bit of the milk used in the recipe
- Pumpkin seeds (optional) – For topping and a bit of crunch.
How to Serve
This kabocha shokupan is such a versatile loaf. Its soft, slightly sweet crumb and golden color make it just as lovely for breakfast as it is for snacks or sandwiches. Here are a few ways to enjoy it:
Sweet ideas:
1. Toast it and spread with butter, honey, or your favorite jam.
2. Make the dreamiest French toast — the kabocha adds an extra cozy note.
3. Use it for Japanese fruit sandwiches with whipped cream and fresh fruit.
4. Turn leftover slices into a rich bread pudding.
Savory ideas:
1. Make egg salad, chicken katsu, or tuna sandwiches — the light sweetness balances the savory filling perfectly.
2. Try it as grilled cheese; the contrast of melty cheese and slightly sweet bread is irresistible.
3. Serve it with avocado, smoked salmon, or scrambled eggs for a nourishing breakfast.
4. Enjoy it toasted with butter and a sprinkle of sugar or red bean paste (anko) for a Japanese-style treat.
My personal favorite? Toasted with butter and a drizzle of honey — simple, comforting, and just perfect with a cup of tea or coffee.
Frequently Asked Questions
- Do I need to remove the kabocha skin?
No, you don’t have to! The skin becomes soft after steaming and adds extra color and fiber. - Can I use canned pumpkin instead?
Yes, but canned pumpkin is wetter. You might need to reduce the milk slightly. - Why is my bread dense?
This usually means the dough wasn’t kneaded enough or proofed properly. Make sure to knead until smooth and elastic and proof until doubled both times. - Can I use my sourdough starter to bake this?
I have a sourdough pumpkin shokupan recipe here if you are interested. Simply swap the pumpkin out with kabocha squash. You may need a bit extra liquid i necessary because kabocha squash has less water
If you love kabocha squash as much as I do, this bread is such a treat. It’s soft, naturally sweet, and has that beautiful golden color that just makes you smile. Perfect on its own, toasted with butter, or made into sandwiches — this kabocha shokupan is pure comfort in loaf form.
Kabocha Squash Shokupan (Milk Bread)
Ingredients
For the dough:
- 370 g bread flour (12.7% protein content)
- 180 g kabocha squash puree
- 135 g whole milk you can use low fat or non-dairy milk
- 5 g salt
- 40 g sugar
- 45 g oil
- 15 g milk powder
- 1 tsp instant yeast
Egg wash:
- 1 egg beaten
Topping: (optional)
- 2 Tbsp pumpkin seeds or more as needed
Instructions
Prepare kabocha squash puree:
- Wash the kabocha squash clean and pat dry. Cut into half and scoop out all the seeds and strings. Cut into wedges and then cut into smaller cubes.
- Arrange the squash on the steaming basket. Steam for 10-15 minutes (depending on the size). If you can easily pierce with a fork. If you can, it's done steaming. If it's still too firm, steam another 5 minutes and check again
- I didn't remove the skin this time and include it in the puree. If you want to, scoop out the flesh into a blender or a food processor. You may need to add 1-2 Tbsp of water or more to help you puree the squash. Kabocha squash is at a "drier" side and firmer in texture compared to other squash and pumpkin. You want to get that thick but creamy consistency
Prepare the dough:
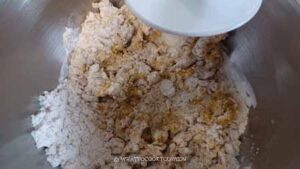
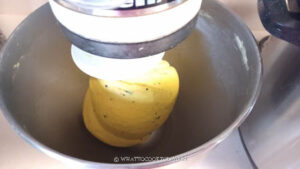
- Put all ingredients for the dough and kabocha puree (make sure they are not hot anymore as we don't want to kill the yeast) in a mixing bowl of a stand mixer fitted with dough hook attachment. Give it a rough stir with the dough hook before you start the mixer to prevent the dry ingredients from "flying"

- Start the mixer on low ("stir" on KA) and knead for about 2 minutes. It should come to a rough dough. If it's too dry, you can add a bit more milk, 1 tablespoon at a time. Once you have a rough dough that is slightly sticky, increase speed to 4 and knead for 7-8 minutes
- The dough will clear the sides of the bowl but sticky to the bottom of the bowl. The dough is slightly sticky to the touch and that's normal and a sign that the bread will stay soft longer
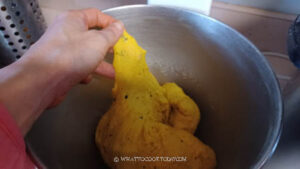
- When you stretch a small amount of the dough thinly, it won't break. You can stop kneading at this point
First proofing:
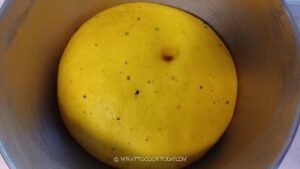
- Oil the bowl and round the dough up into a smooth ball and cover
- Let the dough rise at temperature about 77-86 F (25-30 C) until they are double in volume. This may take 1 hour or longer depending on the temperature. When you poke the dough with a finger, the indentation stays and the dough does not collapse. It has been sufficiently proofed

Shaping:
- I use a small Pullman tin that measures 9 x 4 x4 inches. You can also use 9 x 5 inch (2 lb loaf pan) for this recipe. Oil the bottom and the side of the pan. You can also line with parchment paper overhanging on the long side for easier removal
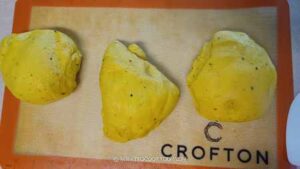
- Deflate the dough, pushing out all the air and divide into three equal portions of dough. Round each one up again and cover and let them rest for about 5 minutes
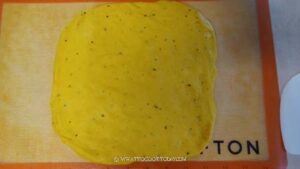
- Work with one dough at a time. Flatten the dough with your palm and roll it into a rectangle shape, the width should be about twice the width of the loaf pan and about the same length as the loaf pan.
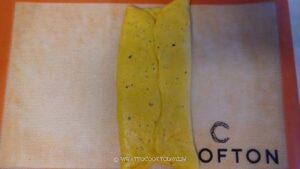
- Fold the two sides over to meet in the middle
- Then roll the dough up or down, not too tight, not too loose, like a Swiss roll
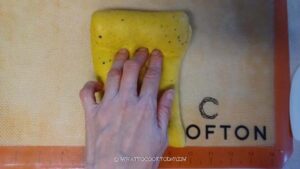
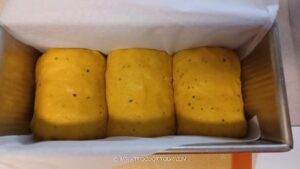
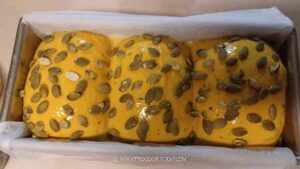
- Place the shaped dough into the pan. Repeat with the other two doughs. Place all the shaped dough side by side inside the loaf pan. Slightly flatten the three doughs with your palm so they are about the same height
Final proofing:
- Cover and let the dough proof again at a warm place until it fills up about the same level as the rim of the pan. This may take about 45 minutes to 1 hour at 82 F.

Baking:
- 10 minutes before the end of proofing, preheat your oven to 375 F (180 C) for a conventional bottom-heat only oven. For convection top and bottom heat, lower the temperature by 20 F or 15 C
- Whisk the egg with milk for an egg wash. Brush the surface with an egg wash. Sprinkle with some pumpkin seeds or other seeds of your choice or leave it blank if you prefer
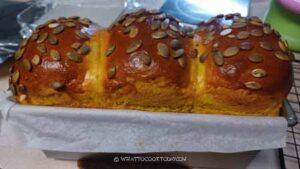
- Place the loaf pan on the middle rack and bake for 35 minutes or until the top is golden brown if you are using 9 x 4 x 4 Pullman pan, and about 30 minutes if you are using 9 x 5 inch loaf pan. If the top gets browned too quickly, tent it loosely with an aluminum foil, shiny-side facing up
Cooling:
- Once out of the oven, drop the pan on the counter to release some steam and immediately remove from the pan onto a cooling rack. Optional: If you want a softer shinier crust, you can brush with melted butter immediately while the bread is still warm. Let the bread cool down completely on the rack
Storage:
- Once it has cooled down, you can put in an air-tight container and can be kept at room temperature for 2-3 days. The bread should stay soft for few days if kept properly at room temperature

2 comments
Can I use Tangzong method to bake this pumpkin bread.
Hi Anne, I haven’t tried it with tangzhong for this particular recipe, but you can probably try to use about 5% of the flour to make the tangzhong, so let’s say about 20 grams of the flour with 100 grams of milk to make tangzhong. Then just minus the amount of flour and water from the main dough. So that would be about 350 grams of bread flour and 35 grams of milk. That’s in theory, but in practical it may vary slightly when it comes to the amount of liquid and flour you may need.