This post may contain affiliate links. Please read our disclosure policy.
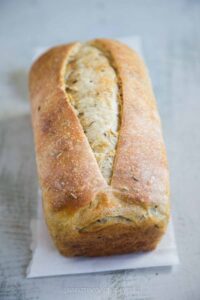
Learn how to bake no-knead sourdough bread in a loaf pan. It is perfect as a toast in the morning or to make sandwiches.
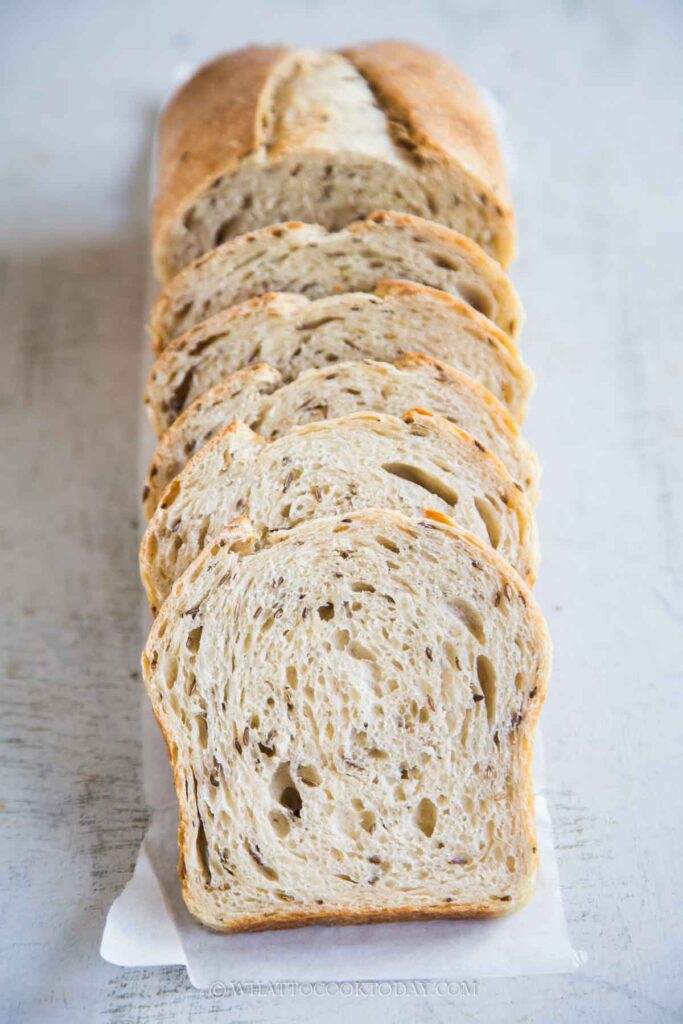
No-knead sourdough sandwich bread is a fantastic way to enjoy the benefits of homemade bread with minimal effort. Its rich flavor, health benefits, and ease of preparation make it a perfect choice for both novice and experienced bakers. By following this simple method, you can create a delicious and nutritious bread that enhances any sandwich, toast, or meal. You will never want to buy a bread again!
Sourdough bread in a loaf pan
I usually bake my sourdough bread in a Dutch oven. I love the dramatic and artistic look of it. Sometimes I get dramatic ear from the oven spring and that perfect scoring on the bread. There are days when I just want the convenience of baking in a loaf pan without having to lift the heavy Dutch oven. So here’s what I like about baking sourdough bread in a loaf pan:
1. Uniform Shape
You get a nice rectangular loaf, ideal for slicing evenly—perfect for sandwiches, toast, or French toast.
2. Softer Crust
The loaf pan typically yields a softer, more tender crust, especially if baked uncovered or with less steam. Great for kids or those who don’t love super crusty bread.
3. Easier Storage
The shape fits perfectly in storage bags or containers, making it simpler to store and freeze.
4. Beginner-Friendly
No need to master fancy shaping or scoring. The pan contains and supports the dough, helping it rise upwards even if your shaping isn’t perfect.
5. Batch Baking
You can bake multiple loaves at once if you have more than one pan—more efficient than using Dutch ovens, which take up more oven space.
6. Less Equipment Hassle
No heavy Dutch oven to preheat, handle, or clean—just grease the pan and bake.
7. Reduced Risk of Burning
Loaf pans shield the dough more, so the base is less likely to over-bake or scorch, especially in ovens with strong bottom heat.
Why we love this bread
This is one of the recipes that has been on a weekly repeat at our house. We love artisan bread baked in boule or batard form, but the kids also love it when I bake it in a loaf pan.
1. It’s a no-knead bread
Yes, with just a few stretches and folds you can make a loaf of bread! a tasty one without much elbow grease
2. The dough is easy to work with
The hydration of the dough is about 78% (just a rough estimate). So it’s not a difficult dough to work with
3. The taste and texture is amazing
Every time I make this bread, the family always say “So good!”. It has that complex sourdough taste profile and the crumb is soft yet chewy. When you toast it, it’s crusty on the edges! Yup! enough said!

No-Knead Sourdough Bread in Loaf Pan
Ingredients
- 110 g active starter 100% hydration
- 220 g water
- 20 g honey
- 10 g oil
- 350 g bread flour 12.7% protein content
- 7 g salt
- 1 Tbsp caraway seeds optional, add more or less to your taste
Instructions
- Remember that you want to use your starter at its peak, meaning it has doubled or tripled when you are ready to use it
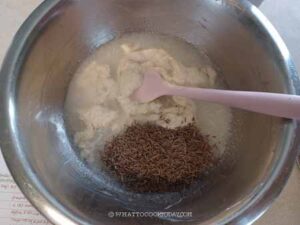
- My ambient room temperature is 77-79 F. Weigh out 110 grams of starter into a mixing bowl. Combine starter, water, honey, oil, caraway seeds, and salt and stir to combine and to loosen the starter so it mixes well.

- Add bread flour and stir to combine into a rough wet dough. The whole process probably take about 3-5 minutes. It is important that there shouldn't be any visible dry bits. If the dough feels dry add another teaspoon of water and mix again. All flour needs to be fully hydrated. Cover and let it sit for 1 hour.
Do 4 sets of stretch and fold every 30 minutes:
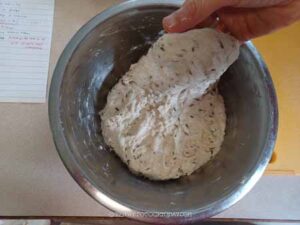
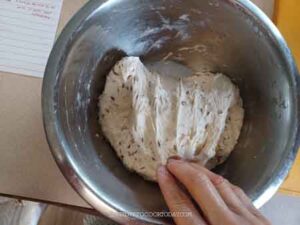
- Stretch and fold # 1: Wet your fingers lightly. Pick up the dough from one of the edge, kinda wiggle it and stretch it up and fold it over.


- Repeat this throughout the edge of the dough. You may end up with 4-5 stretches. Only stretch as far as the dough allows you too, don't force it. I like to flip the smooth side of the dough over. Cover the dough again and rest for 30 minutes

- Repeat this stretch and fold 3 more times, every 30 minutes. You will notice that the dough is getting tighter now, which is normal as the gluten is developing.
Cold fermentation: (if not baking on the same day)
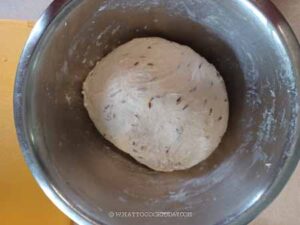
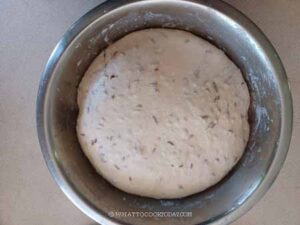
- Once you are done with the last set of stretch and fold, I like to move it to a lightly oiled container that has tight-fitting lid. Push the dough down to fill up the container and then mark the side of the container to give me an idea where the height of the dough roughly is. So when it doubles in volume, I can easily see it.
- Let the dough proof until it is about 50% in volume and then put it inside the fridge. The dough will continue to proof but at a much slower pace now. By the next morning or so, it may be doubled in volume.
- The next day, remove it from the fridge and let the dough sit at room temperature to let it continue to proof if the dough hasn't doubled in volume. Once it doubles in volume, proceed to shaping
If baking on the same day:
- Once you are done with the last set of stretch and fold, cover the bowl and let it proof until it doubles in volume. I like to move it to a lightly oiled container that has a tight-fitting lid. Push the dough down to fill up the container and then mark the side of the container to give me an idea where the height of the dough roughly is. So when it doubles in volume, I can easily see it. Proceed to the shaping step after that

Shaping:
- You can use 8 1/2 x 4 1/2 inch or 9 x 5 inch loaf pan, the bread will be a bit shorter. Oil the pan on all sides
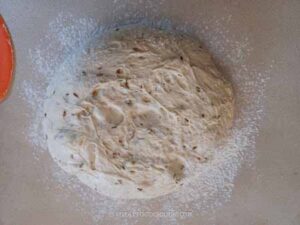
- Remove the dough and place on a lightly floured countertop. Degas by gently pushing all the air out

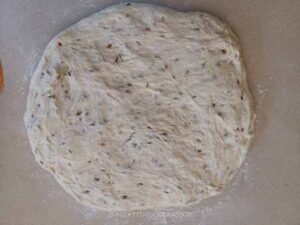
- Lightly dust the dough with some flour and use a floured rolling pin to roll it out into a rectangle, about 10 x 14 inches in size roughly.

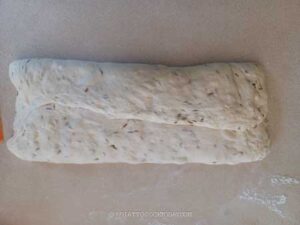
- From the long side of the dough, fold the top side down and the bottom side up to meet in the middle.

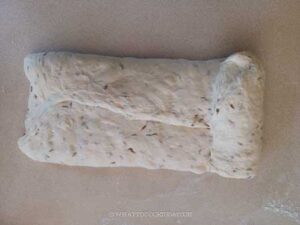
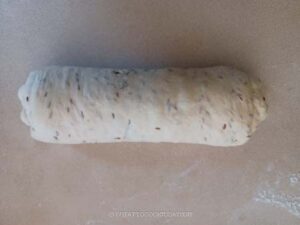
- Roll the dough down

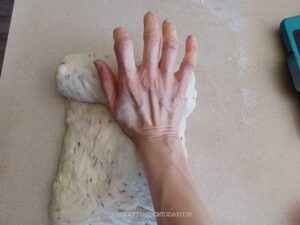
- Use the heel of your hand to seal the seam every time you roll it to create more tension to the dough


Final proofing:
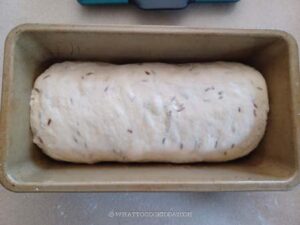
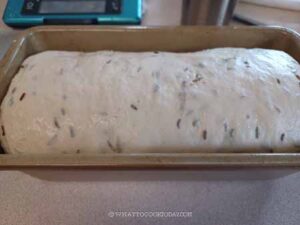
- Place the shaped dough into a prepared pan. Gently press the dough down to fit the pan and to even out.

- Cover with a plastic wrap and let it ferment again until it reaches the rim of the pan. It took mine about 2 hours at 82 F (28 C). Depending on your room temperature, it may take longer if it's cooler

Preheat oven:
- 30 minutes before the end of proofing, preheat the oven to 425 F (220 C) for conventional oven, 400 F (200 C) for convection oven, with a baking stone or a baking pan on a middle rack and place a cast-iron pan or pot, or a thick heat-resistant pan next to the baking stone so the steam can reach the bread easily. Pour in 2 cups of water. The water will gradually heat up as the oven is preheating. We will do a steam bake.
Why I bake with a baking stone and do steam bake (eventhough the bread is baked in a loaf pan):
- If you don't want to use a baking stone/baking steel, you can skip it. The reason why I use it because for a lean dough like this, the stone/steel retains heat very well and gives the bread a really good rise. The steam bake also helps to keep the dough moist so it has time to rise tall before a crust is formed.
Baking:
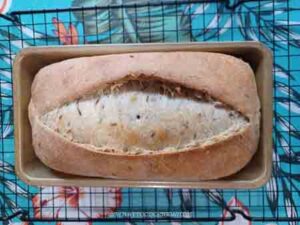
- When the oven is ready, use a bread lame or very sharp pointy knife to make a score in the middle of the loaf, about 1/2-inch deep. The bread will burst nicely following this score line. Spray the dough with some water. Put this inside the oven on top of the preheated baking stone/pan.
- Lower the temperature to 400 F (200 C) for conventional and 385 F (195 C) for convection, and bake for 15 minutes. After 15 minutes, remove the pan with water. Continue baking for the next 30 minutes (start checking at around 30 minutes) or until an instant-read thermometer inserted into the dough reads at least 200 F (93 C). If it's not done, bake another 5 minutes and check again.
Cooling:
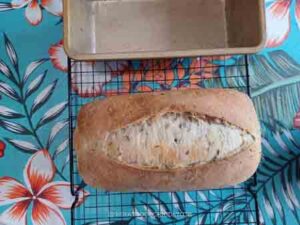
- Remove from the oven and place it on a cooling rack. Let it stand for about 1 minute

- Gently shake it out from the loaf pan and let it cool on the cooling rack completely. Do not attempt to slice into a hot or warm bread

Storing:
- Slice the bread from the middle when ready to serve and keep the two cut halves facing each other tightly and keep them in a bread bag or an air-tight container for 2-3 days. For longer storage, I recommend storing them in a freezer. Place the sliced bread in a bread bag, push all the air out and seal. Then I like to put this into a freezer bag for double protection. When ready to serve, you can thaw at room temperature or you can toast it while it's still frozen

*Nutrition facts are just estimates and calculated using online tools*

Tips for Success
1. Active Starter: Ensure your sourdough starter is active and bubbly before using it. Feed it 4-6 hours before you plan to mix your dough.
2. Hydration: The dough will be sticky, which is normal for sourdough. Avoid adding too much flour during shaping.
3. Temperature: Room temperature can affect fermentation time. Warmer temperatures speed up the process, while cooler temperatures slow it down. So, this can be controlled to fit your schedule. You can choose to bake on the same day, or the next day.


2 comments
Hi, I just found your site and I am extremely excited to try your recipes. Hope to cook some dishes for my niece who recently gave birth.
Thank you.
Hi Marella, I’m so glad you found this little blog here 🙂 I hope you like what you see here so far and feel free to let me know if you have any questions and I’ll try to answer or find the answers for you! Congratulations to your niece and the newborn baby 🙂