This post may contain affiliate links. Please read our disclosure policy.
Baked Chinese bbq pork buns with a sweet crispy crust on top of the buns are seriously out-of-this-world good. A perfect combination of sweet and savory, soft and crispy all in one bite.

The first time we went to Tim Ho Wan, I ordered their baked bbq pork buns and I (well, the entire family pretty much) loved this to the max. My kids love them so much that they had been nagging me to learn how to make this at home and so here I am! LOL! I can’t say they are exactly the same, but it’s close enough to satisfy the cravings!
What is BBQ bolo bao?
BBQ pork bolo bao combines the best of two worlds: the sweet topping of a pineapple bun (bolo bao) and the savory filling of Chinese BBQ pork (char siu bao). Despite the name, the “pineapple” refers to the look of the cracked cookie crust rather than any actual fruit. This indulgent treat is popular in Chinese bakeries, where it’s enjoyed as a snack or a satisfying breakfast.
Why you’ll like this recipe
The tangzhong delivers a super soft and fluffy buns and the buttery, sugary topping creates the irresistible textural contrast that defines bolo bao. The sweet and savory BBQ pork is the star, delivering robust umami flavors. I mean, what not to love with all these combinations?
Key Components
1. Tangzhong Dough
The tangzhong method involves cooking a portion of the flour and liquid to form a roux, which helps retain moisture in the dough, yielding soft and tender buns that stay fresh for days.
2. Cookie Crust
The crumbly topping is made from flour, baking powder, salt, butter, powdered sugar, egg, and vanilla. It provides a sweet contrast to the savory filling and creates the iconic crackled appearance.
3. BBQ Pork Filling
A flavorful mixture of diced char siu, onion, oyster sauce, soy sauce, sesame oil, and hoisin sauce, thickened with a touch of flour, ensures every bite is packed with savory goodness.
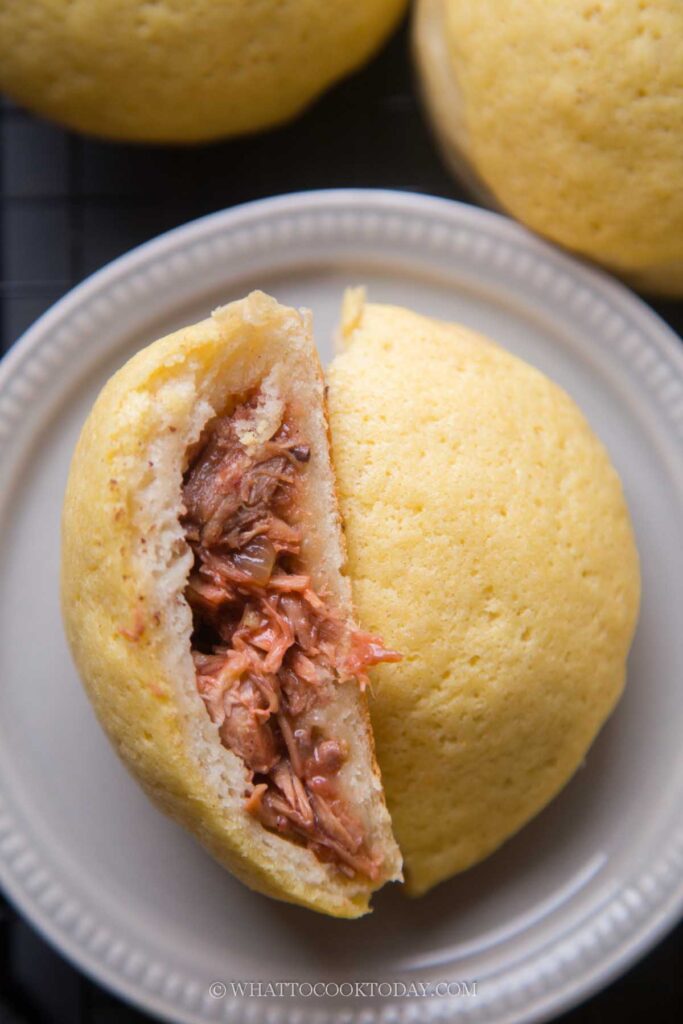
BBQ Pork Bolo Bao (Tim Ho Wan Inspired)
Ingredients
Tangzhong:
- 30 g bread flour
- 150 g milk
Dough:
- 300 g bread flour
- 5 gr instant yeast
- 30 g milk powder
- 100 g whole milk
- 40 g sugar
- 40 g unsalted butter softened
Cookie crust:
- 49 g all purpose flour
- 42 g unsalted butter softened
- 40 g powdered sugar
- ⅛ tsp salt
- ⅛ tsp baking powder
- 50 g egg from 1 large egg, beaten
- 1 tsp vanilla extract
Bbq pork filling (can be prepared a few days before):
- 400 g char siu diced
- 1 Tbsp cooking oil
- 1 small onion diced
- 2 tsp red yeast rice powder optional, for red coloring
- 1 tsp grated ginger
Seasonings:
- 1 Tbsp oyster sauce
- 1 Tbsp soy sauce
- 1 Tbsp hoisin sauce
- 1 Tbsp Shaoxing wine
- 3 Tbsp sugar or more as needed
- 1 tsp sesame oil
- ¼ tsp salt or more as needed
To thicken the filling:
- 2 Tbsp all-purpose flour
Instructions
Prepare the filling: (can be prepared few days before)
- Cut the char siu into little cubes
- Mix all the ingredients for seasonings, except for the flour, in the bowl. Set aside. Preheat your wok or skillet over high heat. Add in the oil. Add onions and ginger and saute until fragrant and soft, about 3 minutes.
- Add the BBQ pork (or uncooked chicken meat if that' what you are using, and cook until they turn opaque in color). Pour in the seasonings and red yeast rice powder (if using) and stir to mix. Sprinkle in the flour. The pork mixture will start to thicken and glue together. Have a taste and add more sugar if needed. It should be more sweet than savory. Turn off the heat and let it completely cool before wrapping. This can be kept in the fridge for about 5 days.
Prepare tangzhong:
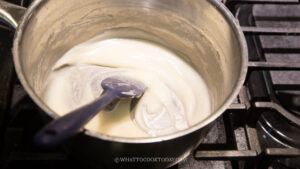
- Place milk and the bread flour in a small saucepan. Whisk until there is no more lumps. Cook this mixture over low-medium heat until it reaches 65 C (149 F) if you have a instant-read digital thermometer. Otherwise, it's about 1 1/2-2 minutes.

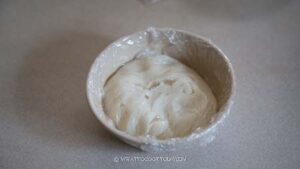
- Remove from the heat and cover with a plastic wrap, touching the tangzhong so the skin won't form. I highly suggest using this the next day instead of using it on the same day. Store this in the fridge

- If you decide to use it on the same day, let it cool down to lukewarm before mixing with the rest of the ingredients
Prepare the dough:
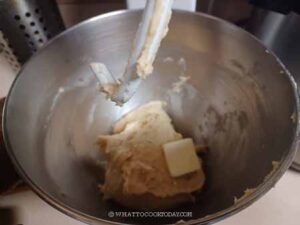
- Add the rest of the ingredients for the dough, except for the butter, into the mixing bowl of a stand mixer fitted with a dough hook attachment. Start the machine and knead the dough on speed 2 until the dough starts to come together into one sticky mass, about 3 minutes
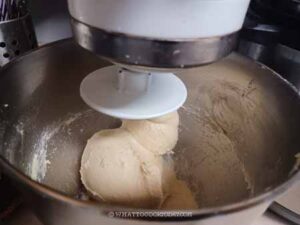
- Increase the speed to 4 and continue to knead until the dough is relatively smooth. You need to stop and scrape the dough off the hook and the bowl several times during this process

- Gradually add the butter, one pat at a time. It is a REAL sticky mess again because of the butter, just keep kneading and stop halfway and scrape the dough off the hook and bowl again and continue to knead until the butter is absorbed by the dough. Don't add any flour.

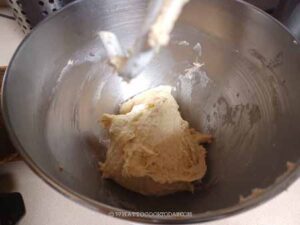
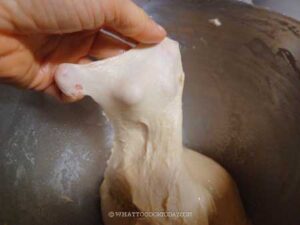
- You will get a shiny smooth dough that is very elastic and sticky. It may take 10-15 minutes of kneading with a machine on speed 4. The dough will clear the sides of the bowl but still stick to the bottom of the bowl and that's ok.

- If you gently stretch a small amount of the dough slowly, it shouldn't break easily. This shows that the dough has good gluten development already and you can stop kneading

First proofing:
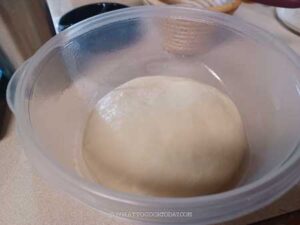
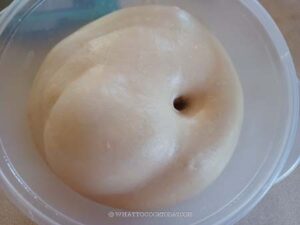
- Oil a bowl and put the dough in there. Cover with a damp towel or cling wrap. Let it proof in a warm place. It may take 1-2 hours or longer for the dough to double in size. This depends on the temperature. The colder it is, the longer it will take to proof

- When you poke your finger into the dough and the indentation stays, the dough is done proofing. If it bounces back almost immediately, it needs to proof longer

Shaping:
- Roughly divide the filling into 12 equal portions and keep them chilled in the fridge
- Line two large baking pans with parchment paper. Deflate the dough and knead a few times to push out all the air
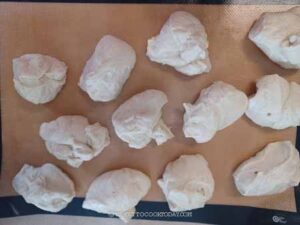
- Divide the dough into 12 equal portions or 16 to 18 smaller portions if you want smaller size buns

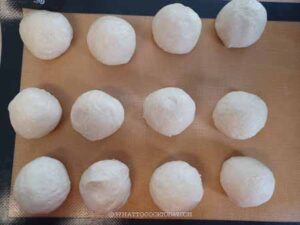
- Fold each dough onto itself to form a round dough ball. Keep them covered to prevent them from drying out


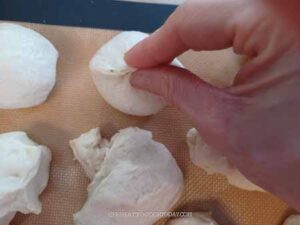
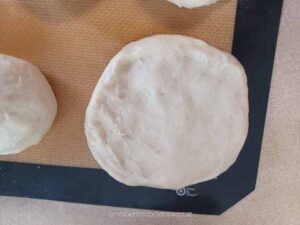
- Work with one dough at a time. Flatten one piece of dough into a disc, about 3-4 inches in diameter.

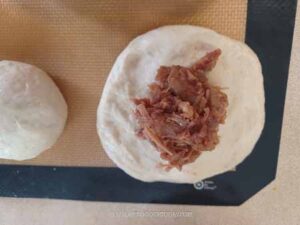
- Scoop a heaping spoonful of the char siu filling onto the center

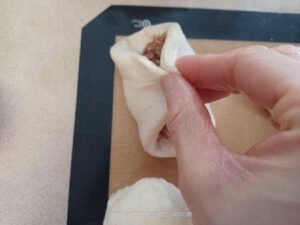
- Fold the dough over to cover the filling. Pinch the seams to shut and turn the dough over so the seam is facing down now.


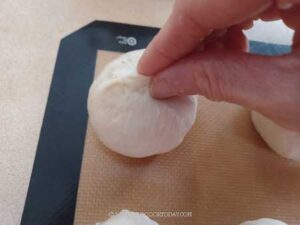
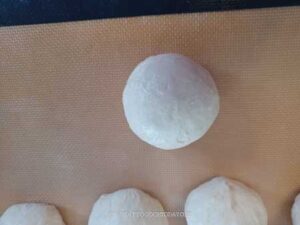
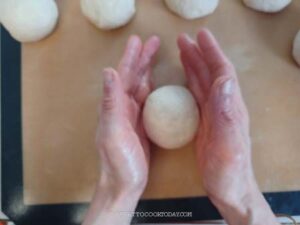
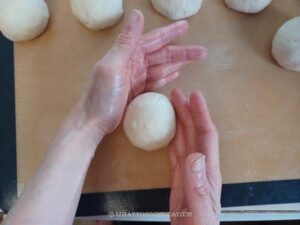
- Reshape the dough again into a round dough ball by cupping your hands on both sides of the dough and rotate your hands to create tension to tighten the dough ball


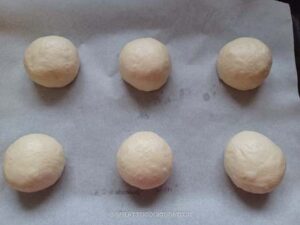
- Place them on a prepared pan. I suggest 6 dough per pan if you are making 12

Final proofing:
- Let the shaped dough proof again for another 45 minutes to 1 hour or until they puffy and when you gently push on the dough, it bounces back very slowly and leaves some indentation.
- 10 minutes before the end of final proofing, preheat the oven to 375 F (195 C) for conventional oven, 350 F (10 C) for convection oven
Prepare the topping:
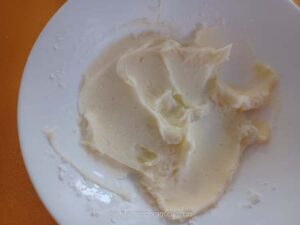
- While waiting for the dough to final proof, combine flour, baking powder, and salt in a bowl. In another bowl, combine soft butter and powdered sugar. Beat until creamy. You can manually do this with a sturdy spatula.

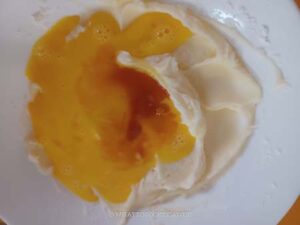
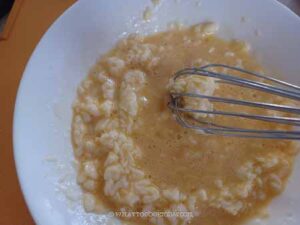
- Add the beaten eggs and mix again, the mixture will separate and looks really messy, but don't worry. It will come together once you add the dry ingredient


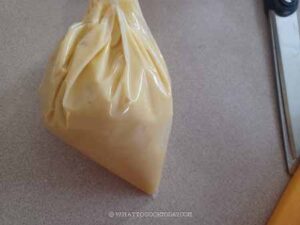
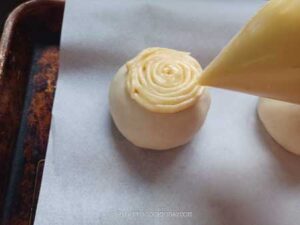
- Add the flour mixture and mix until you get a creamy paste. Transfer it to a piping bag or a sturdy ziplock bag. Use a scissor to cut the tip, about 1/4 inch wide

Pipe the topping:
- Start from the center of the dough, pipe the topping in a spiral pattern, covering about 3 inches of the surface of the dough and about 1/4 inch thick

Baking:
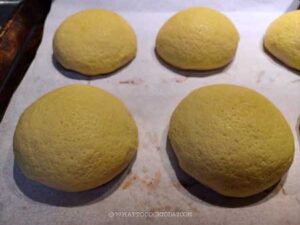
- I recommend baking one pan at a time. Put the baking sheet on the middle rack and bake for 15-18 minutes or until the top is golden brown. If you make smaller buns, it may only take 13-15 minutes

Cool on the rack:
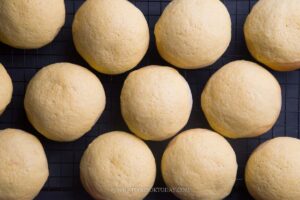
- Immediately transfer the buns to a wire rack to prevent the bottom of the buns from getting soggy. Let them cool down for about 10 minutes. The crust will crisp up considerably as they cool down

To serve:
- They taste the best on the same day as the crust is still crisp. The crust will soften and get a tiny bit sticky a few hours later, which is normal. You can reheat the buns and the crust will crisp back up again
How to store:
- Let the buns cool down completely. Once they have cooled down completely, you can individually wrap with a cling wrap and put in a freezer bag. They can be kept frozen for up to one month for the best result
How to reheat:
- If frozen, thaw at room temperature before reheating. Reheat in a 400 F (200 C) for about 4-5 minutes. Let it cool down a bit and the crust will firm right back up
RECOMMEDED TOOLS
*Nutrition facts are just estimates and calculated using online tools*
BBQ pork bolo bao is a labor of love that rewards you with bakery-quality buns in the comfort of your own kitchen. The combination of a soft tangzhong bun, savory BBQ pork filling, and a sweet cookie crust is pure perfection. Enjoy them freshly baked or reheat for a quick treat that tastes just as good as day one. Happy baking!



2 comments
Hi Marvellina, Oh, I am sorry for that comment, as my brain was not functioning! I understand now that you were talking about the topping dough! When I started to put my buns in the oven, I realized my topping was too thick to put it on the top and re-read the recipe and realized that you were talking about topping “dough.” You are welcome to delete the whole two comments! I will let you know how they turned out, but the filling (made with your char siu pork recipe) tasted good, and the house smells good now as they are baking!
Hi Marilyn, I apologize for my late reply. I have added the word “topping dough” to avoid confusion next time. I hope the turned out great for you!! Keep me posted when you have a chance! 🙂