This post may contain affiliate links. Please read our disclosure policy.
A delightful treat that combines the nutty richness of almonds with the tropical sweetness of coconut, all encased in pillowy soft buns baked to perfection.

What is almond cream coconut bun?
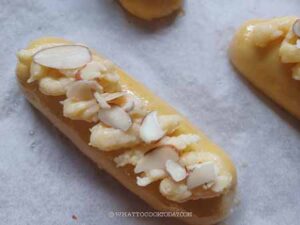
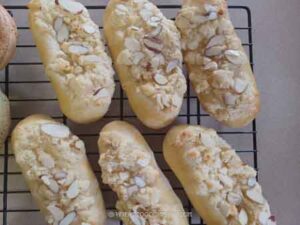
The base of these buns is a sweet dough that’s perfectly soft and fluffy, providing the ideal canvas for the rich almond cream coconut filling. What makes these buns extra special is the filling is piped on top of the shaped dough before baking, creating a beautiful contrast between the golden-brown bun and the creamy, slightly toasted topping. Almond slices are added for decoration, giving the buns a crunchy texture that complements the softness of the dough and the creaminess of the filling.
The pillowy soft dough
The dough is buttery, and fluffy yet sturdy enough to hold the creamy filling without becoming too dense. Achieving this delicate texture involves balancing sweetness and fat, ensuring the dough rises beautifully and stays tender.
The almond cream coconut filling
The filling is a luscious mixture of almond flour, butter, icing sugar, egg, almond extract, unsweetened coconut flakes, and condensed milk. This combination creates a creamy yet slightly chewy center that melts in your mouth with every bite. The use of almond extract intensifies the nutty flavor, while the coconut flakes add a pleasant texture and a hint of tropical sweetness.

Almond Cream Coconut Buns
Ingredients
For the dough:
- 340 g bread flour (12.7% protein content) plus more for dusting
- ½ tsp salt
- 50 g sugar
- 50 g egg from one large egg
- 160 g whole milk
- 2 tsp instant yeast
- 65 g unsalted butter softened
For the filling and topping:
- 100 g unsalted butter softened
- 100 g almond flour
- 50 g icing sugar
- ¼ tsp salt
- 50 g egg from 1 large egg
- ½ tsp almond extract
- 60 g unsweetened coconut flakes
- 40 g condensed milk
Egg wash:
- 1 large egg beaten
For garnish:
- Almond slices
Instructions
Prepare the dough:
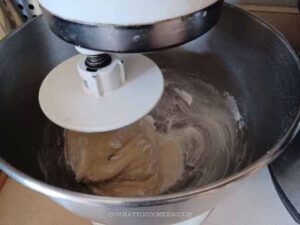
- Combine all the ingredients for the dough, except for the butter, which we will add last, to the mixing bowl of a stand mixer fitted with a dough hook attachment. Give it a quick stir so the dry ingredients won't "fly" all over when you start the machine. Start kneading on a low speed for 2-3 minutes and then increase the speed to medium and knead for another 2 minutes until you form a rough dough.

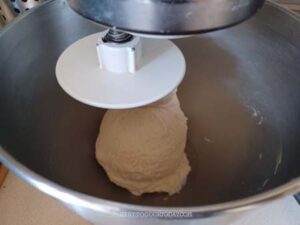
- Gradually add the butter, one pat at a time, and continue to knead over medium speed until the dough is smooth and elastic, you may need to stop the mixer halfway and scrape the sides of the bowl. The dough will be stick, but don't be tempted to add more flour. It clears the side of the bowl but still is sticky to the bottom of the bowl

First proofing:
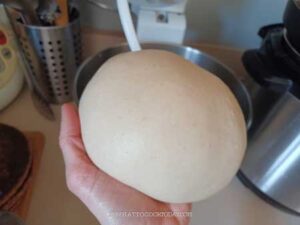
- Lightly oil your hands, scrape the dough using a dough scraper, and pick it up with your hands to round it up into a smooth dough ball. Lightly oil the bowl and place the dough back into the bowl.

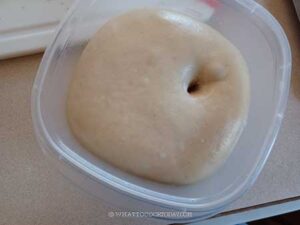
- Cover with a plastic wrap and let it proof at a warm place until the dough is doubled in volume. This may take somewhere from 1 – 2 hours depending on the temperature. When you poke your finger into the dough, the indentation stays and the dough doesn't deflate

Prepare the filling:
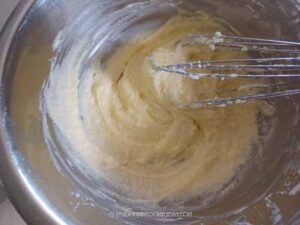
- While waiting for the dough to proof, you can prepare the filling. Whisk the softened butter, sugar, and salt until creamy. Add the egg, almond extract, condensed milk and beat again until creamy.

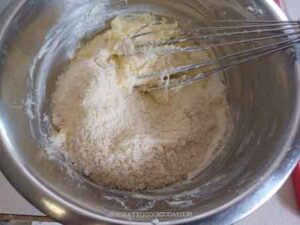
- Add almond flour and coconut flakes and whisk everything to combine. Cover and set aside. If it's really warm where you are, keep it in the fridge. This can be kept in the fridge for up to one week or keep in the freezer for up to one month

Shaping:
- Remove the filling from the fridge if you have kept it in the fridge to let it soften a bit before filling the dough
- Set aside about 1/3 of the filling for topping. Put this inside a piping bag or a plastic bag. We will pipe this on top of the dough later
- Line two baking sheets with parchment paper. If you have a full-size baking sheet, you can fit all 8 in one. I have a smaller ones and I have to use two baking sheets. Punch the dough down to release air and remove the dough from the bowl onto a lightly floured work surface. Divide into 8 equal pieces of dough. Cover them and let them sit for about 5 minutes to relax the gluten so they are easier to roll out
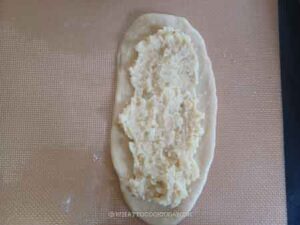
- Roll or pat the dough into about 3 x 5 inches rectangle-ish shape, it doesn't have to be exact. Spread about 2-3 Tbsp of the filling on the dough, leaving about 1/2-inch border all around the edge.

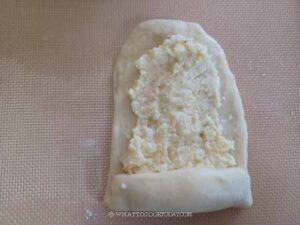
- Roll the dough up from the short side

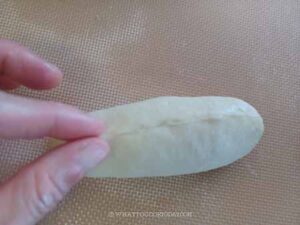
- Pinch the seams shut to seal the dough.

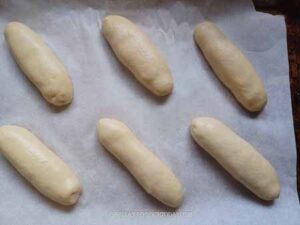
- Place this on a prepared baking sheet, seam side down. Repeat with the rest of the dough and filling

Final proofing:
- Cover the shaped dough with a cling wrap that you sprayed with some non-stick spray. Let them proof at a warm place again until they are really puffy and when you gently press on the dough, it bounces back very slowly and leaves some indentations. This may take 45 minutes to 1 hour, depending on the temperature
Apply topping:
- 10 minutes before the end of proofing, start preheating the oven to 350 F (180 C) for conventional oven or 330 F (165 C) for convection oven
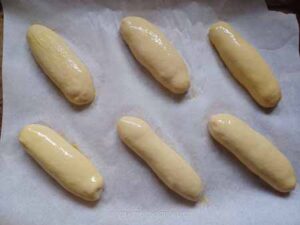
- Apply some egg wash on top of the dough.

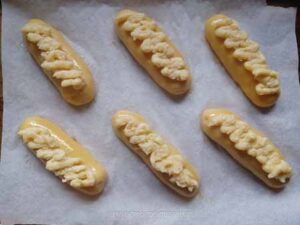
- Pipe the reserved filling on top of the dough.

- Garnish with some almond slices

Baking:
- I recommend baking one pan at a time. You can place another baking pan in the fridge while waiting for the first batch to bake. Place the baking pan on the middle rack and bake for about 18-20 minutes or until the top is golden brown
- Remove from the oven and let them cool on the pan placed on top of a cooling rack for about 3-5 minutes

- Then transfer to a cooling rack to let them cool down

- Continue baking the second batch following the same instructions
To serve:
- They can be served warm or at room temperature. They taste the best on the same day but can be stored at room temperature, in an air-tight container for 2-3 days
RECOMMEDED TOOLS
*Nutrition facts are just estimates and calculated using online tools*

How to serve
These buns are best enjoyed fresh out of the oven when the dough is still warm and the filling is gooey and fragrant. They pair wonderfully with a cup of tea or coffee, making them an excellent choice for breakfast, brunch, or an afternoon treat.
How to store
1. If you plan to eat the buns within 2-3 days, you can store them in an airtight container at room temperature. Make sure they are completely cool before sealing them, to avoid condensation that could make them soggy. Reheating them slightly in the oven before serving will bring back the fluffiness of the dough and enhance the flavor of the almond coconut filling.
2. Almond cream coconut buns freeze well. Wrap each bun individually in plastic wrap or aluminum foil, then place them in a freezer-safe bag or airtight container. They can be frozen for up to one month for the best result. To serve, thaw them at room temperature and warm them in the oven for about 5-10 minutes to regain their soft texture.

