This post may contain affiliate links. Please read our disclosure policy.
Incredibly tasty and soft black sesame rolls stuffed with butter that melts as you bake, giving you the crisp exterior and super soft buttery crumbs.

Why we love these so much!
The Japanese shio pan inspires these black sesame butter rolls. I really love the shio pan. They are slightly crusty on the outside and with buttery soft and fluffy crumbs on the inside. The addition of black sesame powder and black sesame seeds adds a nice nutty flavor to the rolls. These are seriously so good!
Black Sesame Butter Rolls
Ingredients
Poolish:
- 50 g bread flour
- 50 g water
- ¼ tsp instant yeast
Main dough:
- 250 g bread flour
- 1 ½ tsp instant yeast
- 30 g sugar
- ¾ tsp salt
- 120 g milk or more as needed
- 30 g melted unsalted butter softened
- 20 g black sesame powder
- 8 g black sesame seeds
Filling:
- 40 g unsalted butter cold
Instructions
Prepare poolish:
- Mix all ingredients for poolish and let it sit for a minimum of 4 hours. You can even put this in the fridge until the next day when you are ready to use them. They can be kept in the fridge for up to 5 days. Simply let it comes to room temperature for an hour or so before using

Prepare the dough:
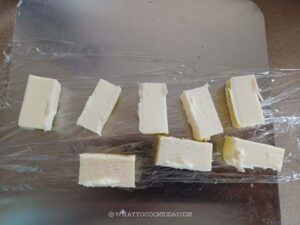
- Before you start making the dough, take out the butter for filling and slice into 8 smaller block and put them in the freezer

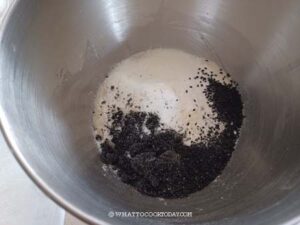
- Put all ingredients for the dough and the poolish in a mixing bowl of a stand mixer fitted with a dough hook attachment

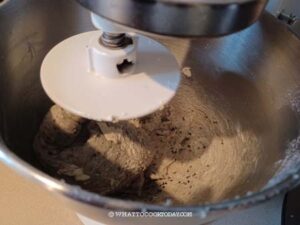
- Start the mixer on low (“stir” on KA) and knead for about 2 minutes. It should come to a rough dough. If it’s too dry, you can add a bit more liquid. Once you get a rough dough that is slightly sticky, increase speed to 2 and knead for 7-8 minutes, the dough should be smoother and a bit stretchy at this point, but the dough will tear if you pull it
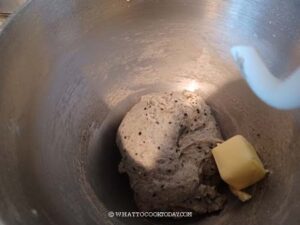
- Add the softened butter and continue to knead on speed 2

- It's a slippery mess (the butter will get absorbed eventually) You may need to scrape the dough down and reposition it several times.

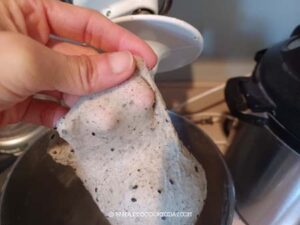
- Increase the speed to 4 and continue to knead for another 5-6 minutes or until you pass the windowpane test. When you gently stretch a small portion of the dough thinly, it doesn't tear easily

First proofing:
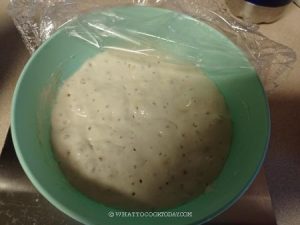
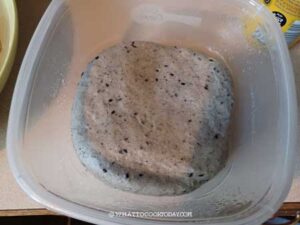
- Oil the bowl and cover and let the dough rise at temperature about 77-86 F (25-30 C) until they are double in size. This may take 1 hour or longer depending on the temperature. If it’s really warm where you are, it may not take that long

- When you poke the dough with your lightly oiled finger, the indentation stays. This means the proofing is done and the dough has doubled in size
Shaping:
- Line one large baking sheet with a parchment paper
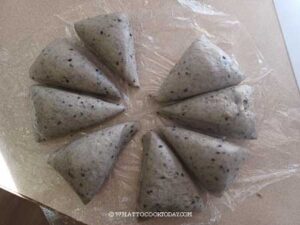
- Lightly oil your working surface and your palms. I use non-stick cooking spray and deflate the dough, pushing out all the air. Divide the dough into 8 smaller doughs, about the same size. Cover and let them rest for about 5 minutes to relax the gluten

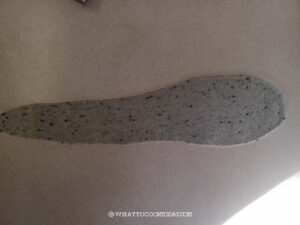
- Work with one dough at a time and keep the rest covered. Take one dough and roll it out into about 7-8 inches long triangle shape.

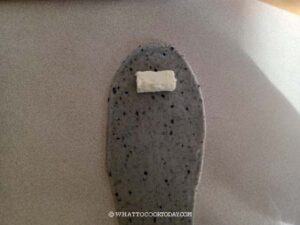
- Place one block of butter about 1 inch from the edge of the widest part of the triangle.

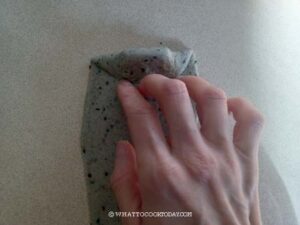
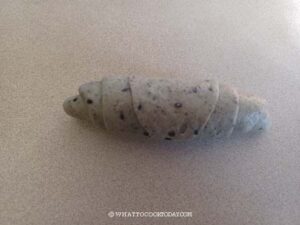
- Fold the dough over and use your finger to press and seal the dough around the butter.

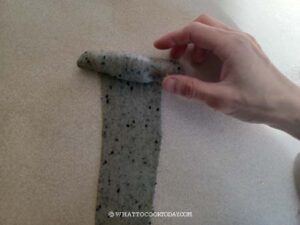
- Roll it down to the other end and tuck the end under. Continue with the rest of the dough and butter


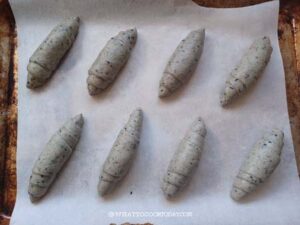
- Place this on a baking sheet and give them some space to rise.

- Spray or brush the surface of the bread with water. Sprinkle with some coarse salt or pretzel salt. I use coarse pink Himalayan salt because that’s all I have
Second proofing:
- Second proofing may take a bit longer to proof the dough at a cooler place. Cover with a cloth and put in a place that is not too warm, try not to exceed 82 F (27 C) because the butter inside the dough will start to melt. Let them proof again until they are puffy and double in size. If you press the dough with your finger gently, it will spring back slowly and leave some indentation.
- 10 minutes before the end of proofing, preheat your oven to 425 F (218 C) for a conventional bottom heat-only oven. For convection top and bottom heat, lower the temperature by 20 F/15 C
Baking:
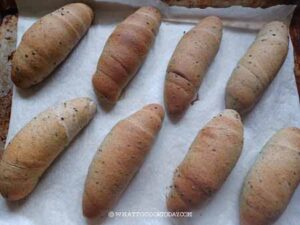
- Bake in the preheated oven, middle rack, for 14-15 minutes or until nicely darker golden brown. I rotate the pan from front to back at about 7 minutes. The butter will slowly melt during baking, don't panic. It's normal. This melted butter will crisp up the bottom of the bread

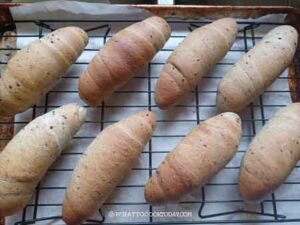
- Remove from the oven and then transfer to a cooling rack to let them cool down completely. The crust will harden and is crisp. The bread has a rustic, matte look because they aren’t brushed with any egg wash

*Nutrition facts are just estimates and calculated using online tools*

Can I make ahead?
1. You can prepare the dough until it reaches the window pane and then transfer to a lightly oiled container with a tight-fitting lid. Let the dough sit for 30 minutes at room temperature and then put it in the fridge to let it proof overnight in the fridge, about 12 hours or so, but no more than 24 hours.
2. The next day, remove the dough from the fridge. It may rise about 50% or more. Let it sit at a warm place for about 30 minutes and then proceed to shape and the rest of the instructions in the recipe card
3. If the dough doesn’t rise at all in the fridge, let it sit at a warm place until it doubles in volume, and then proceed with shaping and the rest of the instructions in the recipe card
How to store baked black sesame butter rolls
1. Let the rolls cool down completely on a cooling rack.
2. Store them in an air-tight container for 2-3 days
3. For longer storage, transfer to a freezer bag, push all the air out and seal. Store them in the freezer or 1 month
4. Simply thaw at room temperature and reheat if you want. You can reheat in a preheated oven at 350 F (180 C) for 5 minutes or just until warm enough. You can also reheat in an air-fryer at 320 F (160C) for 3-5 minutes until just warm through

