This post may contain affiliate links. Please read our disclosure policy.
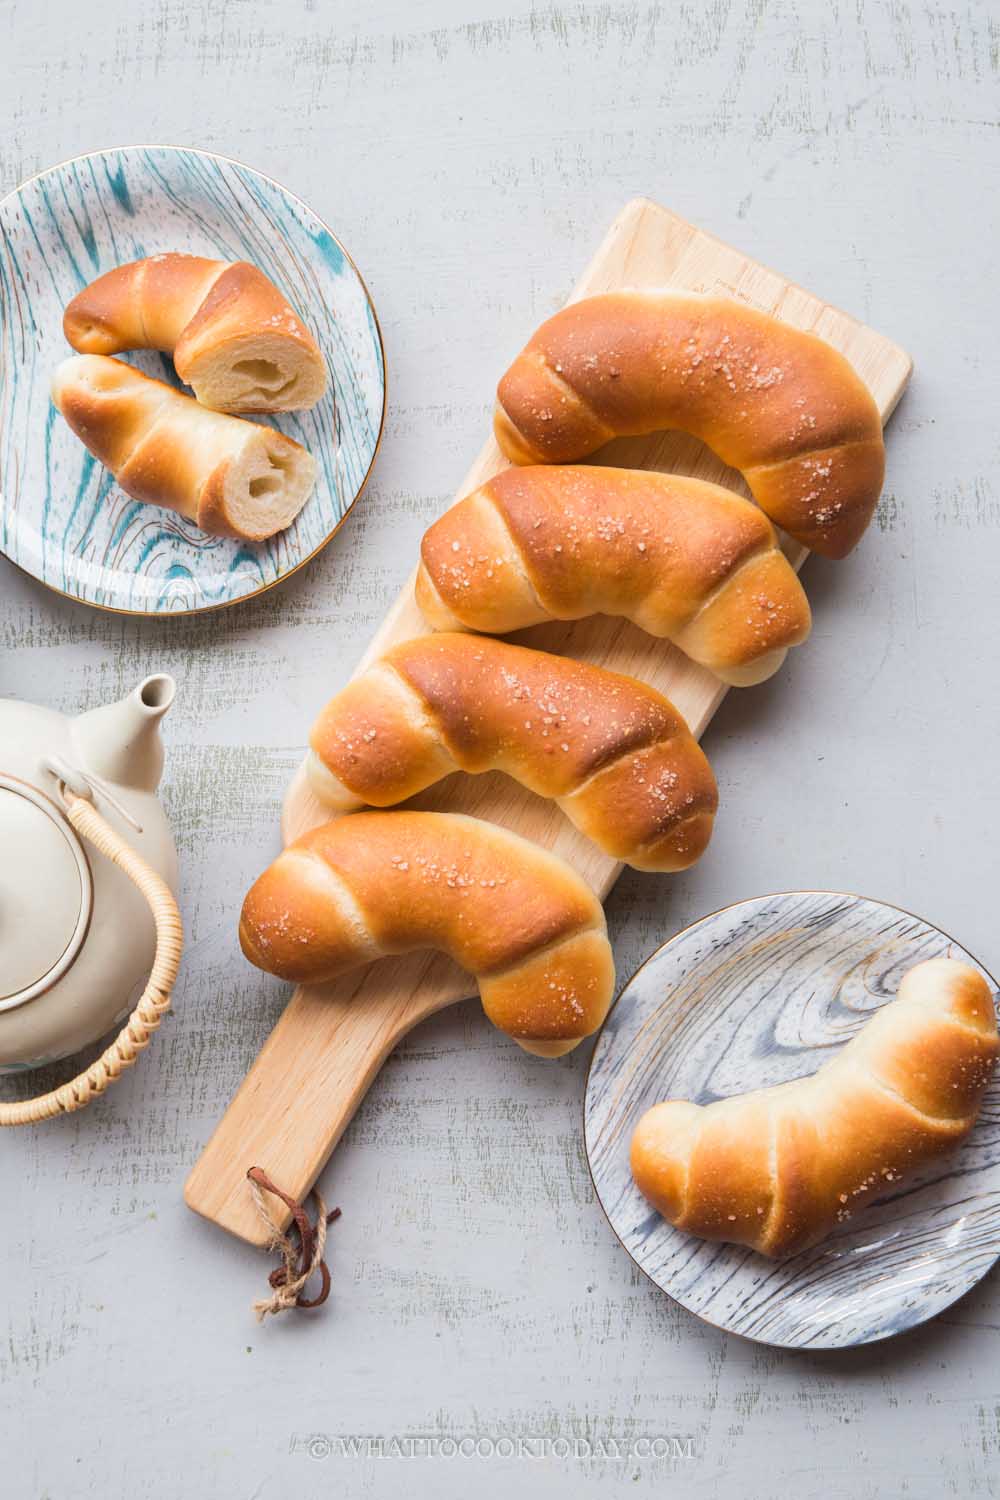
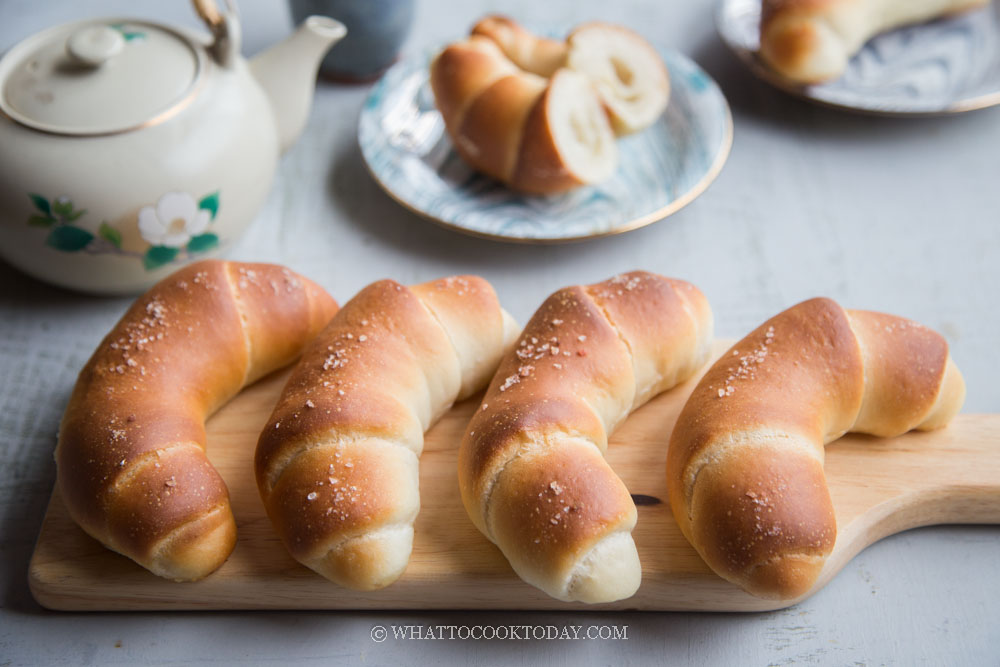
Japanese shio pan is an utterly delicious bread you want to learn how to make. It has a crisp crust on the outside and incredibly soft fluffy inside with a great buttery salty taste. Simple yet it’s an incredibly tasty bread!
What is shio pan?
Shio means salt and pan means bread in Japanese. At a first glance you may think that this is a “dull” looking croissant or crescent roll. The bread isn’t brushed with an egg wash or glaze and hence the dull look. The look can be so deceiving.
Shio pan IS NOT a croissant despite it is shaped like one. It doesn’t have the layers like croissant is. Shio pan is a bread stuffed with a butter stick and shaped like a croissant/crescent roll. When they are baked, the butter melts during baking and will crisp up the bottom part of the bread, making them incredibly tasty.
Why our family loves shio pan
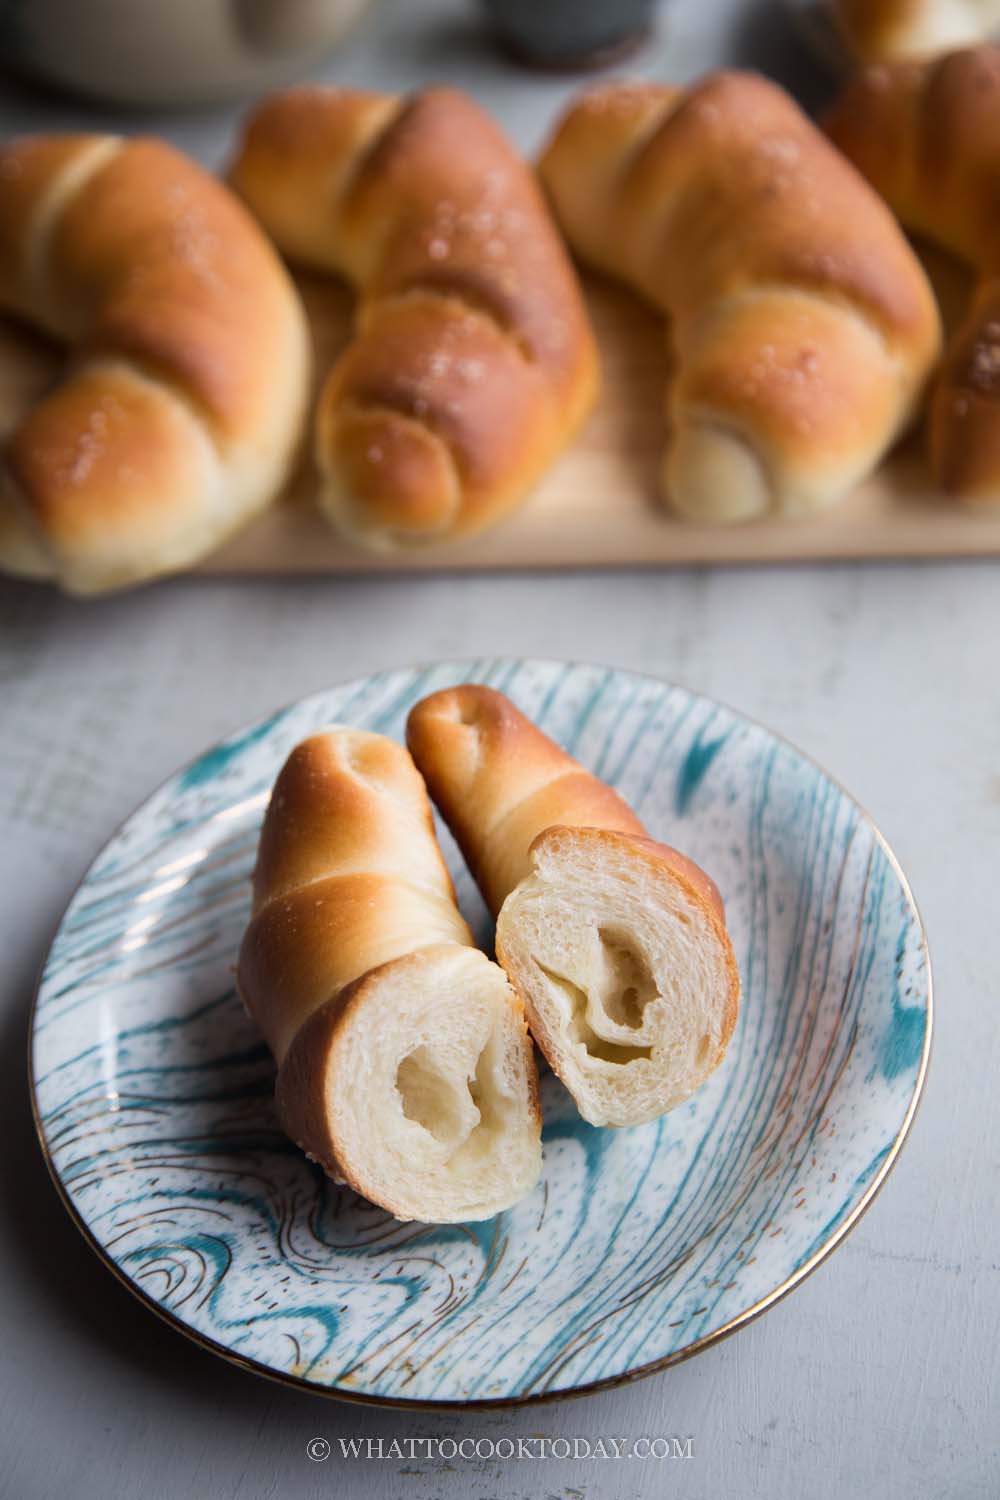
This is not a typical sweet bun. The taste is actually savory and the sprinkle of coarse salt on top of the bread gives that nice savory kick to the bread. The outside is so crisp and the inside is so soft. My husband and kids couldn’t stop eating shio pan. They were gone on the same day I made them!
I use poolish to achieve that incredibly soft texture
Besides tangzhong method to make bread/bun, poolish is also another one of my favorite preferment to use to make soft bread with great flavor. It’s kind of like doing a sourdough but not all the way! Ever since I started on using poolish, I have made many..many..many..(you get the idea!) bread/bun using poolish.
How to make shio pan using poolish
You are welcome to use tangzhong to make shio pan too. The result will be incredible as well.
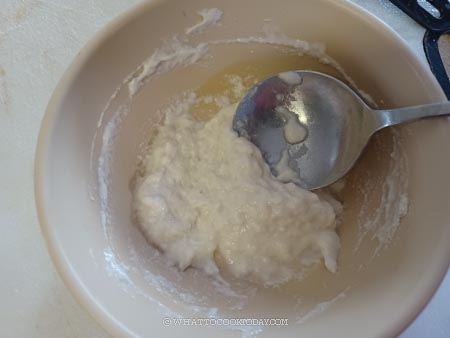
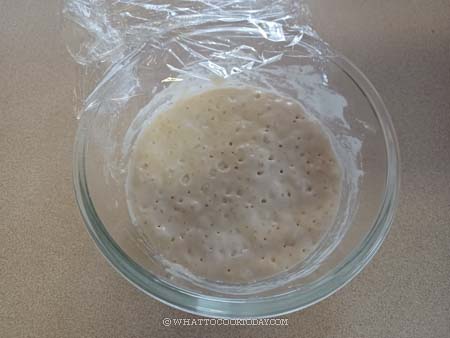
1. Mix all ingredients for poolish and let it sit for a minimum of 4 hours. You can even put this in the fridge until the next day when you are ready to use them. They can be kept in the fridge for up to 5 days. Simply let it comes to room temperature for an hour or so before using
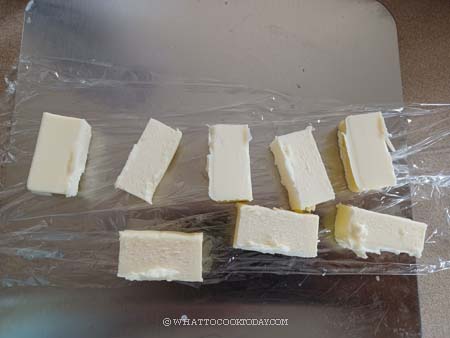
2. Before you start making the dough, take out the butter for filling and slice into 8 smaller block and put them in the freezer
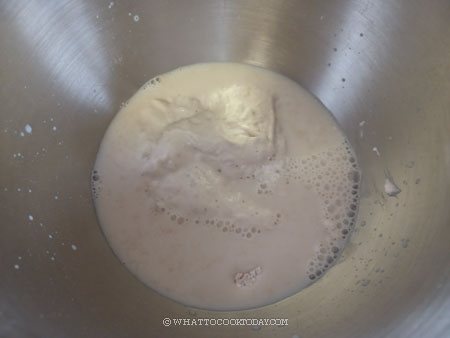
3. Put all ingredients for the dough and the poolish in a mixing bowl of a stand mixer fitted with a dough hook attachment
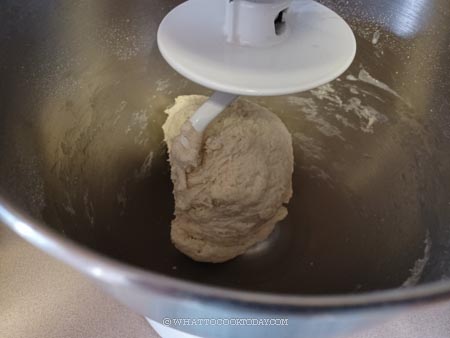
4. Start the mixer on low (“stir” on KA) and knead for about 2 minutes. It should come to a rough dough. If it’s too dry, you can add a bit more liquid. Once you get a rough dough that is slightly sticky, increase speed to 2 and knead for 7-8 minutes, the dough should be smoother and a bit stretchy at this point, but the dough will tear if you pull it
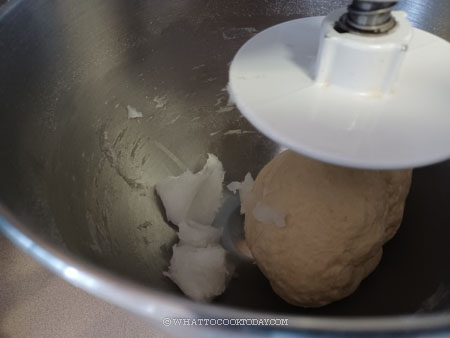
5. Add the softened butter and continue to knead on speed 2 despite a slippery mess (the butter will get absorbed eventually) You may need to scrape the dough down and reposition it several times. Increase the speed to 4 and continue to knead for another 5-6 minutes or until you pass the windowpane test
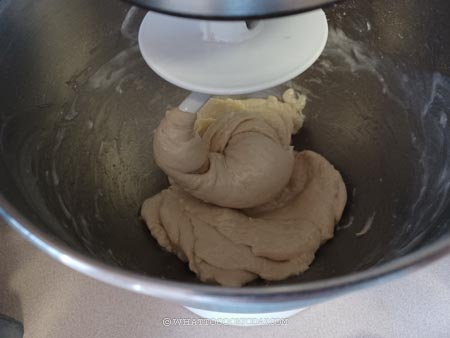
6. When you stretch the dough thinly, it won’t break. You can stop kneading at this point

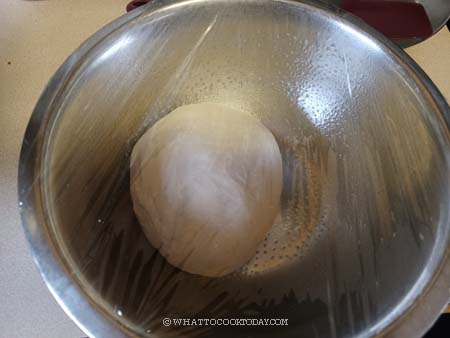
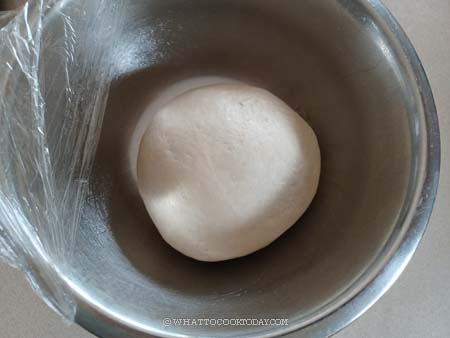
7. Oil the bowl and cover and let the dough rise at temperature about 77-86 F (25-30 C) until they are double in size. This may take 1 hour or longer depending on the temperature. If it’s really warm where you are, it may not take that long
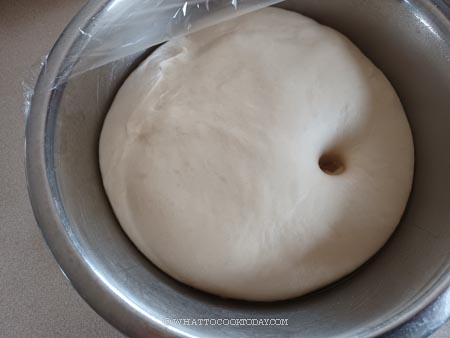
8. When you poke the dough with your lightly oiled finger, the indentation stays. This means the proofing is done and the dough has doubled in size
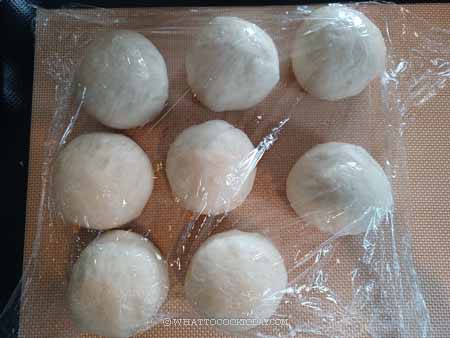
9. Line one large baking sheet with a parchment paper. Lightly oil your working surface and your palms. I use non-stick cooking spray and deflate the dough, pushing out all the air. Divide the dough into 8 smaller doughs, about the same size. Round them up into balls. Cover and let them rest for 15 minutes
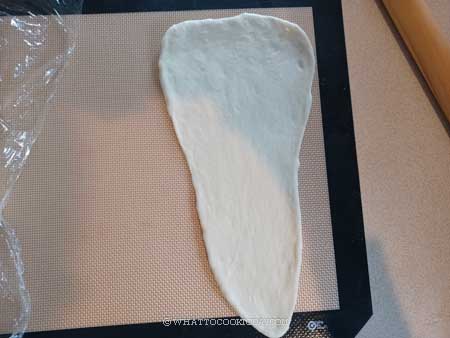
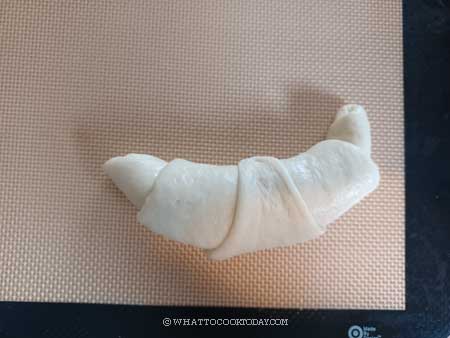
10. Work with one dough at a time and keep the rest covered. Take one dough and roll it out into about 7-8 inches long triangle shape.
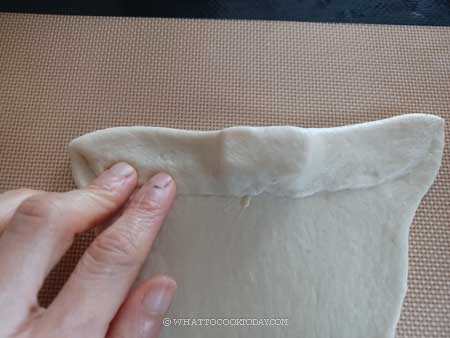
11. Place one block of butter about 1 inch from the edge of the widest part of the triangle. Fold the dough over and use your finger to press and seal the dough around the butter

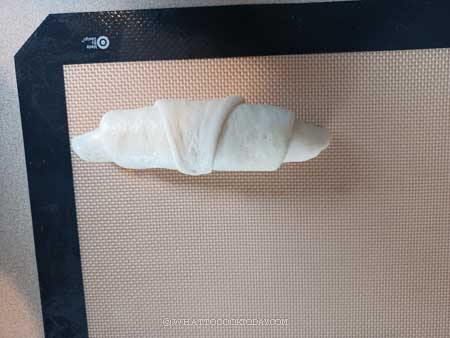
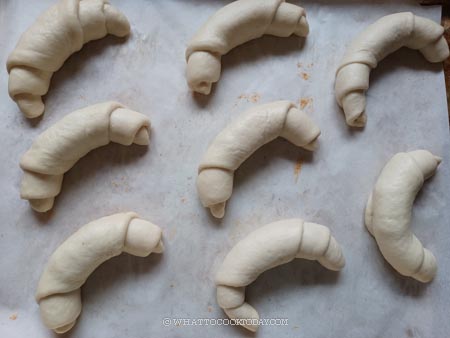
12. Roll the dough down to the other end and tuck the end under. Bent it to shape like a crescent. Place this on a baking sheet and give them some space to rise. Continue with the rest of the dough and butter
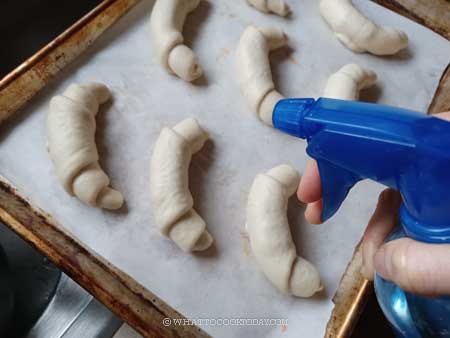
13. Spray or brush the surface of the bread with water. Sprinkle with some coarse salt or pretzel salt. I use coarse pink Himalayan salt because that’s all I have
14. Second proofing may take a bit longer to proof the dough at a cooler place. Cover with a cloth and put in a place that is not too warm, try not to exceed 82 F (27 C) because the butter inside the dough will start to melt. Let them proof again until they are puffy and double in size. If you press the dough with your finger gently, it will spring back slowly.
10 minutes before the end of proofing, preheat your oven to 425 F (218 C) for a conventional bottom heat-only oven. For convection top and bottom heat, lower the temperature by 20 degrees

11. Bake in the preheated oven, middle rack, for 14-15 minutes or until nicely darker golden brown. I rotate the pan from front to back at about 7 minutes. The butter will slowly melt during baking, don’t panic. It’s normal. This melted butter will crisp up the bottom of the bread

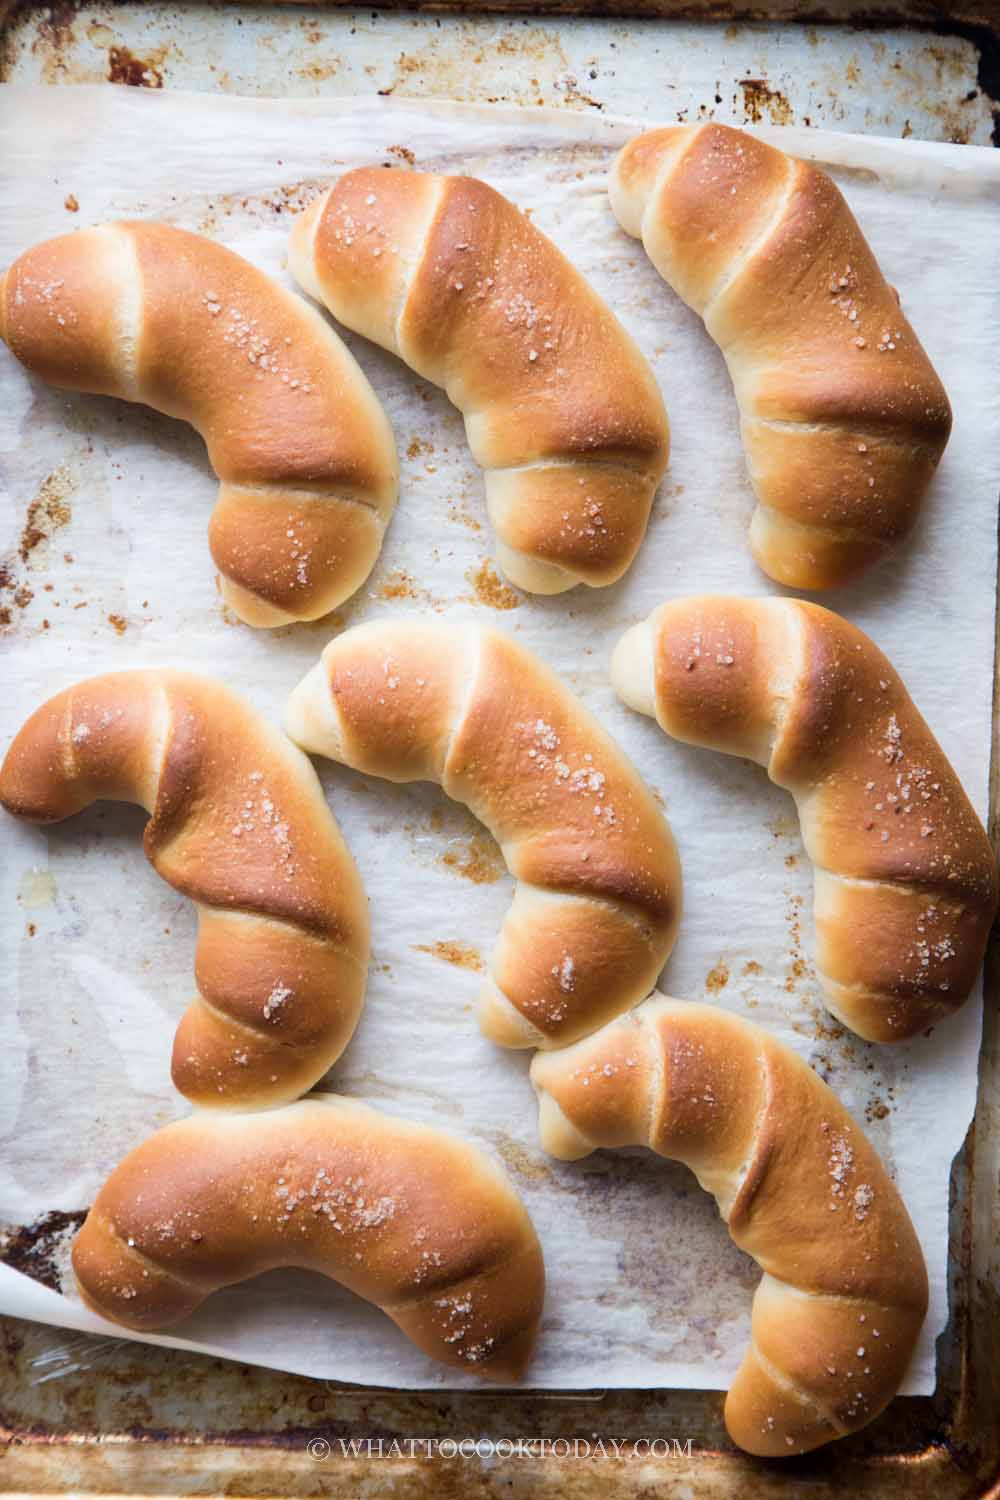
12. Remove from the oven and then transfer to a cooling rack to let them cool down completely. The crust will harden and is crisp. The bread has a rustic, matte look because they aren’t brushed with any egg wash
How to store shio pan
1. Let the bread cool down completely
2. I will store them in an air-tight container and keep them at room temperature for 2-3 days when it’s not humid. For longer storage, keep them in the freezer. I would put a double layer of freezer bags and keep them in the freezer for up to one month
3. The crust will soften the next day and a simple reheat in a toaster oven or oven at 350 F for 5-8 minutes will crisp it up. Add another 5 minutes if the bread is frozen
Did you make this shio pan recipe?
I love it when you guys snap a photo and tag to show me what you’ve made 🙂 Simply tag me @WhatToCookToday #WhatToCookToday on Instagram and I’ll be sure to stop by and take a peek for real!
Shio Pan / Japanese Buttery Salty Bread (poolish or sourdough options)
Ingredients
Poolish:
- 50 gr bread flour
- 50 gr water
- ¼ tsp instant yeast
Main dough:
- 250 gr bread flour
- 1 ½ tsp instant yeast
- 30 gr sugar
- ¾ tsp salt
- 120 ml milk or more as needed
- 30 gr butter softened
If using sourdough starter
Prepare sweet stiff levain:
- 30 gr active starter (100% hydration)
- 90 gr bread flour
- 40 gr water
- 20 gr sugar
Dough if using sourdough starter:
- 195 gr bread flour
- 115 gr milk
- 30 gr sugar
- ¾ tsp salt
- 30 gr butter softened
Filling:
- 80 gr butter cold
Instructions
If using sourdough starter:
- I recommend using a starter that is at least one month old and consistently doubles or triples in 4-6 hours when you feed it at 1:1:1 ratio. Young starter will not give the best result
- About 8-10 hours before you plan to make the bread, combine all ingredients for the stiff starter in a bowl. Stir a bit to roughly combine and then use your clean hand to knead it. This is a stiff starter, it's like a dough. Make sure no pockets of dry flour are visible. Transfer to a large see-through container (plastic or glass is fine, preferably wide-mouth so you can get it out easier later). Loosely cover with the lid and let it ferment until triple in size
Prepare poolish:
- Mix all ingredients for poolish and let it sit for a minimum of 4 hours. You can even put this in the fridge until the next day when you are ready to use them. They can be kept in the fridge for up to 5 days. Simply let it comes to room temperature for an hour or so before using
Prepare the dough:
- Before you start making the dough, take out the butter for filling and slice into 8 smaller block and put them in the freezer
- Put all ingredients for the dough and the poolish or sweet stiff starter for sourdough, in a mixing bowl of a stand mixer fitted with a dough hook attachment
- Start the mixer on low ("stir" on KA) and knead for about 2 minutes. It should come to a rough dough. If it's too dry, you can add a bit more liquid. Once you get a rough dough that is slightly sticky, increase speed to 2 and knead for 7-8 minutes, the dough should be smoother and a bit stretchy at this point, but the dough will tear if you pull it
- Add the softened butter and continue to knead on speed 2 despite a slippery mess (the butter will get absorbed eventually) You may need to scrape the dough down and reposition it several times. Increase the speed to 4 and continue to knead for another 5-6 minutes or until you pass the windowpane test
First proofing:
- Oil the bowl and cover and let the dough rise at temperature about 77-86 F (25-30 C) until they are double in size. This may take 1 hour or longer depending on the temperature. If it's really warm where you are, it may not take that long
- When you poke the dough with your lightly oiled finger, the indentation stays. This means the proofing is done and the dough has doubled in size
- If you use a sourdough starter, this may take about 2-3 hours at 78-80 F (26-28 C), depending on the strength of your starter and temperature
Shaping:
- Line one large baking sheet with a parchment paper
- Lightly oil your working surface and your palms. I use non-stick cooking spray and deflate the dough, pushing out all the air. Divide the dough into 8 smaller doughs, about the same size. Round them up into balls. Cover and let them rest for 15 minutes
- Work with one dough at a time and keep the rest covered. Take one dough and roll it out into about 7-8 inches long triangle shape. Place one block of butter about 1 inch from the edge of the widest part of the triangle. Fold the dough over and use your finger to press and seal the dough around the butter. Roll it down to the other end and tuck the end under. Bent it to shape like a crescent. Place this on a baking sheet and give them some space to rise. Continue with the rest of the dough and butter
- Spray or brush the surface of the bread with water. Sprinkle with some coarse salt or pretzel salt. I use coarse pink Himalayan salt because that's all I have
Second proofing:
- Second proofing may take a bit longer to proof the dough at a cooler place. Cover with a cloth and put in a place that is not too warm, try not to exceed 82 F (27 C) because the butter inside the dough will start to melt. Let them proof again until they are puffy and double in size. If you press the dough with your finger gently, it will spring back slowly.
- If you use sourdough starter, this may take about 3 1/2- 4 hours or longer, depending on temperature and the strength of your starter. Final proofing usually takes much longer for sourdough. Mature starter works faster compared to young starter for example
- 10 minutes before the end of proofing, preheat your oven to 425 F (218 C) for a conventional bottom heat-only oven. For convection top and bottom heat, lower the temperature by 20 degrees
Baking:
- Bake in the preheated oven, middle rack, for 14-15 minutes or until nicely darker golden brown. I rotate the pan from front to back at about 7 minutes. The butter will slowly melt during baking, don't panic. It's normal. This melted butter will crisp up the bottom of the bread
- Remove from the oven and then transfer to a cooling rack to let them cool down completely. The crust will harden and is crisp. The bread has a rustic, matte look because they aren't brushed with any egg wash


19 comments
hi, is it possible to do the second proofing overnight in the fridge after shaping and bake it in the morning?
Hi Hsin Ie, Yes, you can do that, just make sure to cover it well, so the dough won’t get dry out in the fridge. If they don’t rise much in the fridge, just get it out from the fridge on that day when you are ready to bake and let it continue proofing before baking. I hope that makes sense!
thank you so much!
You are very welcome! Let me know how it turns out if you have a chance to make it 🙂
What is the best way to defrost it if it is frozen?
If I plan ahead, I usually thaw it overnight in the fridge (still wrapped so it won’t dry out in the fridge). You can also put them out at room temperature and they will thaw out in an hour or so.
Hai, I’m wondering if i can make the sweet stiff starter 1 or 2 days ahead and keep in the fridge like danzhong?
If yes, Should i keep in the fridge after it’s proof or let it after taking out from fridge?
Thanks.
Hi Jane, I don’t recommend making the stiff starter ahead. You can make it overnight 8-10 hours prior to using it for the best result. If for some reason you have to delay, I recommend no more than 24 hours. You can park it in the fridge after it has proofed if you can’t get to it yet. I rarely do that! I try to make it only when I need it.
Dangzhong is different it’s better after overnight!
Thanks so much for the info 😇