This post may contain affiliate links. Please read our disclosure policy.
Make this popular Chinese New Year ultra-crispy kuih kapit or known as love letter biscuit or crispy coconut rolls without a kuih kapit mould. The recipe is naturally gluten-free. Step by step instructions and video recipe are included. I can guarantee you can’t stop eating them. They are so good!
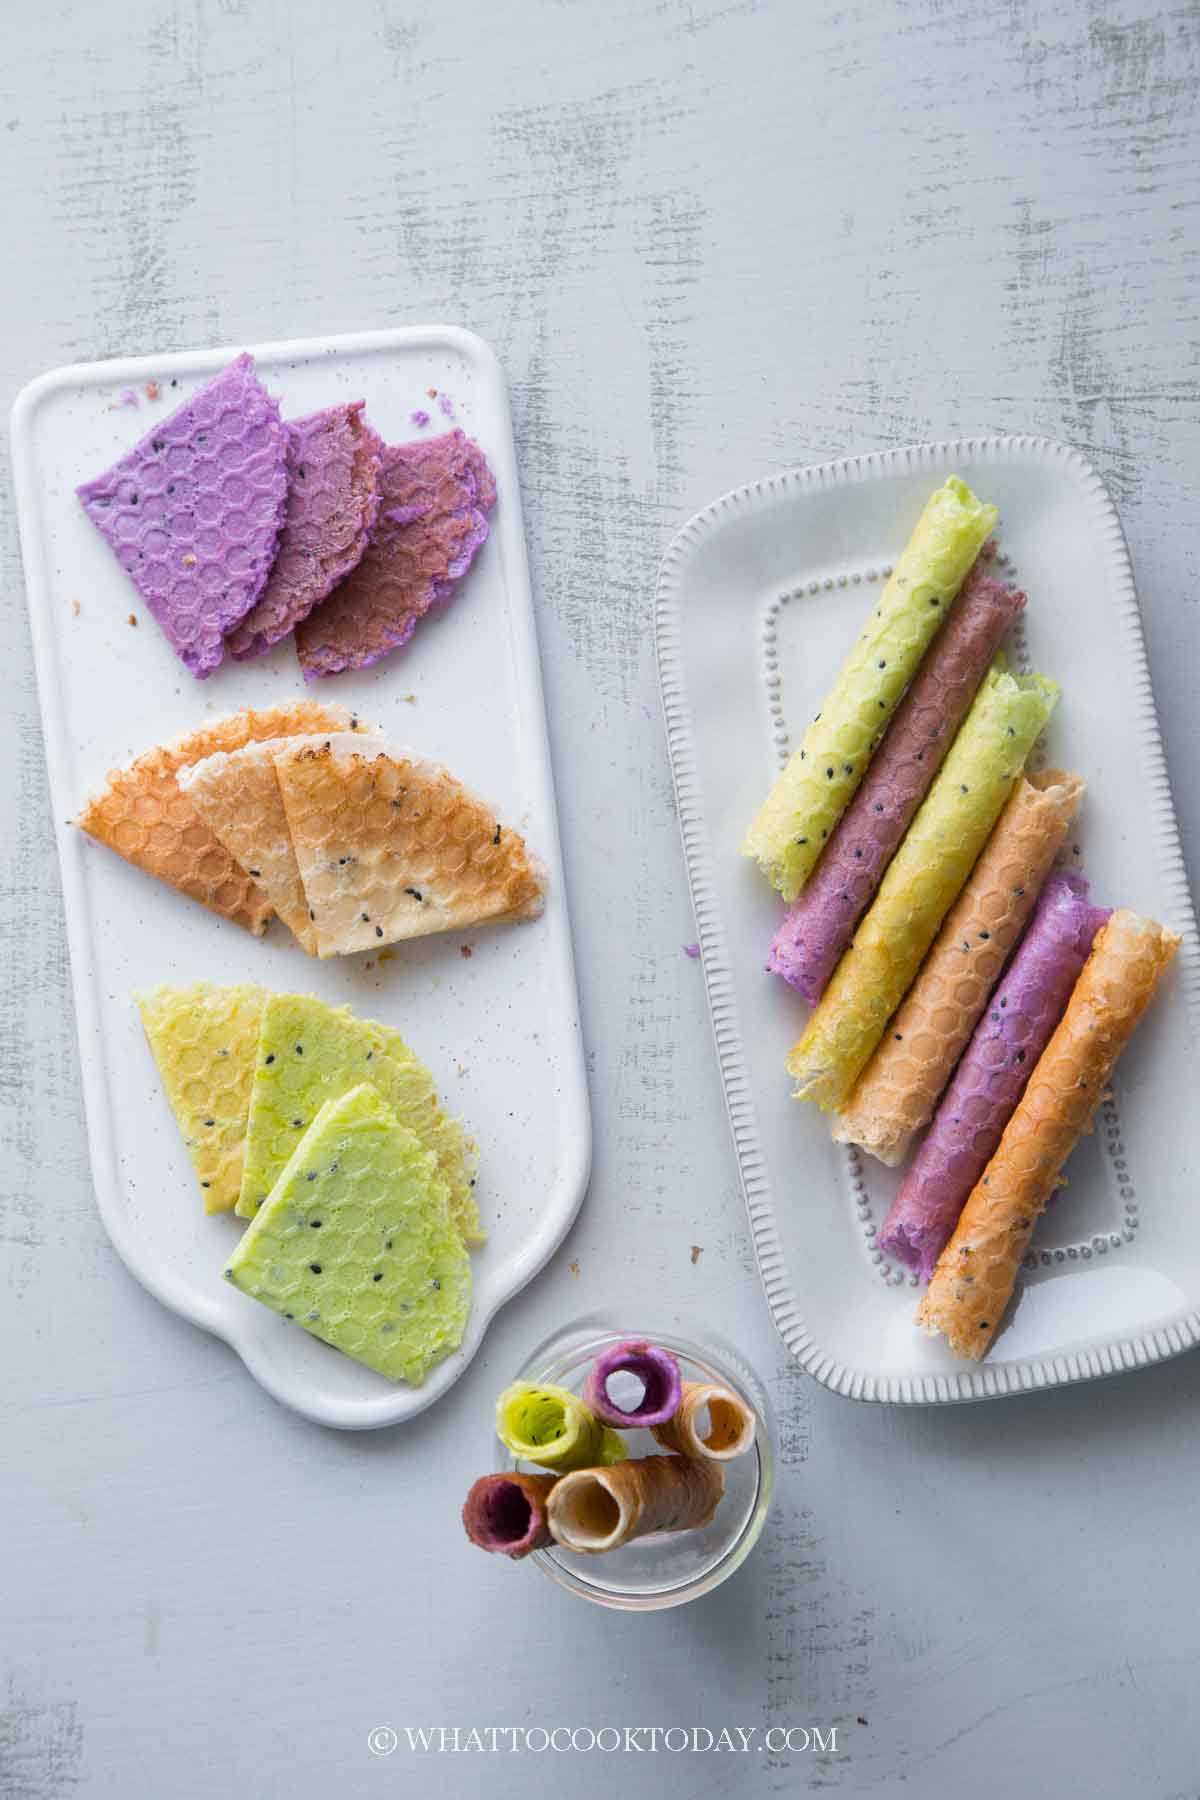
What is kuih kapit?
Kuih kapit or we call it kue semprong is very popular in Indonesia, Malaysia, and Singapore. A thin runny batter is sandwiched in between two iron plates with nice designs on them and bake over an open fire (stove in my case) until golden brown and then quickly fold into a quarter or triangle shape or roll up into rolls while it’s hot and then cooled down to crisp it up.
The recipe rundown
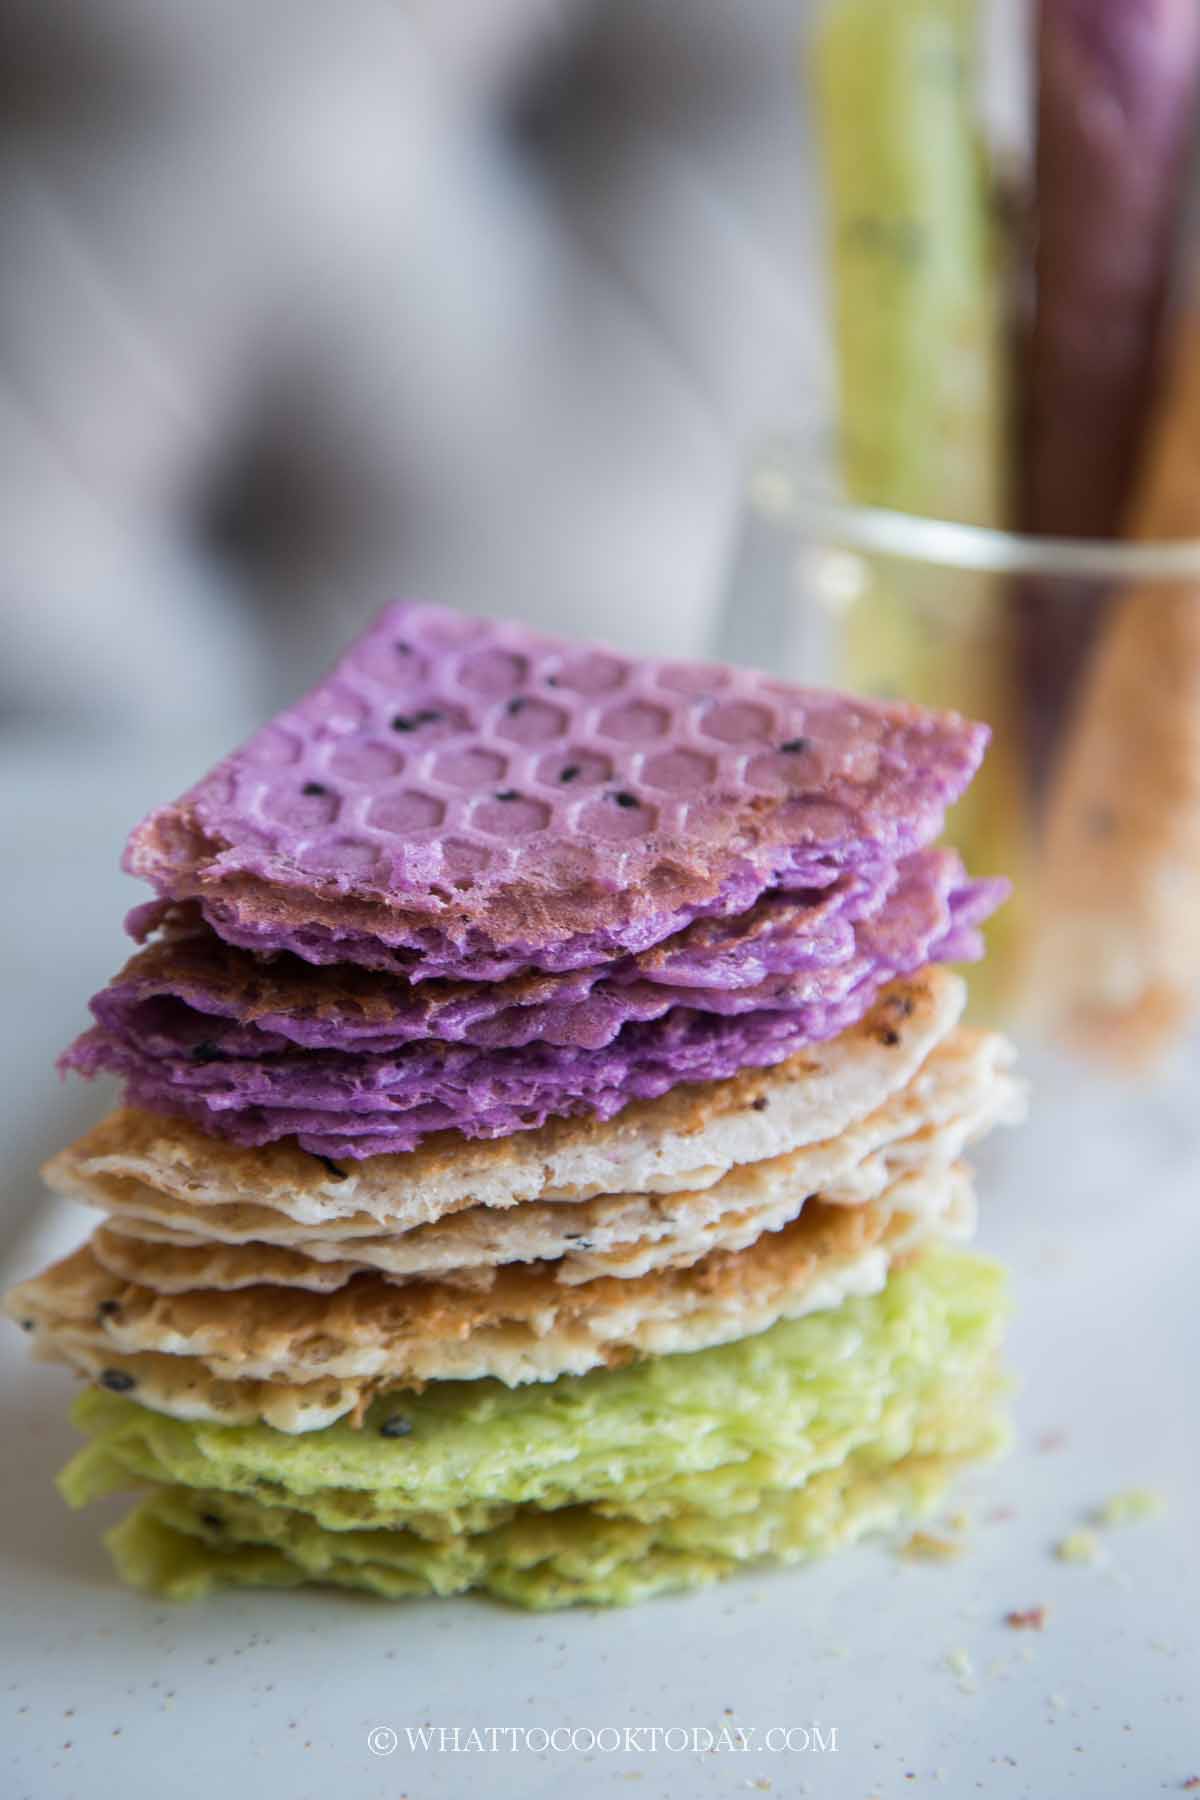
Taste: The kuih kapit has a nice aroma from coconut milk and hint of nutty from black sesame seeds. They have the perfect amount of sweetness
Texture: They are ultra crispy and stay crispy for weeks
Pros: The kuih kapit is thin and very crispy
Cons: It can be quite a labor-intenstive project and you need to work quick and efficiently. You may also have to figure out how long to cook/bake each biscuit depending on the type of mould you use
How to make kuih kapit without the mould?
I don’t have kuih kapit mould. So I have to resort to using waffle cone maker. It is the cheapest I can get from Amazon 🙂 If you want to go all out, you can use this krumkake iron or an electric krumkake baker
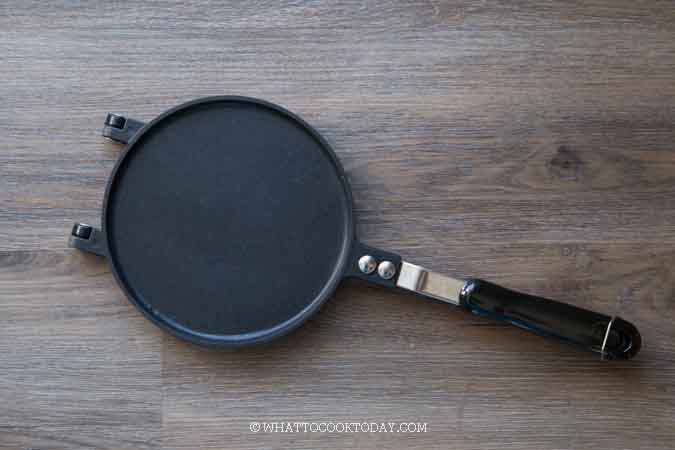
Waffle Cone Maker
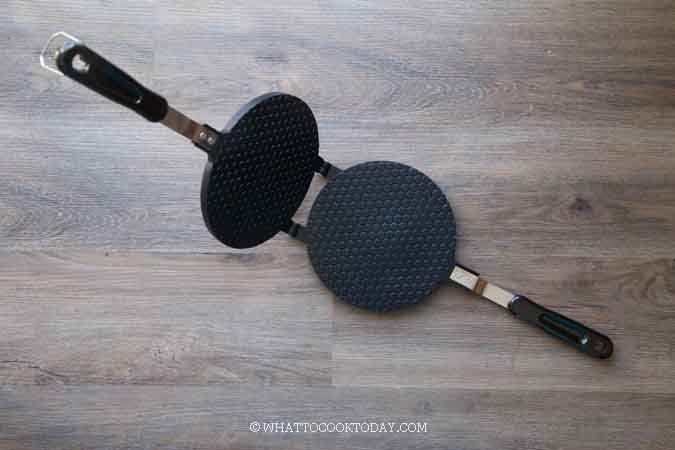
Can I make kuih kapit with a pizzelle maker?
I use a pizzelle maker 6 years ago and I did not like the result though. The kuih kapit is a bit thicker compared to when I use the waffle cone maker. So, I won’t say you can’t, but I prefer using a waffle cone maker or krumkake iron or if you own the krumkake baker, well, that would be the best scenario.
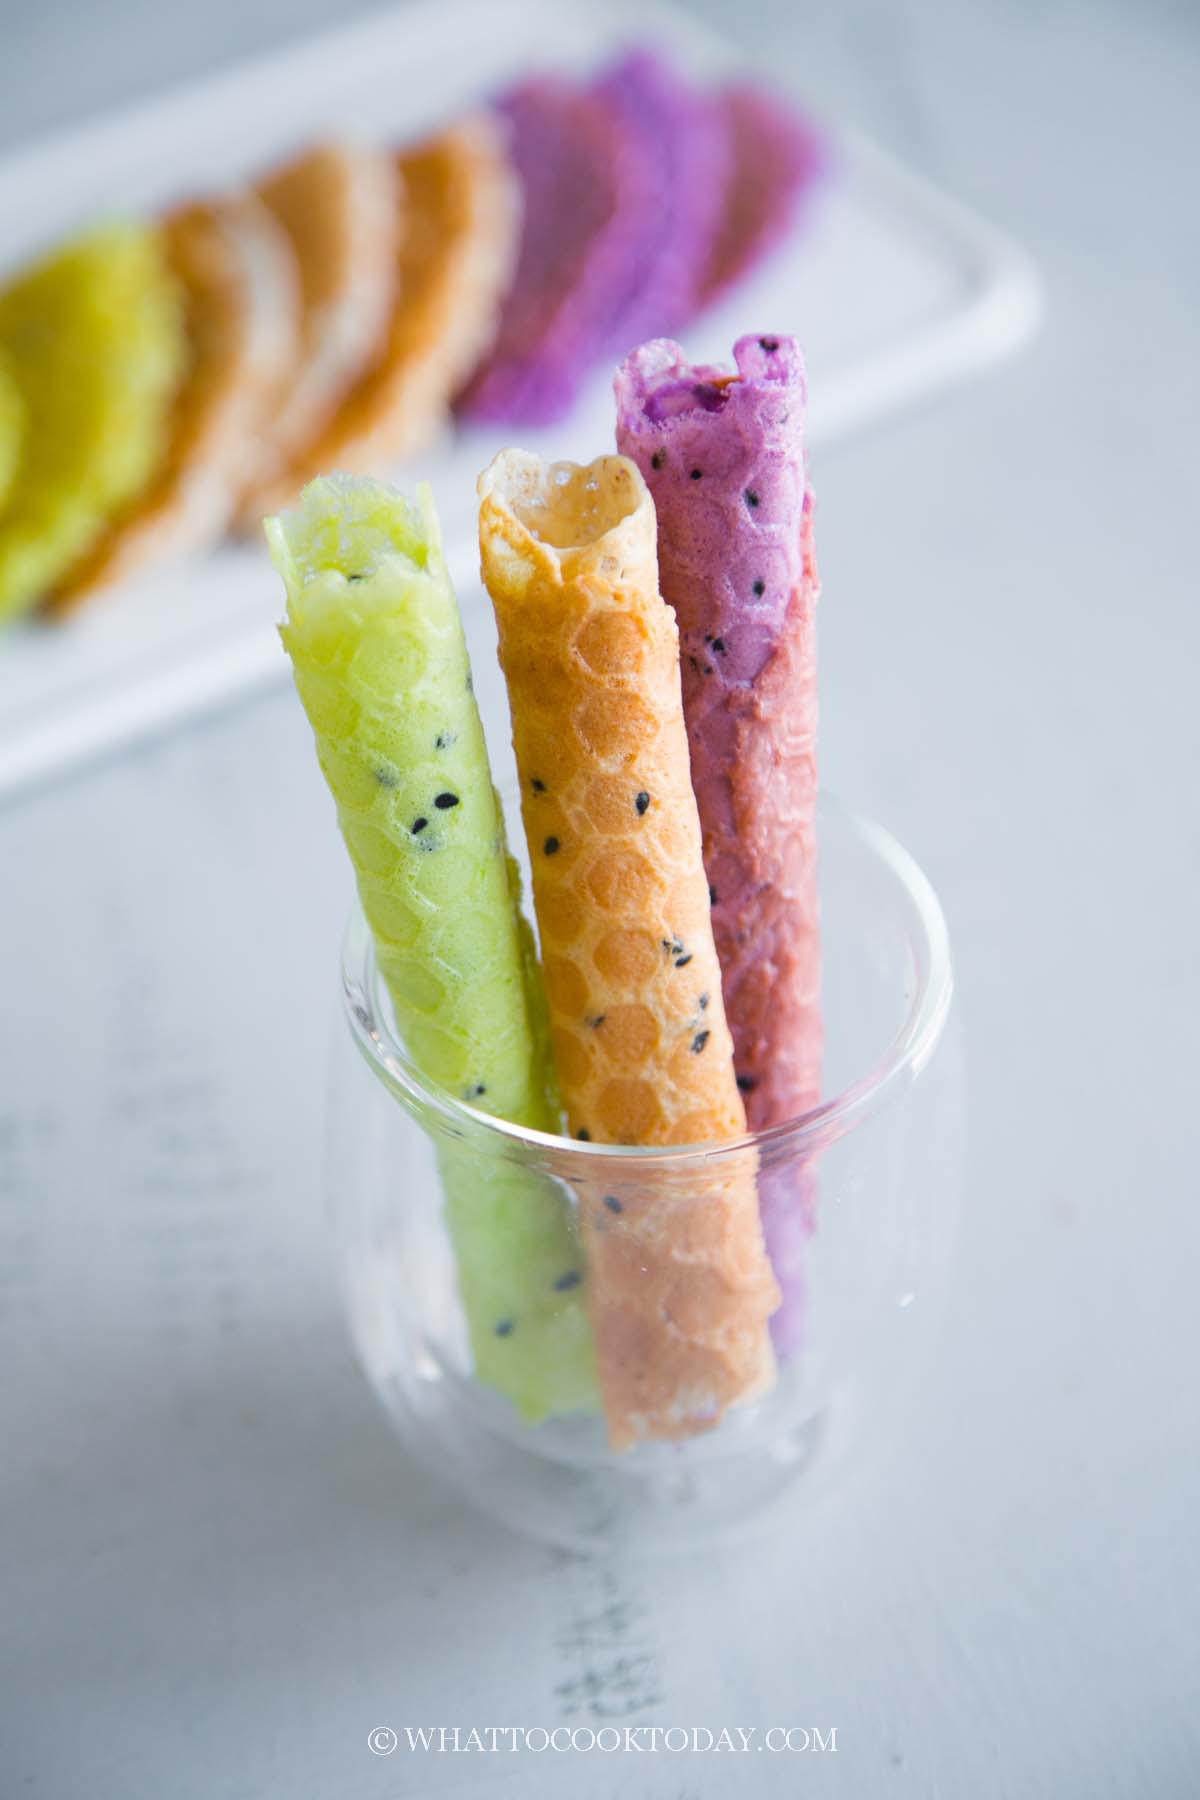
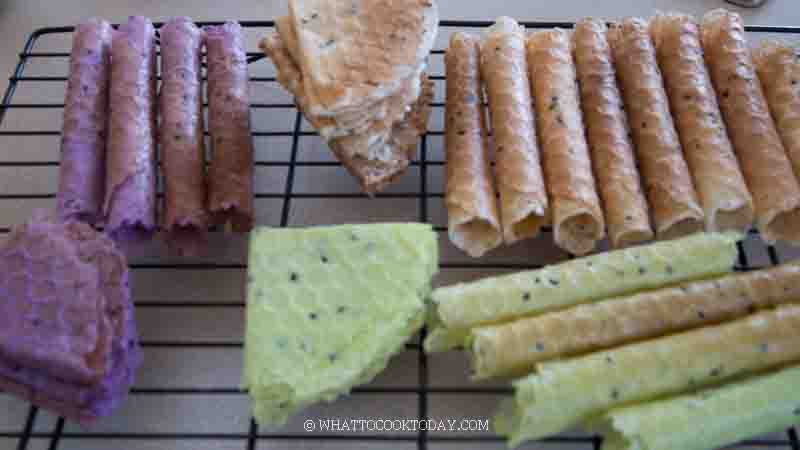
Two shapes: Kuih kapit and crispy coconut rolls
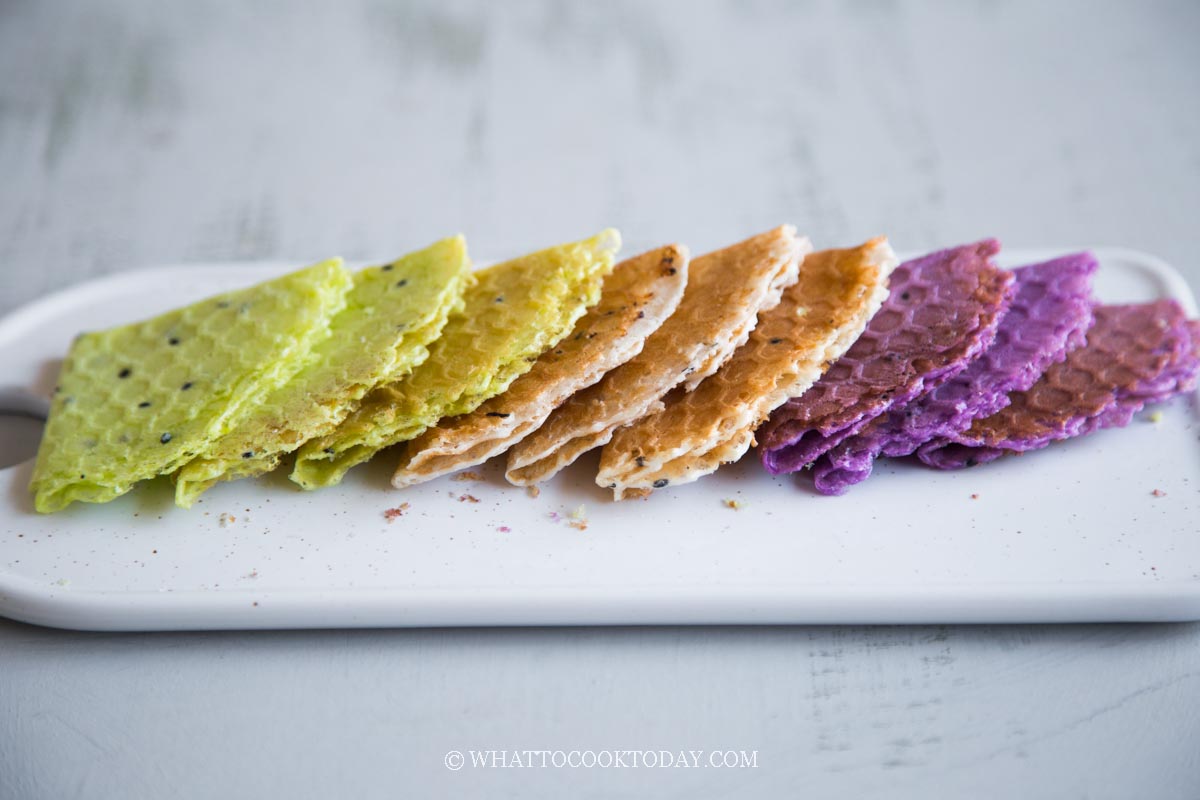
With the same recipe, you can fold the cooked batter to make the traditional kuih kapit shape
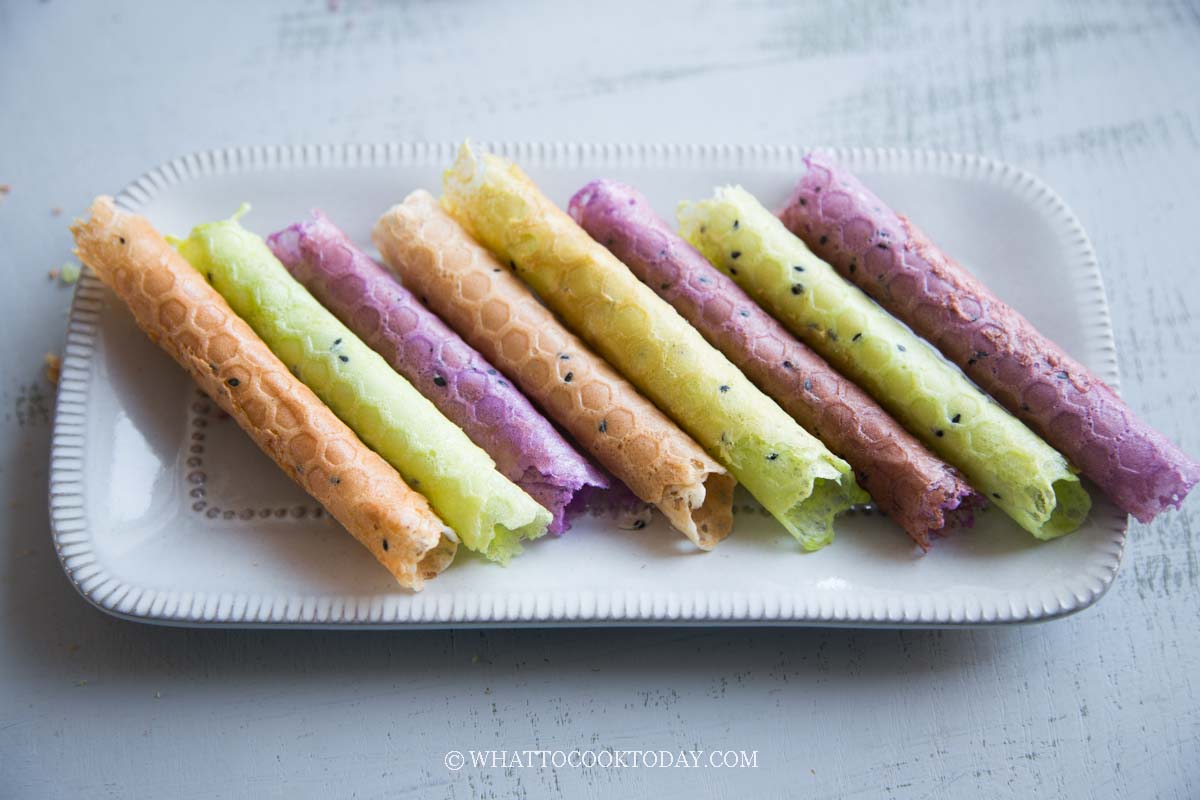
or roll it up to make crispy coconut rolls.
How to make kuih kapit from scratch
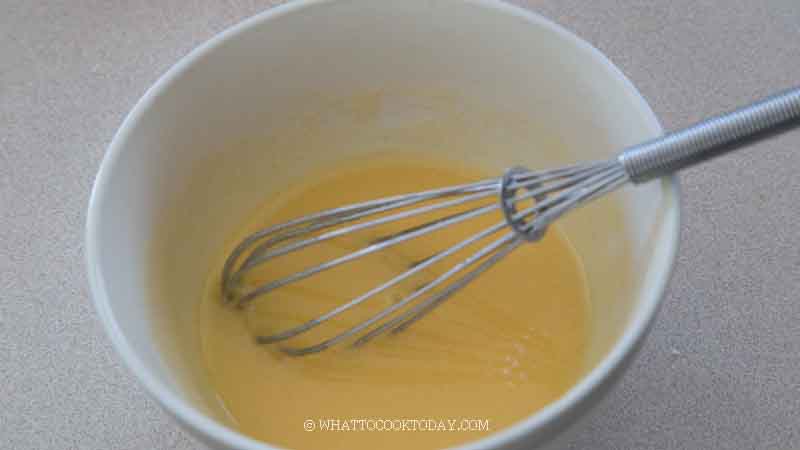
1. Place the eggs and sugar in a large mixing bowl

2. Whisk until the sugar has dissolved
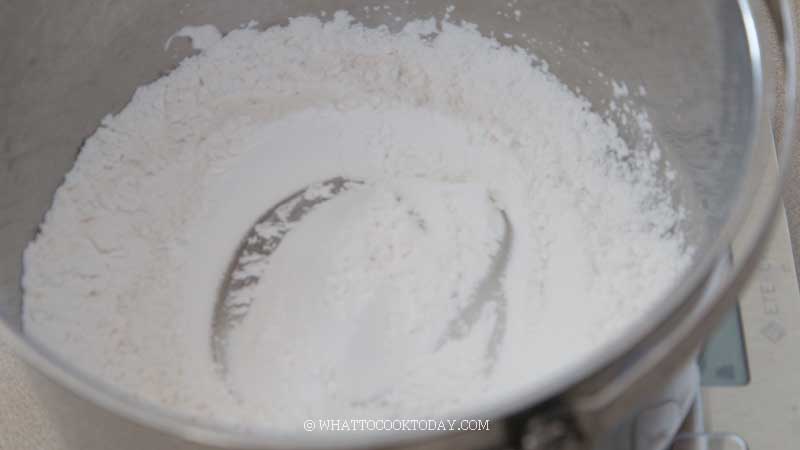
3. In a separate bowl, combine tapioca starch, rice flour, and salt. Whisk to mix
4. Pour the egg mixture in

5. Add coconut milk
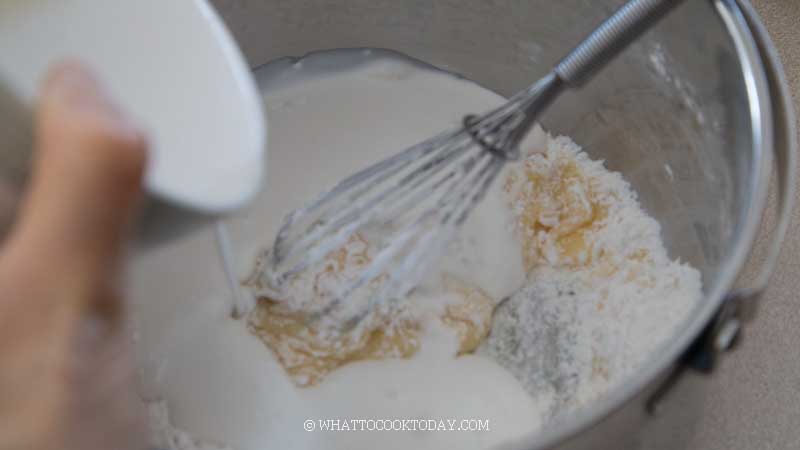
6. Stir until you get a smooth batter

7. Add black sesame seeds and stir to combine
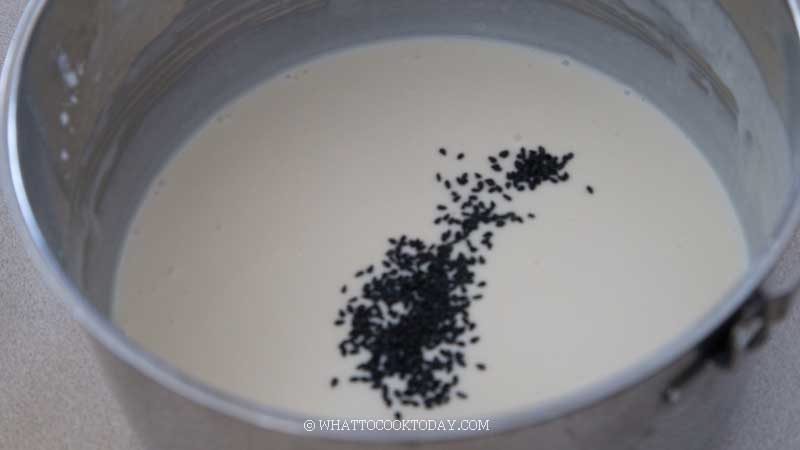
8. Divide batter into three portions. Add ube extract on one batter and pandan extract on the other
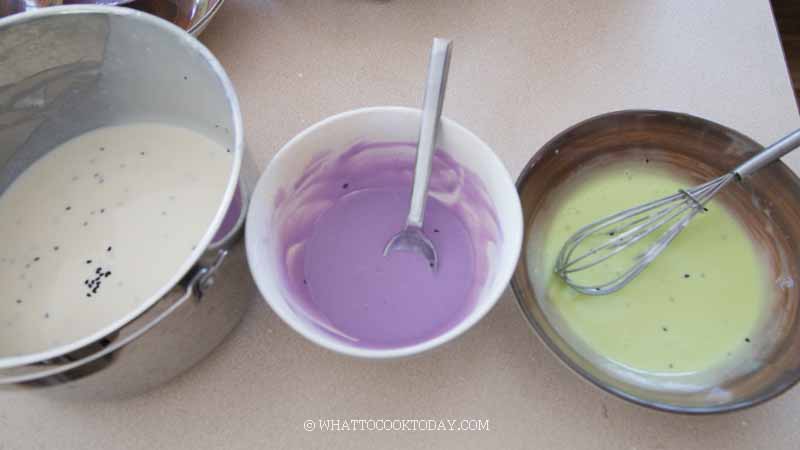
9. Preheat the waffle cone maker, krumkake iron or krumkake baker. I use a waffle cone maker. Preheat over medium heat for about 1 minute on each side.

10. Lower the heat to low. Spoon about 3/4 tsp or close to 1 Tablespoon of the batter on the waffle cone maker.
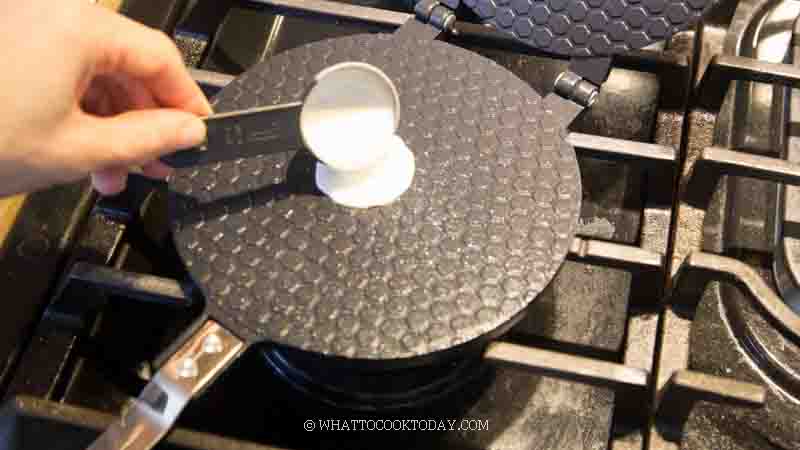
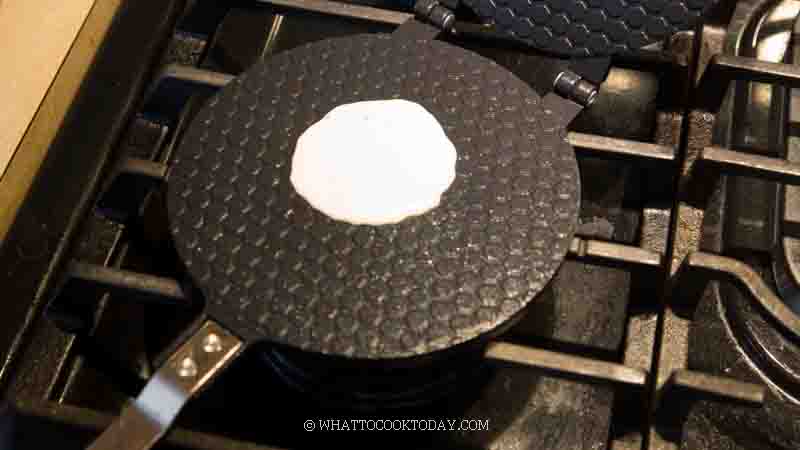
11. Very gently close the top down so it won’t splatter. Cook for about 10 seconds on one side and then flip over and cook for another 10 seconds, then flip over again another 10 seconds, then flip again another 10 seconds. Total of 4 times.

12. When you open it to check, it should be just lightly golden brown. If it’s still very pale and sticky, cook a few seconds longer and check again. To make a quarter shape: Simply use a spatula to fold into half and then slightly flatten and fold again and flatten and lift it up from the maker. You can also use kitchen shears to trim off the extra crust on the outer edge if you want them to be neat-looking
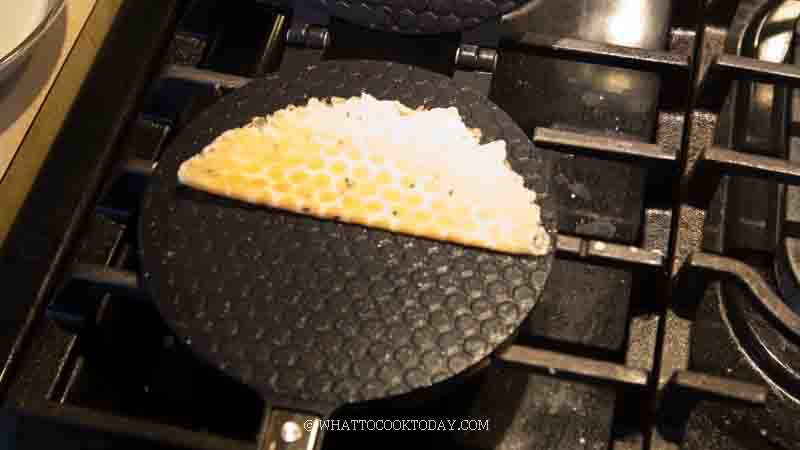
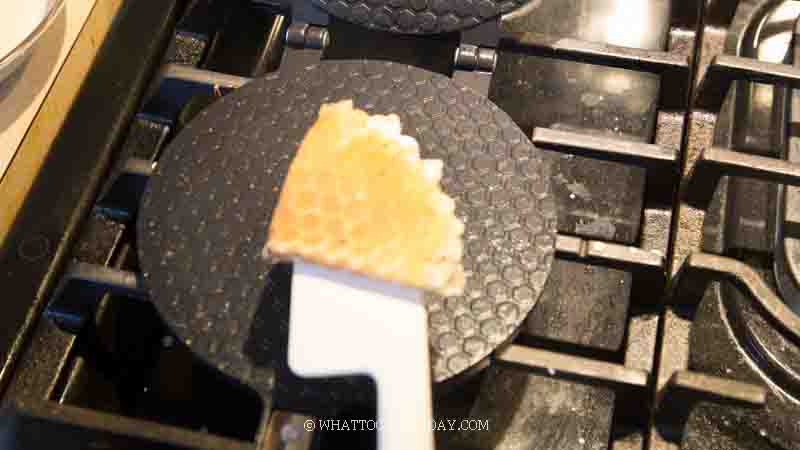
13. To make a roll: I use the round long handle of the wooden spatula, about 1/2-inch in diameter, or you can use a pair of chopsticks, to roll up while the other hand is using a spatula to help to roll to push it forward while it’s still warm
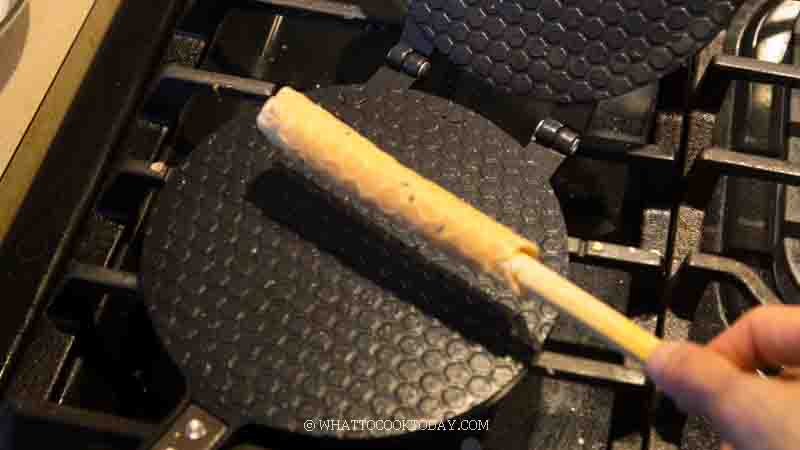
14. Place on a cooling rack to cool down completely
How to store kuih kapit
1. Let them cool down completely on a cooling rack
2. Transfer to an air-tight container and they can be kept for one month at room temperature
Important tips
1. It is best to prepare the batter on the same day you plan to bake the kuih kapit
2. Remember to stir the batter each time before scooping
3. Preheat the mold over medium heat before baking
4. Lower the heat to low if you are using a waffle cone maker to bake
Did you make this kuih kapit recipe?
I love it when you guys snap a photo and tag to show me what you’ve made 🙂 Simply tag me @WhatToCookToday #WhatToCookToday on Instagram and I’ll be sure to stop by and take a peek for real!
Kuih Kapit / Kue Semprong (Love Letter Biscuit/Crispy Coconut Rolls)
Ingredients
- 1 large egg 55-58 grams with a shell
- 80 gr granulated sugar 6 1/3 Tbsp
- 110 gr tapioca starch 1/2 cup + 6 Tbsp + 1/4 tsp
- 3 gr rice flour about 1 tsp
- ¼ tsp salt
- 200 ml coconut milk about 3/4 cup
- 1 Tbsp black sesame seeds
Optional:
- ¼ tsp pandan extract
- ¼ tsp ube extract
Recommended tools to bake kuih kapit (any of these will work)
Instructions
- Place the eggs and sugar in a large mixing bowl. Whisk until the sugar has dissolved. In a separate bowl, combine tapioca starch, rice flour, and salt. Whisk to mix. Pour the egg mixture in and add coconut milk and stir until you get a smooth batter. Add black sesame seeds and stir to combine
- Optional step: Divide the batter into three portions. Add pandan extract on one and ube extract on the other
Baking:
- Preheat the waffle cone maker, krumkake iron or krumkake baker. I use waffle cone maker. Preheat over medium heat about 1 minute each side. Lower the heat to low. Spoon about 3/4 tsp or close to 1 Tablespoon of the batter on the waffle cone maker. Very gently close the top down so it won't splatter. Cook for about 10 seconds on one side and then flip over and cook for another 10 seconds, then flip over again another 10 seconds, then flip again another 10 seconds. Total of 4 times. When you open it to check, it should be just lightly golden brown. If it's still very pale and sticky, cook a few seconds longer and check again
- This is just a reference though. You may have to do the flip more or less depending on the mould you use. Apparently, you don't need to do this if you use an electric krumkake baker
- Repeat with the rest of the batter and make sure you give the batter a stir each time before scooping
To make a roll:
- I use a round long handle of a wooden spatula, about 1/2-inch in diameter, or you can use a pair of chopsticks, to roll up while the other hand is using a spatula to help to roll to push it forward while it's still warm. Place on a cooling rack to cool down completely
To fold into a quarter:
- Simply use a spatula to fold into half and then slightly flatten and fold again and flatten and lift it up from the maker. You can also use kitchen shears to trim off the extra crust on the outer edge if you want them to be neat-looking
How to store:
- Let them cool down completely and they will be ultra crispy. Transfer to an air-tight container and they stay crispy for weeks



13 comments
Can I reduce the amount of sugar or cut it out completely? Thanks
Hello, I don’t recommend cutting out sugar completely. I’m not sure how it’s going to turn out without sugar at all. I would try cutting about 25% of sugar first and see how they turn out.
I can’t wait to try this recipe! I would like to know if the recipe calls for coconut milk from a can or a carton. Also, can I make it sugar free with Stevia or monk fruit?
I use canned coconut milk. You can use a carton one as long as it’s not the low-fat or the kind used as a beverage. I haven’t tried it with any sugar substitute, so I can’t tell you for sure how it would turn out 🙂
Hi! I’ve used this recipe and it’s amazing, but I was wondering if there’s a substitute to tapioca starch that I can use?
You can try cornstarch or tapioca starch, but I honestly haven’t tried it myself with that substitution, so I’m not sure if it will turn out. I’ve seen some people making using rice flour and all-purpose flour combination too.