This post may contain affiliate links. Please read our disclosure policy.
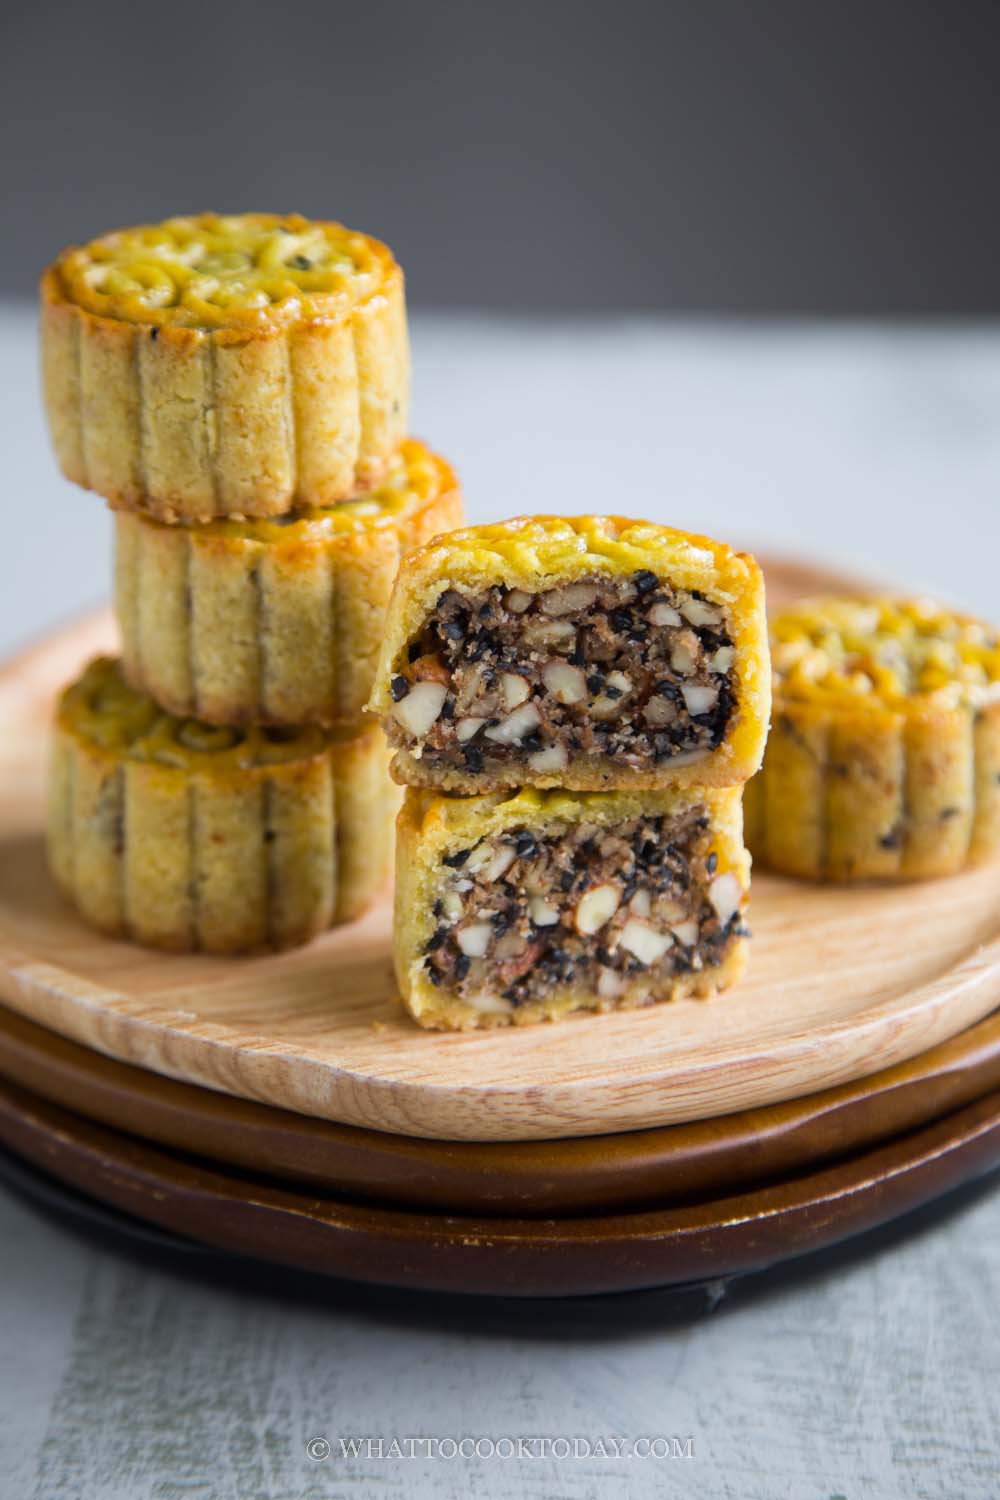
Learn how to make easy keto and gluten-free Chinese baked mooncake to fit into your lifestyle. Loaded with nutritious nuts, seeds, healthy fat, and without any refined sugar.
If you have been avoiding Chinese mooncake because you are on a keto diet or watching your carb intake in general, you may want to try and make this easy keto mooncake, which happens to be gluten-free.
Does keto mooncake taste like regular mooncake?
Let’s have some managed expectations here. No, it doesn’t. How can it be when they are made with totally different ingredients? But I would say this is still a very a decent keto mooncake. I really don’t mind eating this. The crust is not hard or dry and has a nice texture with great nutty filling.
Keto mooncake is much healthier than the regular mooncake
They are made with wholesome ingredients and without any additives like lye/alkaline water and refined sugar like golden syrup. Yes, they are high in fat, which fits into keto life-style, but they are healthy fat from nuts and seeds.
Carbohydrate content in regular mooncake vs keto mooncake
Traditional baked mooncakes (yue bing) are usually high in carbohydrates. There is approximately 31 grams of carbohydrates in small 50-gram mooncakes. The keto mooncake I made here has a net carbs of 4 grams (total carbohydrate is 8 grams – fiber 4 grams =4 grams net carbs) *Please note that the nutrition information is just an estimation*

Ingredients
Let’s talk ingredients shall we? The ingredients are totally different from the traditional yue bing. It is crucial that you follow the ingredients and the amount exactly for the dough. The filling is pretty flexible as long as you keep the quantity of the nuts and the seeds the same
1. Coconut flour
2. Almond flour
I use blanched fine almond flour. Don’t use almond meal, which is usually unblanched and much “coarser”
3. Whole psyllium husk
It is important to use whole psyllium husk. Don’t substitute with metamucil or other fiber supplement as it won’t turn out right
4. Egg yolks
Egg yolks keep the dough moist and acts as a binder here
5. Coconut oil
I used unrefined cold-press Coconut oil also keep the dough moist and also acts as a binder here
6. Erythritol
Erythritol is natural sugar replacement. It is naturally found in some fruits, mushrooms, and fermentation of some foods. Erythritol does contain carbs, BUT, it doesn’t get metabolized and absorbed by our bodies, so, it is considered zero carbs.
I use granulated monk fruit sweetener that is mixed with erythritol. It has same texture as regular granulated sugar. I haven’t tried with other sweetener like sucralose
How to make easy keto gluten-free mooncakes
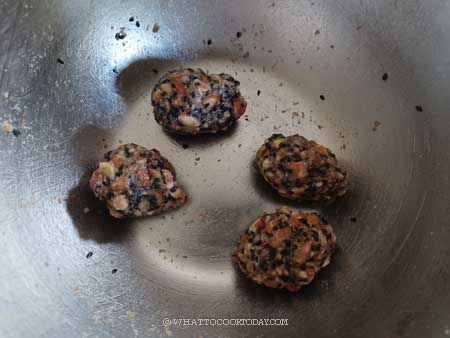
1. Preheat oven to 375 F (190 C). Mix all the ingredients for filling. You want to be able to form a dough ball. If the mixture comes apart, add a bit more peanut butter to the filling as needed to help the filling stays in cluster. Divide into 30-gram cluster each. You may have a tiny bit extra left (you can eat it)


2. Put all ingredients for the dough in a bowl

3. Use your hand to knead into a dough
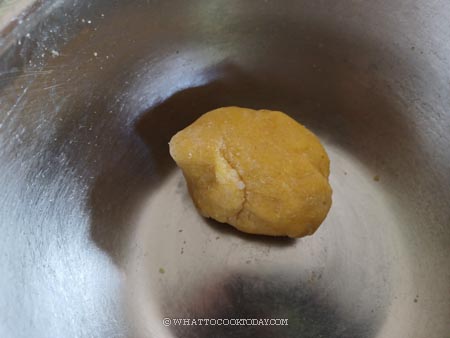
4. Divide into 5 pieces of 20-grams dough. I’m using 50-gram mould. Keep them covered in plastic wrap

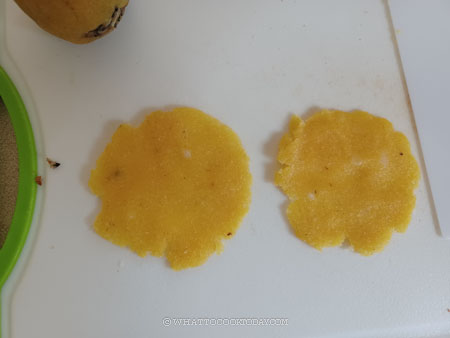
5. This is my favorite way of wrapping. I can get thin skin without much difficulty. Take one dough and divide it into two

6. Flatten them with your palm.
7. Put the filling on top of one

8. Then cover with another flattened dough. Gently close the gap between the two doughs around the filling and roll into a round smooth ball. Please note that the dough doesn’t have much flexibility here because there’s no gluten, but it should be quite easy to roll into a smooth ball without any cracks. Repeat with the rest of the dough and filling

9. Spray mooncake press with non-stick spray

10. Put the dough ball inside the cavity of the mould and then face it down on a flat surface and gently push down the piston down to imprint the pattern on the dough. Gently push the mooncake out and voila, you have just shaped the dough into a mooncake with imprint on top. Repeat with the rest

11. Place the shaped dough on a baking sheet lined with a parchment paper. Put the baking sheet, in the middle of the oven, 3rd rack from the top for my oven. Bake for 5 minutes
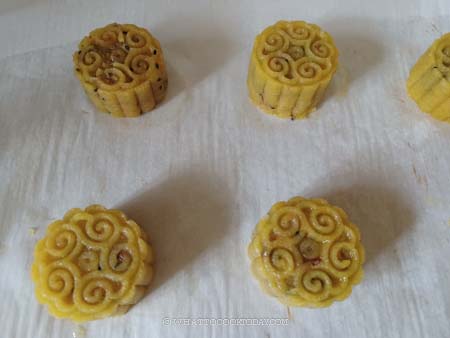
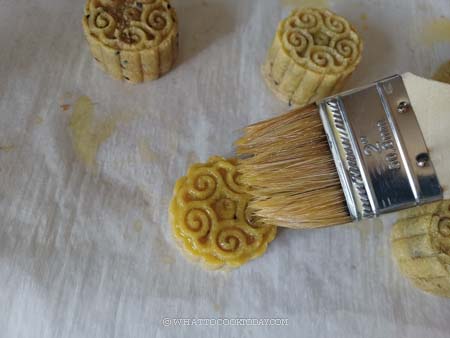
12. The mooncakes will still be pale at this point. Let them cool down for 10 minutes. Please don’t skip this step no matter how tempted you are. Beat the egg yolk with a small pinch of water. Use a brush with soft bristles. Very gently and thinly brush this egg wash on top of the mooncake (don’t brush the side, only the surface of the mooncake). If you accidentally brush on too much egg wash, very gently blob it with a paper towel or use a brush to get the extra egg wash off
13. Place the baking sheet back into the oven, the same position, and bake for another 10 minutes or until you have a nice golden brown. Check at 5 minutes to see. Remove from the oven and let them cool down on the baking sheet for 5 minutes. After 5 minutes, very gently transfer them to a cooling rack to let them cool down completely
Don’t eat the mooncakes on the same day you make them
Like many baking goods, cakes, and also the traditional mooncakes, they taste best after aging the mooncakes for few days. If you are really impatient, at least for 24 hours. They will be more moist and the flavor has developed further.

How to store keto mooncakes
1. Age them
Let them cool down completely. Transfer to an air-tight container to let them age for at least 24 hours or longer if possible
2. They can be kept at room temperature in an air-tight container for 3-4 days
3. For longer storage, you can transfer to a freezer bag (after aging them) and they can be kept in the freezer for up to one month
4. When ready to serve, simply thaw them at room temperature to soften
Did you make this keto gluten-free mooncake recipe?
I love it when you guys snap a photo and tag to show me what you’ve made 🙂 Simply tag me @WhatToCookToday #WhatToCookToday on Instagram and I’ll be sure to stop by and take a peek for real!

The recipe is adapted from here. Thank you for sharing this keto mooncake recipe!
How To Make Easy Keto Gluten-Free Mooncake
Ingredients
Please use kitchen scale to measure ingredients
Dough:
- 12 gr coconut flour
- 30 gr almond flour
- 2 gr whole psyllium husk
- 20 gr erythritol
- 2 egg yolks
- 10 gr coconut oil you can use butter or lard too
Filling:
- 20 gr roasted almonds
- 20 gr roasted walnuts
- 20 gr roasted peanuts
- 15 gr flax seeds meal
- 30 gr peanut butter
- 10 gr black sesame seeds
- 20 gr erythritol or more as needed
- 20 gr coconut oil
Egg wash:
- 1 egg yolk
- 2 tsp water
Useful when shaping the mooncakes:
Instructions
Prepare the filling:
- If the nuts are not roasted, put them on a baking tray and bake in preheated oven at 350 F (180 C) for 15 minutes. Let them cool down and then chop into fine pieces
- Preheat oven to 375 F (190 C). Mix all the ingredients for filling. You want to be able to form a dough ball. If the mixture comes apart, add a bit more peanut butter to the filling as needed to help the filling stays in cluster. Divide into 30-gram cluster each. You may have a tiny bit extra left (you can eat it)
Prepare the dough:
- Put all ingredients for the dough in a bowl. Use your hand to knead into a dough. Divide into 5 pieces of 20-grams dough. I'm using 50-gram mould. Keep them covered in plastic wrap
Fill and shape:
- This is my favorite way of wrapping. I can get thin skin without much difficulty. Take one dough and divide it into two. Flatten them with your palm. Put the filling on top of one and then cover with another flattened dough (refer to the video for visual). Gently close the gap between the two doughs around the filling and roll into a round smooth ball. Please note that the dough doesn't have much flexibility here because there's no gluten, but it should be quite easy to roll into a smooth ball without any cracks. Repeat with the rest of the dough and filling
- Spray mooncake press with non-stick spray and then put the dough ball inside the cavity of the mould and then face it down on a flat surface and gently push down the piston down to imprint the pattern on the dough. Gently push the mooncake out and voila, you have just shaped the dough into a mooncake with imprint on top. Repeat with the rest Place the shaped dough on a baking sheet lined with a parchment paper
Baking:
- Put the baking sheet, in the middle of the oven, 3rd rack from the top for my oven. Bake for 5 minutes. The mooncakes will still be pale at this point. Let them cool down for 10 minutes. Please don't skip this step no matter how tempted you are
- Beat the egg yolk with a small pinch of water. Use a brush with soft bristles. This is very important as we don't want a thick layer of egg wash that will blur the imprint later after baking
- Very gently and thinly brush this egg wash on top of the mooncake (don't brush the side, only the surface of the mooncake). If you accidentally brush on too much egg wash, very gently blob it with a paper towel or use a brush to get the extra egg wash off
- Place the baking sheet back into the oven, the same position, and bake for another 10 minutes or until you have a nice golden brown. Check at 5 minutes to see
Cooling:
- Remove from the oven and let them cool down on the baking sheet for 5 minutes. Don't attempt to move them to cooling rack yet as they are very soft and you will break them trying to lift them up when they are fresh out from the oven like this
- After 5 minutes, very gently transfer them to a cooling rack to let them cool down completely
Age for 24 hours before consuming:
- They won't taste good if you eat them on the same day. The mooncakes need to be aged to release oil and the oil will moisten the mooncake. I recommend aging it for at least 24 hours for the best result. Transfer the completely cooled-down mooncakes into an air-tight container
