This post may contain affiliate links. Please read our disclosure policy.
Turn regular Swiss roll (bolu gulung) into this fun-looking Hurricane Swiss roll. The chiffon-style Swiss Roll cake is ultra soft and fluffy. I’m also sharing all the tips on how to prevent Swiss roll from cracking and how to prevent the Swiss roll crust/skin from peeling off.
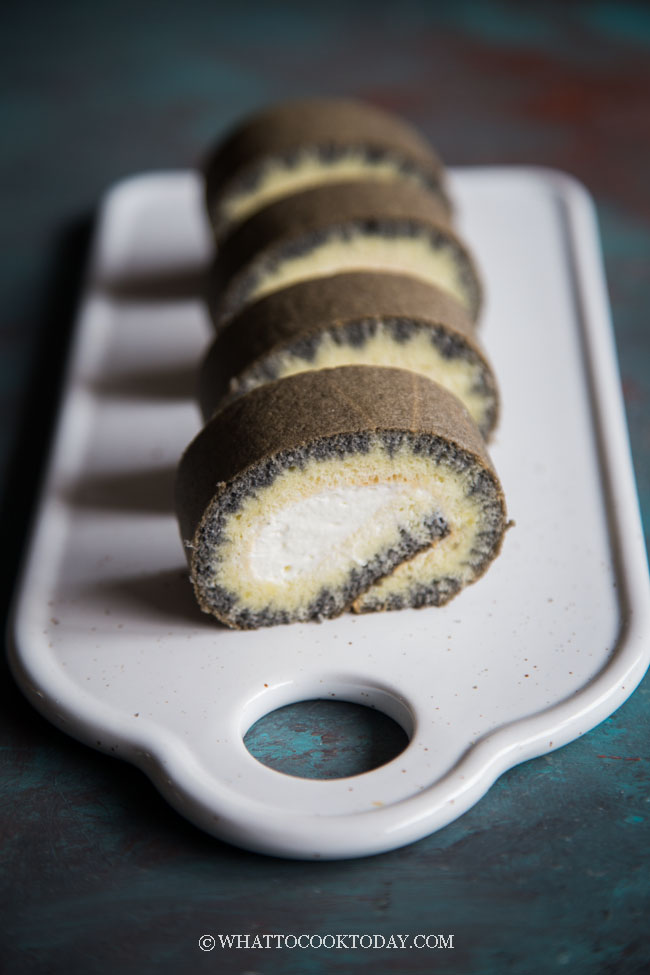
WHAT IS HURRICANE SWISS ROLL?
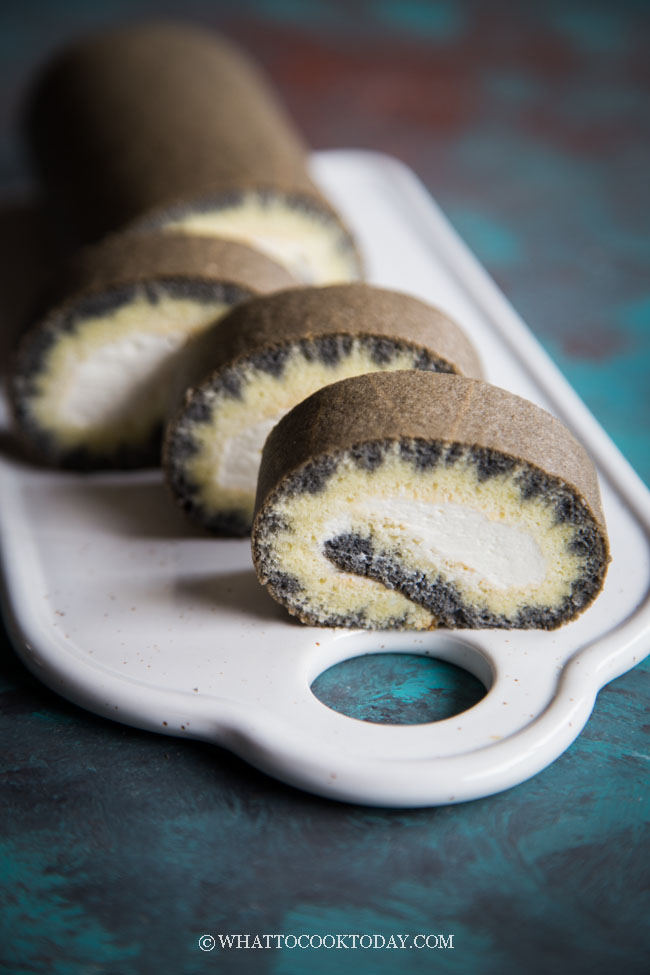
Hurricane Swiss roll has taken youtube by storms for the past few years. Though the idea is not entirely new, but I sure have seen lots of hurricane Swiss roll off late. I supposed it is named as such because of the pattern/design at the edge of the Swiss roll after you slice the cake. The cake is made with basic vanilla Swiss roll cake and then I colored a bit of the batter with charcoal for the grayish-black color.

WHY YOU’LL LOVE THIS RECIPE
1. RECIPE IS STRAIGHT FORWARD
The look of the cake is more complicated than it actually is.
2. IT TASTES INCREDIBLE
This Swiss roll is a huge hit in our house. The cake is sooo soft and fluffy thanks to the chiffon method of making the cake. Even my mom who doesn’t like cake of any kind, said this Swiss roll is good. Not too sweet, so soft and just the right texture. It’s like eating chiffon cake in a rolled form 🙂
3. NICE SMOOTH SKIN WITH NO CRACKS
If you read the post carefully and follow the instruction very carefully, you should be able to get a nice smooth skin with no cracks on the Swiss roll
Let’s get baking shall we?
HOW TO MAKE HURRICANE SWISS ROLL
1. PREPARE EGG YOLK BATTER
Make sure eggs are at room temperature. Separate egg yolks from the whites.

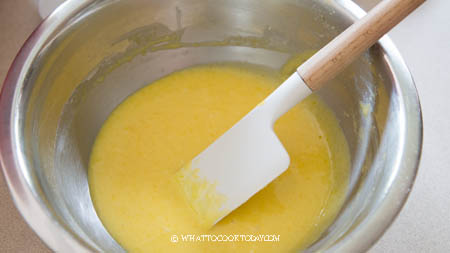
Preheat oven to 350 F (180 C). In a large mixing bowl, whisk egg yolks, oil, sugar, and milk (or whatever liquid you use) until combine.

Sift in the cake flour, salt, and baking powder.
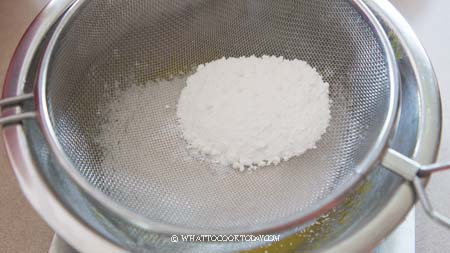
Whisk or stir to mix until combined and no lumps
2. PREPARE EGG WHITE MERINGUE
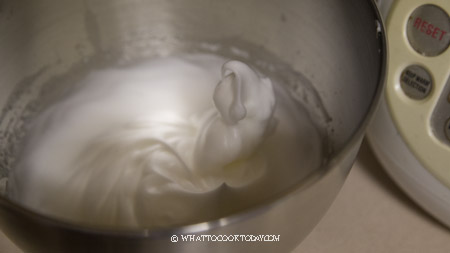
Place egg whites in a mixing bowl of a stand mixer fitted with a whisk attachment. Whisk until foamy on medium speed and then add cream of tartar or lemon juice/vinegar and whip again for another minute then and 1/3 of the sugar and continue to add sugar until you use it all up. Whip until the egg white develops a medium-soft peak. When you lift the meringue up it will hold up its shape but the tail will bend. Do not whip until stiff peak. The cake will crack when you roll it later
3. COMBINE THE TWO BATTERS
Fold about 1/3 of the meringue into the egg yolk batter and use a rubber spatula or whisk to fold or whisk until mix and continue to fold in the next 1/3 until you use up all the meringue and the batter is smooth. The batter should be a pourable consistency
4. DIVIDE THE BATTER
Pour 110 gr of the batter into another mixing bowl. Add the charcoal paste (or whatever flavor you use) and whisk to combine
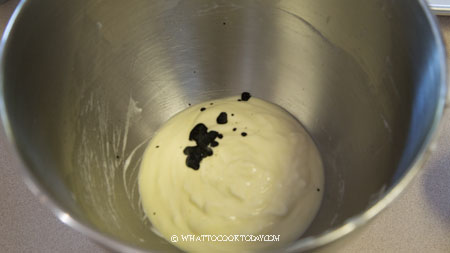
Pour the plain batter (no color) on the pan and use a rubber spatula to help to spread evenly. You can use a dough scraper to help you even out the surface too if necessary
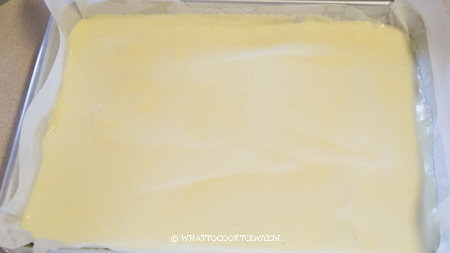
Gently pour the colored batter on top of the plain batter.
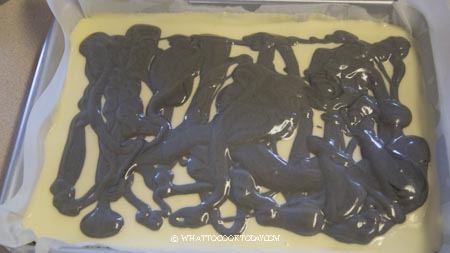
Use a rubber spatula to help you spread it out evenly. Do this very gently so the two batters won’t get mixed together

5. DRAW THE HURRICANE PATTERN
Use a chopstick and start drawing patterns horizontally first in a continuous motion and then vertically in a continuous motion as well (as shown in the photo above and in the video). Depending on whether you will roll the cake from the long side or the short side later. If you plan to roll from the short side, follow the illustration below. If you are like me, rolling the cake from the long side, you will start drawing the pattern from the short side and continue to the long side (like in the video)

5. BAKING
Gently tap the baking sheet on your working surface once or twice to release the air bubbles
Bake in a preheated oven at 350 F (180 C) for 30 minutes and then switch to convection mode (fan mode) and bake for another 3-4 minutes or until the top is golden brown and dry to touch. If you don’t have convection mode, bake another 5 minutes and check to make sure the top is golden brown and dry to touch. It is important that the top is dry to touch so this layer won’t peel off when you roll later
6. REMOVE FROM PAN IMMEDIATELY
Remove the cake from the oven and then lift it out from the pan immediately to a cooling rack
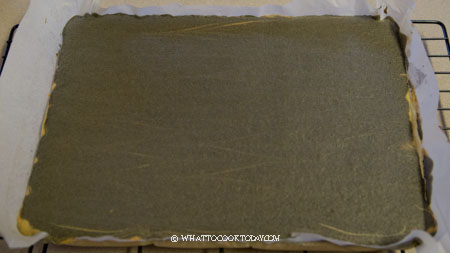
Peel off the parchment paper from 4 sides. This helps to prevent wrinkles on the surface. Let it cools down like this for 5-6 minutes (I use a timer to actually time it). This is just a guide. You need to feel the cake too. It should be warm, but not too warm to the point that it will melt the cream filling you are going to spread on later
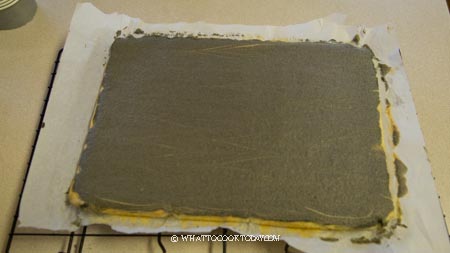
After 5-6 minutes. Place a new piece of parchment paper, larger than the cake, on top of the cake
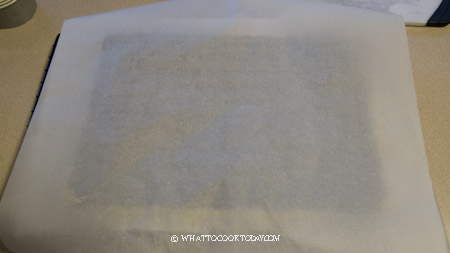
Flip over to the other side. Peel off the parchment paper
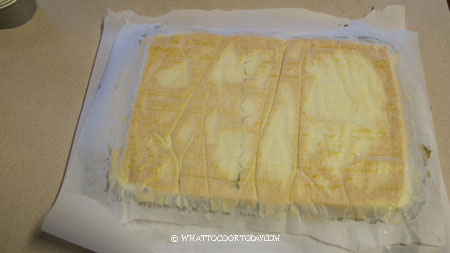
7. TRIM OFF 4 EDGES
Use a serrated knife to trim about 1/4-inch of the 4 edges. This makes rolling the cake easier

I actually roll the cake from the long side instead of the short side. You should roll parallel to the direction of the last hurricane line you draw earlier or the pattern won’t show when you cut it. On one of the long side I trim it off at an angle so that the cake will sit better after rolled up
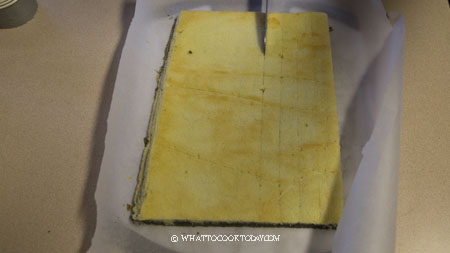
8. MAKE 4 SHALLOW SLITS ON THE CAKE
On the side you are going to roll, make about 4 shallow slits, about 1 inch apart. This helps to roll up easier without cracks
9. SPREAD THE FILLING
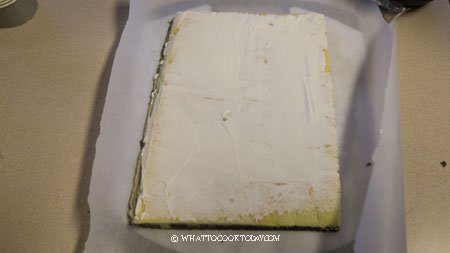
Spread the cream filling on the surface of the cake. You want to spread most of the filling near the side you are going to roll up from and there should be less filling towards the other end because as you roll up, the filling will get push forward and by the time you roll to the other end, it is just a perfect amount of filling
10. ROLL THE CAKE
Now the part that makes most people, including me, nervous the most. The rolling 🙂 Very gently use one hand to lift the parchment paper up to help you roll the cake up until you reach the other side.
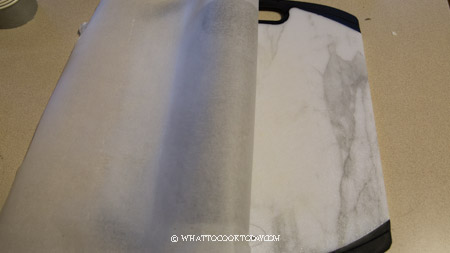
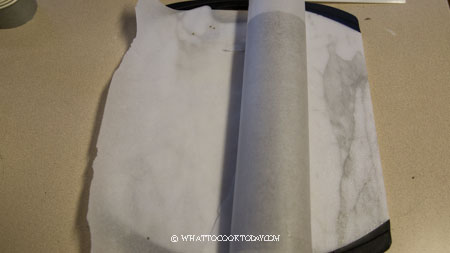
Tuck the parchment paper under and use a dough scraper to help you tighten the roll up
11. REMOVE THE PARCHMENT PAPER
Remove parchment paper. We don’t want to store the cake in the fridge with a parchment paper wrapping it. The skin will peel off later
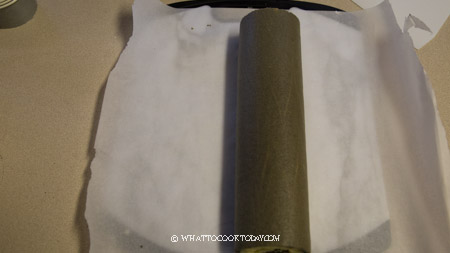
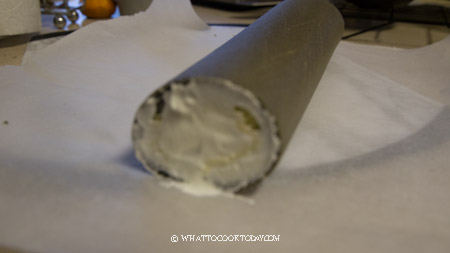
Very gently place the cake on the serving plate you plan to serve. Seal both ends with some whipped cream. This prevents the cake from drying out.
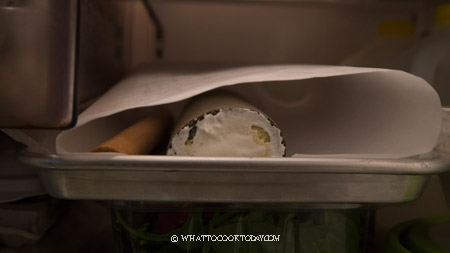
Loosely tent with a parchment paper, DO NOT let the paper touch the surface of the cake. Store in the fridge for at least 1 hour before you plan to cut the cake. I keep it in the fridge like this until the next day and the cake is perfectly moist and the skin is intact
12. SERVING
Trim off about 1/4 inch from both ends (my kids are happily eating those trims) and then slice the cake into slices in whatever size you like

WHY SWISS ROLL CRACKS WHEN ROLLING
This is probably the biggest concern when it comes to Swiss roll. Here’s what I’ve discovered:
1. The meringue / The consistency of the batter
Do not whip the meringue until it is a stiff peak. When I make chiffon cakes, the stiff peak will give a nice volume to the cake. For Swiss roll though, you want a medium-soft peak. The peak is firm enough to hold its shape but the tail will bend and not stiff. Watch the video if you are not sure. When the meringue and batter is all mixed, it should be a pourable consistency. You can actually pour it. This tells you that the consistency is spot on
2. The size of the pan
This recipe yield a Swiss roll about 1-inch thick, which is just perfect. If you use a larger size pan, you will get a thinner cake, which won’t be nice and the hurricane pattern will not show much. If you use a smaller size pan, you will get a taller cake, which also means you will have a hard time rolling the cake without cracks later no matter what you do
2. You don’t have to preroll it
Prerolling the cake when it’s out from the oven will not give you a nice skin (unless you don’t care about that). When it’s warm, the skin will stick to the parchment paper or towel when you roll it up. Let the cake cools down for 5 minutes and then cut 4 shallow slits, put filling and roll it up. You only roll it once

HOW TO STOP SWISS ROLL SKIN FROM PEELING OFF
Let’s see, I’ve baked probably more than 10 Swiss rolls on my journey to figure out why in the world the skin of the Swiss roll keeps peeling off. Here’s what I’ve discovered:
1. Baking temperature
I can’t tell you enough about the importance of the baking temperature. I’ve tried so many different combinations and finally, this one gives me a consistent result. The cake surface needs to be baked until golden perfection and dry to touch
2. Don’t preroll the cake when the cake is still very warm
That’s what I used to do and well, what most people do too. I prerolled the cake so that it will know what to do later. Well, that is not wrong actually, but you won’t get nice skin. I have prerolled the cake with tea towel dusted with icing sugar, parchment paper/wax paper dusted with icing sugar, and guess what, they still peeled off. There is no need to preroll the cake actually
3. Spread filling and roll the cake after cooling it down for 5-6 minutes
This is also another important tip. The cake should be just slightly warm. It shouldn’t melt the whipped cream when you spread on it. I actually time it to 5 minutes and it feels just a bit warm
4. DO NOT store the rolled cake wrapped in parchment paper/waxed paper
When you take it out from the fridge, guess what, it will peel off too. This is because the cake is still slightly warm and with the cold fridge, it creates condensation that is trapped between the cake and parchment paper and this makes the skin wet and the skin will peel when you remove the parchment paper later. Store the cake without being wrapped in any paper
POSSIBLE FLAVOR/COLOR COMBINATIONS FOR HURRICAN SWISS ROLL
You can use matcha powder, cocoa powder, instant coffee, black sesame powder, beetroot powder, charcoal powder, etc.
HOW TO STORE LEFTOVER HURRICANE SWISS ROLL
Keep any leftover in the fridge, covered with a cling wrap for a maximum one week. I won’t recommend freezing the cake for longer storage. It didn’t even last 2 days at our house.
DID YOU MAKE THIS HURRICANE SWISS ROLL RECIPE?
I love it when you guys snap a photo and tag to show me what you’ve made 🙂 Simply tag me @WhatToCookToday #WhatToCookToday on Instagram and I’ll be sure to stop by and take a peek for real!

How To Make Soft Fluffy Hurricane Swiss Roll Cake
*Recipe was published in 2019 and I have updated with improved recipe, techniques, photos, and video on September 2, 2020 to hopefully help you make this successfully too.
How To Make Hurricane Swiss Roll Cake (Chiffon style)
Ingredients
Egg yolk batter:
- 4 egg yolks room temperature
- 10 gr sugar 3/4 Tbsp
- 55 gr cooking oil 4 Tbsp
- 55 gr milk 4 Tbsp, or any liquid such as pandan juice for flavoring
- 1 tsp vanilla extract
Dry ingredients:
- 65 gr cake flour 8 Tbsp
- ¼ tsp salt
- ¼ tsp baking powder
Egg white meringue:
- 4 egg whites room temperature
- ¼ tsp cream of tartar or use 1/2 tsp lemon juice
- 80 gr sugar 6 1/3 Tbsp
Flavor:
- 1 Tbsp charcoal powder or whatever powder flavor you like such as cocoa powder, beet root powder, etc
- 1 Tbsp hot water
Filling:
- 125 gr heavy cream about 1/2 cup
- 25 gr icing sugar about 3 1/2 Tbsp
Instructions
Prepare the whipped cream filling:
- Use a stainless steel bowl to whip the heavy cream. Place the whisk and the bowl in the refrigerator to chill for about 30 minutes. It whips so much better when it's cold. I use a stand mixer with whip attachment. Pour the heavy cream and icing sugar in the chilled bowl. I beat on speed 6 on my Kitchen Aid for about 2 minutes or so until it just started to form a stiff peak. DO NOT overbeat the cream or you will make yourself a butter (guess what, it happened to me before). So, don't walk away when the cream is beating. Cover and keep them in the fridge while preparing other things
- Combine the charcoal powder with hot water and stir to mix. Set aside
- Separate egg whites from egg yolks. Spray the baking sheet with non-stick spray or brush with some oil. Line a baking sheet, 9x13x1 inches with a parchment paper, covering the sides too
Prepare the egg yolk batter:
- Preheat oven to 350 F (180 C). In a large mixing bowl, whisk egg yolks, oil, sugar, and milk (or whatever liquid you use) until combine. Sift in the cake flour, salt, and baking powder. Whisk to mix until combined and no lumps
Prepare the egg white meringue:
- Place egg whites in a mixing bowl of a stand mixer fitted with whisk attachment. Whisk until foamy on medium speed and then add cream of tartar or lemon juice/vinegar and whip again for another minute then and 1/3 of the sugar and continue to add sugar until you use it all up. Whip until the egg white develops a medium-soft peak. When you lift the meringue up it will hold up its shape but will bend. Do not whip until stiff peak. The cake will crack when you roll it later
Fold the meringue into the egg yolk batter:
- Fold about 1/3 of the meringue into the egg yolk batter and use a rubber spatula or whisk to fold or whisk until mix and continue to fold in the next 1/3 until you use up all the meringue and the batter is smooth . The batter should be a pourable consistency
Divide the batter:
- Pour 110 gr of the batter into another mixing bowl. Add the charcoal paste (or whatever flavor you use) and whisk to combine
- Pour the plain batter (no color) on the pan and use a rubber spatula to help to spread evenly. You can use a dough scraper to help you even out the surface too if necessary
- Gently pour the colored batter on top of the plain batter. Use a rubber spatula to help you spread it out evenly. Do this very gently so the two batter won't get mixed together
Create the hurricane pattern:
- Use a chopstick and start drawing pattern horizontally first in a continuous motion and then vertically in a continuous motion as well (as shown in the photo above and in the video)
Baking:
- Gently tap the baking sheet on your working surface once or twice to release air bubble
- Bake in a preheated oven at 350 F (180 C) for 30 minutes and then switch to convection mode (fan mode) and bake for another 3-4 minutes or until the top is golden brown and dry to touch. If you don't have convection mode, bake another 5 minutes and check to make sure the top is golden brown and dry to touch. It is important that the top is dry to touch so this layer won't peel off when you roll later
Remove from pan immediately:
- Remove the cake from the oven and then lift it out from the pan immediately to a cooling rack and peel off the parchment paper from 4 sides. This helps to prevent wrinkles on the surface. Let it cools down like this for 10 minutes (I use a timer to actually time it). This is just a guide. You need to feel the cake too. It should be warm, but not too warm to the point that it will melt the cream filling you are going to spread on later
- After 5-6 minutes. Place a new piece of parchment paper, larger than the cake, on top of the cake and flip over to the other side. Peel off the parchment paper
Trim the 4 edges:
- Use a serrated knife to trim about 1/4-inch of the 4 edges. This makes rolling the cake easier. I actually roll the cake from the long side instead of the short side. You should roll parallel to the direction of the last hurricane line you draw earlier or the pattern won't show when you cut it. One of the long side I trim it off at an angle so that the cake will sit better after rolled up
Make 4 shallow slits on the cake:
- On the side you are going to roll, make about 4 shallow slits, about 1 inch apart. This helps to roll up easier without cracks
Spread the filling:
- Spread the cream filling on the surface of the cake. You want to spread most of the filling near the side you are going to roll up from and there should be less filling towards the other end because as you roll up, the filling will get push forward and by the time you roll to the other end, it is just a perfect amount of filling
Roll up the cake:
- Now the part that makes most people, including me, nervous the most. The rolling 🙂 Very gently use one hand to lift the parchment paper up to help you roll the cake up until you reach the other side. Tuck the parchment paper under and use a dough scraper to help you tighten the roll up
Remove the parchment paper:
- Now, most people will keep it rolled in a parchment paper this way and store it in the fridge to let it chills for 2-3 hours before slicing. I don't want to do that because the skin will peel right off after that (trust me, I've baked more than 10 Swiss rolls to figure this part out lol). Why? because our cake is still very slightly warm when we rolled it and then the fridge is cold and the condensation will form and makes the skin wet
- Instead, remove parchment paper. Very gently place the cake on the serving plate you plan to serve. Seal both ends with some whipped cream. This prevents the cake from drying out. Loosely tent with a parchment paper, not touching the surface of the cake. Store in the fridge for at least 1 hour before you plan to cut the cake. I keep it in the fridge like this until the next day and the cake is perfectly moist and the skin is intact
Serve:
- Trim off about 1/4 inch from both ends (my kids are happily eating those trims) and then slice the cake into slices in whatever size you like
Storage:
- Keep any leftover in the fridge, covered with wrap for maximum one week


14 comments
Hi,preheat and bake at 180 or 165 degrees? The recipe above differs. Beginning was 165 then the end instructions became 180.
Which is the correct one?
Hi Jackie, it should be 180 C not 165 C. I have corrected the typo error!
Hello! I really want to try making this but I only have a 9 x 13 pan but 1/2 inch depth. Can I use this or what adjustment do you suggest I make? Thanks!
Hi Serena, you may want to reduce to using 3 eggs and 0.75 x the ingredients on the recipe, except for baking powder and cream of tartar you can keep the same amount.
Hi Marv, thanks for the tip! I actually tried it in a deeper pan and it was going well until I took it out from oven and peeled off the parchment paper sides. The cake was burnt and I followed your advice to bake at 160C for 20 mins and increase to 180C for 10 mins (my oven runs hot) + additional 5 mins as per your original recipe instruction! What went wrong? 🙁
Hi Serena, oh no! is your oven convection (with fan mode)?
No it’s not convection 🙁
Hi Serena, since your oven runs hot, maybe need to lower the temperature by 10-20 degrees.
Hi Marv,
Would you please advise and confirm the oven temperature.
At the making of egg yolk batter stage, your recipe calls for preheating oven st 165 degree celcius. However, when it is at the baking stage, it asks to bake at 180 degrees.
I am confused and my roll cake got burnt.
Many thanks.
Hi Arlena, My apology that I somehow missed your comment here and just saw it. The baking temperature is 350 F (180 C) for 30 minutes. Sorry for the confusion. At this temperature, it will create a nice brown crust on the cake. If yours got burn at this temperature, if I may suggest to try and bake at 160 C for 20 minutes and then increase the temperature to 180 C for 10 minutes to brown the top.
Hello there! Lovely cake… I just tried it today with a maqui berry powder (beautiful color), but my hurricane effect was not there at all, I just had two batters that barely mixed. I went pretty deep with the spatula and from the surface it looked like I marbled it efficiently but upon baking it was just two batters separated quite neatly from each other… do you have any ideas? I wonder if maybe the dark batter should be a bit more loose???? Has this happened to you?
Hi Sally, just wondering if you rolled up the cake parallel to the line of the pattern? otherwise, the hurricane pattern will not show.
Hi, what is the measurement of your Swiss roll pan?
It’s a 9 x 13 x 1 inch (23 x 33 x 2.5 cm). You can also use 8 x 11.5 x 1 inch (20 x 29 x 2.5 cm), it will give you a thicker roll but smaller in size