This post may contain affiliate links. Please read our disclosure policy.
The old-fashioned iced gems biscuits are popular snacks of kids and adults across the world. Now you can easily make these at home with this easy recipe with some pleasant twists.
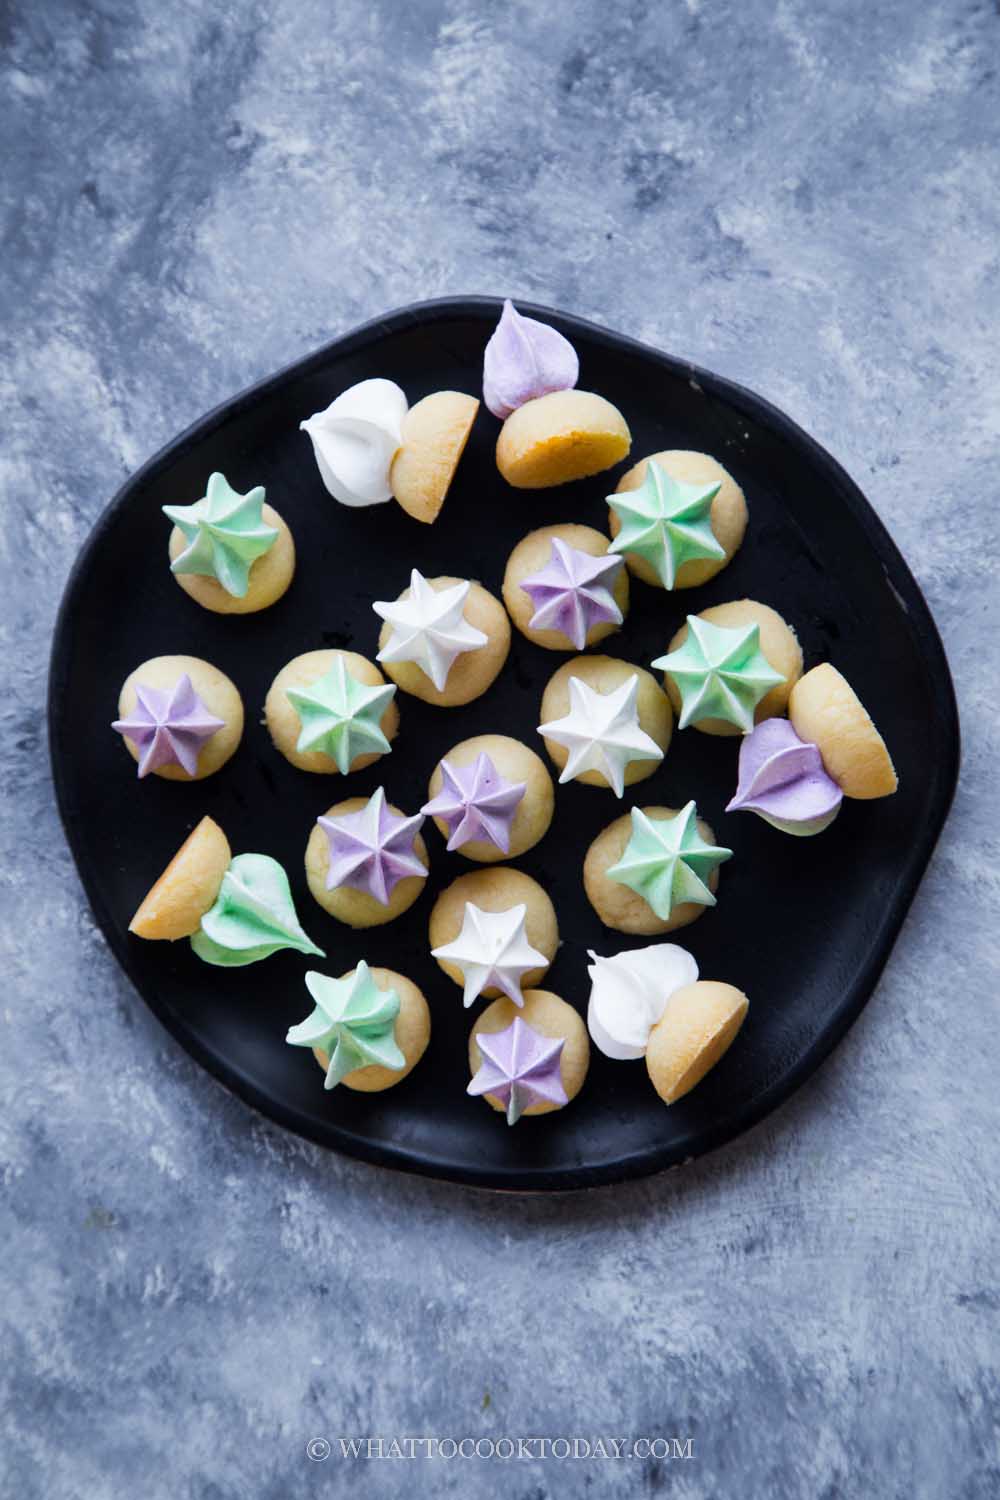
These little colorful biscuits or cookies (or both) are known as iced gems biscuits across the world or Biskut Ais Jem in Malay. Some call them button biscuits. These little gems are highly popular in Indonesia, Malaysia, Singapore, the Philippines, and other Southeast Asian countries (and perhaps other parts of Asia too). They are originated in Great Britain. I remember eating these biscuits as a kid in Indonesia. They are known as Kukis Monas (Monas Cookies) in Indonesia. Perhaps it’s the resemblance to the Monas National Monument in Jakarta? (anyone?). Even though we weren’t a British colony, but we are a neighbor of Singapore and Malaysia and also was a Dutch colony. So, perhaps they got to us from our neighbor or somehow from the Dutch. They were sold by weight at a mom-and-pop shop down the street near our house. Most kids are attracted to them because of their cute and colorful appearance.
British vs Singapore/Malaysia iced gems biscuits
1. The base
The British version has more of a shortbread-like base with royal icing on top. The Asian version has a slightly different base, which is lighter, puffier, and more like cream crackers.
2. The colors
The colorful royal icing on top also has different colors in different countries. They are more colorful and muted in the British version and brighter and neon-like in Asia
3. The shape
The royal icing on top in the British iced gems are taller, spiraling up, and pointy. The Asian version is shorter and shapes more like a “star”
This version of iced gems biscuits
This version I’m sharing here is adapted from here. Not really an old-school iced gems biscuits from Britain nor those I grew up eating. They have a butter cookie base with a meringue cookie instead of the royal icing on top. But the family loves this version a lot. My kids especially like the meringue cookies on top!
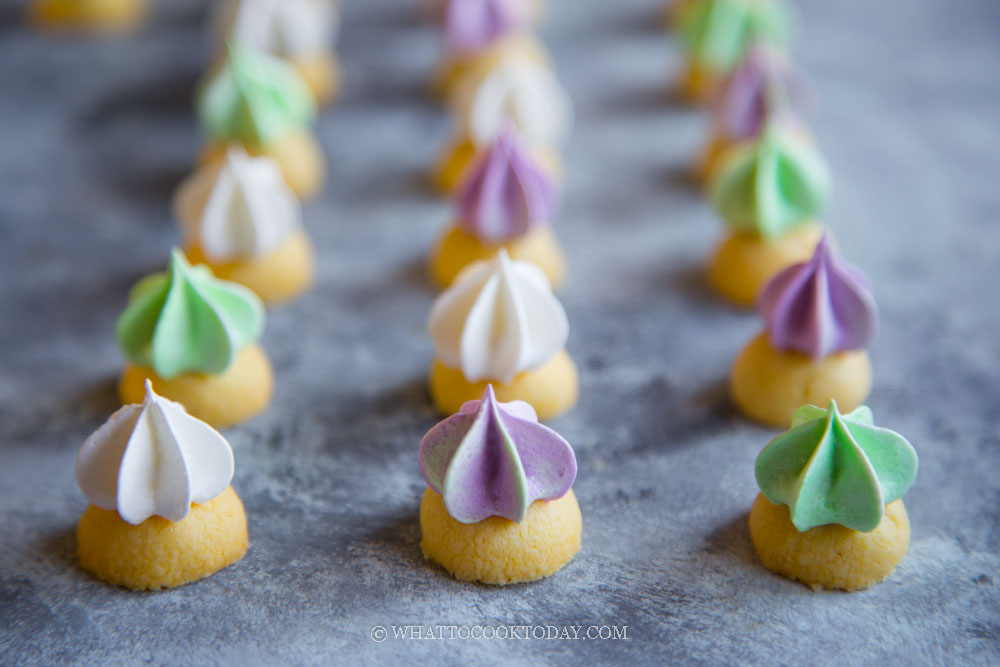
How to make iced gems cookies (with a twist)
1. Mix softened butter and icing sugar until creamy. I didn’t use a mixer. You can just use a wooden spatula to mix.
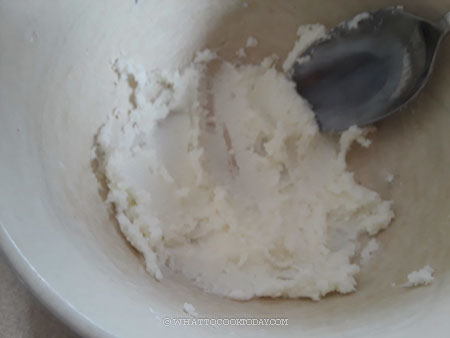
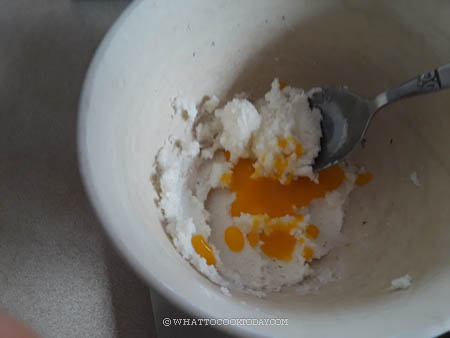
2. Add yolk and the mix again
3. Sift in the milk powder, cake flour, and pinch of salt

4. Mix to combine. Cover and chill the cookie dough for at least 30 minutes
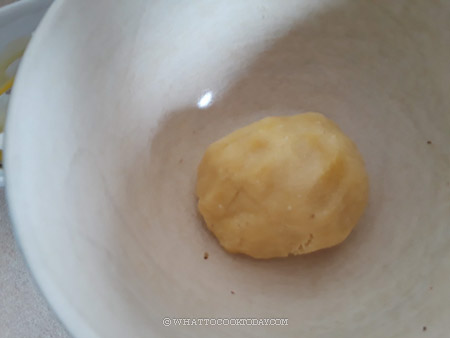
5. Preheat oven to 300 F (150 C). Lined baking sheet with parchment paper. Use a 1/4 or 1/2 teaspoon (measuring teaspoon) to scoop the dough and roll it into a round ball
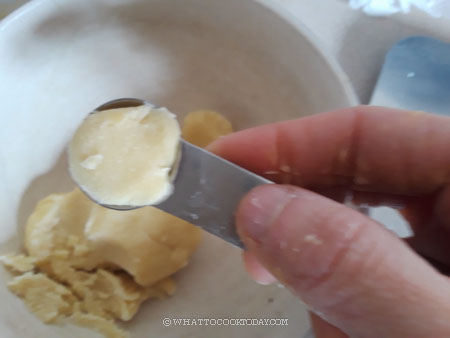
6. I leave it in a round shape as is. You can flatten it slightly and then use a fork to imprint some pattern on the side (to look more like old-school iced gems). Place them on a prepared baking sheet, about 1/2-inch apart. These cookies do not spread much

7. Put in the middle rack and bake for 15 minutes. The cookies will only be “half-baked” at this point. Remove from the oven but keep the oven on and lower the temperature to 250 F (120 C) because we will continue to bake them with the meringue on top. Let the cookies cool down while you prepare the meringue

8. Beat the egg white until foamy on medium speed, about 1 minute and then add the lemon juice and beat for another minute over medium speed. Add 1/4 of the sugar and increase speed to high and continue to beat while adding sugar batch by batch. Beat until the meringue is glossy and has a firm peak. You will see a pointy peak when you lift the meringue up and if you turn the bowl upside down, it will not flop and stays in shape. You are done beating here

9. Divide the meringue into 3-4 equal portions. Add some gel food colors of your choice. I use ube and pandan extract and I leave one uncolored


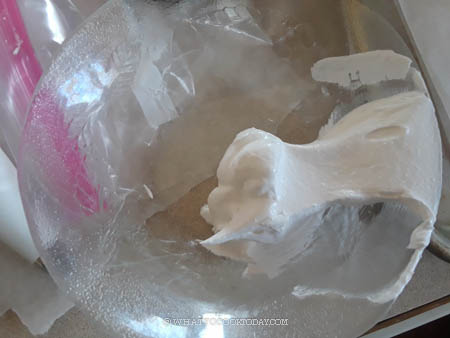
10. Transfer the meringue to a piping bag fitted with a star nozzle. Pipe the meringue on top of the cooled-down cookies
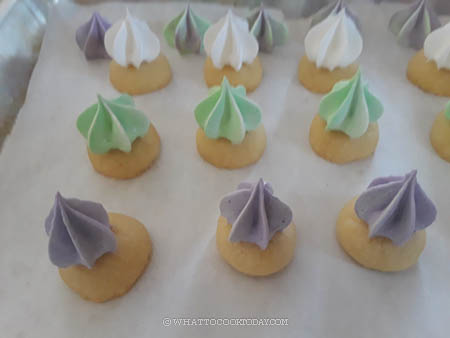
11. You might have some extra meringue, which you can just pipe on the baking sheet too as extra meringue cookies (you won’t regret it)
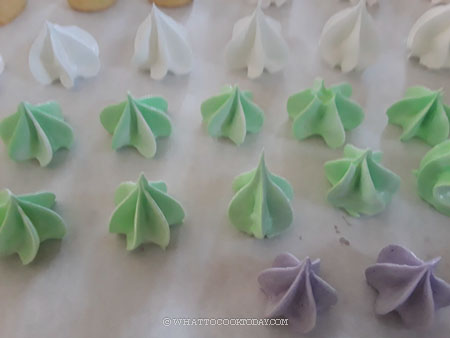
12. Bake in the middle rack for 10 minutes. The meringue will still be sticky to touch at this point. Don’t panic. Don’t try to bake until the meringue is dry because you will be overbaking the cookies. Turn off the oven and leave the cookies in the oven (with the door closed) for 1-2 hours. You can even keep them in the oven overnight. The residual heat will “dry” up the meringue nicely
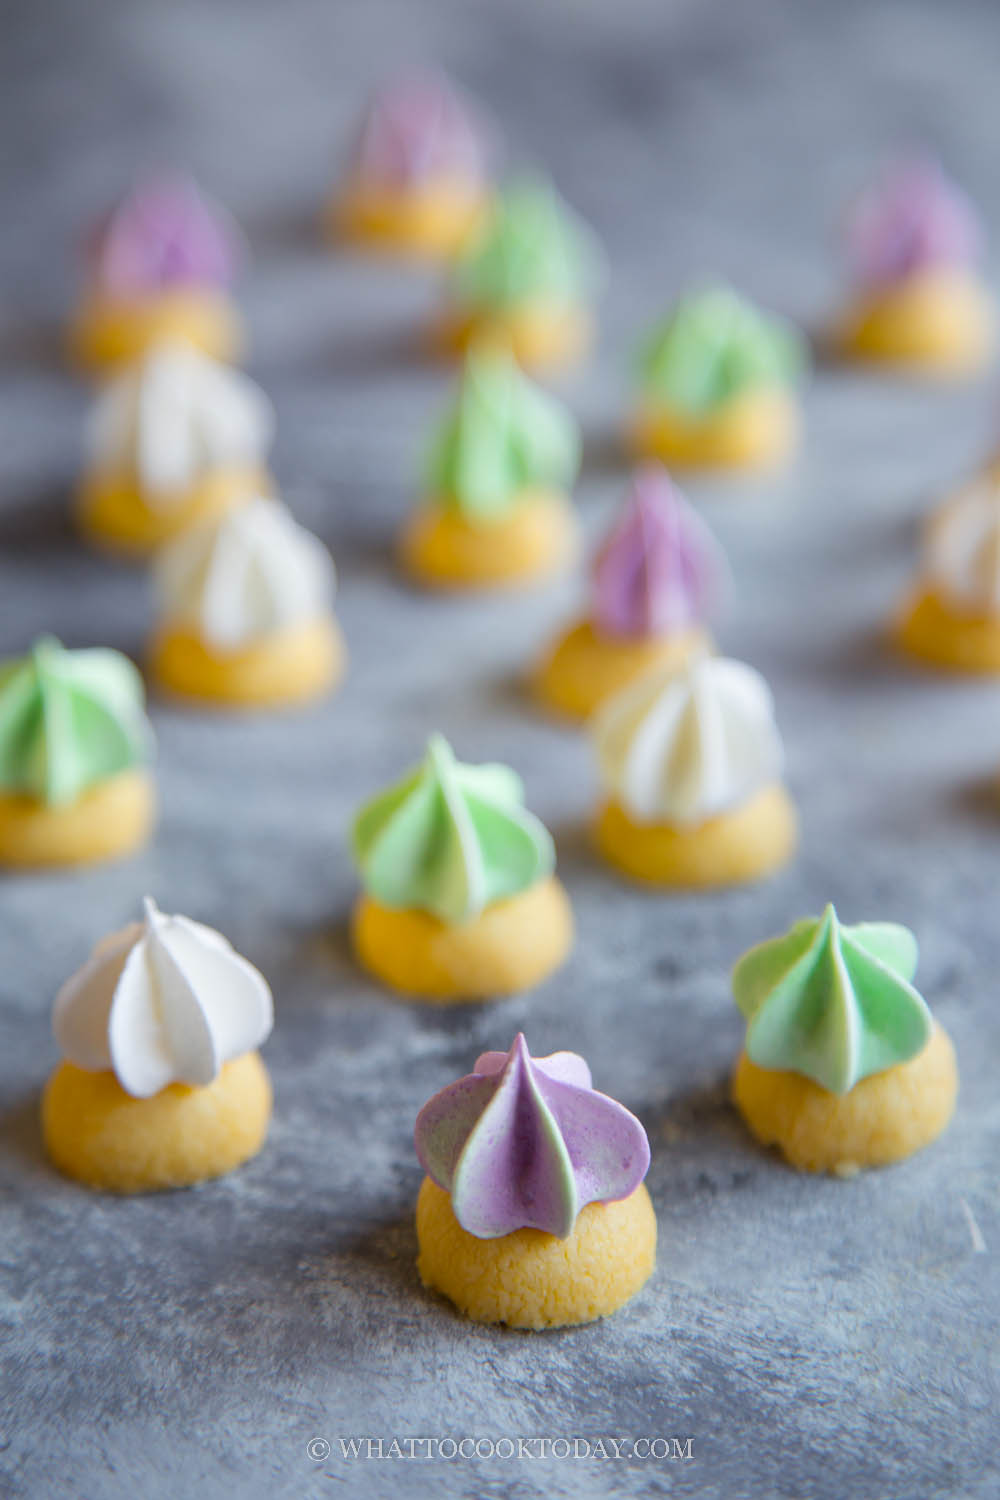
How to store iced gems biscuits
1. It’s better to let them dry up in the oven than at room temperature if humidity is high where you are. When I open the door to check, the meringue is already dry and all firm up
2. Make sure the cookies are completely cool before you store them. Transfer to a jar with a tight-fitting lid and they can be kept for about one week or so (depending on humidity too)
Did you make this iced gems biscuits recipe?
I love it when you guys snap a photo and tag to show me what you’ve made 🙂 Simply tag me @WhatToCookToday #WhatToCookToday on Instagram and I’ll be sure to stop by and take a peek for real!
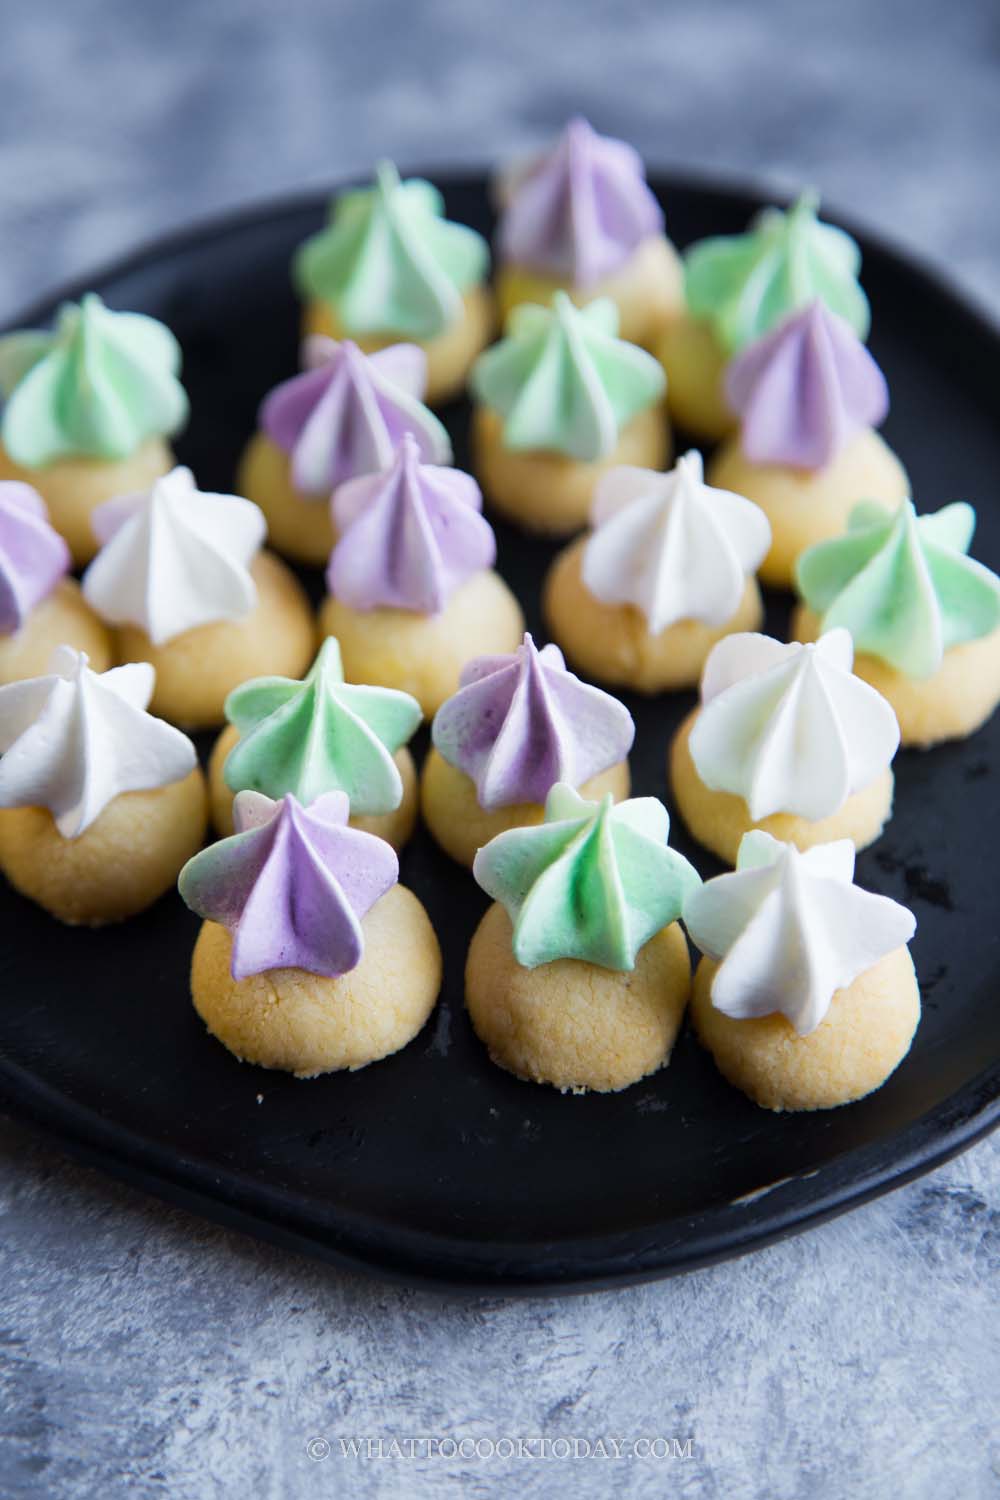
Easy Iced Gems Biscuits/Fancy Gems Biscuits
Ingredients
For the base:
- 50 gr unsalted butter softened, you can use margarine or coconut oil
- 30 gr icing sugar
- 20 gr egg yolk about 1 egg yolk
- 10 gr milk powder
- 70 gr cake flour
- Small pinch of salt
For the meringue:
- 30 gr egg white (room temperature) 1 egg white
- ½ tsp lemon juice or vinegar
- 70 gr granulated sugar
Instructions
Prepare cookie dough:
- Mix softened butter and icing sugar until creamy. I didn't use a mixer. You can just use a wooden spatula to mix. Add yolk and the mix again. Sift in the milk powder, cake flour, and pinch of salt. Mix to combine. Cover and chill the cookie dough for at least 30 minutes
Bake the cookie dough:
- Preheat oven to 300 F (150 C). Lined baking sheet with parchment paper. Use a 1/4 or 1/2 teaspoon (measuring teaspoon) to scoop the dough and roll it into a round ball. I leave it in a round shape as is. You can flatten it slightly and then use a fork to imprint some pattern on the side (to look more like old-school iced gems). Place them on a prepared baking sheet, about 1/2-inch apart. These cookies do not spread much
- Put in the middle rack and bake for 15 minutes. The cookies will only be "half-baked" at this point. Remove from the oven but keep the oven on and lower the temperature to 250 F (120 C) because we will continue to bake them with the meringue on top. Let the cookies cool down while you prepare the meringue
Prepare the meringue:
- Beat the egg white until foamy on medium speed, about 1 minute and then add the lemon juice and beat for another minute over medium speed. Add 1/4 of the sugar and increase speed to high and continue to beat while adding sugar batch by batch. Beat until the meringue is glossy and has a firm peak. You will see a pointy peak when you lift the meringue up and if you turn the bowl upside down, it will not flop and stays in shape. You are done beating here
Color the meringue:
- Divide the meringue into 3-4 equal portions. Add some gel food colors of your choice. I use ube and pandan extract and I leave one uncolored
Piping:
- Transfer the meringue to a piping bag fitted with a star nozzle. Pipe the meringue on top of the cooled-down cookies. You might have some extra meringue, which you can just pipe on the baking sheet too as extra meringue cookies (you won't regret it)
Baking:
- Bake in the middle rack for 10 minutes. The meringue will still be sticky to touch at this point. Don't panic. Don't try to bake until the meringue are dry because you will be overbaking the cookies. Turn off the oven and leave the cookies in the oven (with the door closed) for 1-2 hours. The residual heat will "dry" up the meringue nicely
- I left mine for 2 hours. You can even leave them in the oven overnight. If it's humid where you are, you may need longer time as we all know egg white are sensitive to humidity (the humid weather makes it sticky). It's better to let them dry up in the oven then at room temperature if humidity is high where you are. When I open the door to check, the meringue is already dry and all firm up
Storing:
- Make sure the cookies are completely cool before you store them. Transfer to jar with a tight-fitting lid and they can be kept for about one week or so (depending on humidity too)


6 comments
Hi, can I know what is the degree for baking meringue for 10 minutes? 120 or 150 degrees? thank you.
It’s 120 C for 10 minutes for tiny size of meringues like in the photo.
Thank you for this recipe! Can I substitute the milk powder with something else? Thanks in advance!
Hello, you can omit if you don’t have any. The milk powder gives some milky aroma to the biscuits.
Thanks for the recipe! Came in timely for my child who is in love with gem biscuit lately. I didn’t have enough butter so I added olive oil to make it the total mass. Can I replace the butter with oil or reduce the amount of butter further? Butter upsets my stomach. Is the meringue supposed to be sticky to chew? I let it dry for 3 h but found it still stuck to my teeth when I bite it.
Hi Lyn, I did not try to make with oil. You can try but you probably need less oil otherwise the cookie will be greasy. You can start with half the amount of butter and see. As for the meringue, it’s not supposed to be sticky. If it’s really humid where you are, you may need to leave them to dry in the oven for longer time. Also make sure you whip the meringue until they are stiff.