This post may contain affiliate links. Please read our disclosure policy.
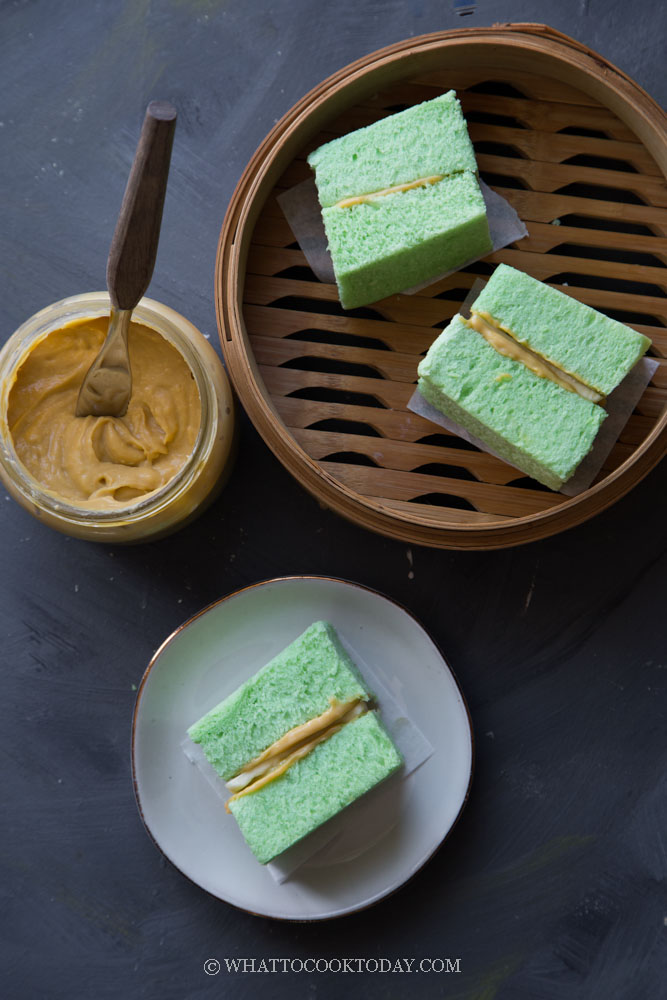
Rich and creamy kaya jam and butter sandwiched between pillowy soft and fluffy steamed bread is a great twist to the traditional Kopitiam-style kaya toast. The steamed bread recipe is eggless.
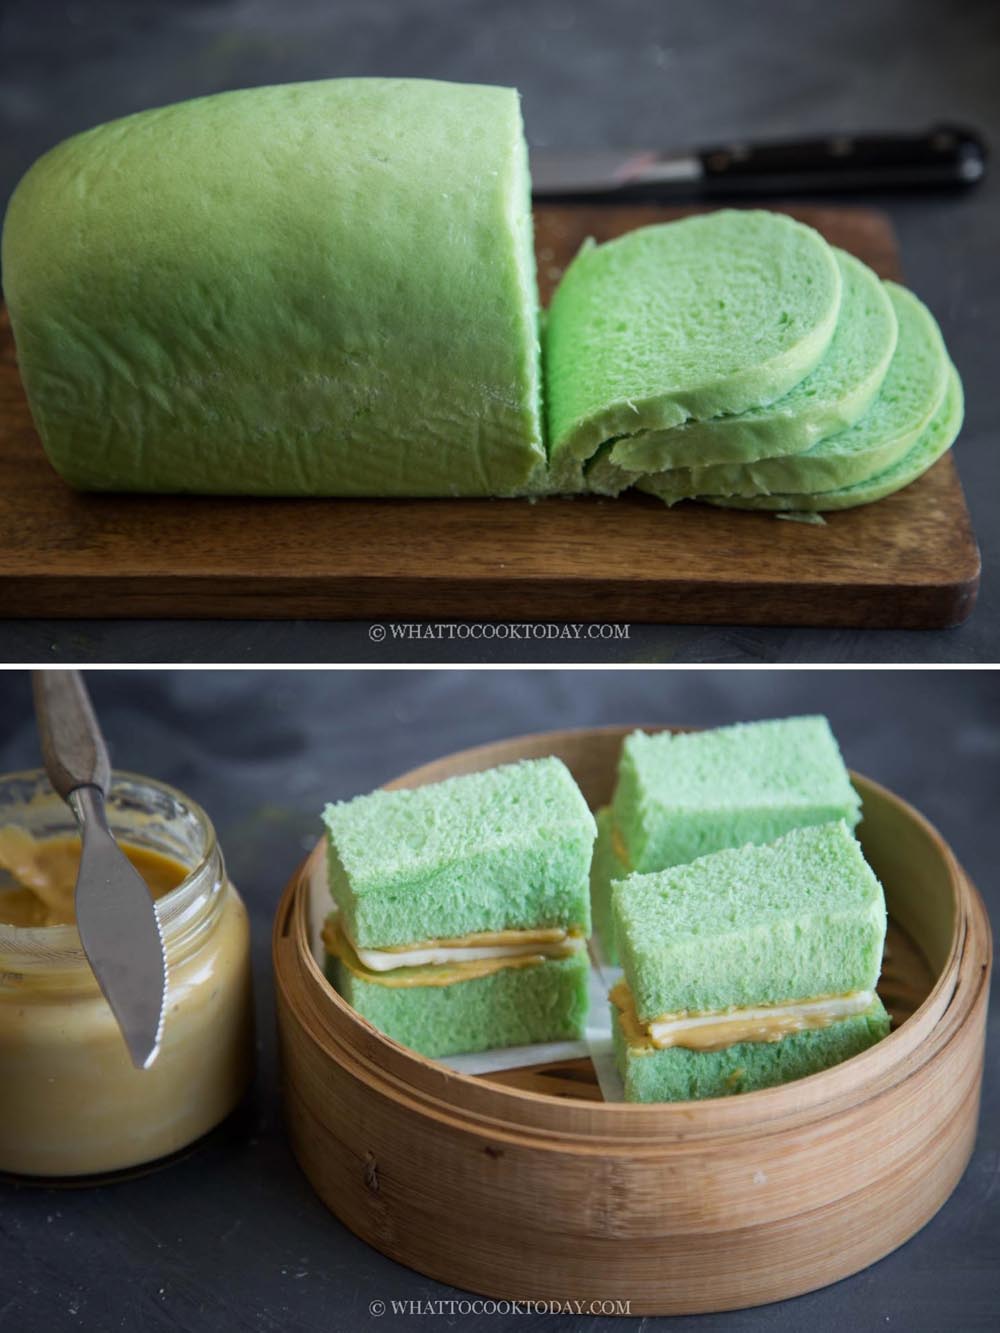
If you enjoy eating kopitiam style kaya toast, you will absolutely enjoy this version using steamed bread instead of toasted bread. I love steamed bread. It’s actually similar to steamed buns. In fact, this recipe is adapted from my favorite soft fluffy steamed buns recipe with some modification in methods. I also added pandan flavor just because I think pandan, kaya, and butter are best friends 🙂 You will also love the 10-minute kaya recipe. You can also use the vegan kaya jam.
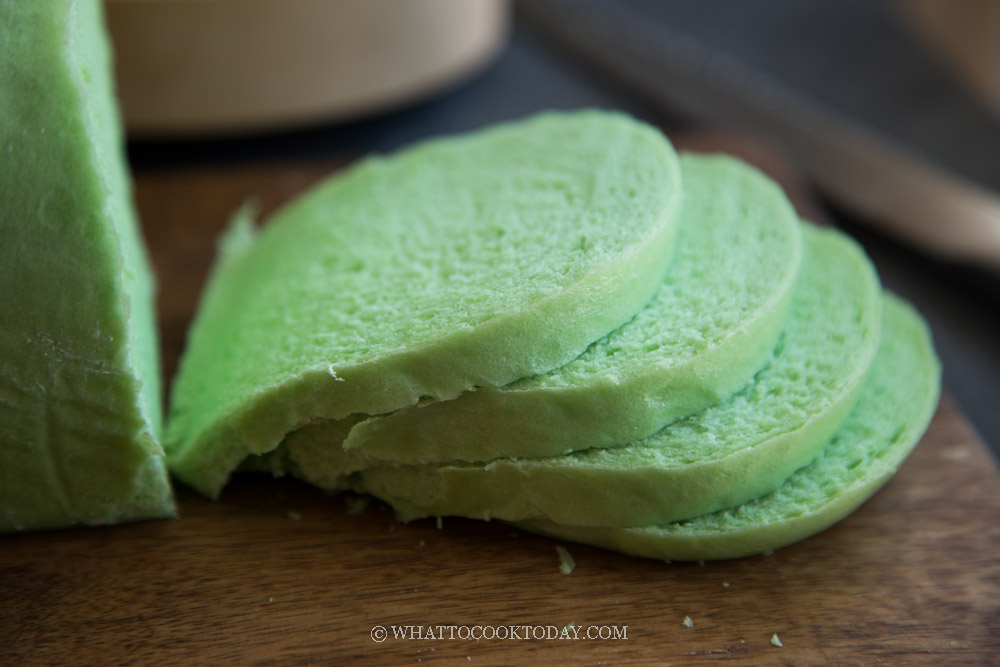
The recipe rundown
Taste: The steamed bread is very lightly sweetened and goes well with the rich and creamy kaya and melty cold salted butter. Mmmm!!!
Texture: The steamed bread is very soft and fluffy
Level: Intermediate
Pros: The bread is eggless and only requires one-time proofing
Cons: You can knead the dough by hand, but it requires a lot of elbow grease. I’m not good at kneading dough with my hands, but that may not be your case
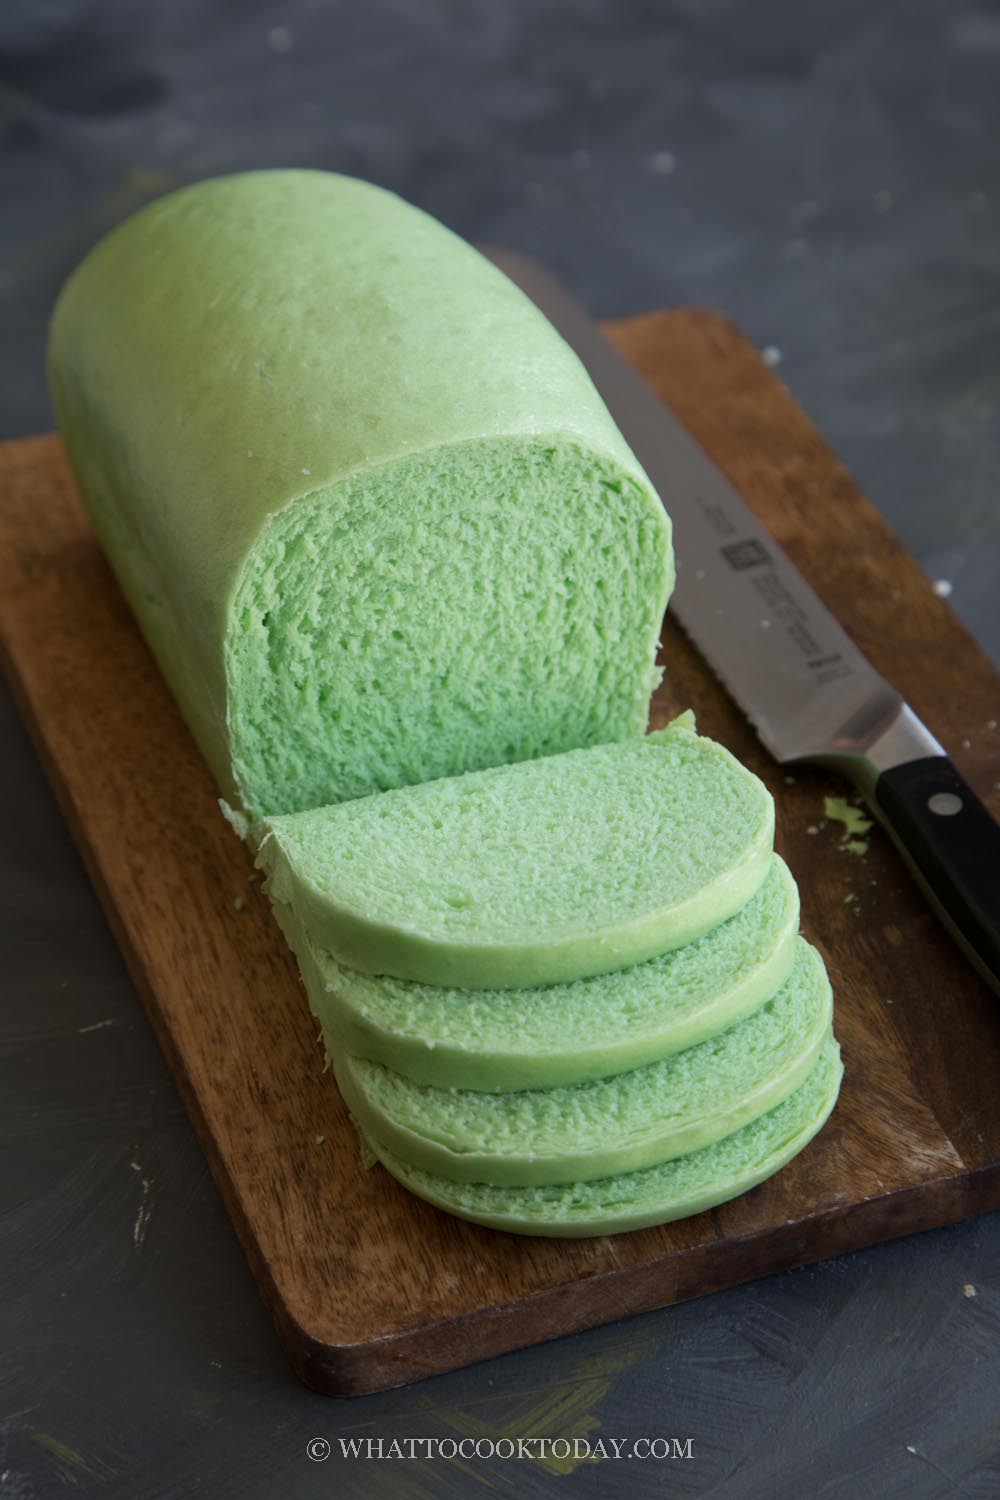
How to make soft fluffy steamed bread (Plain or Pandan flavor)
1. We need to wrap the lid of the steamer with a cloth. So we want to make sure there is enough room for the steamed bread to rise up during steaming and not touching the cloth causing it to deflate/flatten or “ruin” the surface of the bread.
The stick is to show you how much room is left between the bread and the lid (after wrapped in cloth) to allow the bread to expand later during steaming without getting squished.

The cloth covers the inner dome shape of the lid, which means it reduces the height distance between the bread and the highest point of the lid. So that is why we need to make sure there is enough room after wrapping the lid with a cloth. I hope I’m making some sense here 🙂

2. I use an 8 x 5 loaf pan. Spray with a cooking spray or brush with cooking oil and then line with parchment paper on the bottom and the sides

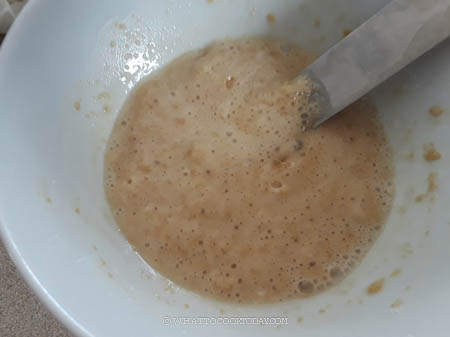
3. Mix the yeast with warm milk and 1 tsp of sugar. Let it stands for 10 minutes. The mixture will be foamy and bubbly. If it doesn’t, the yeast is no longer good and do not proceed with the recipe until you get a new yeast
4. Whisk both flours, sugar, and salt in a mixing bowl. Pour in the yeast mixture and oil. Use a dough attachment and knead the dough over low speed (speed 2 on Kitchen Aid). Gradually add the milk until the dough comes together. Continue to knead for 10 minutes or until the dough is smooth and stretchy. The dough should not tear easily when you pull on them. It is important to knead it to this stage

5. Cover and rest the dough for 15 minutes. This is not to proof the dough yet. We just want to relax the gluten so we can roll it out easily

6. Put the dough on a working surface. You can lightly sprinkle your work surface with a bit of flour. Roll the dough out to be about the same length as the loaf pan (refer to the photo above)

7. Then roll it up like a Swiss roll and put it inside the prepared loaf pan. Cover with a damp cloth or cling wrap

8. Place the dough in a warm place. I use my oven bread proof function for this. It takes about 1 hour or longer (depending on the temperature where you are) for the dough to double in size

9. Place the pan inside the steamer. The water in the steamer is still cold at this point.

10. Cover with a lid (that has been wrapped with a cloth to prevent condensation drips on the surface of the bread).

11. Turn on the stove to medium heat (not high heat). Start counting the steaming time when the water has come to a gentle boil. Steam for 40 minutes over this steady medium heat

12. After 40 minutes, turn off the heat but DO NOT open the lid yet. Wait for 5 minutes and then gently uncover the lid. The bread should have risen quite high (and hopefully without ruined surface)

13. Remove the bread from the steamer and lift the parchment paper up to remove bread from the pan. Let the bread cools down on a cooling rack so the bottom won’t be wet and soggy

How to make Ya Kun kaya butter steamed bread
1. Cut the bread into thick slices

2. Cut each slice into 2 or 4 smaller pieces (just a suggestion if you want to look more like Ya Kun kaya steamed bread. You can cut it however you want it). You can warm up the bread slices in a microwave or a steamer so they can slowly “melt” the cold butter later

3. Spread with some kaya jam and put a slice of cold butter on top of one slice of bread and then cover with another slice of bread


Tips
1. Using the combination of all-purpose flour and cake flour gives the best of both worlds. The bread won’t be too soft like a cake, but it has a sturdy yet soft texture. So I recommend this combination for the best result.
2. You don’t need baking powder or baking soda in this recipe. The yeast will do its job to leaven the bread nicely
3. Make sure your loaf pan can fit into your steamer and has enough room for the bread to expand as it steams before you even start to work on this recipe
4. This bread is steamed over medium heat (not high heat)
Will the bread stays soft for days?
They are the softest when they are warm. After a few days, they won’t be as soft anymore, but a simple reheating to warm them up will restore the softness back. This is normal for homemade bread that doesn’t have any additives or preservatives. So, please don’t expect it to be like a store-bought bread that stays soft for weeks because they add preservatives and additives.
Did you make this Ya Kun kaya butter steamed bread recipe?
I love it when you guys snap a photo and tag to show me what you’ve made 🙂 Simply tag me @WhatToCookToday #WhatToCookToday on Instagram and I’ll be sure to stop by and take a peek for real!
Steamed Bread with Kaya Jam
Ingredients
To activate yeast:
- 4 gr instant yeast
- ½ tsp sugar
- 15 ml lukewarm milk
For the steamed bread:
- 180 gr all-purpose flour
- 180 gr cake flour
- 60 gr granulated sugar
- ¼ tsp salt
- 15 gr cooking oil
- 180 ml lukewarm milk I used low-fat milk
For pandan flavor (use pandan essence and/or pandan juice):
- 1 tsp pandan essence
- 5 pandan leaves
To make kaya butter steamed bread:
- 1 recipe Easy Authentic 10-minute Kaya Jam
- cold butter
Instructions
If you want to use pandan juice:
- Cut the pandan leaves into little pieces and then blend with 180 ml of milk. Squeeze out the juice and measure to get 180 ml. You can top it up with more milk while making the dough later. I added pandan essence too for a more vibrant and stronger flavor. It's optional
Make sure your steamer can fit in the loaf pan:
- We need to wrap the lid of the steamer with a cloth. So we want to make sure there is enough room for the steamed bread to rise up during steaming and not touching the cloth causing it to deflate/flatten or "ruin" the surface of the bread. Refer to the photo above
Prepare the loaf pan:
- I use 8 x 5 loaf pan. Spray with a cooking spray or brush with cooking oil and then line with parchment paper on the bottom and the sides
Activate the yeast:
- Mix the yeast with warm milk and 1 tsp of sugar. Let it stands for 10 minutes. The mixture will be foamy and bubbly. If it doesn't, the yeast is no longer good and do not proceed with the recipe until you get a new yeast
Prepare the dough:
- Whisk both flours, sugar, and salt in a mixing bowl. Pour in the yeast mixture and oil. Use a dough attachment and knead the dough over low speed (speed 2 on Kitchen Aid). Gradually add the milk until the dough comes together. Continue to knead for 10 minutes or until the dough is smooth and stretchy. The dough should not tear easily when you pull on them. It is important to knead it to this stage
- Cover and rest the dough for 15 minutes. This is not to proof the dough yet. We just want to relax the gluten so we can roll it out easily
Roll and shape:
- Put the dough on a working surface. You can lightly sprinkle your work surface with a bit of flour. Roll the dough out to be about the same length as the loaf pan (refer to the photo above). Then roll it up like a Swiss roll and put it inside the prepared loaf pan. Cover with a damp cloth or cling wrap
Proof the dough:
- Place the dough at a warm place. I use my oven breadproof function for this. It takes about 1 hour or longer (depending on the temperature where you are) for the dough to double in size
Steaming:
- Place the pan inside the steamer. The water in the steamer is still cold at this point. Cover with a lid (that has been wrapped with a cloth to prevent condensation drips on the surface of the bread). Turn on the stove to medium heat (not high heat). Start counting the steaming time when the water has come to a gentle boil. Steam for 40 minutes over this steady medium heat
- After 40 minutes, turn off the heat but DO NOT open the lid yet. Wait for 5 minutes and then gently uncover the lid. Remove the bread from the steamer and lift the parchment paper up to remove bread from the pan. Let the bread cools down on a cooling rack so the bottom won't be wet and soggy
To make kaya butter steamed bread:
- Cut the bread into thick slices and cut each slice into 2 or 4 smaller pieces (just a suggestion if you want to look more like Ya Kun kaya steamed bread. You can cut it however you want it). You can warm up the bread slices in a microwave or a steamer so they can slowly "melt" the cold butter later
- Spread with some kaya jam and put a slice of cold butter on top of one slice of bread and then cover with another slice of bread. Serve with kopitiam-style half-boiled eggs and some coffee or tea. Life is perfect like that 😉


4 comments
Super delicious. I used pandan leaves juice only but I took 6 big long leaves, and I didn’t use pandan essence because I don’t have any at home but its taste wonderful enough. finished the bread in less than 24 hours now I need to make a new one again because everyone is addicted to the taste. Oh yes, because I only had 150ml of milk left at home, the remaining 30 ml I used water. but it works wonder. Now I’m going out to get groceries to make this bread again. 🙂
Hi Vivian, I’m happy to know that you enjoyed it 🙂 Pandan and kaya combination are just so addictingly good 🙂 I”m not ashamed to say that I could eat half of the loaf myself ha..ha..!!!
I LOVE steam bread! Is it possible to make it with mini loaf pan instead? My steamer is not big enough to fit a big loaf pan.
Thank you!
Hi Teresa, of course! Depending on the size of your mini loaf pan, if your loaf pan is about or close to 6×4 inch, then you can half the recipe.