This post may contain affiliate links. Please read our disclosure policy.
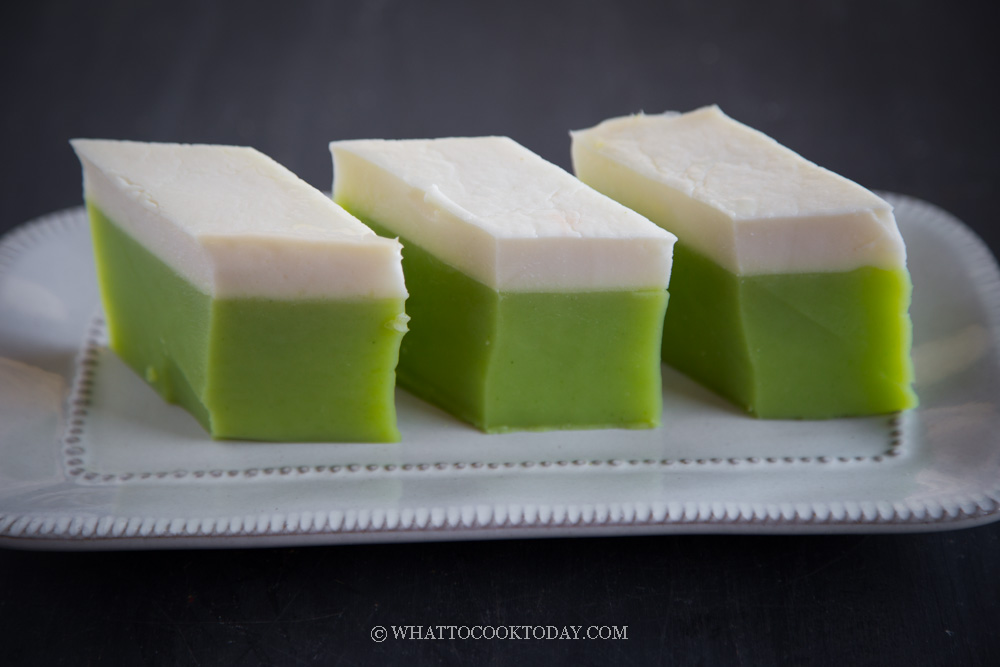
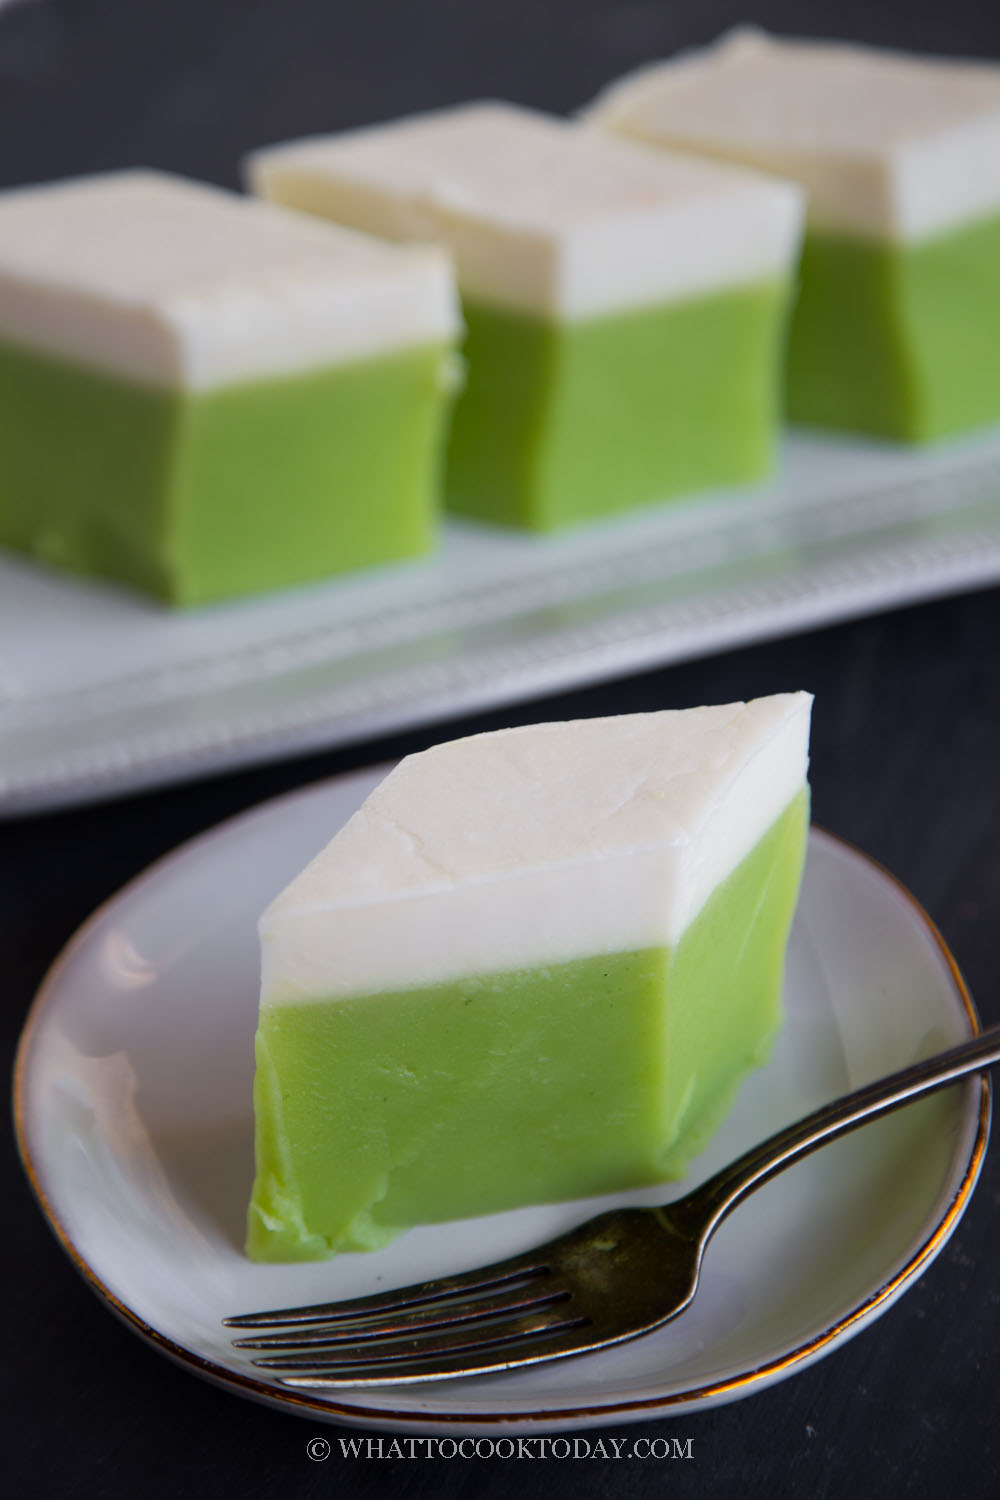
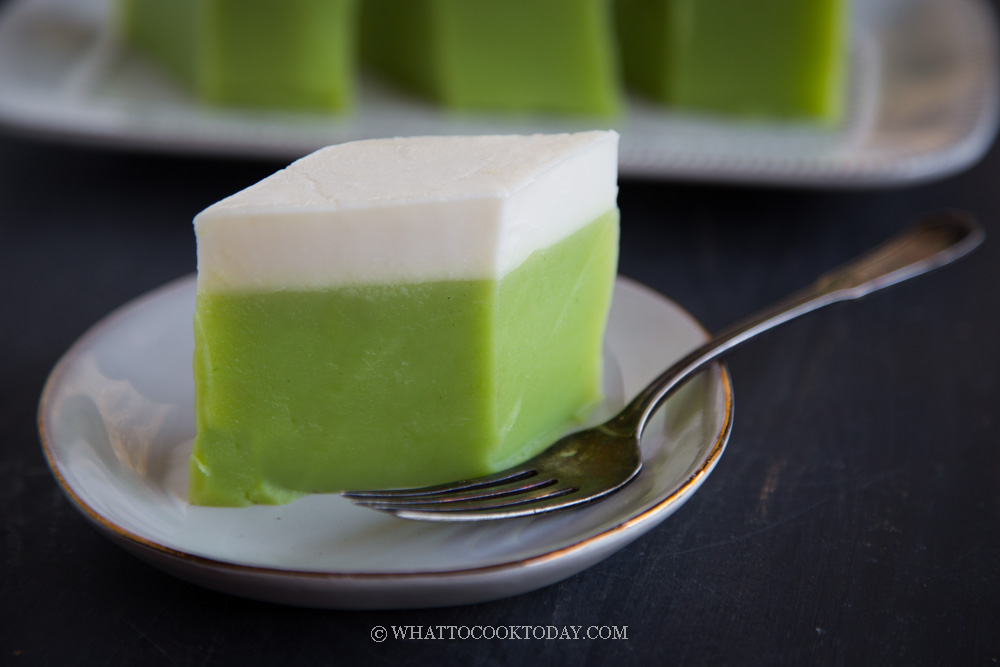
Learn how to make this soft, smooth, and bouncy two-layer Nyonya kuih talam pandan. The bottom sweet pandan layer is topped with a flavorful and slightly savory coconut milk layer. The cake is naturally gluten-free, dairy-free, and vegan.
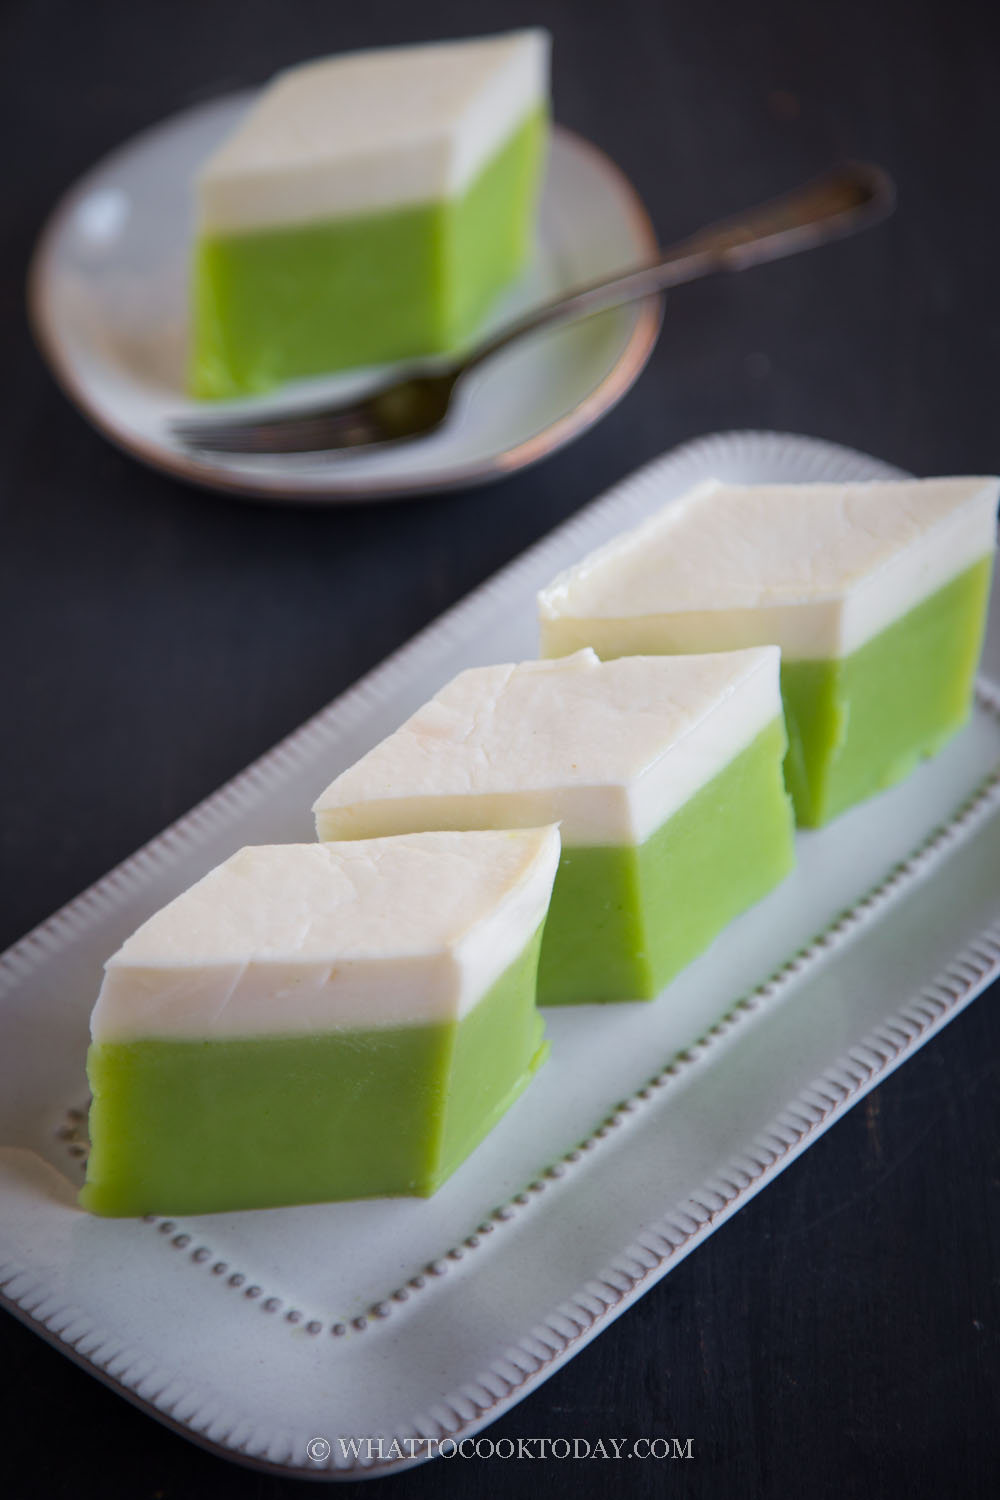
A while ago I made this kue talam ubi . It is one of my favorite kue basah or often called Nyonya kuih. Kue talam can be made into so many different flavor and color combinations. It usually has two layers. The bottom layer has the main flavor, in this case, pandan flavor, and the top layer is usually the white coconut layer. In Indonesia, some people will call this kue talam tepung beras (Tepung beras = rice flour) because the kue is mainly made with rice flour
Ingredients
1. Rice flour
I usually use store-bought rice flour from Thailand. I don’t recommend using your own ground rice flour as it is usually not fine enough and it may not be dry enough and this will affect the result of your kueh
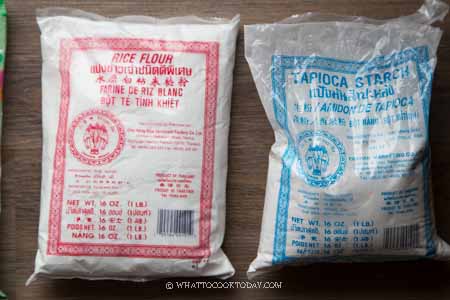
2. Tapioca starch
This is the starch extracted from tapioca. Do not use tapioca flour that is basically ground from whole tapioca/cassava.
3. Mung bean starch
This is also a starch extracted from mung beans. Do not use flour ground from whole mung beans. You can also use hunkwe flour. There are many different brands. Use the one you like or available
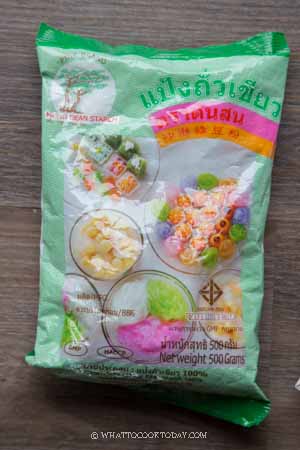
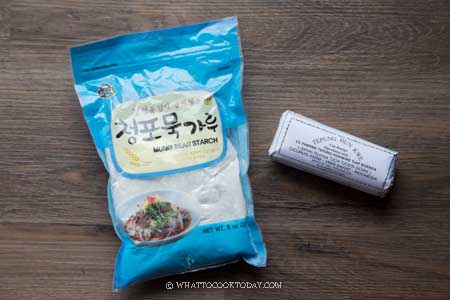
Mung bean starch and Hun kwe flour
4. Coconut milk
I use canned coconut milk. I don’t recommend using the lite/light coconut milk
5. Sugar
You can use granulated sugar or caster sugar
6. Pandan leaves
You can use frozen or fresh pandan leaves to make pandan juice. Simply thaw the frozen leaves
7. Alkaline water
Alkaline water (kan sui) contributes to the bounciness in this recipe. You can skip if you prefer, but it may affect the texture slightly and a bit more difficult to cut
How to make kuih talam pandan
1. Brush your pan with some oil and then lined it with parchment paper. Bring the water in the steamer to a boil. Wrap the lid with a cloth to prevent water condensation drips on the cake

2. For pandan layer (bottom layer): Mix mung bean starch, tapioca starch, rice flour, and sugar in a saucepan. Whisk to mix.
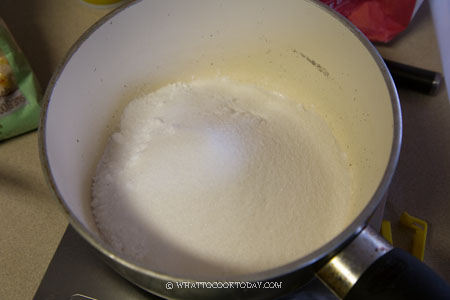
3. Add pandan juice (if using), water, pandan essence (if using), and kan sui (alkaline water). Whisk until the mixture is smooth and has no lumps. Strain if necessary
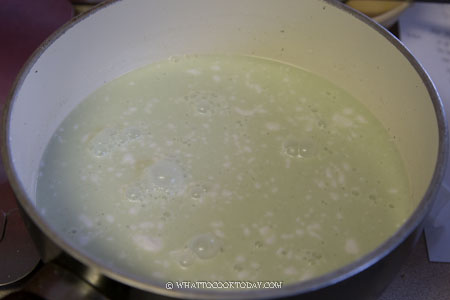
4. Cook this mixture over low heat until it thicken slightly. It will coat the back of your spatula and there will be bits of curdles here and there. Turn off the heat. It’s important NOT to cook until it becomes too thick like a dough. The consistency should be pourable. Don’t worry about the curdles. They will even out during steaming
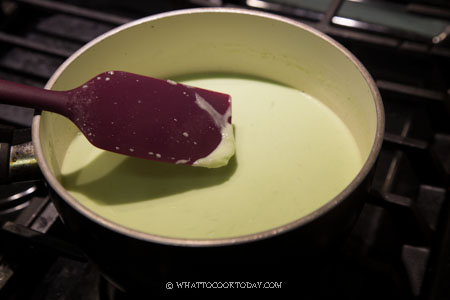
5. Pour this into a prepared pan
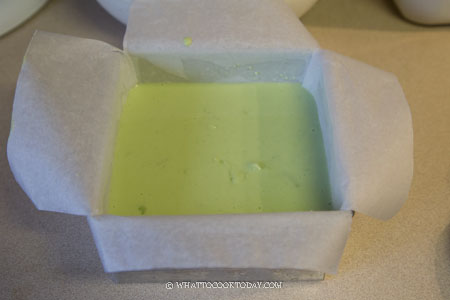
6. Steam over medium high heat for 20 minutes or until the layer is set on top
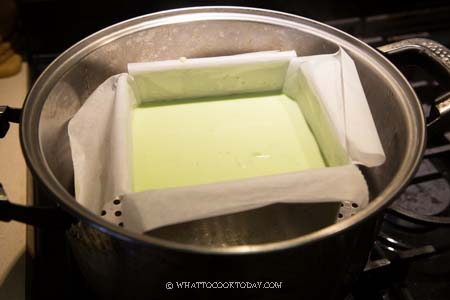
7. For coconut layer (top layer): Mix rice flour, tapioca starch, and salt. Whisk to mix
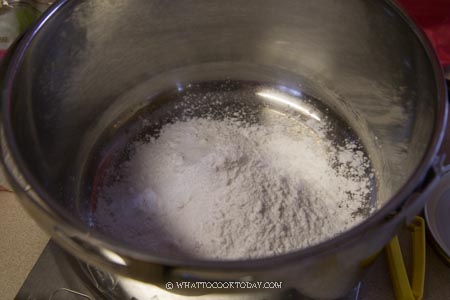
8. Pour in the coconut milk and mix again
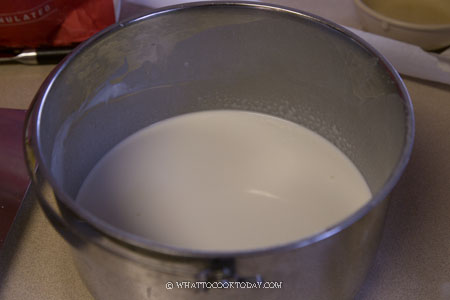
9. Gradually add in the hot boiling water and keep whisking until the mixture is smooth. Strain if necessary to get rid of lumps
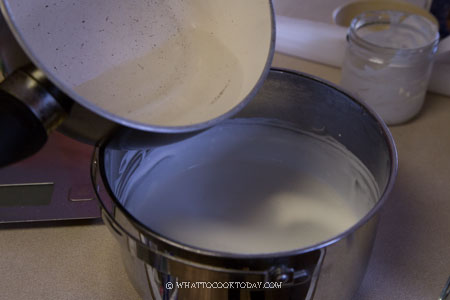
10. Gently pour this layer over the green layer and steam over medium heat for 15-17 minutes or until the layer is set. It’s important not to crank up the heat for this layer or the surface can be bumpy and not smooth
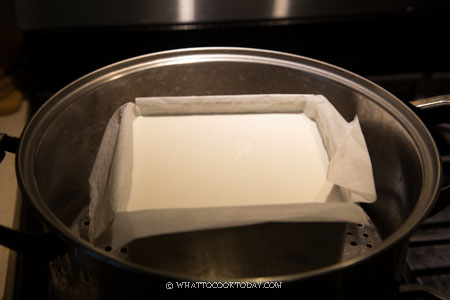
11. Let the kuih talam cools down completely, which may take 2 hours or so.
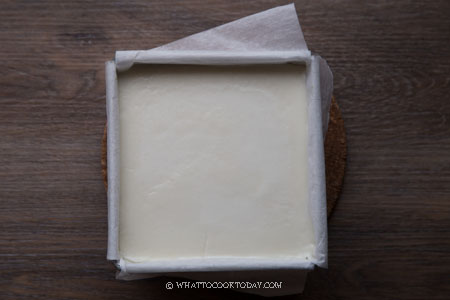
12. Rub the knife with some oil or use a plastic knife to cut the kuih talam into the size and shape you like and serve. Wipe the knife with a paper towel after each cut
Tips for success
1. Do not cook the pandan batter (bottom layer0 until it’s too thick. The consistency needs to be just slightly thick and coats the spatula but still pourable
2. Do not worry about the curdles that form when you cook the pandan batter. It’s okay. They will smooth out once you steam it
3. Steam the coconut layer (top layer) over medium-low heat to ensure a smooth surface
4. The texture of the kuih talam can be altered a bit. If you prefer a softer (wobbly) texture, you can add a bit more water, about 15 ml extra to the pandan layer
How to store kuih talam
1. Once it cools down, you can slice them into a serving portion. Cover or transfer to an air-tight container and they can be kept overnight at room temperature
2. Keep them in the fridge after that, for about 3 days in an air-tight container. Let them sit at room temperature before serving if you prefer.
Did you make this kuih talam pandan recipe?
I love it when you guys snap a photo and tag to show me what you’ve made 🙂 Simply tag me @WhatToCookToday #WhatToCookToday on Instagram and I’ll be sure to stop by and take a peek for real!
The recipe is adapted from Katherine Kwa’s.
Kuih Talam Pandan (Steamed Pandan Coconut Cake)
Ingredients
Pandan layer:
- 10 gr mung bean starch or use hunkwe flour
- 40 gr tapioca starch
- 120 gr rice flour
- 150 gr granulated sugar
- 320 ml water
- ½ tsp alkaline water
Pandan juice:
- 300 ml water
- 10 blades pandan leaves
Coconut milk layer:
- 50 gr rice flour
- 25 gr tapioca starch
- 250 ml thick coconut milk not coconut cream
- ¼ tsp salt
- 250 ml boiling water
Instructions
- Brush your pan with some oil and then lined with parchment paper. Bring the water in the steamer to a boil. Wrap the lid with a cloth to prevent water condensation drips on the cake
Prepare the pandan batter:
- Cut 10 blades of pandan leaves into small pieces. Put this in a blender with 300 ml of water and blend until smooth. Strain and get 300 ml of pandan juice
- Mix mung bean starch, tapioca starch, rice flour, and sugar in a saucepan. Whisk to mix. Add pandan juice, water, and kan sui (alkaline water). Whisk until the mixture is smooth and has no lumps. Strain if necessary
- Cook this mixture over low heat until it thickens slightly. It will coat the back of your spatula and there will be bits of curdles here and there. Turn off the heat. It's important not to cook until it becomes too thick like a dough. The consistency should be pourable. Don't worry about the curdles. They will even out during steaming
- Pour this into a prepared pan and steam over medium high heat for 20 minutes or until the layer is set on top
Prepare the coconut milk layer:
- Mix rice flour, tapioca starch, and salt. Whisk to mix. Pour in the coconut milk and mix again. Gradually add in the hot boiling water and keep whisking until the mixture is smooth. Strain if necessary to get rid of lumps
- Gently pour this layer over the green layer and steam over medium heat for 15-17 minutes or until the layer is set. It's important not to crank up the heat for this layer or the surface can be bumpy and not smooth
Serving:
- Let the kuih talam cools down completely, which may take 2 hours or so. Rub the knife with some oil or use a plastic knife to cut the kuih talam into the size and shape you like and serve. Wipe the knife with a paper towel after each cut



17 comments
Can you use pandan extract with water for the pandan juice?
Hi Corrine, yes you can!
Thank you for this recipe.
I made this kueh today and it’s delicious.
However I noticed that the white part has a firmer bite than the green part; the white batter was more viscous before steaming too.
Is that how it’s supposed to be?
Hi Alice, the two layers have slightly different texture. The green part should be slightly bouncy because of the alkaline water, but the white part should be just softer in texture, it shouldn’t be firmer compared to the green. Is there a possibility that you might accidentally add alkaline water to the white batter too maybe ?