This post may contain affiliate links. Please read our disclosure policy.
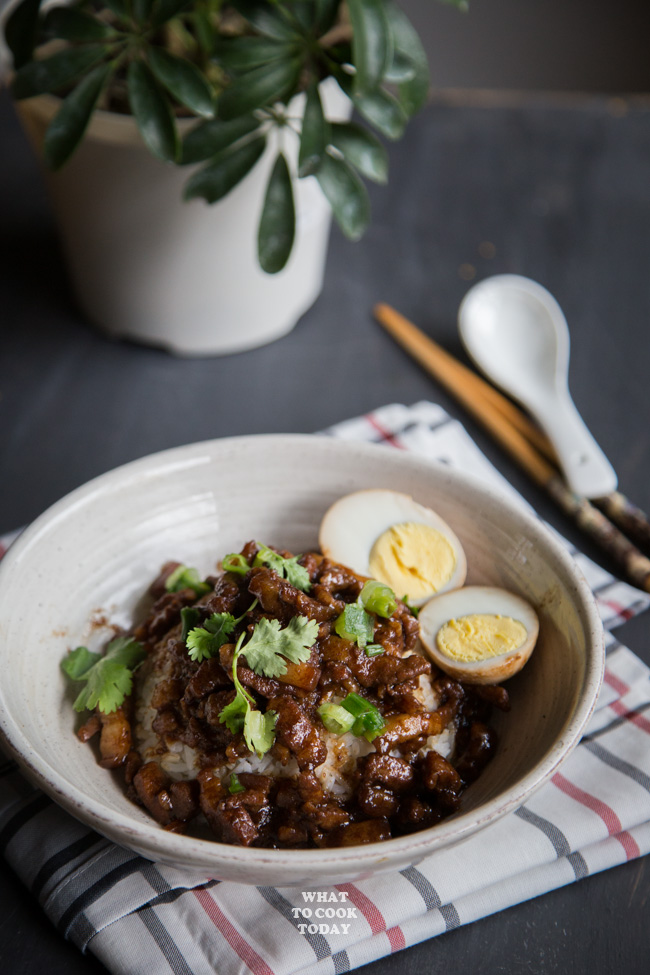
Pork belly is braised in a savory, rich sauce and smothered on top of rice. Lu Rou Fan is a delicious and comforting dish that has stood the test of time. Its savory and rich flavors, coupled with its versatility, make it a staple in Taiwanese cuisine and a must-try for anyone who loves pork and rice. Both pressure cooker and stove-top recipes are included.
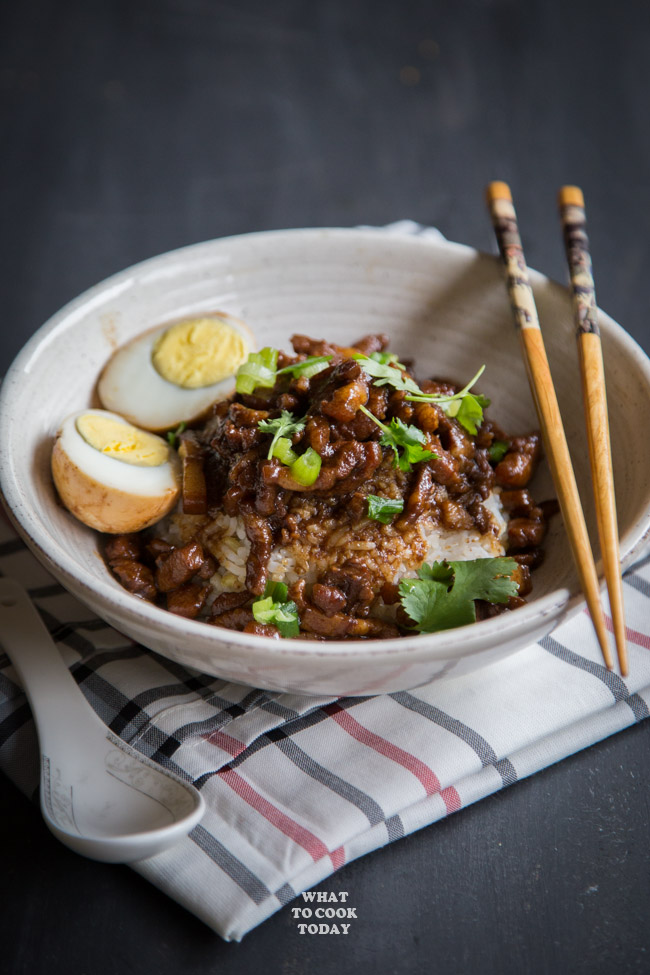
What is lu rou fan?
Lu means braised in Chinese. Rou means meat and Fan means rice. There you have it 😉 The pork is braised in dark soy sauce, fried shallots, garlic and then the sauce is thickened. The dish is typically served with a bowl of steamed white rice, and garnished with scallions and cilantro. Some variations also include mushrooms or hard-boiled eggs. The origins of Lu Rou Fan can be traced back to China’s Fujian province, where it was a popular dish among farmers and laborers. It eventually made its way to Taiwan, where it became a staple in the local cuisine.
It’s a comfort food
One of the reasons why Lu Rou Fan is so popular is its versatility. It can be enjoyed as a comforting and satisfying meal on its own, or used as a topping for other dishes, such as noodles or fried rice. It’s also a popular dish for home cooking and can be found in many Taiwanese restaurants around the world.
In Taiwan, Lu Rou Fan is often considered a comfort food, and it’s not uncommon to find street vendors selling it from carts or small stands. It’s also a common dish served at family gatherings and special occasions.
Which cut of pork to use
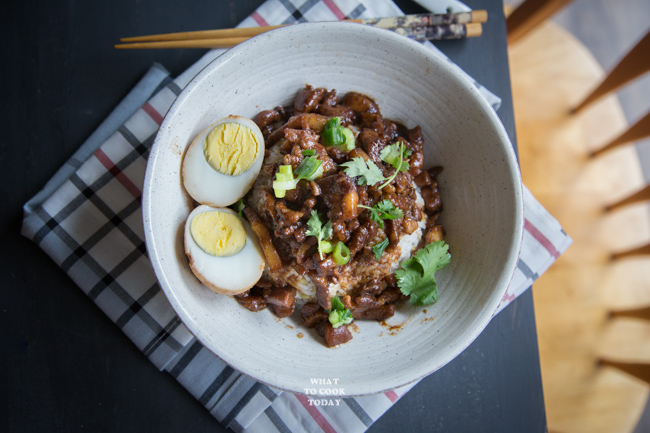
The restaurant I ate at made the lu rou fan with a mixture of ground pork and pork belly. You can make it with just pork belly too. There are times when I made lu rou fan with only ground pork too, but make sure the ground pork has some fat in it or it will be too lean. While the pork belly is the most traditional and common meat used in the dish, other types of pork such as shoulder or loin can also be used. I used a mixture of half pork belly and half shoulder/butt so this dish won’t be too greasy. The key is to use a meat or ingredient that can be slow-cooked in the savory soy-based sauce to achieve a tender, flavorful final product.
You can substitute pork with other meat or meatless options
You don’t have to use pork if you don’t want to. Some variations of the dish may even use other meats such as chicken or beef. Additionally, it can also be made as a vegetarian dish by using ingredients like tofu or mushrooms.
Why I like pressure cooker version
While you don’t really need a pressure cooker to make lu rou fan, but if you own an electric pressure cooker like Instant Pot, it makes life so much easier. It cooks in one pot and I can just set and forget!
Special ingredients
The pork belly is obviously good, but to me, lu rou fan needs crispy fried shallots in it to add that depth of flavor IMHO. You can make your own fried crispy shallots or just made some yourself.
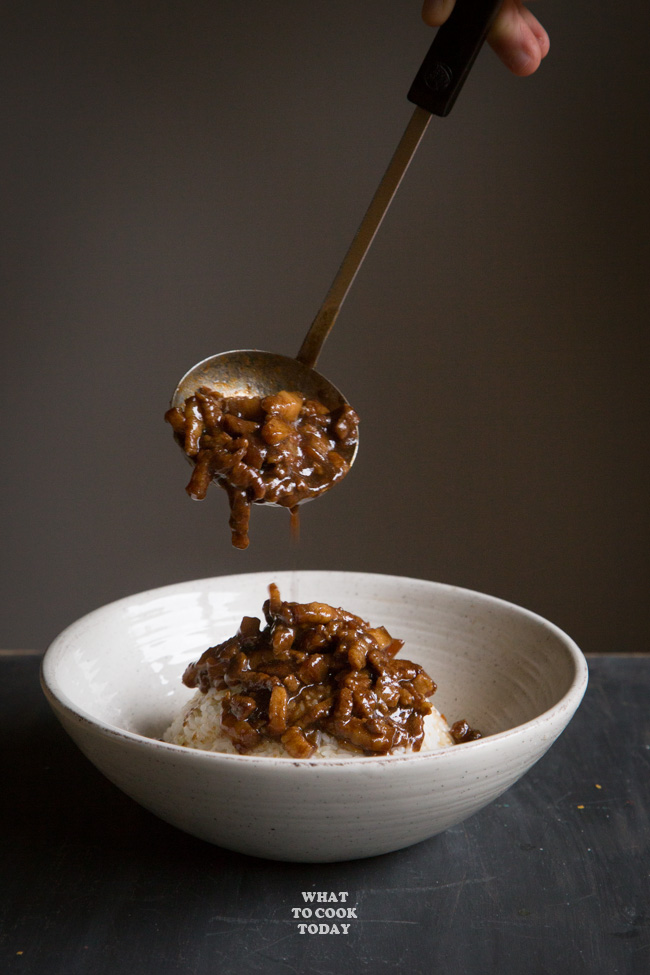
Instant Pot Lu Rou Fan (Taiwanese Braised Pork Belly Rice)
Ingredients
- 500 g pork belly (with skin on) or ground pork with some fat cut into 1/2 inch thick and 1 inch wide. see notes
- 1 tsp cooking oil
- 1 cups hot water (if cooking on the stove) or more as needed
- ½ cup hot water (if cooking with pressure cooker)
- 4-6 hard-boiled eggs peeled
Fried shallots:
- 1 large purple onion
- ½ cup oil
Aromatics:
- 4 cloves garlic finely minced
- 10 g ginger
- 1 star anise
- 1 tsp five-spice powder
Seasonings: (adjust to your preference)
- 3 Tbsp light soy sauce more to taste later
- 1 tsp dark soy sauce
- 1 Tbsp Shaoxing wine
- 50 g rock sugar or use brown sugar
Garnish:
- 1 stalk green onions finely chopped
- Cilantro leaves
Instructions
Prepare the fried shallots:
- Cut the purple onion or shallots into thin slices. Pour the oil into a small saucepan or skillet. Start with cold oil, add the onion/shallots and turn the heat to medium. When the oil starts to heat up, lower the heat to medium-low and let them fry slowly until golden brown. Don't crank up the heat too high because they get burnt easily. Remove the fried shallots from the oil. The oil can be used for cooking and it has nice aroma
- You can prepare the hard-boiled eggs the day before and keep them in the refrigerator until ready to use
Cooking with Instant Pot pressure cooker:
- Press saute on instant pot. When it's hot enough, add pork belly slices and let them cook undisturbed to let them brown a bit, about 4-5 minutes. Add all the aromatics, seasonings, fried shallots, hard-boiled eggs you made earlier and water. This also deglazes the bottom of the pot at the same time, be sure to scrape the bottom of the pot to release those aromatic bits and to prevent triggering the "burn" warning from Instant Pot
- Cover and lock the lid. Turn the steam release valve to seal. Press "pressure cooker" then "high pressure". Set timer to 30 minutes. If you use ground pork, cooking time is 15 minutes. After the timer beeps, carefully release pressure immediately. Carefully unlock the lid and have a final taste and add more salt to your taste if needed. Remove the hard-boiled eggs so they won't be too overcooked. Turn on saute mode back on and let the sauce cook until reduces almost half. Skim off some extra fat and add the hard-boiled eggs back in and then proceed to serve
Cooking on stove-top:
- Preheat the wok or heavy-bottom pot . When it's hot enough, add pork belly slices and let them cook undisturbed to let them brown a bit, about 4-5 minutes. Add all the aromatics, seasonings, fried shallots you made earlier, and water. This also deglazes the bottom of the pot at the same time, be sure to scrape the bottom of the pot to release those aromatic bits
- Add 1 cup of water or enough just to cover the meat and hard-boiled eggs in. Bring to a boil and then lower the heat to let it gently simmer away. Cover with the lid, leaving slightly ajar. Let it gently braise for the next 1 hour or until the meat is tender. 30 minutes before the end of cooking time, add the hard-boioled eggs in and continue to simmer.
- Have a final taste, add more salt if needed. It should be savory with just a hint of sweetness. Remove the hard-boiled eggs so they won't be too overcooked. Let the sauce simmer until it reduces almost half. Skim off some extra fat and add the hard-boiled eggs back in and then proceed to serve
Serving:
- Serve by generously topping the white rice with the pork and its sauce. You can serve the hard-boiled egg whole or cut in half. Garnish with some chopped green onions, and cilantro leaves if you like
RECOMMEDED TOOLS
Marv’s Recipe Notes
*Nutrition facts are just estimates and calculated using online tools*
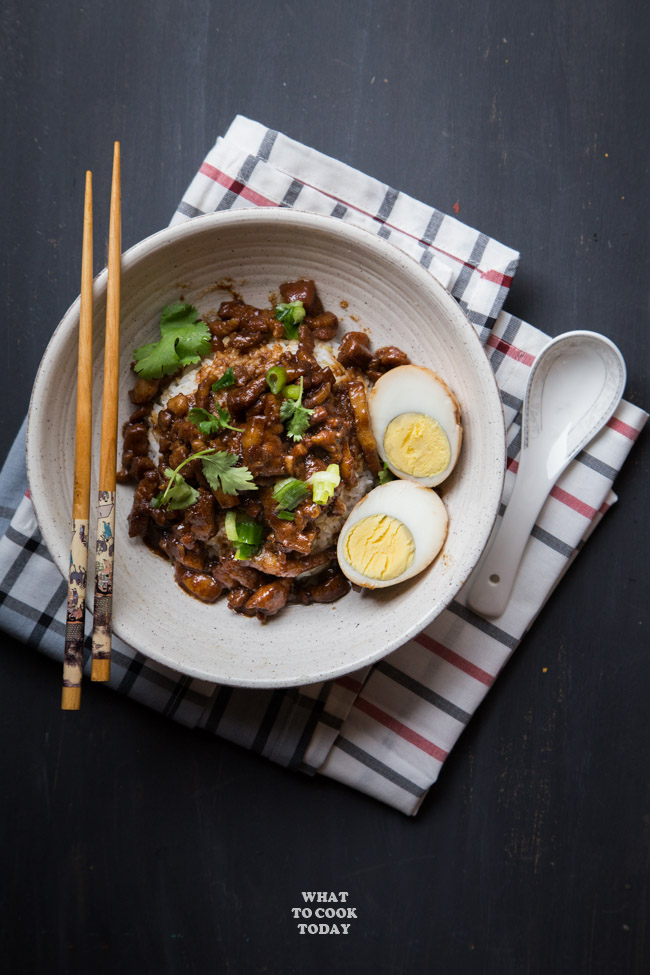
How to make lu rou fan in Instant Pot pressure cooker
1. Cut the purple onion or shallots into thin slices. Pour the oil into a small saucepan or skillet. Start with cold oil, add the onion/shallots and turn the heat to medium. When the oil starts to heat up, lower the heat to medium-low and let them fry slowly until golden brown. Don’t crank up the heat too high because they get burnt easily. Remove the fried shallots from the oil. The oil can be used for cooking and it has a nice aroma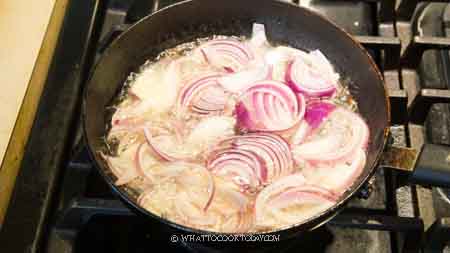
2. Press saute on instant pot. When it’s hot enough, add pork belly slices and let them cook undisturbed to let them brown a bit, about 4-5 minutes. 
3. Add all the aromatics, seasonings, fried shallots you make earlier and water. This also deglazes the bottom of the pot at the same time, be sure to scrape the bottom of the pot to release those aromatic bits and to prevent triggering the “burn” warning from Instant Pot
4. Cover and lock the lid. Turn the steam release valve to seal. Press “pressure cooker” then “high pressure”. Set timer to 30 minutes. After the timer beeps, carefully release pressure immediately. Carefully unlock the lid and have a final taste and add more salt to your taste if needed. Remove the hard-boiled eggs so they won’t be too overcooked.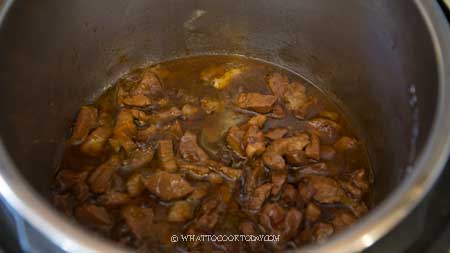
5. Turn on saute mode back on and let the sauce cook until reduces by almost half. Skim off some extra fat and add the half-boiled eggs back in and then proceed to serve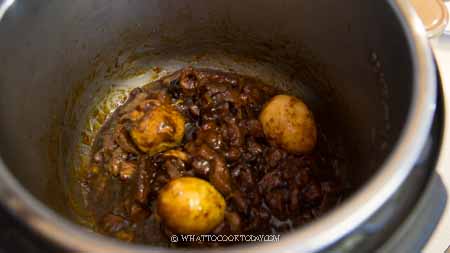
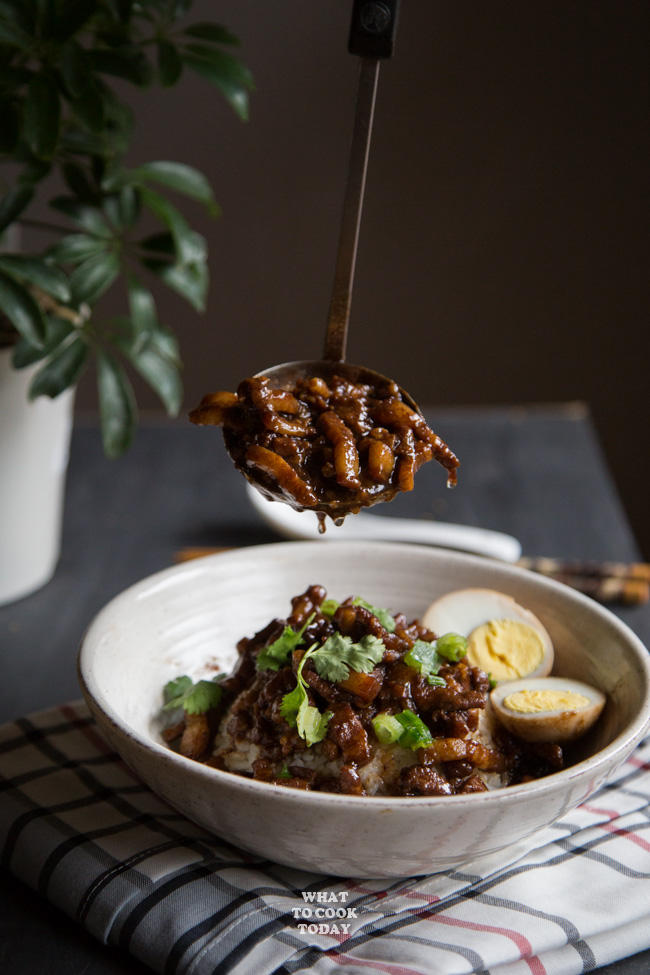
6. Serve by generously topping the white rice with the pork and its sauce. You can serve the hard-boiled egg whole or cut in half. Garnish with some chopped green onions, and cilantro leaves if you like
LU ROU FAN IS SUITABLE FOR MEAL PREP
You can cook this dish in a big batch and then freeze them in smaller portions, let’s say for 1 serving. Here’s how:
1. Cook it according to the recipe
2. Let it cool down completely
3. Portion into freezer-friendly containers or bags. They can be stored in the refrigerator for up to 5 days and 1 month in the freezer
4. When ready to serve, you just need to cook rice (if you haven’t already), and you can reheat on stove-top without thawing or in the microwave
Did you make this Instant Pot lu rou fan recipe?
I love it when you guys snap a photo and tag it to show me what you’ve made. Simply tag me @WhatToCookToday #WhatToCookToday on Instagram and I’ll be sure to stop by and take a peek for real!


31 comments
Thanks for sharing your recipe. I made it tonight and it was super easy & delicious. I had it with rice and my son had it with noodles. This recipe is definitely a keeper.
Hi Amanda, I’m so happy to hear you found it easy and delicious. Two most important thing for busy mom 🙂 What a great idea to smother it on noodles, my daughter is a noodle head and will do the same 🙂 Thank you for trying and for letting me know 🙂
Hi! I made this recipe a few months ago and I LOVED it! I was wondering if you can please send me the original instructions on the braised ground pork over rice on the stovetop.
Thank you!
Hi Sandy,
I’m glad you like the ground pork version. It basically the same with cooking on stove-top using sliced pork belly in this recipe.
Thanks for the post, Marvellina. This reminds me of my student’s day back at UCDavis too! Love going to the Taiwanese cafe that served this wonderful Lu Rou Fan … am going to make this soon! Thanks for sharing the recipe 🙂
Hi Susan,
I know right? So easy and delicious!! You are always welcome and thanks again for stopping by
Wow, this looks delicious! Definitely on the “to make” list 🙂
Thank you for stopping by James. Yes..we love this and not to mention they are easy to make too 🙂
I love anything over rice, too! Especially meat in sauce! This looks so good!