This post may contain affiliate links. Please read our disclosure policy.
Learn how to make min jiang kueh also known as apam balik , ban jian kuih or martabak manis. The recipe requires no yeast to make and fail-proof. All the tips you need to know to ensure that honeycomb texture on the pancakes.
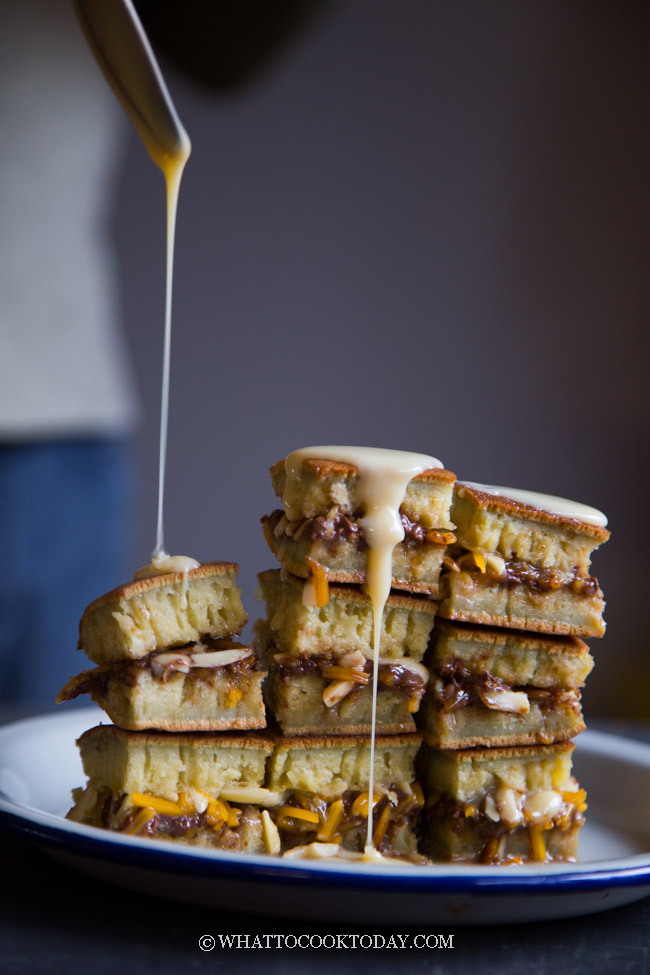
Martabak Manis / Apam Balik / Ban Jian Kuih (Tips You Need To Know)
What I’m missing the most about home are street food carts that are lining up the street at night. It’s unbelievable how crowded the street can be at night and people are still busy eating. Something about street food that has that unglamorous, rustic, hearty vibes that I just love so much. I can also see the person prepare the food right in front of me. My dad was big on snacks!! He loved to snack on street food and kue kue (cakes and sweet treats in the Indonesian language). Ban jian kuih was definitely one of our favorites. It’s usually available at night after dinner time and that’s when my dad would come and asked us what we would like for supper.
THE RECIPE RUNDOWN
Taste: If you use cheese and chocolate, it will be sweet and savory
Texture: The pancake itself is soft yet has that nice chewiness at the same time. The edge is crispy
Level: Medium. This is easy yet not so easy at the same time when it comes to the honeycomb texture. If you follow the recipe and techniques of cooking exactly, you should be able to reproduce this pancake with nice honeycomb texture
KNOWN BY MANY NAMES
These thick sweet pancakes are known as martabak manis, martabak terang bulan, or kue Bandung in Indonesia. It is called martabak Bangka in my hometown. It is certainly known by many names in other countries such as apam balik, apam Pinang, or Apong in Malaysia. Min Jiang Kueh or peanut pancakes in Singapore. In Hokkien dialect, we call this ban jian kuih / kueh.
The pancake is made with flour, eggs, sugar and filled with sweet decadent stuff like chocolates, condensed milk, margarine, cheese, ground peanuts. The pancakes are also characterized by its honeycomb textures similar to bika Ambon. In Singapore and Malaysia, they are typically only filled with crushed peanuts as far as I understand.
MIN JIANG KUEH MADE WITH YEAST OR WITHOUT YEAST
In the past, I’ve made it with a yeast. While the result also turned out good, it did take a bit extra time compared to the no-yeast version and some complained about the “yeasty” aroma. I’ve tried several recipes without yeast in the past and did not like them until I saw the recipe from Two Kitchens and recently I’ve tried another recipe from here. The latter produces a soft pancake with a nice chew, which the family really likes, so I decided to update the recipe. I really like this latest recipe. The recipe uses both baking powder and baking soda as leavening agents.
TOP TIPS YOU NEED TO KNOW TO MAKE MIN JIANG KUEH SUCCESSFULLY AT HOME
1. Beat the batter
This is not a typical pancake where we want to handle the batter as little as possible. For that nice chewy texture, you want some gluten to form. Use a standmixer or a hand mixer to beat the batter until they are creamy and pale consistency
2. Rest the batter
You need to let the batter rest for at least 1 hour, no shortcut here. I’ve let them rest up to 3 hours before too and any range from 1-3 hours and the pancake turns out great. I did notice that after rest for 3 hours the pancake has a bit more of the honeycomb texture, but at 1 hour it still turns out very decent. I haven’t tried longer than 3 hours though and I don’t see any reason for that too
3. Use a non-stick pan that has a lid and use the right size of pan
We need to cook and “steam” the pancake to make sure it cooks evenly. This is when the lid comes in handy. My pan doesn’t come with a lid, but I do have a lid that fits into the pan. So, use whatever fits the pan. You do need the lid! Also, this recipe is suitable for a 10-inch non-stick skillet. If you use anything smaller, the pancake might be too thick and the bubbles (honeycomb texture) won’t form properly. If you use 12-inch pan, it’s okay, but the pancake may be a bit too thin later
4. Preheat the pan really well and the thicker the pan, the better
If you have a non-stick pan with thick material, that is great because the pancake won’t get burnt easily and the heat distribution will be even. I had had inconsistent result when the pan is not well heated. 5 minutes before I plan to cook the pancake, I start preheating the pan over medium-low heat. This is one of the most important keys in getting that honeycomb texture – it has to have enough heat (not too hot either, just the right amount)
5. Baking soda is the last one to be added
Baking soda starts to react and release the gas as soon as it comes into contact with the batter. So if you add it at the beginning of the time when you prepare the batter, by the time you cook it, you will have a flat pancake and you won’t have any bubbles to leaven your pancake anymore.
HOW TO MAKE MIN JIANG KUEH WITHOUT YEAST
STEP ONE: PREPARE BATTER
1. Add flour, sugar, salt, baking powder, milk powder in a mixing bowl and whisk to combine. Add water. Use a stand mixer (with paddle attachment) or a hand mixer to mix the batter for 5 minutes, if using a stand mixer, and 10 minutes if using a hand mixer.
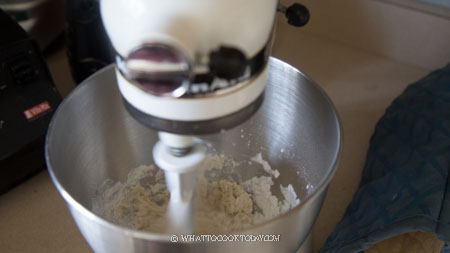
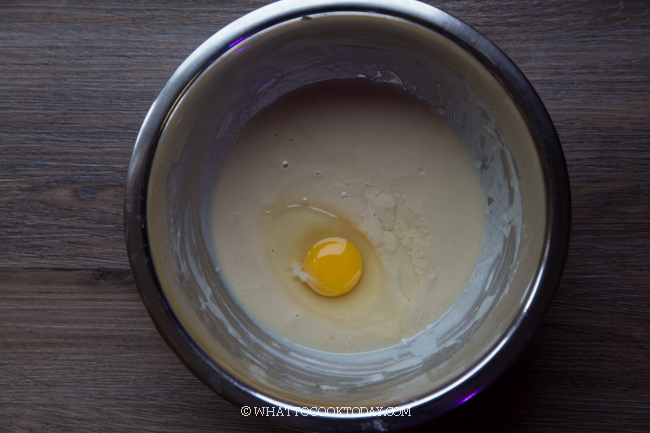
The amount of water you need may differ slightly, as some brands of flour absorb water differently. If the mixture ends up like a dough instead of a batter, try adding water, one tablespoon at a time until you get the consistency as shown in this photo or video. It should be creamy, thick, but pourable consistency.
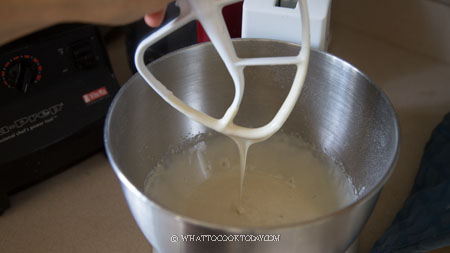
Cover and let it rest for at least 1 hour
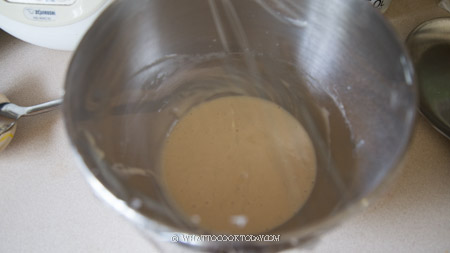
2. After that add in one more egg and mix well to combine
STEP TWO: COOKING
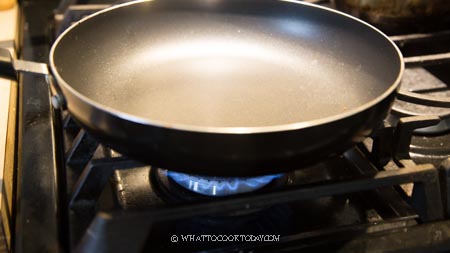
1. Use a thick non-stick pan if you have one. The thicker the pan, the better the heat distribution and your pancake won’t easily get burnt too. Preheat the pan for about 5 minutes over medium heat (NOT high heat, NOT low heat)
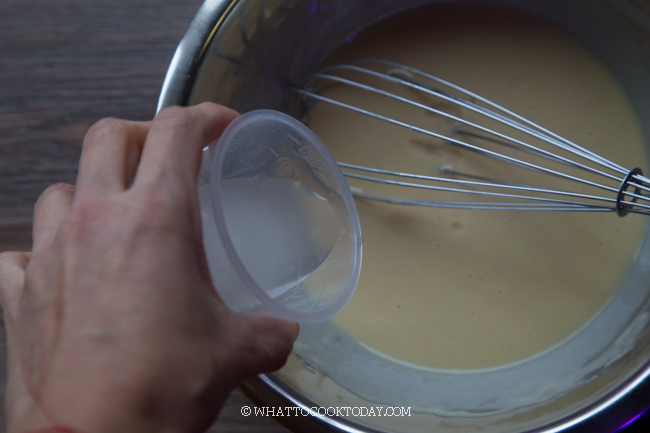
2. Mix the baking soda with 1 Tbsp water
3. Pour this into the batter and stir to mix. Only do this when you are ready to cook the pancake. Don’t let the batter sit around for too long after the baking soda is in
4. Very gently pour the batter onto the pan and swirl to let the batter coat the side of the pan. This will form a nice crust later
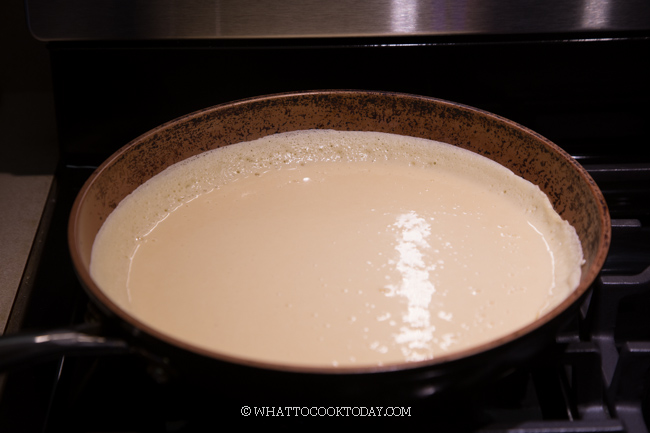
5. Bubbles will start to appear on the surface of the pancake almost immediately because the heat is enough and even throughout the pan
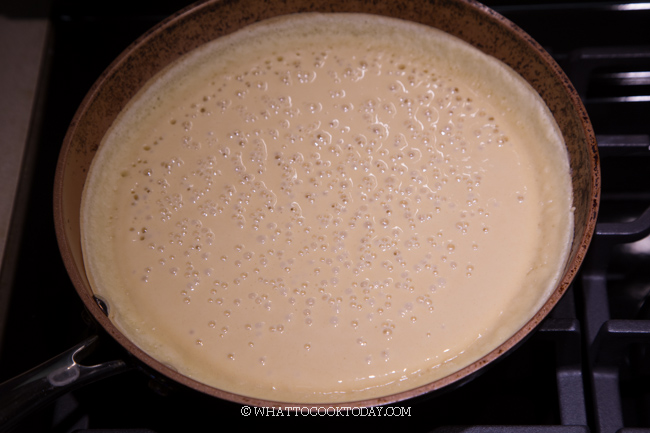
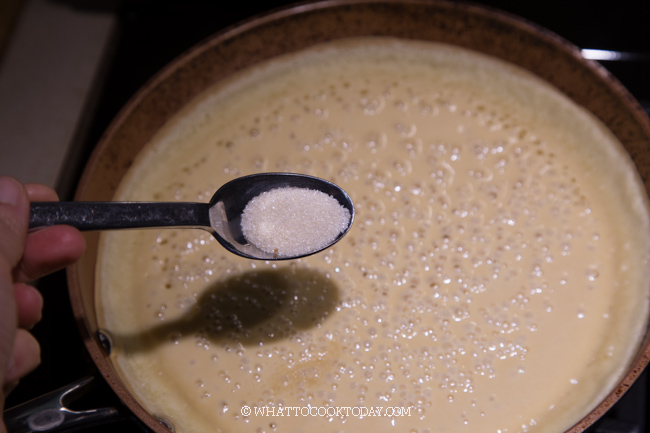
6. When bubbles are covering almost all of the surface, you can lower the heat down a notch and sprinkle in the sugar. DO NOT sprinkle the sugar before the bubbles are all over the surface or they won’t appear anymore
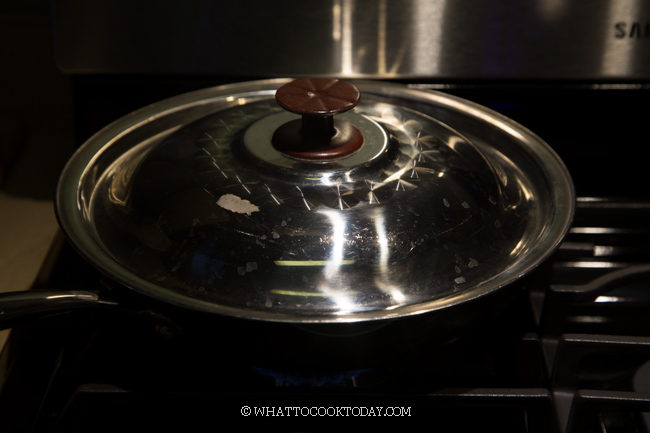
7. Cover with a lid and lower heat to low and let it “steam” cook for 5 minutes or until the top is no longer wet. You can lower the heat a notch to let the pancake cook
8. The side and bottom of the pancake should be nicely brown and the middle of the pancake is lightly springy when you touch it
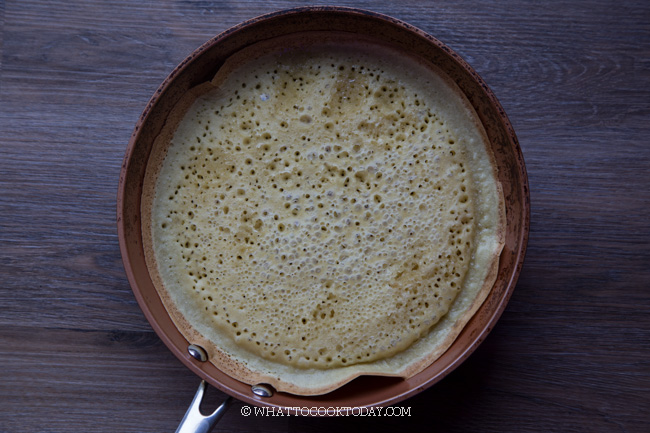
8. Remove from the heat to a plate or a cutting board
STEP THREE: DRESSING
1. Spread some butter/margarine on the pancake while it’s still warm. The butter will melt
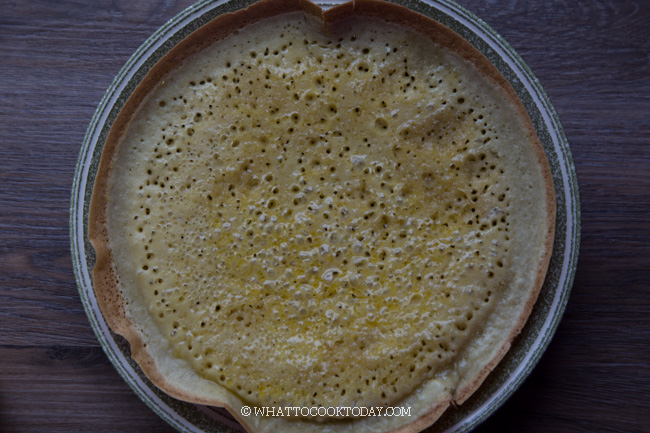
2. Cut the pancake in half. For Indonesian style martabak manis, sprinkle one half with chocolate and the other half with cheese and/or crushed peanuts, or whichever you are using and then drizzle with condensed milk. For Singapore/Malaysia Min jian kueh, sprinkle with peanut powder and you can skip the condensed milk if you don’t want it
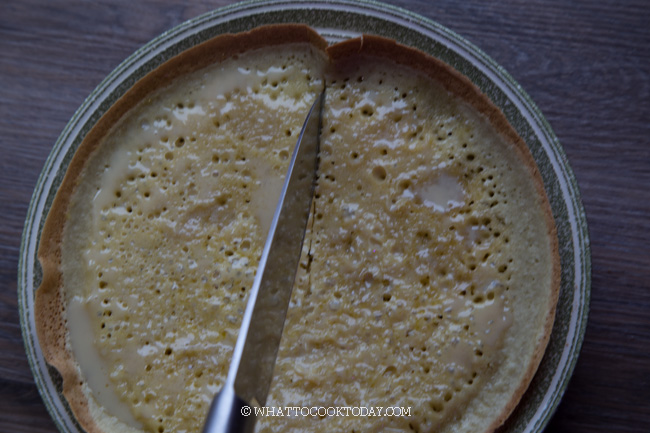
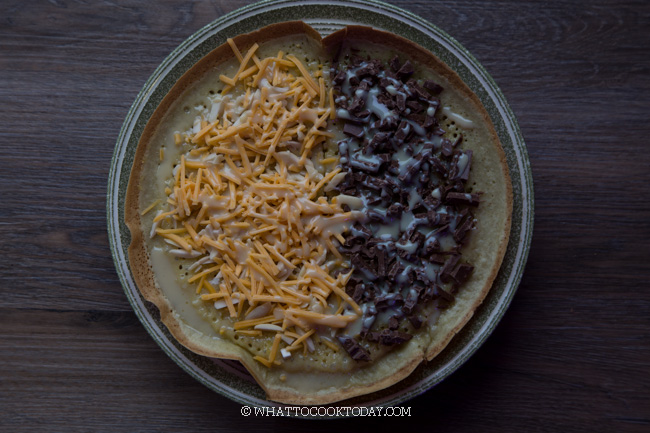
4. Gently fold half of the pancake to the other half to form a sandwich. Spread with more butter on top of the pancake if you like. I didn’t do this
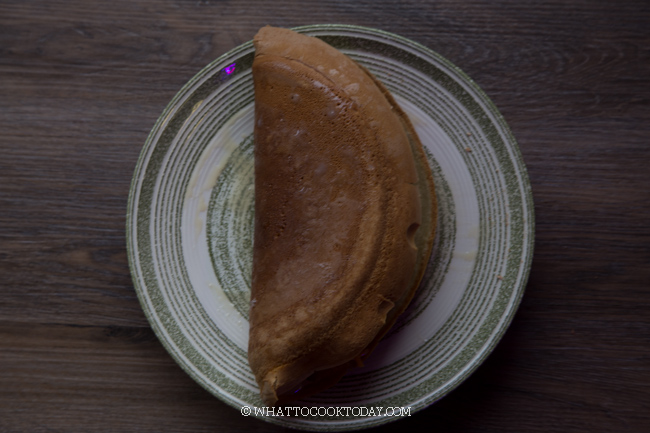
5. Cut into serving size and serve immediately
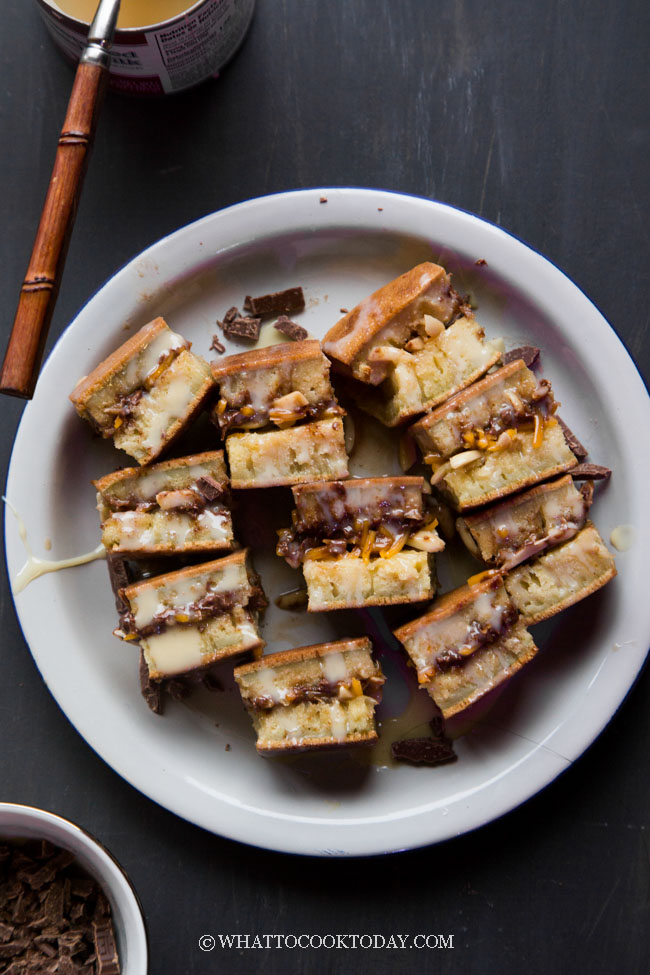
Sometimes the martabak manis are served in wedges like this too.
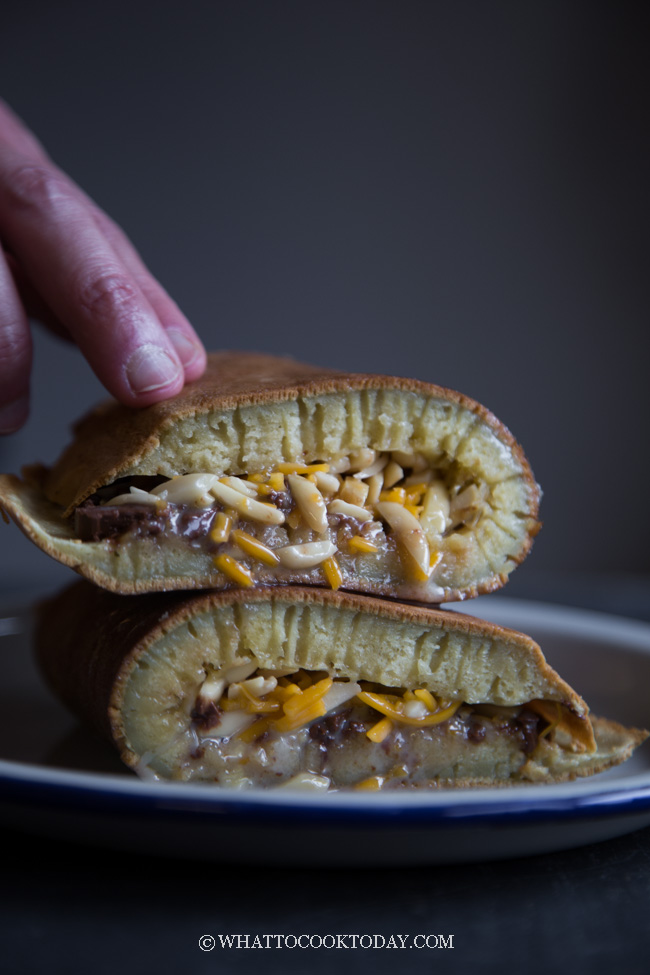
My husband’s first bite and his expression after 20 something years of not having this was the reason why I enjoy experimenting with cooking (and sometimes baking) in the kitchen!
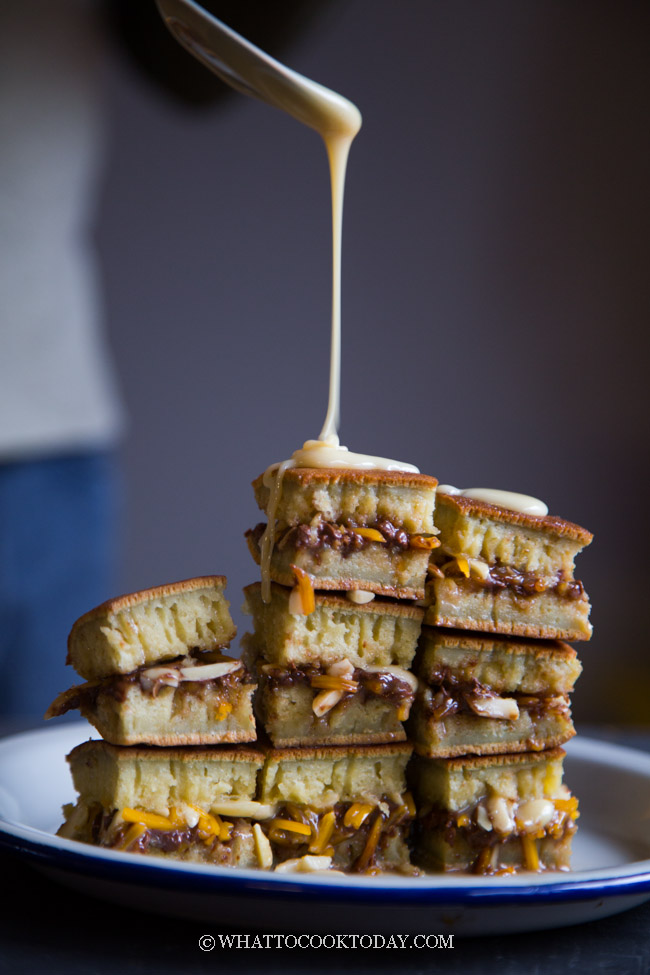
TROUBLESHOOTING
1. No honeycomb texture
-Pan is not well preheated or not enough heat
-Baking powder and/or baking soda are not fresh anymore
-You sprinkle the sugar too early before all bubbles form on the surface
-You may use the pan that is too small and the pancake is too thick and the pancake won’t cook properly
2. Pancake is flat and dense
-No honeycomb texture means you will have a rubbery and dense pancake
3. There are honeycomb textures but the pancake is dense
– Make sure you rest the batter for at least 1 hour
– The pancake isn’t cooked through. After sprinkling the sugar, cover the pan to let the pancake cooked through. The surface shouldn’t be wet anymore and should spring back when you touch it
3. Heat is enough but no honeycomb texture
-Your baking powder and/or baking soda might not be fresh anymore
-Your pan might be too small and the pancake is too thick. The recipe is perfect for 10-inch non-stick pan
4. The bottom of the pancake is too dark
Your heat may be too high. You may need to lower the heat a little but make sure there’s still enough heat for the honeycomb texture to form
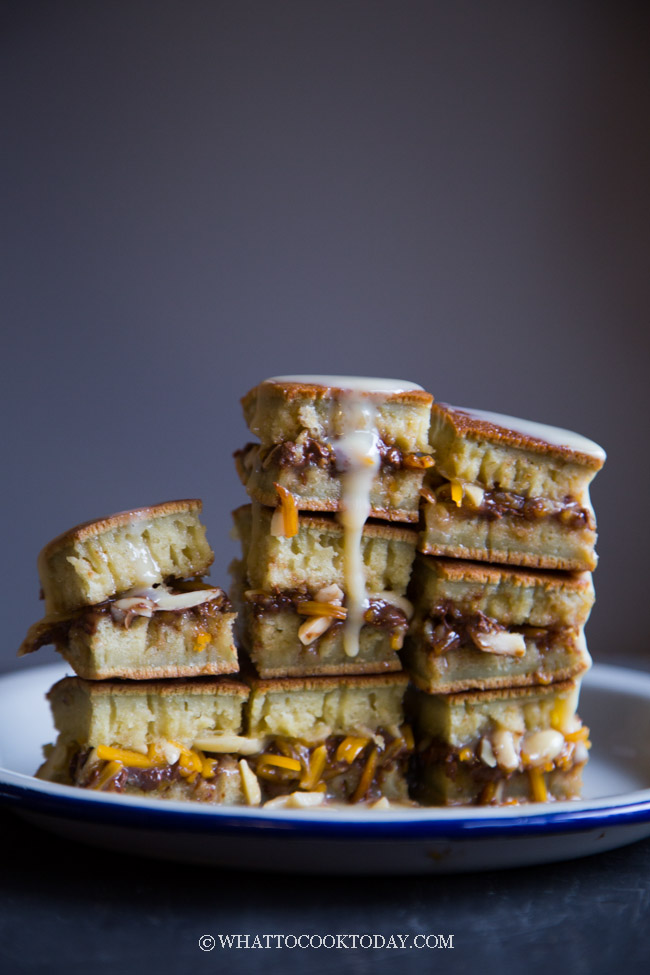
*Recipe was originally published in 2016 and then updated on May 3, 2021 with a no-yeast version and improved version and techniques. Recipe is adapted from here*
Min Jiang Kueh - Ban Jian Kuih - Martabak Manis - Apam Balik (No Yeast)
Ingredients
Pancake batter:
- 113 gr all-purpose flour
- 13 gr tapioca starch
- 15 gr sugar
- 5 gr milk powder
- ⅛ tsp salt
- 4 gr baking powder
- 100 ml water or pandan juice (for pandan flavor) or more as needed
- 1 Tbsp sugar for sprinkling later
To add on to the pancake batter later:
- 1 large egg about 58-60 grams with the shell
- 1 tsp vanilla extract
Baking soda solution:
- 25 ml water
- 2 gr baking soda
Filling for Indonesian martabak manis:
- condensed milk
- ¼ cup butter weisjman if you have
- ½ cup chocolate sprinkles/Nutella/semi-sweet chocolate morsels or as much as you desire
- ½ cup shredded/grated cheese such as gouda, edam, mozzarella, white or yellow cheddar, etc
Filling for min jian kueh:
- 100 gr roasted peanuts grind into fine pieces
- 40 gr sugar
- Butter as needed
Instructions
Prepare batter:
- Add flour, sugar, salt, baking powder, milk powder in a mixing bowl and whisk to combine. Add water. Use a hand mixer or a stand mixer (with a paddle attachment) to beat the batter, about 5 minutes with a stand mixer and 10 minutes with a hand mixer. This step is to form a gluten. We want a soft yet chewy texture for this type of pancake (it's different from a typical pancake where we don't want to over stir the batter).
- The amount of water you need may differ slightly, as some brands of flour absorb water differently. If the mixture ends up like a dough instead of a batter, try adding water, one tablespoon at a time until you get the consistency as shown in the video.
- Cover and let it rest for 1 hour at room temperature
- After 1 hour, add the egg and vanilla extract and whisk to mix everything. Don't add the baking soda solution yet until you preheat your pan (which is the next step below)
How to ensure the honeycomb texture will form and bottom of the pancake doesn't burn:
- PLEASE READ: The honeycomb texture will only form if there's enough heat and the heat is even throughout the pan. If you have a thick non-stick skillet pan, use it. That's the best in distributing heat and preventing the bottom of the pancake from getting too dark. If you have just a regular non-stick pan like I am, we need to make sure we preheat it well beforehand. I used to cook over low heat and the honeycomb texture isn't consistent. We need to preheat the pan really well before we start to cook the pancake. I've found that this is the key for that honeycomb texture to form consistently (I've made 5 in one week LOL)
- Preheat the pan for at least 5 minutes over medium heat. We don't want high heat, but we need enough heat for that honeycomb texture to form. I hope it makes sense. Too low of a heat, the honeycomb texture won't be able to form and your pancakes will be rubbery and tough
Test the pan to ensure it's hot enough:
- Drizzle few droplets of water on the pan. If it sizzles vigorously, the pan is ready. Remember to use MEDIUM heat, not high heat, not low heat.
Prepare baking soda + water solution (only prepare this when you are ready to cook the pancake):
- Mix the baking soda with water mixture and then pour it into the batter and whisk to combine
- Very gently pour the batter onto the pan and then tip the pan slightly in a circular motion to let the batter coat the side of the pan all around. This will form a crispy crust later
- Bubbles will start to appear almost immediately. These bubbles are your honeycomb texture later on. When you see the bubbles have appeared almost covering the entire surface of the pancake, sprinkle with 1 Tbsp of sugar evenly throughout the pancake. You can turn down the heat a notch after this so the bottom of the pancake won't get too dark. DO NOT sprinkle the sugar too early before the bubbles form on top all over. The bubbles won't appear anymore after that.
- Cover with a lid and let the pancake cook for 5 minutes or until the top is no longer wet. The sides and bottom should be golden brown (not burned), the sides will be crispy and the center of the pancake will spring back slightly when you touch it. You can lower the heat a notch to let the pancake cooked through
Dressing and serving:
- Remove from the heat source and transfer martabak to a large plate. Quickly spread with more butter all over. Cut the pancake into half, but not, cutting through, just so that it's easier to fold over later
For Indonesian martabak manis:
- Top with toppings of your choice such as chocolate sprinkles, cheese, peanuts, and then drizzle withcondensed milk. Gently flip half of the martabak over to the other half to form a half-circle sandwich
For Singapore/Malaysia Min Jian Kueh:
- Mix the finely ground peanut with sugar. Set aside.
- Sprinkle the peanut topping all over the surface and then gently fold over to form a half-circle sandwich
Serving:
- You can spread with more butter on top of the pancake (I didn't do this) and cut into about 6 pieces or whatever size you prefer. Serve immediately



40 comments
Hi Marv
How many cups is 120 grams of flour and 40 grams of sugar? I don’t have a kitchen scale so I’m using measuring cups and spoons. Are 1 cup of all purpose flour and 1/4 cup of granulated sugar accurate? Thank you!
Hi Reno,
The measurements are pretty close 🙂
Hi Marv,
May I know if baking powder can be used instead of baking soda? If yes, how much of it?
Hi Silvia, honestly, I haven’t tried it with baking powder and I can’t tell you for sure if it will give you the “honeycomb texture”, it should I would imagine. The general rule of thumb is you can replace the amount of baking soda with 3 times of baking powder. So in this case the recipe is 1/2 tsp of baking soda and you need to add 1 1/2 tsp of baking powder (double acting) You can stir it in together with the batter and don’t need to wait until the end like for baking soda. Let me know how it turns out with baking powder. I’m curious to know too 🙂
Hey, I made this today! The batter cooked perfectly. However, the taste is a bit eggy. Not sure why? Is it because the one egg added in the end?
Hi Rosa, this recipe used 2 eggs and that’s probably why you find it “eggy” for your taste. If you prefer to use only one egg, you can try not adding another egg in the end (I haven’t tried this myself) and increase the liquid to 150 ml instead and see if you like that better. The next time I make this again, I’ll try it with just one egg and see how it goes. My family doesn’t mind with 2 eggs, but I know different people have different taste.
my pre rest batter is thick and sticky. and the outcome is its not brown at the bottom. still light color and no crisp. any advise? thanks
Hi Mel, did you add another egg after pre-resting the batter? the recipe calls for 2 eggs, but only one was added at the beginning. Your heat is probably too low, may be try to up the heat a little bit and see.
Hi! I tried making this following the steps carefully. However, my martabak did not have the same texture yours does. Mine turned out to be solid-like, without the honeycomb texture. Do you have a solution for this problem? (regardless of the texture, the taste was absolutely divine!)
Hi Amy, the first thing I would check is the baking soda ? if you pour vinegar or lemon juice (or anything acidic) to the baking soda it should sizzle, if it doesn’t, the baking soda is no longer good. If your baking soda is still fresh, when you cook the pancake, make sure bubbles have appeared all over the surface before you sprinkle sugar and cover it to cook. Did you see lots of bubbles on the surface?