This post may contain affiliate links. Please read our disclosure policy.
The beauty of a plum galette lies in its simplicity. With minimal ingredients, you can create a dessert that is not only visually stunning but also deeply flavorful.

What is a galette?
Originating from France, a galette is a flat, round, and often free-form pastry that can be sweet or savory. Unlike pies, galettes don’t require a special pan or perfect crimped edges; their rustic appearance defines them. This simplicity is part of what makes them so approachable.
Why Combine Plums and Nectarines?
The combination of plums and nectarines in this galette bring out the best of both fruits, resulting in a colorful, flavorful dessert that’s perfect for late summer!
1. Flavor Contrast: Plums offer a sweet-tart profile, while nectarines are generally sweeter and slightly more fragrant. The combination provides a nice balance of tartness and sweetness.
2. Texture: Plums soften and become jammy when baked, while nectarines hold their shape a bit better, offering some contrast in texture.
3. Color: Plums and nectarines together create a visually stunning galette with a mix of deep purples, bright reds, and golden yellows.
Why you’ll love this recipe
1. It’s easy: The filling is easy to put together. Perhaps the hardest part is pitting and cutting those plums and nectarines. Other than that, this recipe uses ingredients that are most likely already in your pantry
2. Anyone can prepare the crust without issue: I love to eat pies and galettes but I’m not a big fan of making pie crust. This galette crust is super easy to put together and it’s just hard to fail on this one (at least I didn’t lol)
3. You can use store-bought pie crust too
If you just don’t feel like messing with pie crust at all, you can use a store-bought pie crust.

Plum Nectarine Galette
Ingredients
Easy galette crust:
- 260 g all-purpose flour
- ¾ tsp salt
- 1 Tbsp sugar
- ½ tsp baking powder
- 113 g unsalted butter melted, cooled slightly
- 60 g whole milk plus more if needed and for brushing the crust
Filling:
- 454 g nectarines
- 454 g plums
- 3 Tbsp all-purpose flour
- 100 g sugar
- ¼ tsp nutmeg
- ⅛ tsp ground cardamom
For crust topping:
Instructions
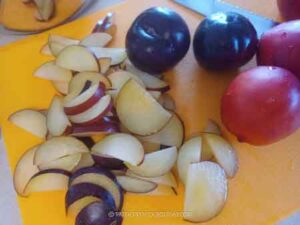
- Pit and cut the nectarines and plums into about 1/2-inch slices. Place them in a mixing bowl. Add sugar, flour, nutmeg, and cardamom. Gently toss to coat the fruit pieces. Set aside

- Preheat oven to 400 F (200 C) for conventional oven, 380 F (190 C) for convection oven
Prepare the crust:
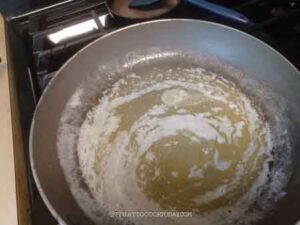
- Melt the butter over low-medium heat and let it cool down before using

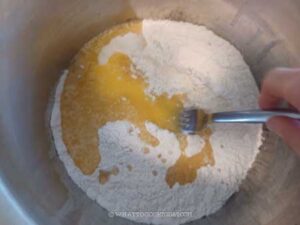
- Combine flour, salt, sugar, and baking powder in a mixing bowl. Add the melted butter and milk. Use a chopstick or a fork to stir the ingredients.

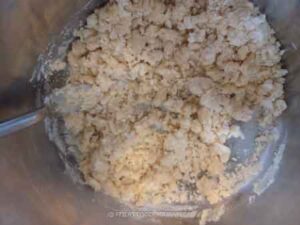
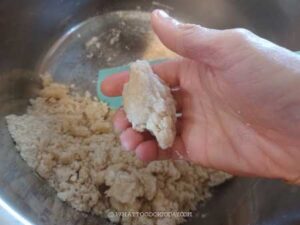
- It should form some crumbly mixture

- When you squeeze the mixture together, it holds its shape.

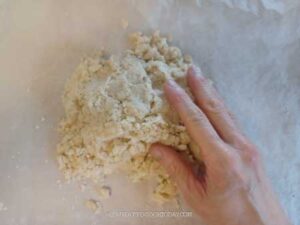
- Use your hands to push all the ingredients together to form a rough dough

Shape the dough:
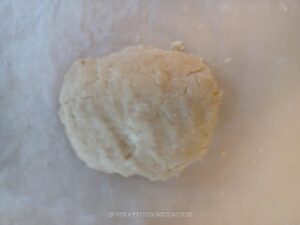
- Transfer this dough to the center of a piece of parchment paper, the size of the parchment paper is about the size of your baking pan. Shape the dough into a disc shape.

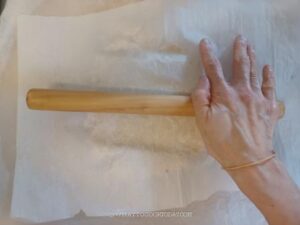
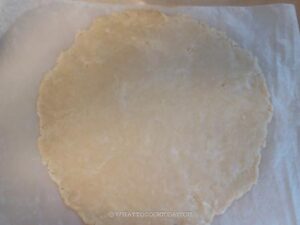
- Place another sheet of parchment paper on top. Use a rolling pin to roll the dough out to about 1/4-inch thick and round in shape. It doesn't have to be a perfect round

- Transfer the shaped dough along with the parchment paper to a baking sheet. Peel off the top parchment paper

Assembling:
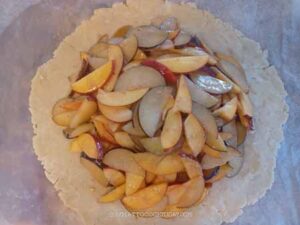
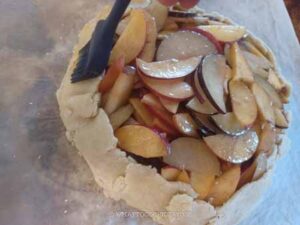
- Pile the plum and nectarine mixture to the center of the dough, leaving 2 inches along the edge.

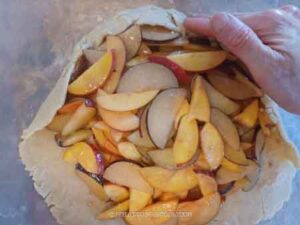
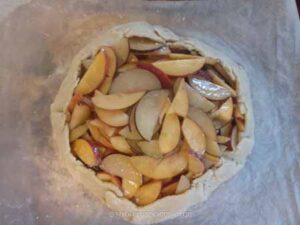
- Very gently fold the edges up and kind of squeeze the folds together to form some "crimps". The dough may feel crackly a bit, but don't worry. It's meant to be like that.


- Brush them with some milk and sprinkle it with turbinado sugar. Refrigerate the assembled pie in the fridge for 30 minutes. Cold pie crust gives you a flaky texture

Baking:
- Place the baking sheet in the middle rack and bake for 45-50 minutes. Rotate the pan halfway through baking. The filling should be bubbling and the edges of the crust are nicely golden brown.
Serving:
- Remove from the oven and let them cool down for at least 20-30 minutes before slicing. You can serve them warm, cold or room-temperature
- You can serve it as is or with a dollop of whipped cream or ice cream
*Nutrition facts are just estimates and calculated using online tools*

How to store leftover galette
1. Room Temperature (Short-Term):
If you plan to eat the galette within 1-2 days, you can leave it at room temperature. Cover it loosely with aluminum foil or plastic wrap and place it on the counter. The crust will stay crisp, and the fruit will retain its juiciness.
2. Refrigerator (Longer-Term):
For storing up to 4-5 days, keep the galette in the refrigerator. Wrap it tightly with plastic wrap or place it in an airtight container to prevent it from drying out.
3. Freezer (for extended storage):
Place the galette on a baking sheet and freeze it until solid (about 2-3 hours). Once frozen, wrap it tightly in plastic wrap and aluminum foil or place it in a freezer-safe container or bag. I recommend freezing no more than 2 months for the best quality
How to reheat
1. If stored at room temperature or in the fridge, you can serve the galette as is. However, if you prefer it warm, you can reheat it in a preheated oven at 350 F (180 C) for 10-15 minutes. Simply place the galette on a baking sheet lined with parchment paper. The crust should crisp right back up and the fruit is nicely warm. You can also reheat it in a microwave for a quick reheating. Put the galette on a microwave-safe plate and microwave for 15-20 seconds on medium power
1. If the galette is frozen, reheat in a preheated oven at 350 F (180 C). Unwrap the galette and remove the plastic wrap. Bake for 20-25 minutes or until it is heated through and the crust is crisp again

