This post may contain affiliate links. Please read our disclosure policy.
These gluten-free little cakes have a rich, buttery flavor and a delicate, moist texture. Easy to make and perfect for an afternoon treat with coffee or tea.
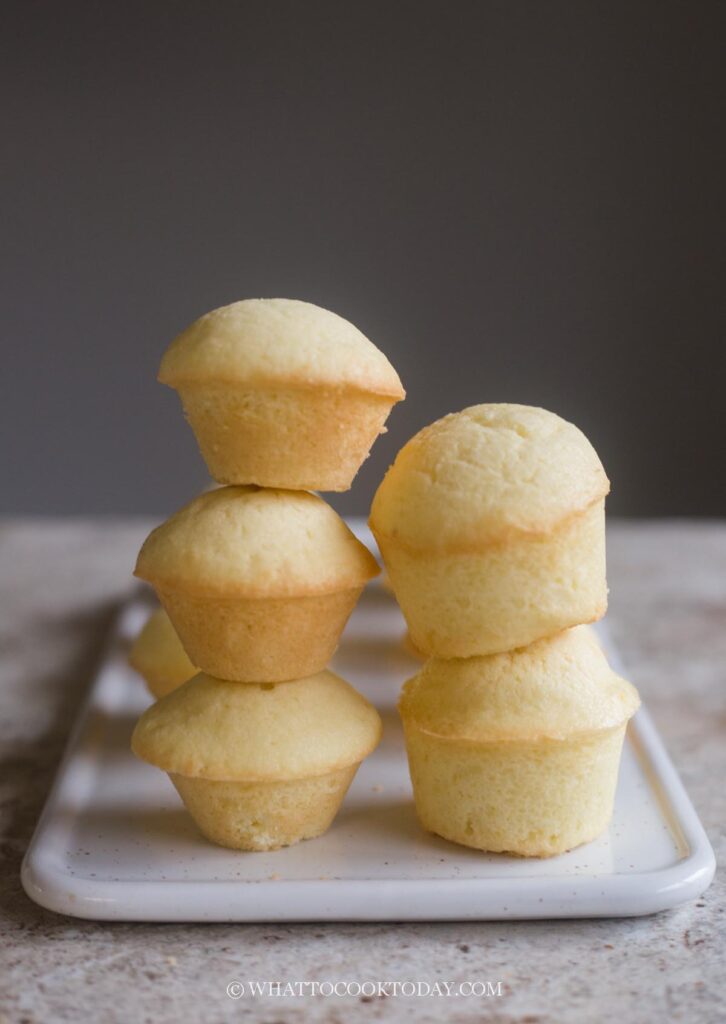
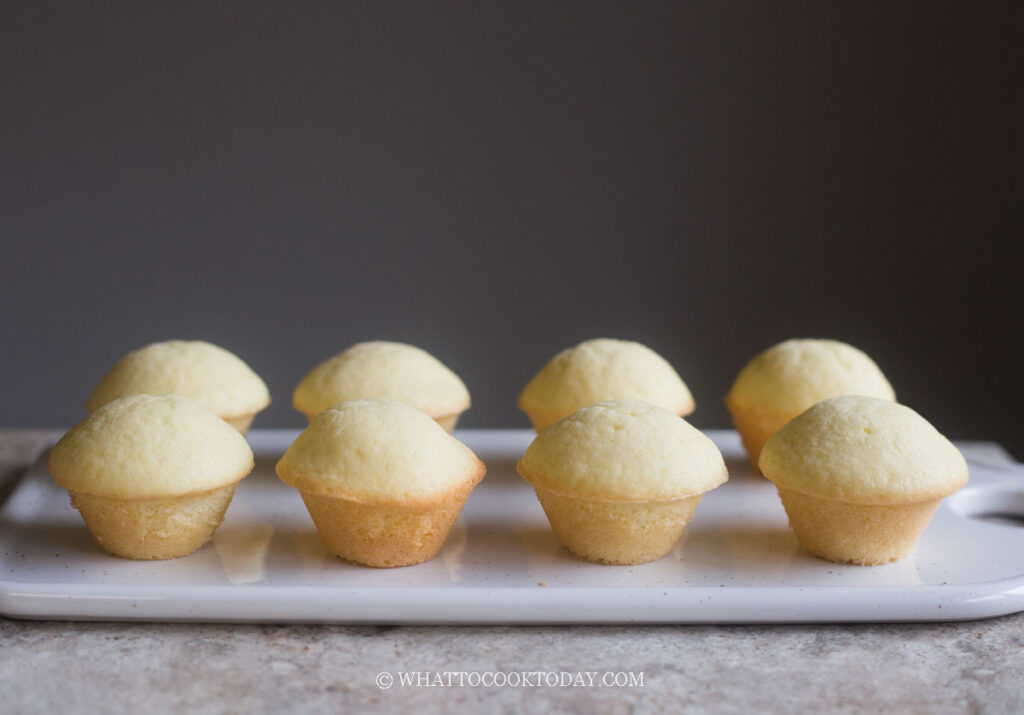
These little rice flour mini cakes are rich, buttery, and have a texture like a sponge cake. I made them in mini muffin pans because I thought they would be more fun to eat, and their small size makes them just right when you want a little something sweet without having a large piece of cake.
What I particularly like about this recipe is its simplicity. You don’t need a complicated list of ingredients, and rice flour gives these little cakes their own delicate texture. They are naturally gluten-free, provided you use certified gluten-free ingredients where needed. You can make them in mini muffin pans or regular muffin pans. I’ve included baking times for both so you can choose whichever size you prefer.
Why You’ll Love This Recipe
- Naturally gluten-free: Rice flour replaces regular wheat flour, making these cakes suitable for a gluten-free diet when using appropriate ingredients.
- Not dense: Despite using rice flour and butter, the cake has a light texture, thanks to the whipped egg whites
- Easy to make: You only need a handful of everyday ingredients and a mixer.
- Perfect little treats: The mini version is especially nice when you want something small to enjoy with coffee or tea.
Texture and Taste of Gluten-Free Rice Flour Mini Cakes
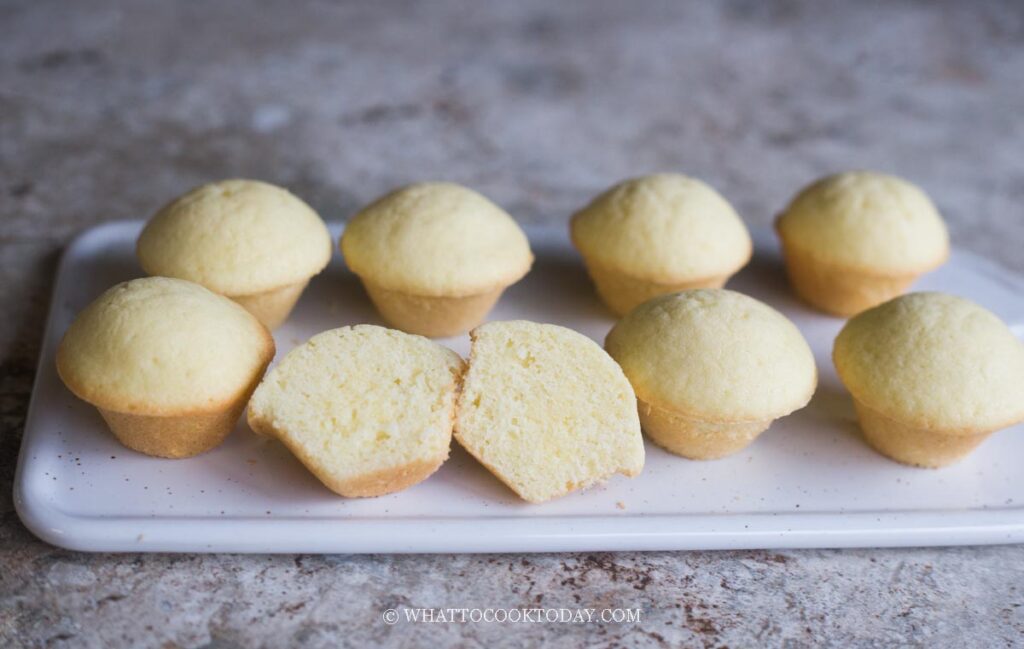
These gluten-free rice flour mini cakes have a rich, buttery flavor and a texture almost like a little sponge cake, with a fine, moist, tender crumb. They are not dense because of the whipped egg white.
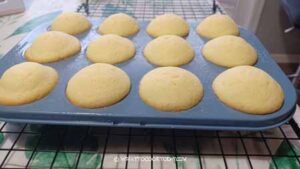
I especially like making them in mini muffin pans because they’re just the right size for a little treat. They have lightly golden edges and a soft, tender center.
These are lovely served with a cup of coffee or tea, especially when you want something buttery and not overly sweet.
Ingredients and Substitutions
- Large eggs: The egg whites are beaten separately and folded into the batter to give the cakes a lighter texture, while the yolks contribute richness. No substitution here
- Salt : Salt balances the sweetness and enhances the buttery flavor. Reduce to ⅛ teaspoon if using salted butter.
- Unsalted butter : Butter gives these cakes their rich, pound-cake-like flavor. Make sure it is softened but not melted.
- Sugar : Regular granulated sugar or castor sugar works well.
- Rice flour: Use finely milled rice flour, which is available in Asian grocery stores and many major supermarkets. Do not substitute glutinous rice flour, as it behaves differently.
- Pure vanilla extract : A little vanilla rounds out the flavor.
Tips for Making Rice Flour Muffin Cakes
- Use room-temperature ingredients: Softened butter and room-temperature eggs will combine more easily and give you a smoother batter.
- Beat the egg whites to stiff peaks: This is important because the recipe relies on the whipped egg whites to provide lift. Make sure your mixing bowl and beaters are clean and free of grease.
- Fold gently: The batter is quite thick before adding the egg whites. Fold patiently to incorporate the whites without losing too much air.
- Don’t overbake: Rice flour cakes can become dry if baked for too long. Check for doneness a few minutes before the estimated baking time is up.
How to Store and Reheat Gluten-Free Rice Flour Mini Cakes
- Room temperature: Once completely cooled, store the mini cakes in an airtight container at room temperature for up to 2-3 days.
- Refrigerator: I don’t recommend keeping them in the fridge because it tends to dry the cake out. I recommend a freezer for a longer storage
- Freezer: These mini cakes freeze well. Place them in a freezer-safe container or ziplock bag and freeze for up to 1 month. For easier serving, you can wrap them individually.
- Thawing: Let frozen mini cakes thaw at room temperature for about 30–60 minutes, depending on their size.
- Reheating: If you prefer them slightly warm, microwave an individual mini cake for about 8–10 seconds. Alternatively, warm them in a 300 F (150 C) oven for about 5 minutes. Avoid overheating, as rice flour cakes can dry out easily.
Frequently Asked Questions
1. Can I use regular rice flour from the grocery store?
Yes! Regular finely milled rice flour works for this recipe. You don’t have to purchase rice flour from an Asian grocery store. Just make sure you are using regular rice flour, not glutinous rice flour or sweet rice flour.
3. Why are my rice flour muffin cakes a little dense?
You may have deflated the egg whites while folding them into the batter. Make sure the egg whites are beaten to stiff peaks and fold them in gently.
4. Can I use this recipe to make one large cake?
I haven’t had a chance to try it out yet, but theoretically, a 20 x 20 cm (8 x 8-inch) square pan should work well. The cake will have a different thickness and texture from individual muffins, and it will need a longer baking time. Follow the cake-pan baking instructions in the recipe card
5. Are these rice flour mini cakes gluten-free?
Yes, the recipe uses rice flour instead of wheat flour. Rice flour is naturally gluten-free. If you need to avoid gluten completely, check that your rice flour, dried cranberries, and other ingredients are certified gluten-free to avoid cross-contamination.

Ingredients
Equipment
Method
- Place a rack in the center of the oven and preheat the oven to 350 F (180 C) for conventional oven. For a convection oven, please lower the temperature by 20 F (15 C). Grease 12 regular muffin cups or 2 of the 12 mini muffin cups if you choose to make the mini version
- Combine the egg whites and salt in a bowl and beat with a mixer until stiff peak. Set aside
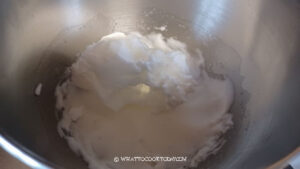
- Place the butter and sugar in another bowl and cream together until smooth and pale. Add the egg yolks and beat until smooth.
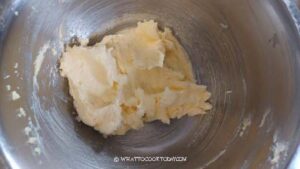
- Stir in the rice flour and vanilla. Use a spatula to roughly mix them
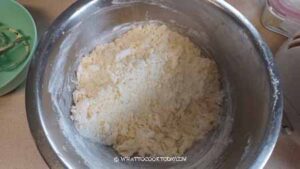
- Use the mixer at the lowest speed to combine everything until they come together into a very thick batter
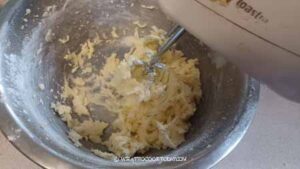
- Fold in the beaten whites gently using a rubber spatula. Ensure there is no more white streaks in the batter
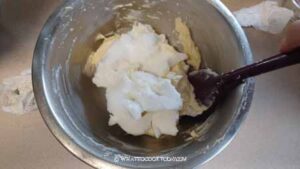
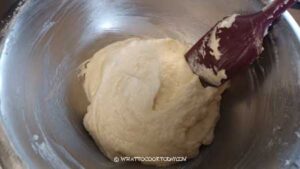
- I transfer the batter into a piping bag because I find it easier, but you can simply spoon the batter into the prepared muffin cups.
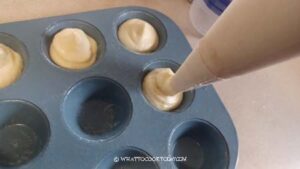
- I fill them full to the top
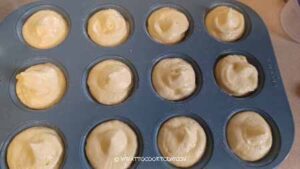
- Mini muffin tins can vary in size too, so this may affect the baking time. One of my mini muffin tins is smaller than regular standard size and I bake it for 12 minutes. Another mini muffin pan I have seem to be slightly deeper and I bake it for 15 minutes. If you use a regular-size muffin pan, bake for 20–24 minutes. Start checking at 20 minutes. The muffin will rise up and lightly golden around the edges. A toothpick inserted into the center should come out clean or with a few moist crumbs, but no wet batter. It is important not to overbake because it dries out the cake
- For an 8 x 8-inch (20 x 20 cm) cake: Spread the batter into a greased and parchment-lined pan. Bake for approximately 25–30 minutes, checking for doneness from 22 minutes onward. Insert a cake tester into the center of the cake. It should come out clean with just a few moist crumbs.
- Let stand for about 5 minutes to firm up, then turn out the muffins onto a wire rack to cool

6 comments
Hi Marvellina. Can I bake this in a baking pan instead of muffin tins? What size would you suggest?
Hello there, I haven’t personally tried this in a regular baking pan, but you can try to bake this in a 8 x 8 inch square pan or 7-inch round pan. I have updated the post and recipe to include more details. Please let me know if you need more clarification!
I made these today with two tweaks (I added 1/4 tsp of mango extract and 1/4 cup on chopped up dried mango) and they came out really nice. The texture of them is really nice and they weren’t overly complicated to make.
I’m glad to know that. Great idea with mango !!
Hi Marvellina, do you have video for htis recipe?
Hi Lin, I don’t have the video for this recipe, sorry! Anything I can help you clarify?