This post may contain affiliate links. Please read our disclosure policy.
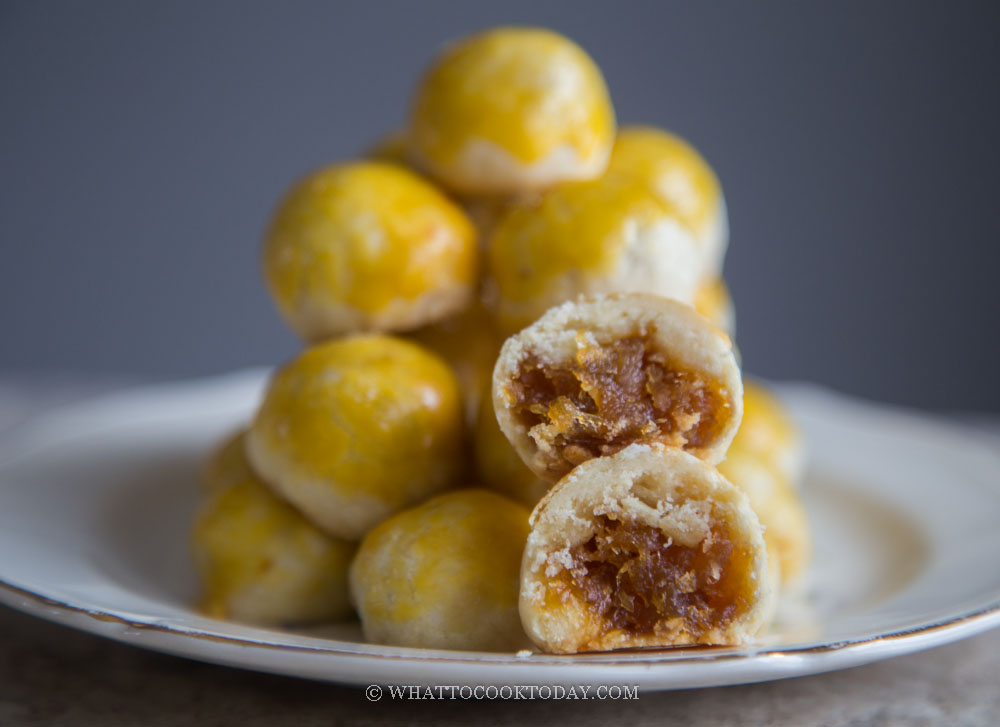
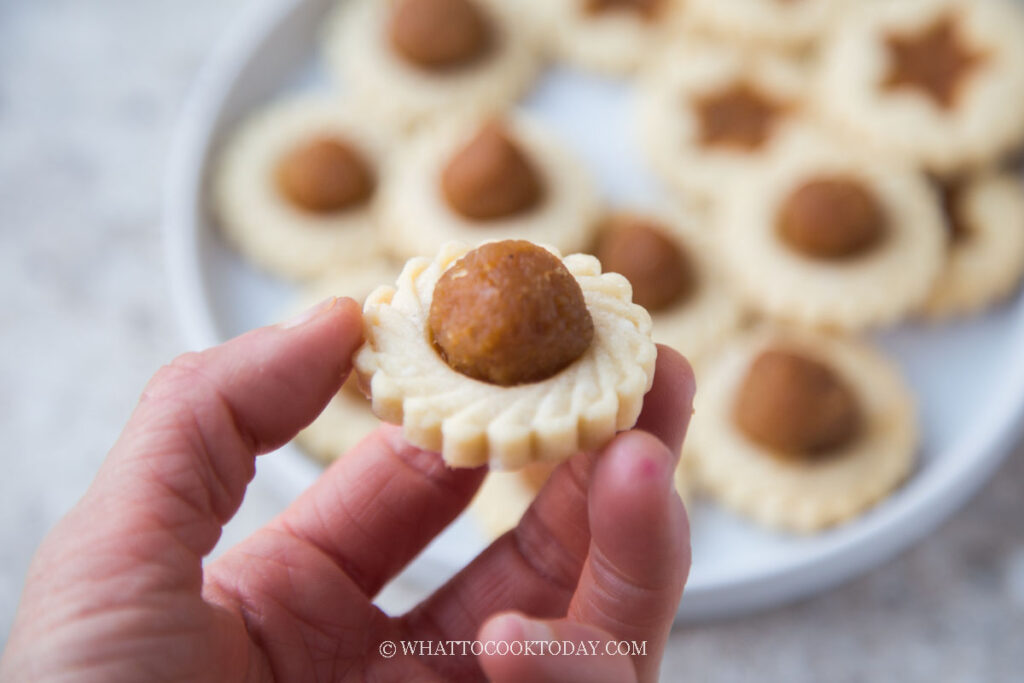
Kue Nastar is a delicious and traditional Indonesian pineapple tart that is enjoyed during the Chinese New Year, Lebaran, and other holiday seasons. Its buttery crust and sweet pineapple filling make it an irresistible treat for all. It is a perfect homemade gift to give to loved ones during the holiday season, or just as a treat for yourself.
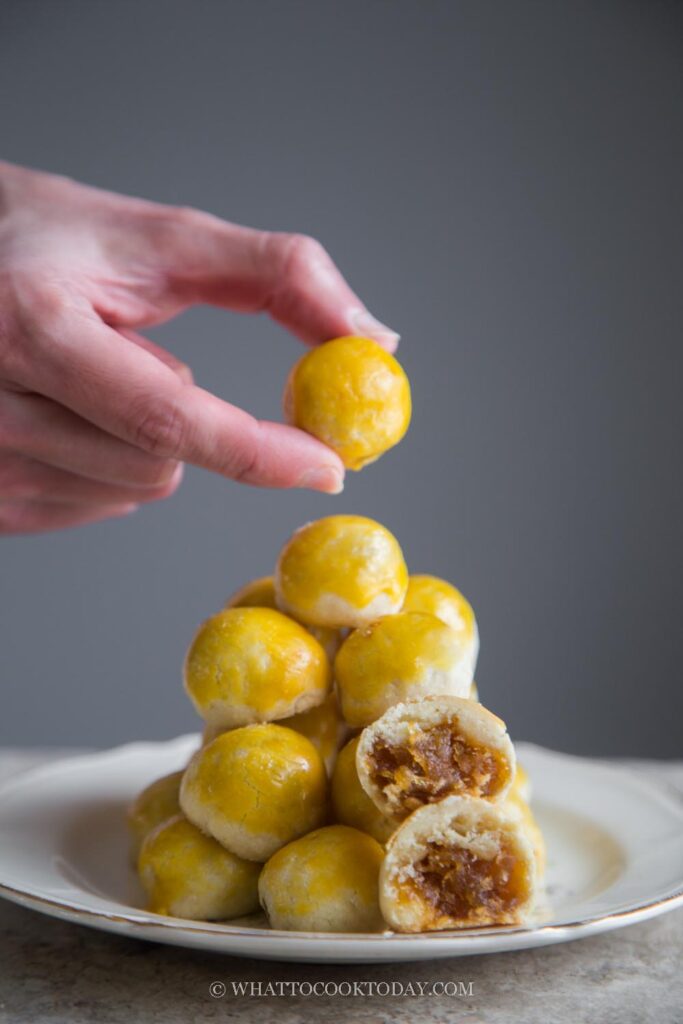
I remember making huge batches of these cookies at my aunt’s house while I was young a few weeks before Chinese New Year approached. It was my favorite thing to do. My aunt is a great baker and I wish I had just a quarter of her baking skill. These pineapple cookies aren’t too complicated to make (I did it!). The Selai Nenas Nastar / Pineapple Jam is not too complicated to make either, just requires some time to cook into a thick consistency. The rest of the work is pretty basic. I recommend making the pineapple compote a day or a few days before and you can keep it in the refrigerator and use it when you are ready to make the cookies.
These Kue Nastar are seriously melt-in-the-mouth soft! I’m super happy with this recipe after a few rounds of tweaking. If you try this recipe, I believe you will love it too.
What is kue nastar/nastar cookies
Kue Nastar, also known as pineapple tart, is a traditional Indonesian pastry that is enjoyed during the holiday season, particularly during Chinese New Year and also the Muslim celebration of Lebaran (Eid al-Fitr).
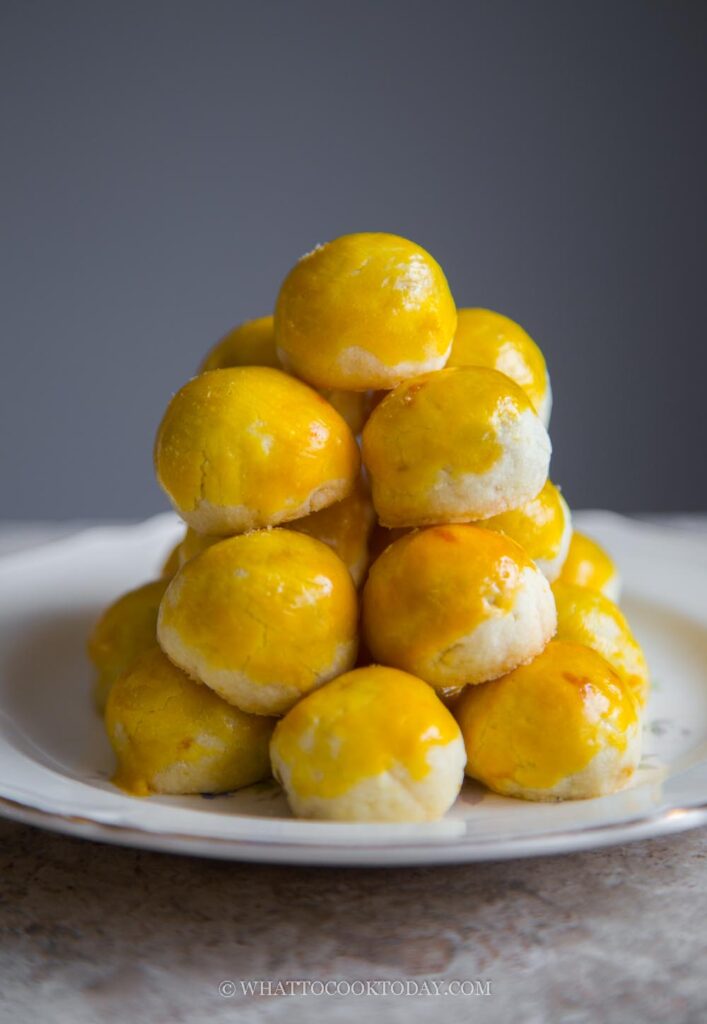
The pastry consists of a buttery crust filled with a sweet pineapple filling. The crust is made with flour, butter, and eggs, while the filling is made with crushed pineapple, sugar, and spices such as cinnamon and nutmeg. The tarts are then shaped into small balls and baked until golden brown.
Kue Nastar is believed to have originated from the Chinese community in Indonesia, as the recipe and technique are similar to that of Chinese pineapple cakes. However, over time, the Indonesian version has been adapted to incorporate local flavors and ingredients, resulting in a unique and delicious treat.
Ingredients
1. European butter
I highly recommend using European butter if it fits your budget. It gives an amazing aroma. I usually use unsalted butter
2. Icing sugar/Powdered sugar
This gives the tart that melt-in-mouth texture
3. Egg yolk
Egg yolk keeps the pastry moist and rich
4. Cake flour
Cake flour makes the pastry soft and melt-in-mouth
5. Cornstarch
The cornstarch keeps the pastry soft and also acts as a binder
6. Milk powder
I love the addition of milk powder to the pastry because it gives an amazing aroma
7. Cheese
The addition of cheese such as gouda or edam gives that hint of savory, which I think complements the lightly sweetened pastry.
8. Salt
A small pinch brings out the flavor of the tart. I use fine sea salt
9. Oil
Oil is added to the egg wash to give that shine to the pastry and also to prevent cracks
10. Vanilla extract
Vanilla extract is also added to the egg wash, which adds a nice hint of vanilla

How to make kue nastar
1. Portion the pineapple jam into about 6 grams each and roll into round balls for easier wrapping. Keep them chilled in the fridge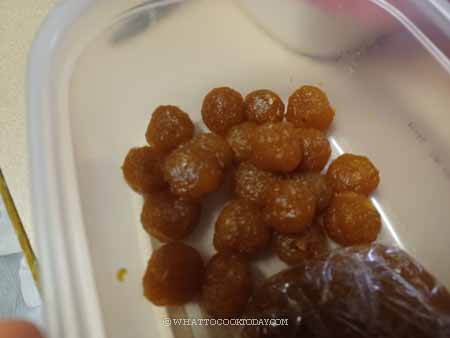
2. Prepare the egg wash by mixing everything together in a bowl. Make sure it’s smooth and no lumps. 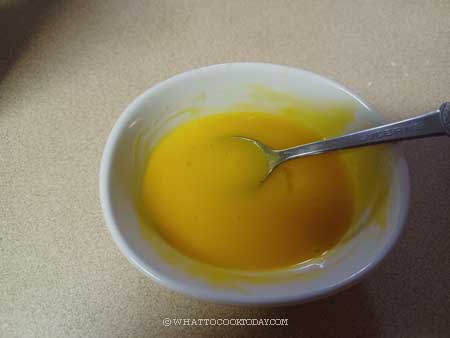
3. Mix dry ingredients together and set aside. Place the butter and egg yolk at room temperature for about 30 minutes or until the butter is softened but not melting. Cutting the butter into smaller pieces also helps to speed up the process. This may not take that long if it’s warm where you are. I live in a very cold place during this time of the year.
4. Put the butter and sugar in a mixing bowl and stir until just until mixed with a rubber spatula. There is no need to use a mixer. Overworking the butter too much will make your tarts too crumbly after you bake them. Add egg yolk and then just mix until creamy. Gradually add the flour mixture and mix with a sturdy rubber spatula. The dough seems dry and doesn’t seem to come together at this point, that’s okay. Keep mixing. The dough will be on the sticky side. Cover and let it chill in the fridge for about 15 minutes but no longer than that. It will be easier to work with when the dough is cold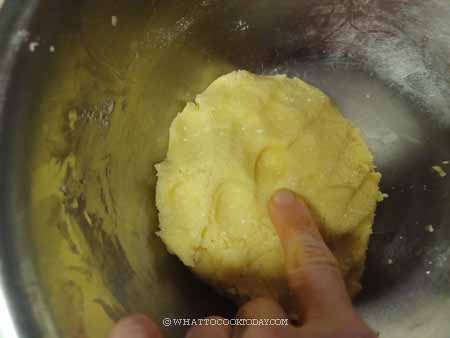
5. Preheat the oven to 320 F (160 C) for a conventional oven. For a convection oven, preheat to 300 F (150 C). Remove the dough from the fridge. Pinch off about 10 grams of dough. I recommend measuring with a scale. 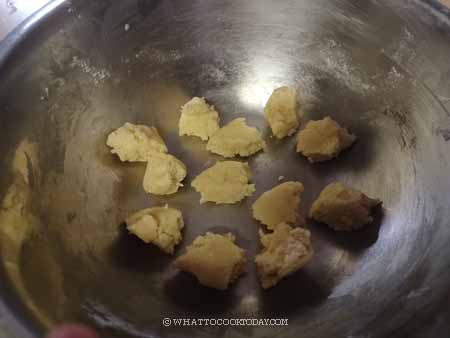
6. Once you are done portioning out all the dough, round them up into round balls. The tart bakes evenly when they are all about the same size. Roll them into round balls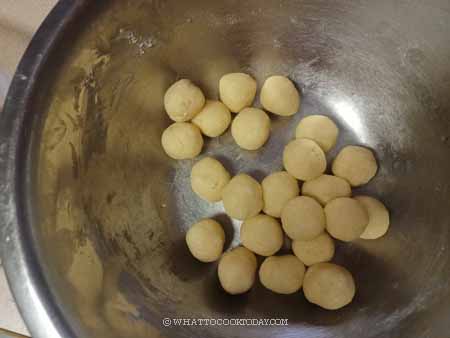
7. Flatten the dough into about 2 1/2 inch circle, don’t have to be exact. Place 1 pineapple filling in the middle, gather the edge to enclose the filling and pinch to seal. 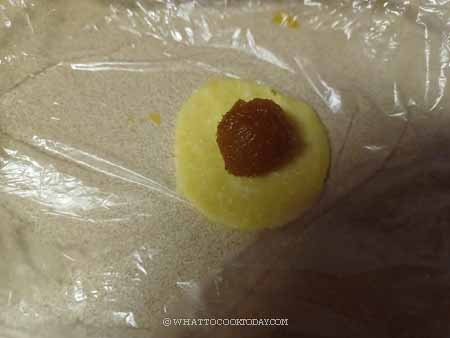
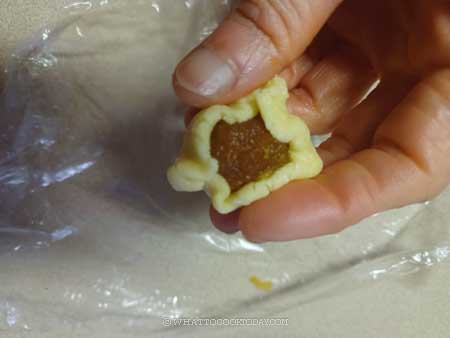
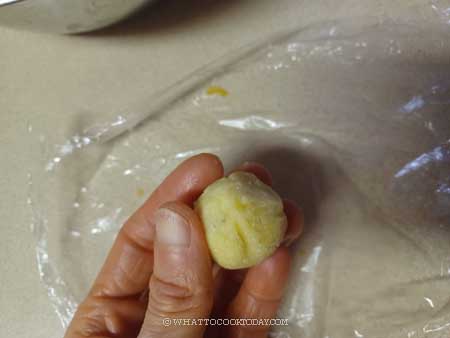
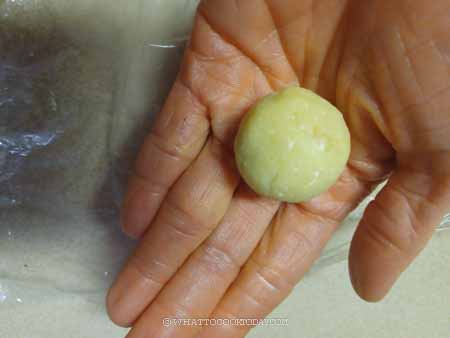
8. Place the seam side down on a baking sheet lined with parchment paper or a cookie sheet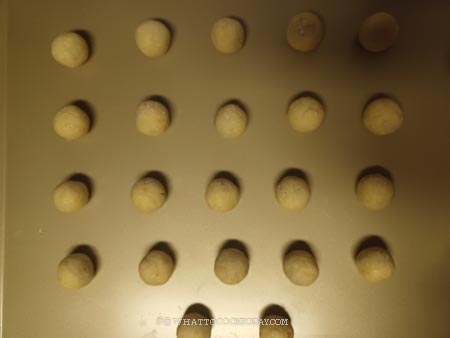
9. I used to chill the tart before baking with my old recipe. With this newly improved recipe, I don’t have to chill and the nastar comes out great and no spreading. If it’s really warm where you are, I recommend chilling them in the freezer for about 30 minutes before baking
10. Bake the tarts for 20 minutes on the middle rack. They will still appear soft and pale. 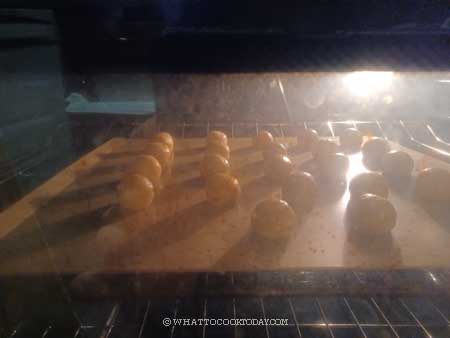
11. Remove from the oven and brush the egg wash all around the tarts. Then repeat again for the second time. This ensures a glossy and nice golden appearance on the tart
12. Put them back inside the oven and continue baking for another 15 minutes or until golden brown. Let them cool down on the pan for 5 minutes 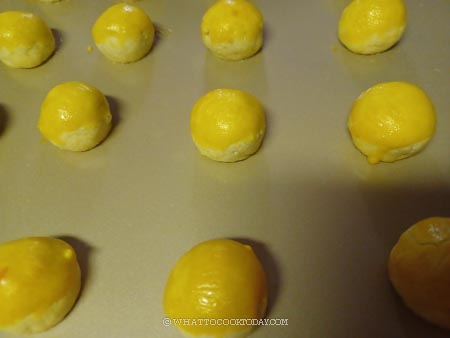
13. Then transfer to a cooling rack to let them cool down completely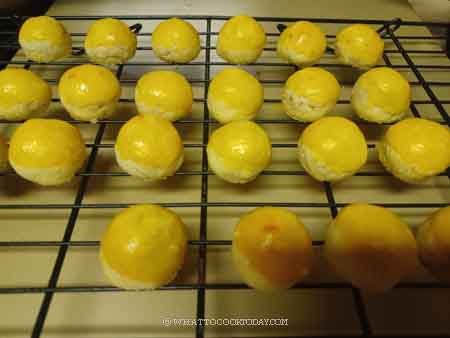
Important tips
1. MAKE THE PINEAPPLE JAM A FEW DAYS BEFORE
The majority of the work is really in making the selai nenas. It’s not hard, but it takes time to cook it to a thick consistency suitable for pineapple tarts. Check out the pineapple jam video and recipe
2. USE GOOD-QUALITY BUTTER
A good quality butter will definitely shine through
3. CHILL THE DOUGH BEFORE SHAPING
Chilling the dough for about 15 minutes helps to work with the sticky dough
5. EGG WASH FOR THAT GLOSS
The mixture of egg yolk and oil prevents cracks on the surface and gives the tarts a nice shine
How to store kue nastar
Keep them in an air-tight container for up to 2-3 weeks at room temperature. For longer storage, keep them in the freezer for up to 1 month
Did you make this kue nastar recipe?
I love it when you guys snap a photo and tag it to show me what you’ve made. Simply tag me @WhatToCookToday #WhatToCookToday on Instagram and I’ll be sure to stop by and take a peek for real!
This recipe was last published in 2010 and has been updated to an improved version on January 19, 2023.
Chinese New Year Pineapple Tart (Kue Nastar)
Ingredients
- 125 g Wijsman butter softened, or any high-quality European butter
- 40 g icing sugar
- 10 g egg yolk about 1/2 egg yolk
Dry ingredients:
- 155 g cake flour
- 25 g cornstarch
- 25 g milk powder
- ⅛ tsp salt omit if use salty cheese
- 30 g shredded Gouda or Parmesan cheese optional
Filling:
- 265 g Pineapple jam
Egg wash:
- 2 egg yolks beaten
- 1 ½ tsp oil
- ½ tsp vanilla extract
Instructions
- Portion the pineapple jam into about 6 gram each and roll into round ball for easier wrapping. Keep them chilled in the fridge
- Prepare the egg wash by mixing everything together in a bowl. Make sure it's smooth and no lumps
Prepare the dough:
- Mix dry ingredients together and set aside. Place the butter and egg yolk at room temperature for about 30 minutes or until the butter is softened but not melting. Cutting the butter into smaller pieces also helps to speed up the process. This may not take that long if it's warm where you are. I live in a very cold place during this time of the year.
- Put the butter and sugar in a mixing bowl and stir until just until mixed with a rubber spatula. There is no need to use a mixer. Overworking the butter too much will make your tarts too crumbly after you bake them. Add egg yolk and then just mix until creamy. Gradually add the flour mixture and mix with a sturdy rubber spatula. The dough seems dry and doesn't seem to come together at this point, that's okay. Keep mixing. The dough will be on the sticky side. Cover and let it chill in the fridge for about 15 minutes but no longer than that. It will be easier to work with when the dough is cold
Shape the tarts:
- Preheat the oven to 320 F (160 C) for a conventional oven. For convection oven, preheat to 300 F (150 C)
- Remove the dough from the fridge. Pinch off about 10 grams of dough. I recommend measuring with a scale. Once you are done portioning out all the dough, round them up into round balls. The tart bakes evenly when they are all about the same size. Roll them into round balls
- Flatten the dough into about 2 1/2 inch circle, don't have to be exact. Place 1 pineapple filling in the middle, gather the edge to enclose the filling and pinch to seal. Place the seam side down on a baking sheet lined with parchment paper or cookie sheet
Chill the shaped tarts: (optional)
- I used to chill the tart before baking with my old recipe. With this newly improved recipe, I don't have to chill and the nastar comes out great and no spreading. If it's really warm where you are, I recommend chilling them in the freezer for about 30 minutes before baking
- Bake the tarts for 20 minutes on the middle rack. They will still appear soft and pale. Remove from the oven and brush the egg wash all around the tarts. Then repeat again for the second time. This ensures a glossy and nice golden appearance on the tart
- Put them back inside the oven and continue baking for another 15 minutes or until golden brown
- Let them cool down on the pan for 5 minutes and then transfer to a cooling rack to let them cool down completely
Storing:
- The tart won't taste as good on the same day you bake them. In fact, they may feel a bit dry. I recommend waiting for 24 hours before consuming
- Store them in an air-tight container at room temperature for up to 2-3 weeks
- These tarts freeze very well too. I have made them in advance and freeze them and simply thaw at room temperature just before serving and they are as good as new. They can be kept frozen for one month in a freezer-friendly container
RECOMMEDED TOOLS
*Nutrition facts are just estimates and calculated using online tools*
You may like these


58 comments
Thanks for sharing the recipe! I tried it for the first time and it turned out amazing. My family always made this for CNY in Indonesia, but this was my first time making it myself. The recipe is simple, though the process is quite long—but totally worth it. Good thing I can find Wijsman butter in where I live.
Hi Noni, I’m glad you got great result and yes, it can be a bit of a work, especially preparing the jam. But I’m glad you pulled through 🙂 Thank you for your great feedback! Now you can enjoy your hardwork 🙂
Hello! Is it possible to apply the egg wash at the start i.e. before putting the tarts into the oven? If yes, do I need to adjust bake time?
Hi Alicia, you can apply the egg wash before going into the oven and no baking time adjustment necessary
I tried this recipe, it tastes good.. just not sure why some of them cracked abit.. and wondering why my egg wash make it very dark brown color.. actually prefer golden color.. 😅
Hi Yvonne, maybe your oven runs hotter? or you can try to move the oven rack lower next time?
Looks like a great recipe! May I ask if I can put the egg wash prior to baking and another egg wash 15 min prior to it being done baking? Thanks!
Hi Daphne, I haven’t tried it that way, but it should work too I think.