This post may contain affiliate links. Please read our disclosure policy.
Soft and fluffy steamed buns are shaped like apples and filled with aromatic cinnamon and coconut sugar apple pie filling. It’s like eating an apple pie without the crust, but soft fluffy steamed buns.

Two of my favorite things in Fall are apples and pumpkins. I simply couldn’t have enough of them. I constantly thinking of ways to use them up in baking and cooking. These apple-shaped steamed buns are filled with delicious apple pie filling. Just the smell of the filling as it is cooking, makes you feel all the warmth (even though it’s freezing cold outside).
The best apples to use
I used a mixture of Fuji apples and Honey Crisp because that’s what I have. You can mix between the red and green apples too for that balance of sweetness and tartness. Try to pick apples that won’t turn into mush easily when you cook them. Other good apples for the apple pie filling would be Pink Lady, Gala, Golden Delicious, Red Delicious, Granny Smith, Braeburn, Mcintosh, Cortland.
How to make apple shaped steamed buns with apple pie filling
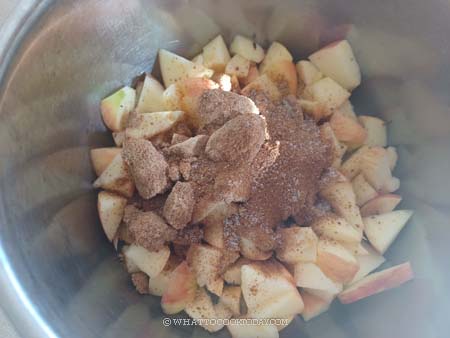
1. Prepare the filling
Cut the apples into small cubes. Toss together with the rest of the filling ingredients, except for cornstarch, coconut oil/butter, and vanilla extract in a large pan or saucepan. Let them sit at room temperature for about 10 minutes
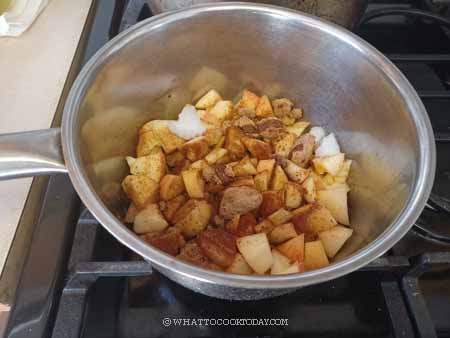
2. After that, put the pan on the stove and cook over medium-low heat and cook until the apples soften, about 10 minutes or so. Don’t crank up the heat too high or the liquid will evaporate too quickly. We want a moist filling
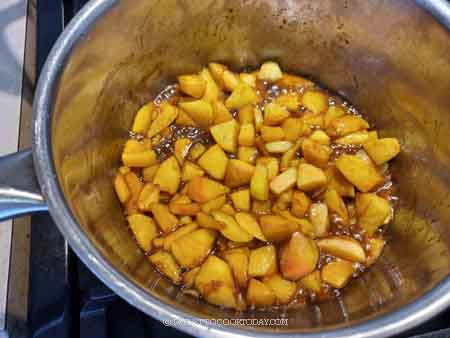
3. When the apple has softened, stir in vanilla extract and coconut oil/butter. Stir to combine. Have a taste and add more sugar if you think it needs more. Adjust it to your preference.
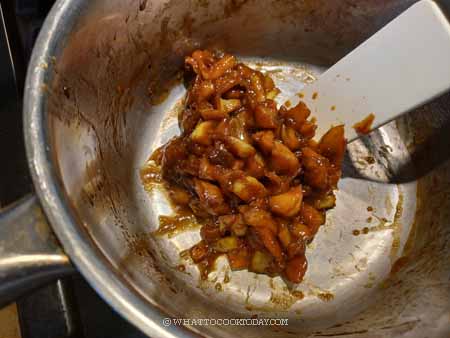
4. Mix cornstarch with water to make a slurry. Pour this over the apple mixture and stir until the apple mixture has thickened. Set aside to let the mixture cools down completely before wrapping. If you prepare a few days before, let it cools down completely, then cover and keep it in the fridge. They can be kept in the fridge for no more than one week. Divide the filling into 8 portions. They should stick together pretty well for easier wrapping
5. Prepare the dough
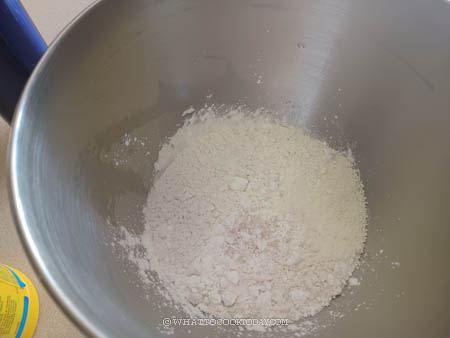
Place the flour/starch combination, instant yeast, sugar, salt, and oil in a mixing bowl. If you are using a stand mixer, use a dough hook attachment. Add cold milk or room temperature water. Knead on speed 2 until you can form a dough. Add milk, one tablespoon at a time if the dough seems dry and won’t come together
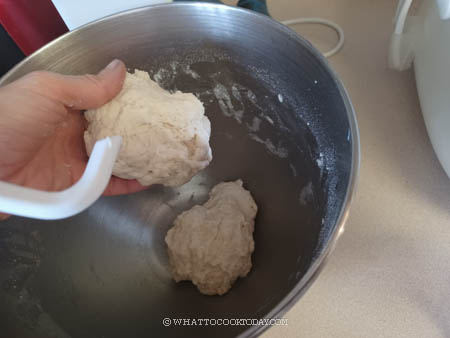
6. Knead for about 5 minutes. The dough won’t be entirely smooth yet, but it should come together as one dough. Divide the dough into two. Pinch off about 10 grams of the dough for the stems. Cover them with plastic wrap so they won’t dry out
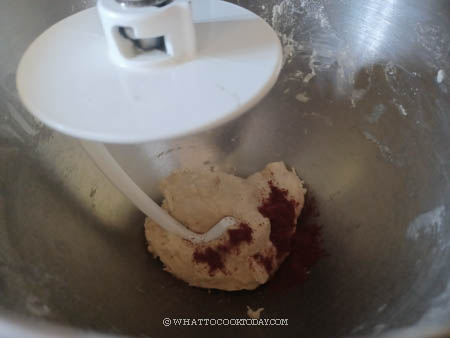
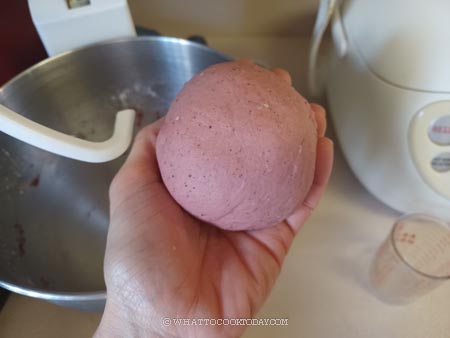
7. Prepare the red dough (for red apples)
Add red yeast rice powder to the dough in the mixing bowl and continue to knead at speed 2 until the dough is smooth and elastic, about 8-10 minutes. If the dough seems a bit dry, add a bit of milk, 1 teaspoon at a time. You may or may not need to, just observe the dough. When it’s done kneading, remove from the bowl and keep it covered
8. Prepare the green dough (for green apples)
Put another dough into the bowl and add matcha powder. Continue to knead at speed 2 until the dough is smooth and elastic, about 8-10 minutes. If the dough seems a bit dry, add a bit of milk, 1 teaspoon at a time. You may or may not need to, just observe the dough. When it’s done kneading, remove it from the bowl and keep it covered

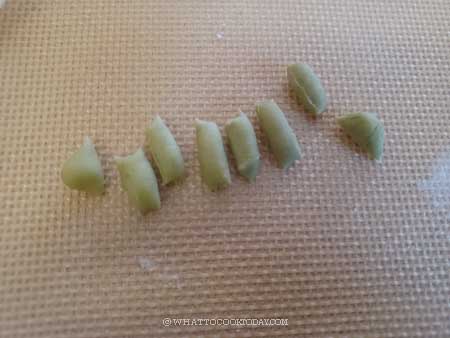
9. To make the stems and the leaves
Pinch off about 10 grams of the green dough aside to make the leaves. Divide into 8 pieces to make 8 leaves. Simply flatten the dough with your fingers and shape into a leaf shape. Keep them covered
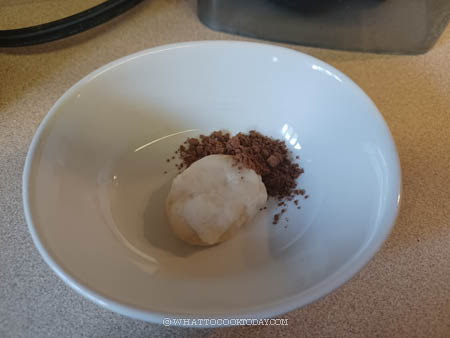
10. Mix the small dough that you pinch off with the cocoa powder (to make the stems) and knead until the dough evenly picks up the color. Divide this into 8 pieces to make 8 stems. Shape each tiny dough into a stem-looking shape. Keep them covered

11. So now you have 4 colored doughs to put together
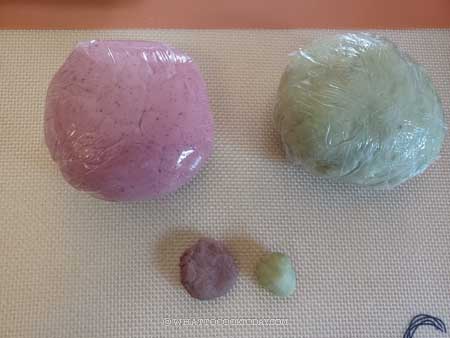
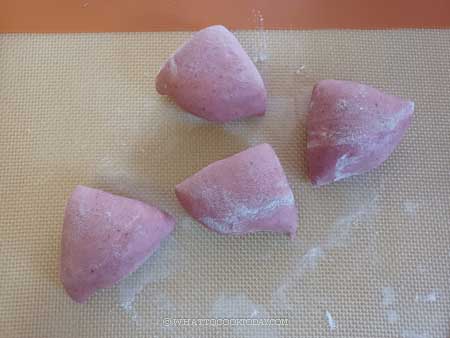
12. Divide the red and green dough into 4 each, so you have a total of 8 smaller doughs now. Keep them covered
13. Take one dough, flatten slightly with your palm
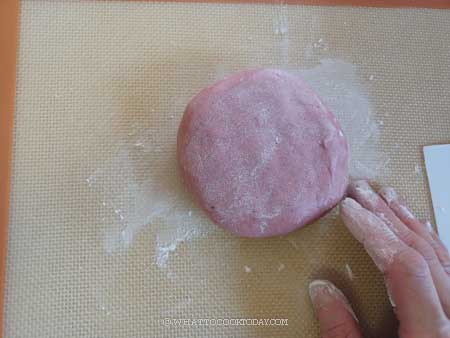
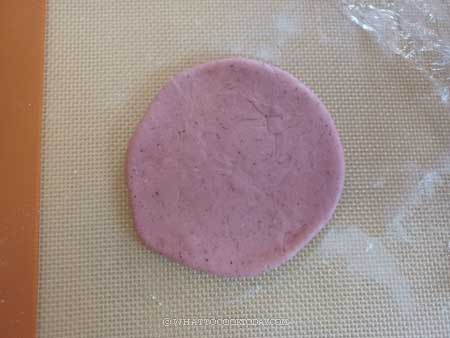
14. Roll into a 4-5 inch round
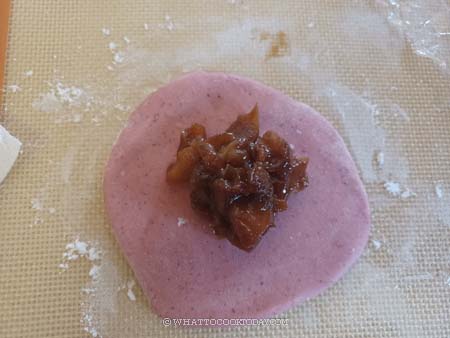
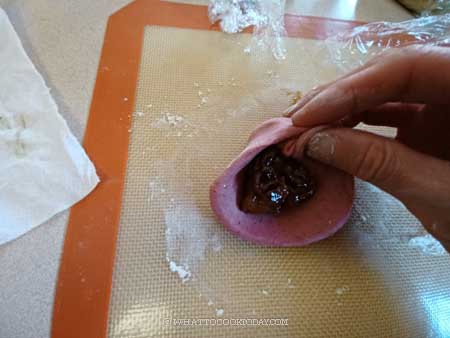
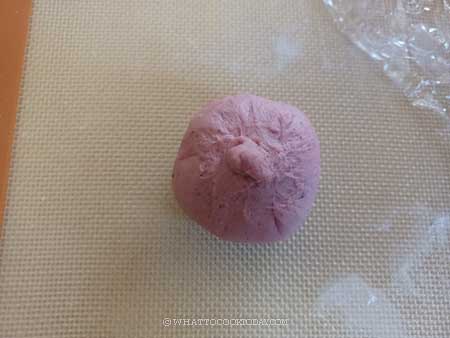
15. Put one portion of the filling in the middle of the dough. Gather the edge to center and twist and pinch to seal. Make sure it’s well sealed so the filling won’t leak out.
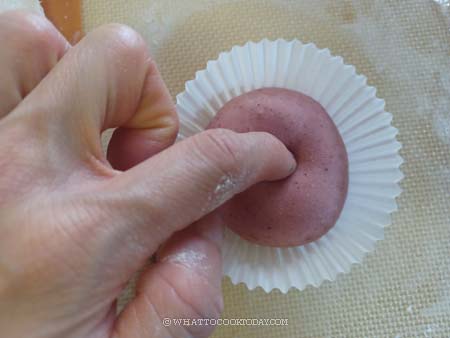
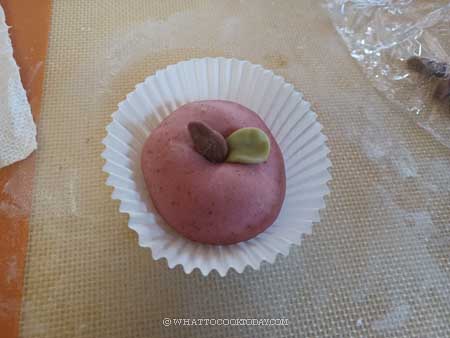
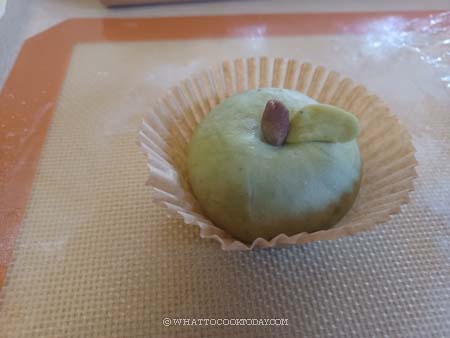
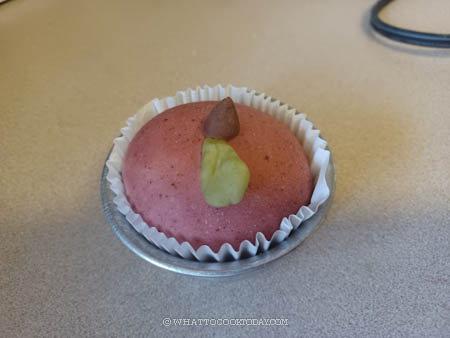
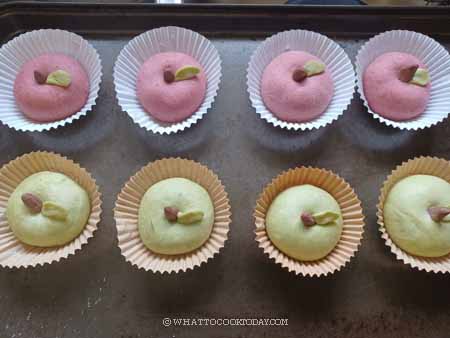
16. Place the seam side down on a muffin liner. Use a chopstick or your finger to gently create a depression in the center of the dough. Lightly wet the tip of your index finger and rub it on the depression and put the stem in there and the leaf next to it. Wet your finger as needed to “glue” them to the apple


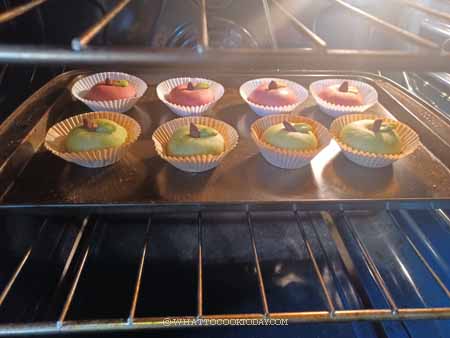
17. When you put the apples in the muffin cup liner, they will expand to the side slightly after steaming. I also tried to put some in large muffin cups lined with the liner and put the apple inside. The cup helps to keep the shape of the apple “taller”. But don’t worry about it if you don’t have cups to do that. I just happened to have cups with the size perfect for this. Continue with the rest
18. Once you are done with shaping, mist the shaped buns lightly with some water, cover with a clean kitchen towel, and put them in a warm place to let them proof for about 1 hour or until the dough feels lighter and when you gently press of it, it will gradually bounce back. They won’t double in size but should puff up and feel lighter. If not, let them proof a bit longer. Don’t go by the time, but observe the dough. The proofing takes longer if the temperature is colder where you are
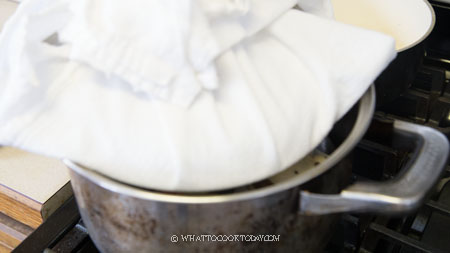
19. 5 minutes before the end of the proofing time, bring the water in the steamer to a boil and then lower to medium. Wrap the lid of the steamer with a cloth to prevent condensation from dripping down on the surface of the buns, creating burn spots. If you use a bamboo steamer, you don’t have to wrap the lid. Place the proofed buns in the steamer, about 1 inch from each other. Put the lid back, but don’t close it all the way, leaving about a 1/2-inch gap to let some steam escape. This part is important so the steamed buns will have a smooth surface and won’t “wrinkle”. Maintain the heat at medium, DO NOT steam on high heat
20. Steam for about 8-10 minutes and then turn off the heat, don’t take them out or open the lid yet. Leave them in the steamer for about 1-2 minutes and then carefully uncover the lid and remove the steamed buns to a cooling rack immediately to prevent the bottom from getting soggy because of condensation. The apple steamed buns are best served warm
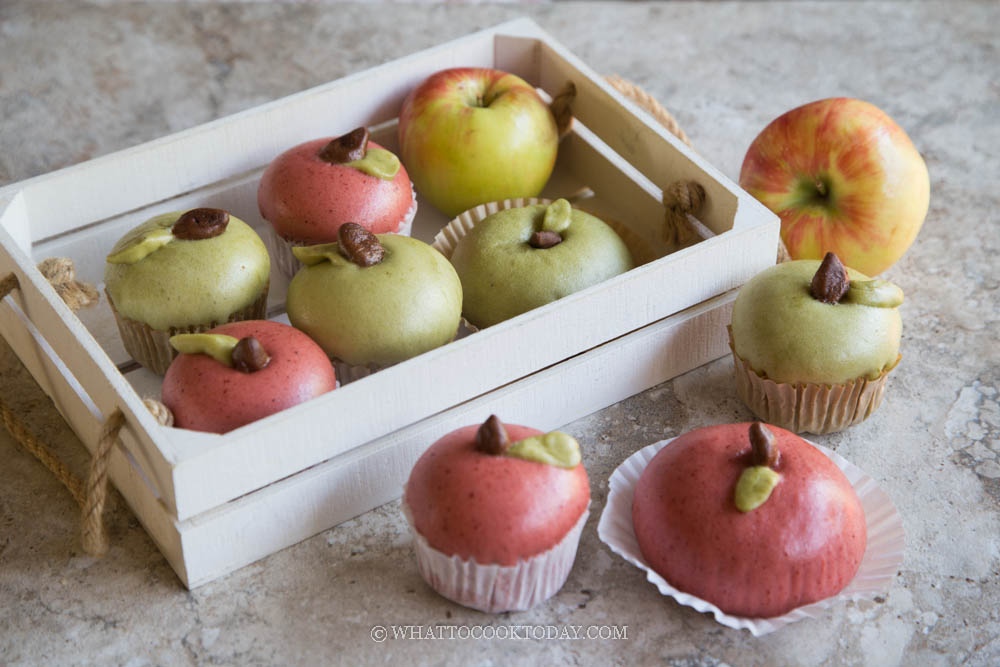
Like I’ve mentioned before, the buns that were steamed in the cups were taller. But this is just a matter of shape and doesn’t alter the taste or texture of the steamed buns

Did you make this apple-shaped steamed buns recipe?
I love it when you guys snap a photo and tag to show me what you’ve made 🙂 Simply tag me @WhatToCookToday #WhatToCookToday on Instagram and I’ll be sure to stop by and take a peek for real!

Apple-Shaped Steamed Buns (with Apple Pie Filling)
Ingredients
For the dough:
- 200 gr all-purpose flour
- 40 gr wheat starch or use cornstarch
- 3 gr instant yeast
- 20 gr granulated sugar
- 1 Tbsp cooking oil
- ¼ tsp salt
- 120 ml cold milk preferably whole/full-cream milk, more as needed
To color the dough:
- 1 tsp red yeast rice powder You can use red food gel
- 1 tsp matcha powder You can use green food gel
- ¼ tsp cocoa powder
Apple filling:
- 500 gr apples (after peeled and cored) about 3-4 apples (see notes)
- 40 gr coconut sugar or more as needed
- 20 gr granulated sugar or more as needed
- ½ tsp ground cinnamon
- 1 Tbsp lemon juice
- 120 ml apple juice or use water, add more as needed
- ⅛ tsp salt
- ½ tsp vanilla extract
- 10 gr coconut oil or use butter
To thicken the filling:
- 1 Tbsp cornstarch
- 2 Tbsp water
Instructions
Prepare the apple pie filling (can be prepared few days before):
- Cut the apples into small cubes. Toss together with the rest of the filling ingredients, except for cornstarch, coconut oil/butter, and vanilla extract in a large pan or saucepan. Let them sit at room temperature for about 10 minutes
- After that, put the pan on the stove and cook over medium-low heat and cook until the apples soften, about 10 minutes or so. Don't crank up the heat too high or the liquid will evaporate too quickly. We want a moist filling
- When the apple has softened, stir in vanilla extract and coconut oil/butter. Stir to combine. Have a taste and add more sugar if you think it needs more. Adjust it to your preference. Mix cornstarch with water to make a slurry. Pour this over the apple mixture and stir until the apple mixture has thickened. Set aside to let the mixture cools down completely before wrapping. If you prepare a few days before, let it cools down completely, then cover and keep it in the fridge. They can be kept in the fridge for no more than one week
- Divide the filling into 8 portions. They should stick together pretty well for easier wrapping
Prepare the dough:
- Place the flour/starch combination, instant yeast, sugar, salt, and oil in a mixing bowl. If you are using a stand mixer, use a dough hook attachment. Add cold milk or room temperature water. Knead on speed 2 until you can form a dough. Add milk, one tablespoon at a time if the dough seems dry and won't come together
- Knead for about 5 minutes. The dough won't be entirely smooth yet, but it should come together as one dough. Divide the dough into two. Pinch off about 10 grams of the dough for the stems. Cover them with plastic wrap so they won't dry out
Prepare the red dough (for red apples):
- Add red yeast rice powder to the dough in the mixing bowl and continue to knead at speed 2 until the dough is smooth and elastic, about 8-10 minutes. If the dough seems a bit dry, add a bit of milk, 1 teaspoon at a time. You may or may not need to, just observe the dough. When it's done kneading, remove from the bowl and keep it covered
Prepare the green dough (for green apples):
- Put another dough into the bowl and add matcha powder. Continue to knead at speed 2 until the dough is smooth and elastic, about 8-10 minutes. If the dough seems a bit dry, add a bit of milk, 1 teaspoon at a time. You may or may not need to, just observe the dough. When it's done kneading, remove from the bowl and keep it covered
- Rest the red and green dough for about 10 minutes. Keep them covered
To make the stems and the leaves:
- Pinch off about 10 grams of the green dough aside to make the leaves. Divide into 8 pieces to make 8 leaves. Simply flatten the dough with your fingers and shape into a leaf shape. Keep them covered
- Mix the small dough that you pinch off with the cocoa powder (to make the stems) and knead until the dough evenly picks up the color. Add a tiny bit of water if the dough is a bit too dry. Divide this into 8 pieces to make 8 stems. Shape each tiny dough into a stem-looking shape. Keep them covered
Wrapping and shaping:
- Divide the red and green dough into 4 each, so you have a total of 8 smaller doughs now. Keep them covered
- Take one dough, flatten slightly with your palm and roll into a 4-5 inch round. Put one portion of the filling in the middle of the dough. Gather the edge to center and twist and pinch to seal. Make sure it's well sealed so the filling won't leak out. Place the seam side down. Use a chopstick or something else about that size to gently create a depression in the center of the dough. Lightly wet the tip of your index finger and rub it on the depression and put the stem in there and the leaf next to it. Wet your finger as needed to "glue" them to the apple. Place this in a muffin cup liner
- When you put the apples in the muffin cup liner, they will expand to the side slightly after steaming. I also tried to put some in large muffin cups lined with the liner and put the apple inside. The cup helps to keep the shape of the apple "taller". But don't worry about it if you don't have cups to do that. I just happened to have cups with the size perfect for this. Comtinue with the rest
Proofing:
- Once you are done with shaping, mist the shaped buns lightly with some water, cover with a clean kitchen towel and put them in a warm place to let them proof for about 1 hour or until the dough feels lighter and when you gently press of it, it will gradually bounce back. They won't double in size, but should puff up and feel lighter. If not, let them proof a bit longer. Don't go by the time, but observe the dough. The proofing takes longer if the temperature is colder where you are
Steaming:
- 5 minutes before the end of the proofing time, bring the water in the steamer to a boil and then lower to medium. Wrap the lid of the steamer with a cloth to prevent condensation from dripping down on the surface of the buns, creating burn spots. If you use a bamboo steamer, you don't have to wrap the lid
- Place the proofed buns in the steamer, about 1 inch from each other. Put the lid back, but don't close it all the way, leaving about 1/2-inch gap to let some steam escape. This part is important so the steamed buns will have smooth surface and won't "wrinkle". Maintain the heat at medium, DO NOT steam on high heat
- Steam for about 8-10 minutes and then turn off the heat, don't take them out or open the lid yet. Leave them in the steamer for about 1-2 minutes and then carefully uncover the lid and remove the steamed buns to a cooling rack immediately to prevent the bottom from getting soggy because of condensation
Serving:
- The apple steamed buns are best served warm
How to store:
- Let the steamed buns cool down completely. Wrap each bun with a cling wrap and put them in an air-tight container or zipper bag. They can be kept at room temperature for about 3 days. For longer storage, freeze them for up to one month
How to reheat:
- Room temperature steamed buns can be reheated in the steamer over medium heat for 3-5 minutes or until warm. You can also reheat them in a microwave, for 8-10 seconds or until warm
- If they are frozen, you can let them sit on the counter for 10-15 minutes and then reheat by steaming until they are heated through or use a microwave


