This post may contain affiliate links. Please read our disclosure policy.
Soft airy and lofty crumbs with robust flavor from the cheeses, this traditional Italian Easter cheese bread is so good and it’s hard to stop eating this!
What is crescia al formaggio ?
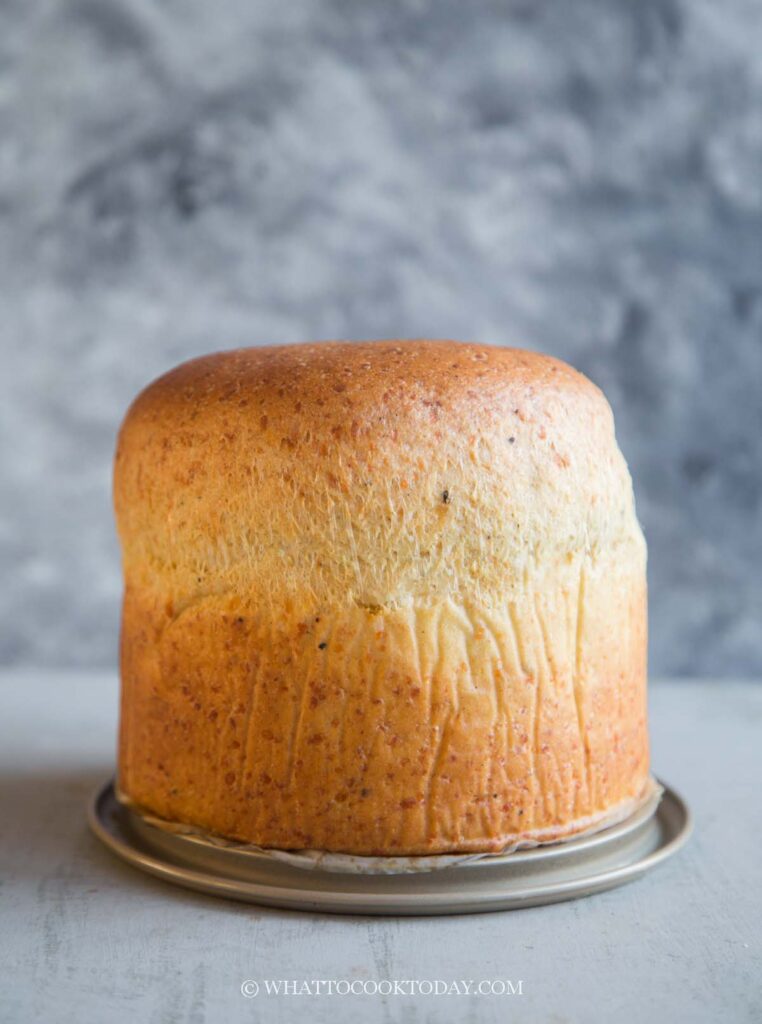
You probably don’t need an introduction from me, but in case you are wondering, crescia al formaggio is a popular savory cheese bread made for Easter celebrations in Italy. It can be served for breakfast with eggs or to accompany Easter lunch. The bread is usually characterized by its tall dome shape.
We love this bread!
I had always wanted to make crescia al formaggio for a while but for some reason, I just never got to it. I ended up making this bread twice in a week because our family loved it! Since Easter is just around the corner, I thought I would share this bake in case any body is interested!
Traditional crescia al formaggio VS this version
Traditional ancient crescia al formaggio is made with lard. This recipe uses olive oil. So if you want to use lard, you can substitute it with an equal amount of lard

Italian Easter Cheese Bread (Crescia al Formaggio)
Ingredients
Preferment:
- 75 g lukewarm water
- 10 g honey
- 1 ½ tsp instant yeast
- 75 g bread flour (12.7% protein content)
Final dough:
- 225 g bread flour (12.7% protein content)
- 150 g Pecorino grated
- 150 g large eggs about 3 large eggs
- 55 g extra virgin olive oil
- ¾ tsp freshly ground black pepper
- ⅓ tsp ground nutmeg
- ¾ tsp salt
Instructions
Prepare the preferment:
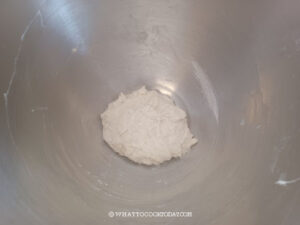
- Mix the honey in the lukewarm water (make sure it's not hot) until dissolves in a large bowl. The preferment will grow in size later. Add the instant yeast and bread flour and mix until you get a paste-like mixture.

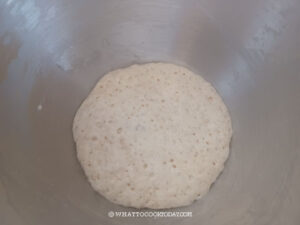
- Cover and let it proof at a warm place, away from direct sunlight, until it is triple in volume and bubbly. This may take 1-3 hours or longer, depending on the temperature where you are

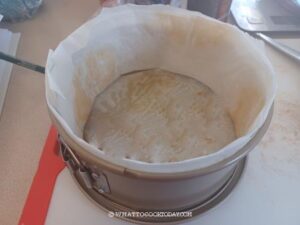
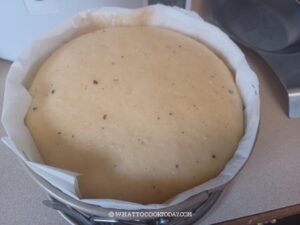
- You can use an 8-inch or 9-inch springform pan if you have one. Otherwise, a regular 8 or 9-inch round pan with at least 3 inches in height will do too. Lightly grease the pan on the bottom and the sides. Line the bottom of the pan with a parchment paper. Also, line the sides of the pan with strips of parchment paper, about 4 inches wide. You can staple the overlapping paper to make sure it stays in place

Prepare the dough:
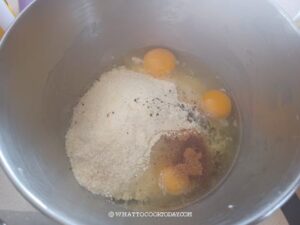
- It is recommended to use a stand mixer fitter with a dough hook attachment to prepare the dough. When the preferment is ready, start preparing the dough. Add the preferment and the rest of the final dough ingredients into the bowl of a stand mixer. Give the dough a stir with the dough hook so that the flour won't fly around when you start the mixer.

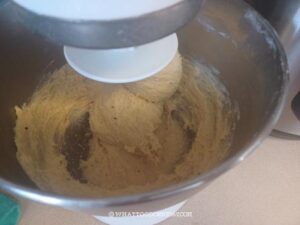
- Knead on medium speed (I use speed 4) until it forms a mass. You may need to scrape the sides of the bowl halfway through kneading.


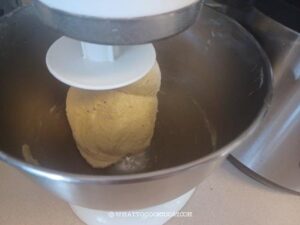
- Continue to knead until the dough wraps around the hook and clear the sides of the bowl. The dough is soft, elastic, and slightly sticky to the touch

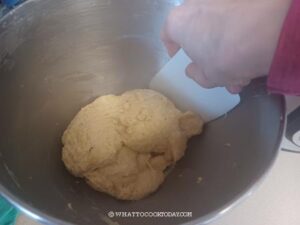
- Lightly oil your hands and remove the dough from the bowl. Gently stretch the dough and fold it over itself a few times to round up a dough ball. Place this large dough ball into the prepared baking pan

Proof the dough:
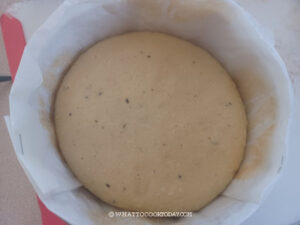
- I place the pan inside the oven cover with a towel or cling wrap. You can use your oven breadproof function if you have one. If you there isn't one, you can just turn on the oven light to provide some "warmth" to proof the dough. Let the dough proof until the top is dome and level with the top rim of the pan, this may take about 2 hours or so

- Start preheating the oven 10 minutes before the end of the proofing. Place an oven-proof pan, filled up the pan halfway with water, one rack below the middle rack where you will bake the bread later. Let the pan with water preheat with the oven to 400 F (200 C)
- Place the nicely proofed dough inside the oven, middle rack and quickly close the oven door. Reduce the temperature to 350 F (180 C) and bake for 40 minutes or until the top is golden brown and a skewer inserted into the middle of the bread should come out clean. If you have instant-read thermometer, it should be 190 F (88 C)
Cooling:
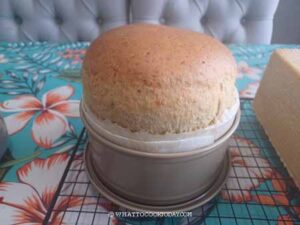
- Remove the bread from the oven and place on top of the cooling rack. Let the bread cool down inside the pan completely. Do not try to remove the bread from the pan while it's still warm. The bread sure has grown A LOT during baking! LOL!

To serve:
- The bread is best served on the same day but it is still good the next day if properly stored.
To store leftovers:
- Make sure the bread is no longer warm. Wrap them in a plastic wrap (or a foil) and keep them in an air-tight container. It helps to keep the bread crumbs soft and moist longer. DO NOT store bread in the refrigerator as the cold air dries out the bread very quickly. They can be kept frozen for up to one month too.
RECOMMEDED TOOLS
Marv’s Recipe Notes
*Nutrition facts are just estimates and calculated using online tools*
What to serve with crescia al formaggio
1. They are perfect to go with some eggs in the morning for breakfast
2. Serve them as a starter for Easter lunch
3. Serve them with any soup or stew
4. Serve them with cured meat, cheeses, and wine
5. I even cut them into small cubes and make croutons with them ( so good!)
Did you make this crescia al formaggio recipe?
I love it when you guys snap a photo and tag it to show me what you’ve made. Simply tag me @WhatToCookToday #WhatToCookToday on Instagram and I’ll be sure to stop by and take a peek for real!

