This post may contain affiliate links. Please read our disclosure policy.
Learn how to make this popular honey wheat bushman bread made famous by the Outback Steakhouse. It’s a no-knead bread that you can easily prepare at home.

If you have been to the Outback Steakhouse, you know the iconic dark color honey wheat rolls that the restaurant serves before they bring your food. Honestly, I’m already full from just eating the bread LOL! But anyway, this no-knead honey wheat bushman bread is inspired by it. The best part it, I don’t need to go to the restaurant for the bread!
Why you’ll love this recipe
1. No-knead
This bread is really easy to make. I can’t say it’s the exact copycat, but I should say it’s pretty close. I kinda make it my own. Everybody seems to have his/her own version. This is my version, making it a no-knead.
2. We love the texture and flavor
The result is a very soft hearty bread with a nice deep flavor from the whole wheat, honey, and molasses. I don’t add any food coloring to the bread to make the color darker. I use cocoa powder and the molasses also contributes to the darker color.
No-Knead Honey Wheat Bushman Bread (Outback Steakhouse-inspired)
Ingredients
Coffee and cocoa liquid:
- 30 g hot water
- 2 tsp instant coffee
- 6 g cocoa powder
For the dough:
- 250 g bread flour (12% protein content)
- 150 g whole wheat flour
- 7 g instant yeast
- 8 g fine sea salt
- 60 g honey
- 20 g unsulfured molasses
- 30 g oil
- 200 g water plus more as needed
For dusting:
- Cornmeal
Honey butter: (optional)
- 60 g salted butter softened
- 30 g honey
Instructions
Prepare the coffee & cocoa mixture:
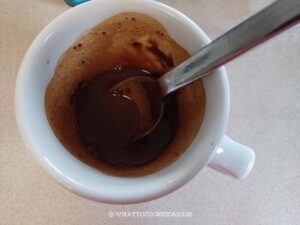
- Dissolve instant coffee and cocoa mixture in the hot water. Set aside to let it cool down to at least lukewarm before adding it to the dough. We don't want to kill the yeast

Prepare the dough:
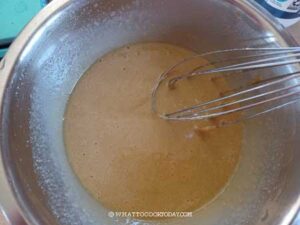
- In a large mixing bowl, add water, yeast, honey, molasses, oil, salt and the coffee mixture (make sure it's not hot anymore). Stir to combine

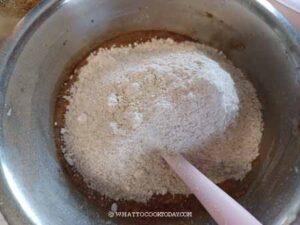
- Add bread flour and whole wheat flour.

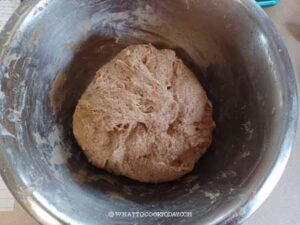
- Use a sturdy spatula to stir to combine until all flour bits are hydrated. If the dough feels dry, drizzle another tablespoon of water and mix again. The dough should be shaggy, moist and sticky to the touch. Scrape the side of the bowl clean with bench scraper or a sturdy spatula. Cover the bowl with a cling wrap and let it rest for 30 minutes

First proofing:
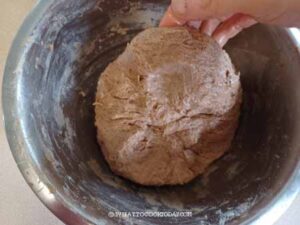
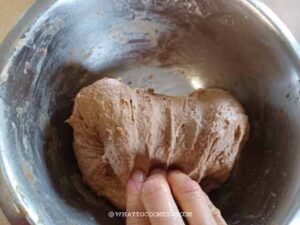
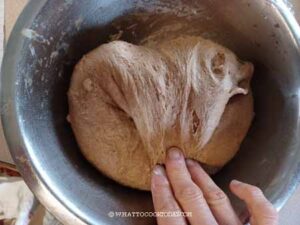
- After 30 minutes, lightly wet your fingers and scoop the dough from the bottom and stretch it up a bit and fold it over.You won't be able to stretch it up much, but that's okay. Do this about 3 more times around the edge.


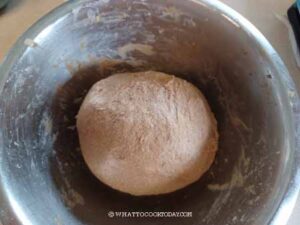
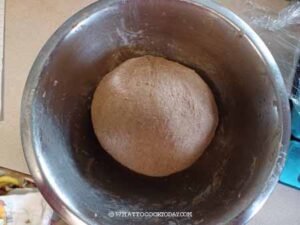
- Round the dough up into a dough ball and place the smooth side up.

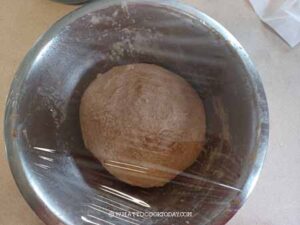
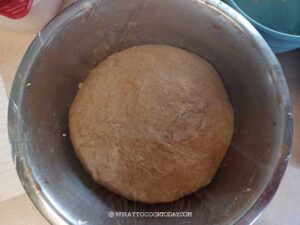
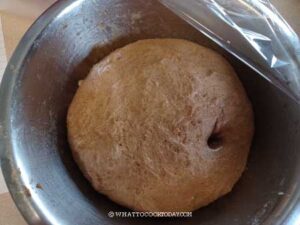
- Cover again and let it continue to proof at a warm place until it's double in volume.


- When you poke on the dough with your finger, the indentation stays and the dough does not collapse

Shaping:
- Deflate the dough by folding the edge towards the center of the dough. Do this a few times around the edges to push out all the gas


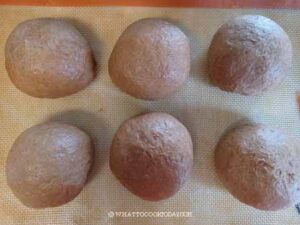
- Divide the dough equally into 6 pieces. If you want larger loaves, you can divide into 2. Round each one into a dough ball. Cover and let them rest for 5 minutes to relax before shaping them

- Line a large baking sheet with parchment paper
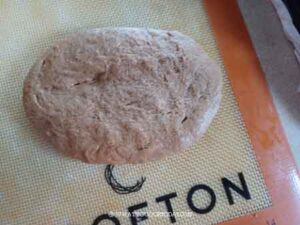
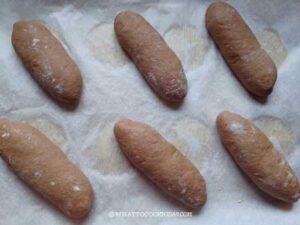
- Work with one piece of dough at a time and keep the rest covered. Lightly flour your fingers to prevent sticking. Take one dough and flatten it with your fingers into a rectangular shape.

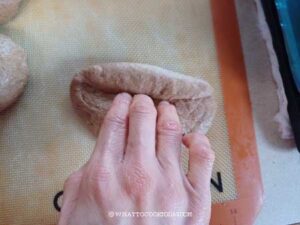
- Fold the dough down and seal and fold again and seal until you reach the end. Pinch the seams together to seal.

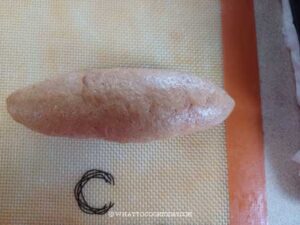
- You just form a mini log shape. Place it on a prepared baking sheet.

- Space them out to allow room to grow during baking. Repeat with the rest of the dough

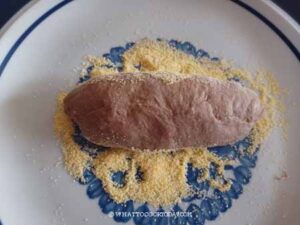
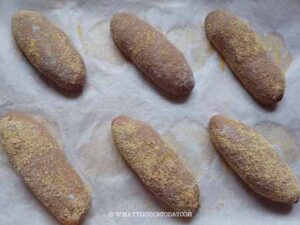
- Spray the dough with some water. You can use a brush to apply some water. Sprinkle with some cornmeal. You can also roll the dough on a cornmeal for more even coverage


Final proofing:
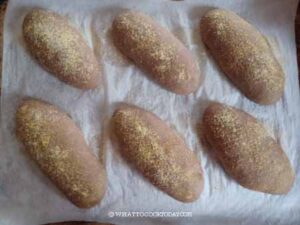
- Let the dough proof again until they are puffy, about 45 minutes to 1 hour at a warm place. When you gently press on the dough, it bounces back very slowly and leave an indentation. The dough is done proofing

- 10 minutes before the end of proofing, preheat the oven to 375 F (190 C) for conventional oven, 350 F (180 C) for convection oven
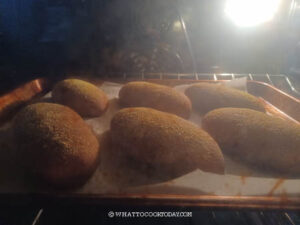
- Place the baking sheet in the middle rack and spray with some water (it helps the bread to rise) and let them bake for 15-18 minutes for small loaves and about 30 minutes for large loaves, or until internal temperature is 190 F (88 C)

Cool down:
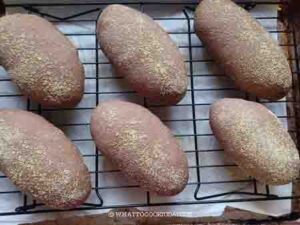
- Let the bread cool down on the cooling rack. The bread can be served warmed or room temperature with some honey butter or anything you like, or to accompany your meal

Prepare honey butter:
- Simply mix the soft butter (but not melting) with the honey until well-combined. If you don't have salted butter, you can use unsalted butter and add a pinch of salt
RECOMMEDED TOOLS
*Nutrition facts are just estimates and calculated using online tools*

Ingredients and substitutions
1. Bread flour
I use bread flour with about 12% protein content. I prefer to use bread flour instead of all-purpose flour because it gives fluffier and slightly chewy texture
2. Whole wheat flour
Whole wheat flour adds a bit of nuttiness that I like. You can also substitute with other whole grain flour such as dark or medium-dark rye or whole spelt flour. The color may not be as brown
3. Instant yeast
I use SAF instant yeast. You can use active dry yeast too. Just be sure to bloom it in a bit of warm water and small pinch of sugar until it’s foamy
4. Instant coffee
The instant coffee gives a nice aroma. It doesn’t make the bread smells like coffee, don’t worry!
5. Cocoa powder
Unsweetened cocoa powder is added for flavor and also for color
6. Honey
For vegan option, you can use agave nectar
7. Unsulfured molasses
It adds color and that nice flavor in the bread. I highly recommend not to omit it if possible. If you can’t get to it, you can use dark brown sugar. It’s not exactly the same, but it’s the closest substitution
8. Oil
I use avocado oil. Feel free to use any neutral-tasting oil
9. Salt
I use fine sea salt

How to store
1. Let the bread cool down completely
2. Keep the bread in an air-tight container for 2-3 days.
3. If it’s humid where you are, let the bread cool down completely and then wrap each in a cling wrap and then put them inside a freezer bag, push all the air out and seal the bag. They can be kept frozen for one month
4. Simply thaw them at room temperature before reheating
How to reheat
1. To reheat in the oven: Mist the bread with a bit of water and then wrap the bread loosely with a foil and reheat in a preheated oven at 350 F (180 C) for 8-10 minutes or until warm through
2. To reheat in the air fryer: Mist the bread with a bit of water and then wrap the bread loosely with a foil and reheat in a preheated oven at 330 F (165 C) for 5 minutes or until warm through
Did you make this no-knead honey wheat bushman bread recipe?
I love it when you guys snap a photo and tag it to show me what you’ve made. Simply tag me @WhatToCookToday #WhatToCookToday on Instagram and I’ll be sure to stop by and take a peek for real!




2 comments
Hi. I’m dying to try this recipe but would like to make it in a loaf pan. Are there any special instructions other than to shape the dough into a single loaf and place it in a loaf pan for the second rise? Thank you.
Hi Jean, I haven’t tried this myself, but the baking time would definitely change. For this amount of dough, you can probably fit it in 9 x 5 inches loaf pan and bake at 350 F (180 C) conventional, 330 F (165 C) convection for about 30-40 minutes. Just check the internal temperature with instant-read thermometer if you have one, it should be 190 F (88C).