This post may contain affiliate links. Please read our disclosure policy.
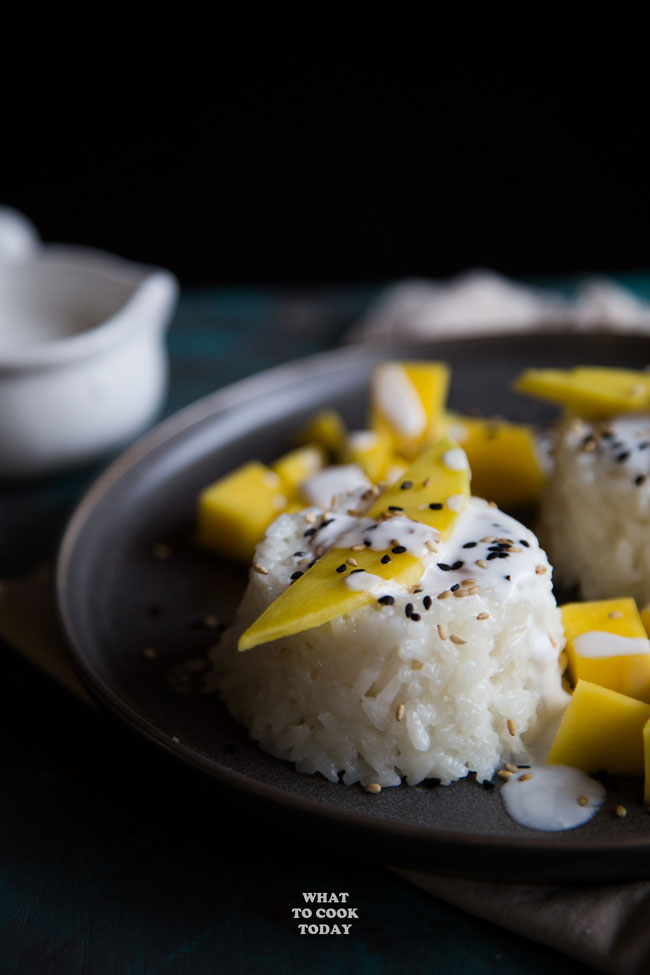
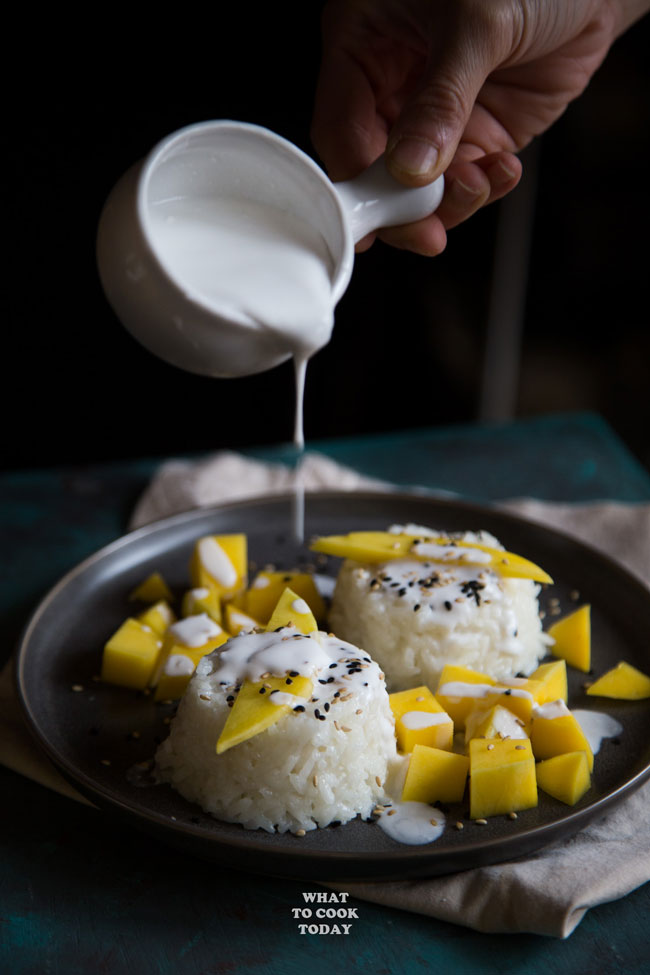
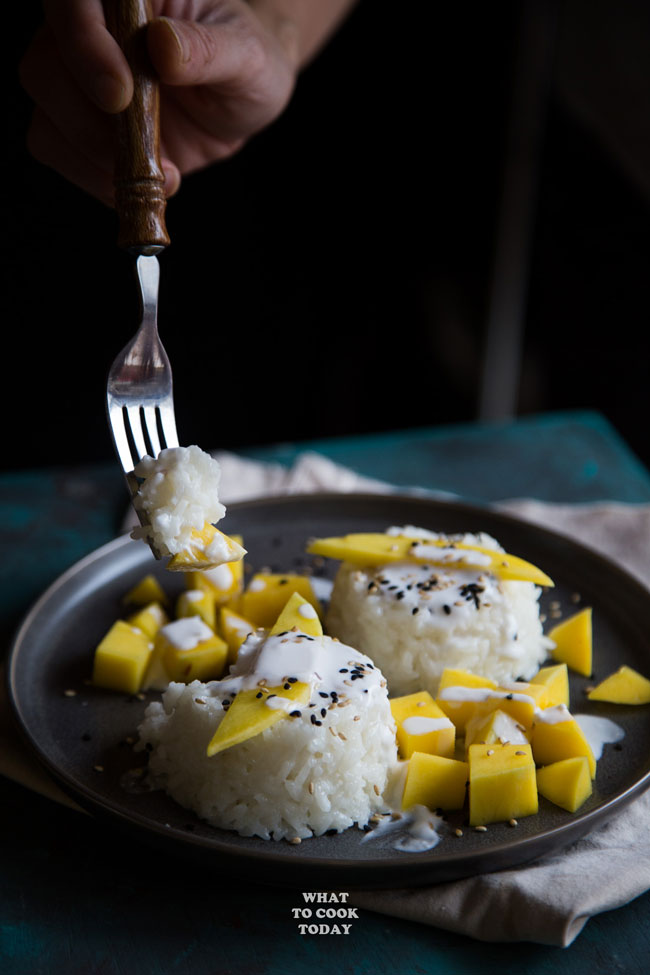
Instant Pot Thai Coconut Mango Sticky Rice (Khao Niao Mamuang)-This popular Thai Coconut Mango Sticky Rice is made with Instant Pot and required no soaking of the rice. Soft and creamy as it should be! Non-instant pot method is also available
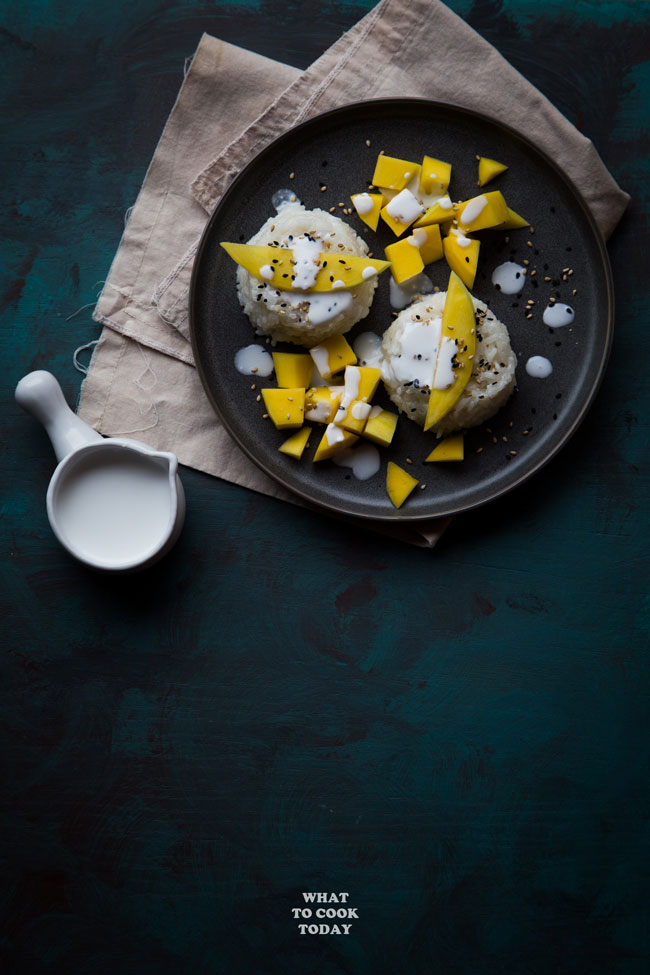
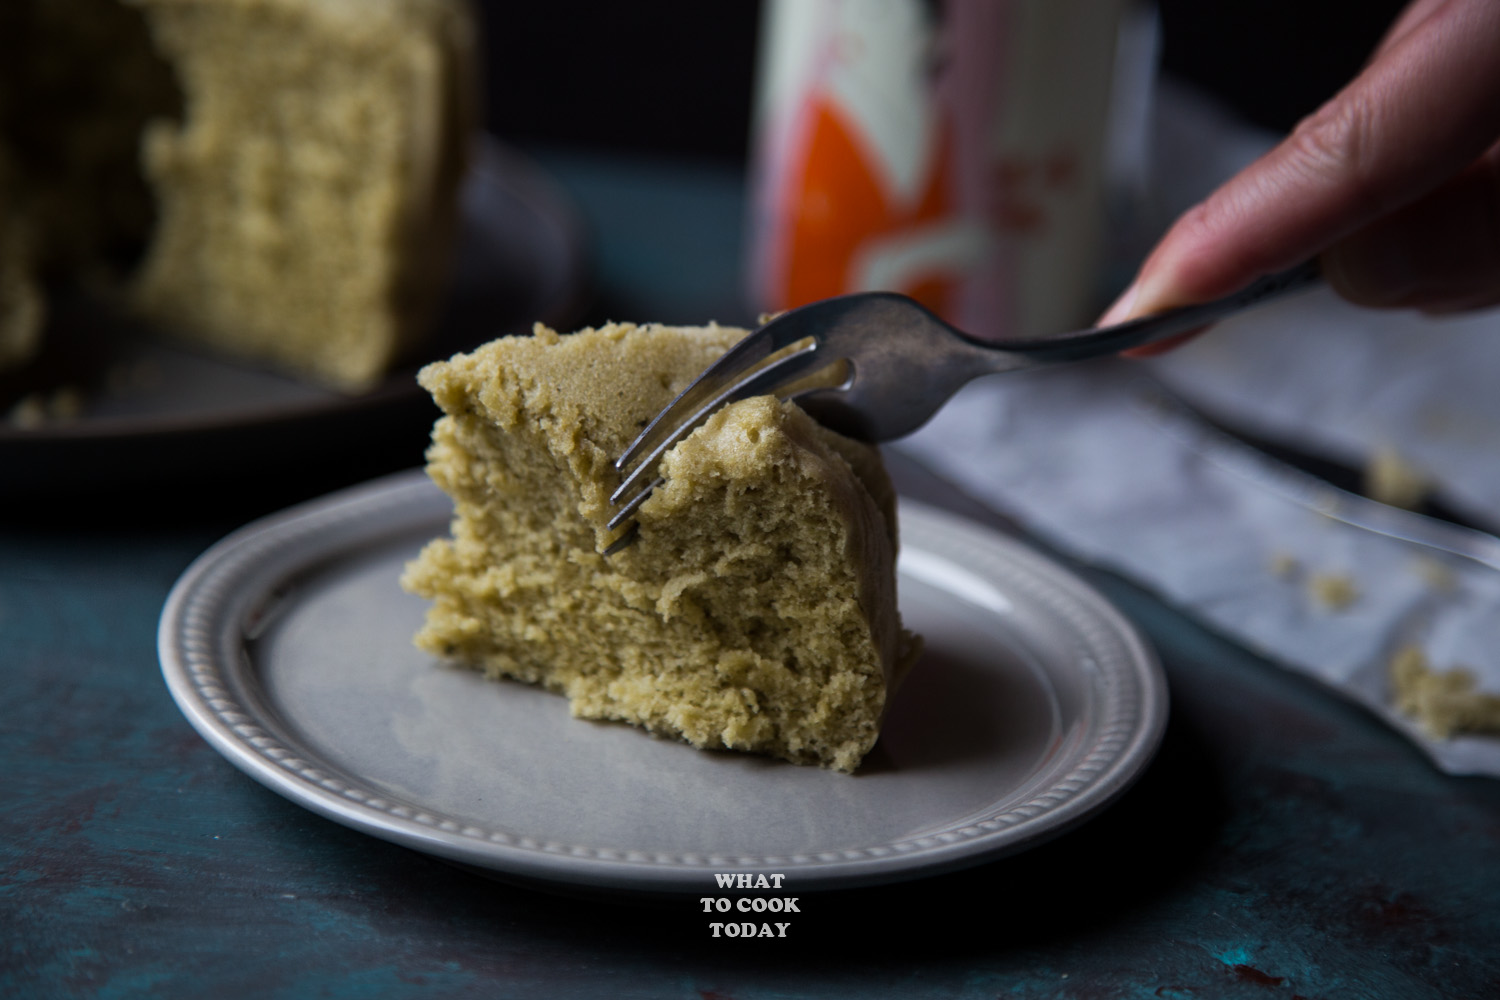
I’ve only owned Instant Pot for 3 days so far as I’m typing this post up and I’ve already cooked quite few things within these 3 days LOL! It’s seriously like an obsession or something! I’m pretty impressed by it so far. I’ve sauteed with it, I’ve steamed with it, I’ve pressure cooked with it. In fact, I made 3 of the Instant Pot Chinese Steamed Matcha Sponge Cake in a day! Crazy!
Anyway, sticky rice is very common in Asian cooking, especially in Southeast Asia where we don’t only use it for savory but also sweet dishes. They are known by many names: Sticky rice, glutinous rice, and sweet rice, but they mean the same thing! And…as you’ve guessed it, there’s always coconut milk involves 😉

White glutinous rice / sticky rice/ sweet rice
This Thai Coconut Mango Sticky Rice (Khao Niao Mamuang) is one of our favorite Southeast Asian desserts! LOVE..this stuff! I usually have to soak the sticky rice in water for at least 4 hours or overnight and then it can be steamed in 20 minutes. But with Instant Pot, I don’t have to soak it and I can steam it on high pressure.
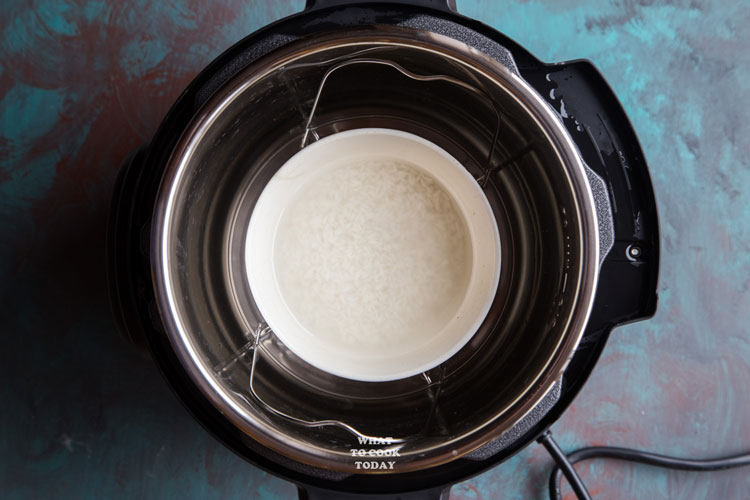
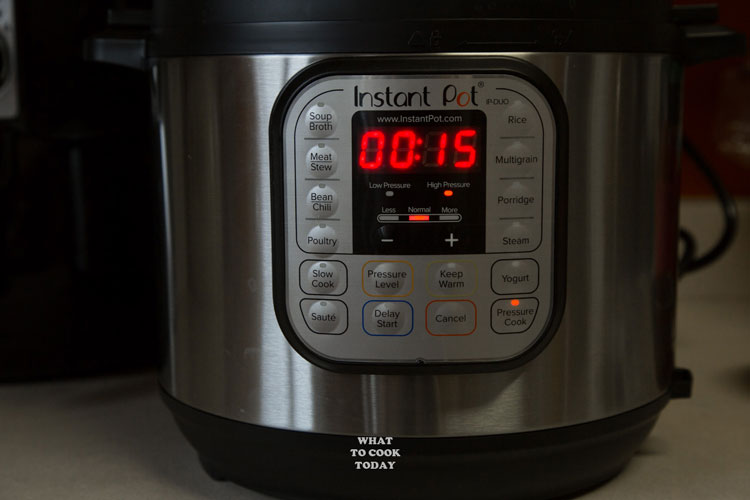
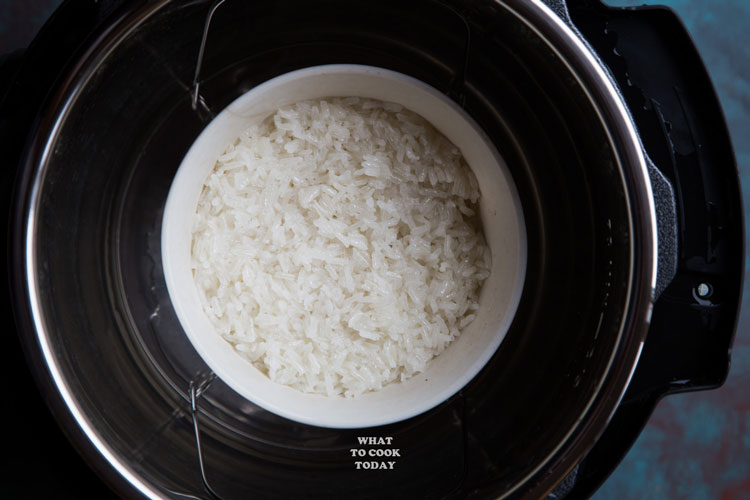
I was a bit skeptical actually, to be honest! I was just experimenting but at the end of the cooking time, I was very pleased with the result. The rice is so sticky and soft like it should to make khao niao mamuang.

Mom thought I was out of my mind when I told her I would try to steam the sticky rice without soaking it first. Without a pressure cooker, definitely, this can’t be done! Well, you can, but it will take you a long time to steam it.
WHY YOU’LL LIKE THIS RECIPE
NO SOAKING! and so I can literally make this without planning ahead.
No foggy windows and condensation dripping down the window glasses. That’s the phenomenon here whenever I steam something for more than 30 minutes using a regular steamer that I set up.
IMPORTANT TIPS
1. When the timer is up, wait for 10 minutes before releasing pressure. This lets the rice absorbs all the liquid and cooked properly
2. After stirring the coconut sauce into the rice, it’s important to let it rest so it can absorb the coconut sauce so the rice will be moist and sticky but not wet
HOW TO STORE LEFTOVER
I like to keep the rice and coconut sauce in separate container in the fridge. They can be kept for up to 4 days max. The rice will harden a little bit after refrigeration. Simply reheat the rice in the microwave in one minute increment until just warm enough for your preference.

*Recipe is written for 6-quart Instant Pot. Cooking time should remain the same for 8-quart size but will take longer to pressurize. For mini duo (3-quart), I recommend to half the recipe and use the same amount of time to cook*
Instant Pot Thai Coconut Mango Sticky Rice (Khao Niao Mamuang)
Ingredients
- 1 cup glutinous rice (not Sushi rice)
- 1 ¼ cups water
- 1 ripe mango
Coconut sauce:
- 1 cup canned coconut milk
- ¼ cup sugar
- ¼ tsp salt
- 1 pandan leaf knotted (optional)
- 2 tsp cornstarch optional - this is to thicken the sauce if you choose to. I didn't do this
Topped with:
- White and/or black sesame seeds optional
Cooking equipment recommended:
Instructions
Cooking the sticky rice:
- Add 2 cups of water in Instant Pot inner pot. Put the trivet in there. Rinse the sticky rice in water briefly. Drain off water. Place the rice in a heat-proof glass or stainless steel bowl. I recommend stainless steel or aluminum as they conduct heat better than glass. Add 1 1/4 cups water to cover the rice. Give it a quick stir and make sure all rice is submerged in water. Place this on top of the trivet. Close the lid, steam release handle to sealing. Press pressure cook and set to high pressure and use -/+ to set the time to 30 minutes
Making the coconut sauce:
- While the sticky rice is cooking, pour 1 cup of the coconut milk in a saucepan, add sugar, salt, and pandan leaves in. Let it gently simmer for about 5 minutes or until the sugar dissolves. Do not boil the coconut milk, it will curdle. Remove the pandan leaves (if using) and use your spoon to squeeze out last few drops of coconut milk from the leaves if any
- If you want the coconut sauce to be thicker, reserve 1/2 cup of the coconut sauce to mix with the rice later. Mix 2 tsp of cornstarch with 2 tsp to make a cornstarch slurry. Pour this into the rest of the 1/2 cup coconut sauce in a pan and keep stirring over medium-low heat until it thickens slightly. I don't do this step but you are welcome to if you want the sauce to be thicker
Pour half of the coconut sauce to cooked sticky rice:
- When the sticky rice is done cooking, I waited for about 10 minutes and make sure that the float valve is down. Then turn the steam handle to venting. Once the steam is all out and stops hissing, open the lid carefully. The sticky rice should be soft and sticky. Remove from Instant Pot and pour half of the coconut sauce on the sticky rice while the rice is still warm and stir to mix. It may seem wet at this point. Cover with aluminum foil and let the rice absorbs the coconut sauce, about 15-20 minutes
Cutting the mango:
- While waiting, peel the mango, find the stone and slice down on both sides of the stone. Cut into small cubes or into slices
Putting them together:
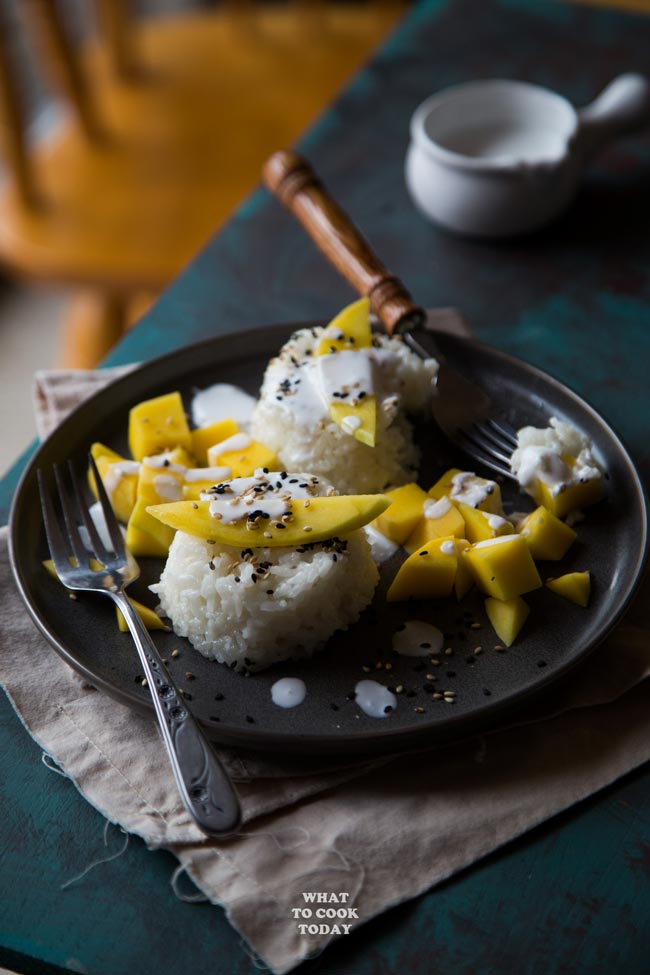
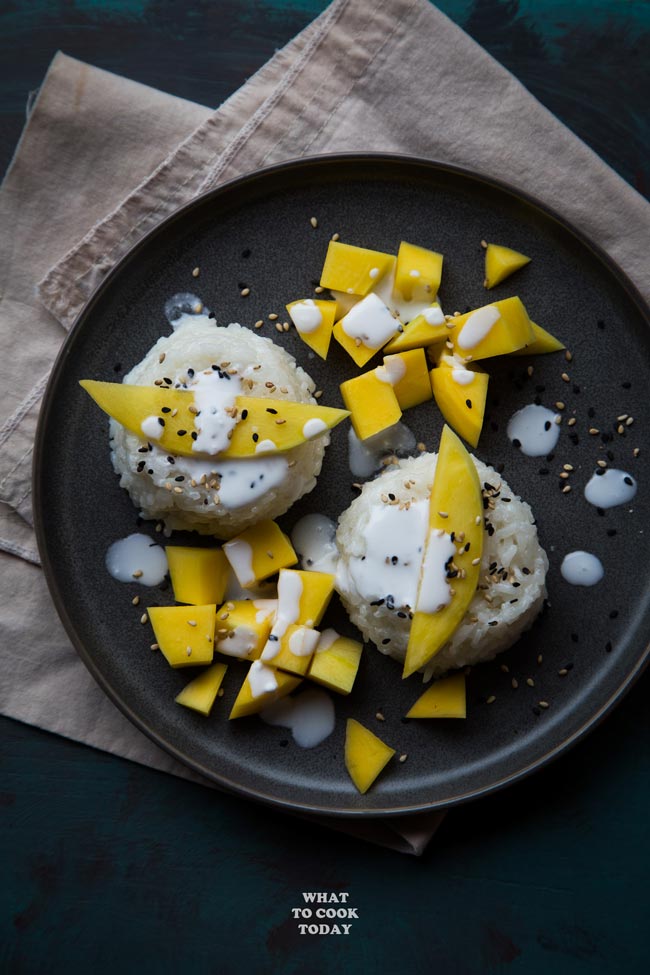
- Serve with cubes or slices of mango, sprinkle with sesame seeds and drizzle with some coconut sauce and reserve some sauce for more drizzling later and serve
RECOMMEDED TOOLS
You might want to check these out too:
INSTANT POT CHINESE STEAMED MATCHA SPONGE CAKE
PRESSURE COOKER PHO GA (VIETNAMESE CHICKEN PHO NOODLE SOUP)


31 comments
Do you have a video? What would you recommend I cover with when colling with coconut milk mix?
Hi Christina, sorry that I don’t have a video for this one. You can cover it with an aluminum foil and let the rice absorbs the coconut milk. I have updated the recipe accordingly.
Hello 🙂
I am so excited and nervous to try this. I just got an instant pot. I have a guest count of 20 tonight and want to serve as dessert. But also work all day and have to pickup the guest of honor. Will it keep if I start the pot before I return ? Also can the instant pot make a batch that big ?
Hi Jenny,
I hope I’m not too late in replying. Yes you can definitely start it before you leave the house. It seems like you will need at least 4 cups of glutinous rice to feed 20 guests roughly. I would increase the cooking time to 40 minutes and then let it release naturally, which means by the time you come back, the pressure should’ve been all released. Just stir in half of the coconut milk sauce to the warm rice and let the rice absorbs it before serving it with the other 1/2 of the sauce. I hope this helps.
Hello! This was sheer perfection! I used all of your ingredients in the exact measurements. Used the trivet, a 7 inch metal bowl, everything. I was so excited how perfect and amazing it turned out. Good job on this!
Hi Julie, ohhh…that’s so good to hear! I’m happy it turns out great for you 🙂 Thank you so much for letting me know 🙂
Hi, this looks great and I’m very excited. Reading through this I see 2 Cups coconut milk listed but only see 1 cup used. I thought it went in the rice after cooking but it says sauce… so 2 cups milk but I only cook 1 and add half cup cooked sauce to the rice and drizzle the other half cup on top mango? Or do I cook up both cups so I can add a cup to the rice and have a cup to drizzle?
Thanks for the recipie,
Janna
Hi Janna,
So sorry for the typo. It should be 1 cup of coconut milk, I forgot to update the amount on ingredient list when I updated the recipe. So, 1 cup of coconut milk that you make into coconut sauce, then pour about 3/4 of the coconut sauce (not milk) it to the rice after cooking and the rest is for you to drizzle on top if you want extra. I hope that makes sense.
I made this tonight (day 3 with the instapot) and it turned out very nicely. I used 1 cup of rice to 1 1/4 cups of water. I also used a single can of coconut milk and reduced the sugar and salt accordingly. Thank you for the great instructions. Very simple and satisfying!
I’m so happy to hear that it turned out great for you. Thank you so much for your feedback 🙂