This post may contain affiliate links. Please read our disclosure policy.
Soft, moist, and fluffy sponge cake is layered with fresh mango cubes and lightly sweetened homemade whipped cream and frosted with more whipped cream is a perfect cake for any occasion. It’s a cake you will enjoy eating because of its light texture and taste.
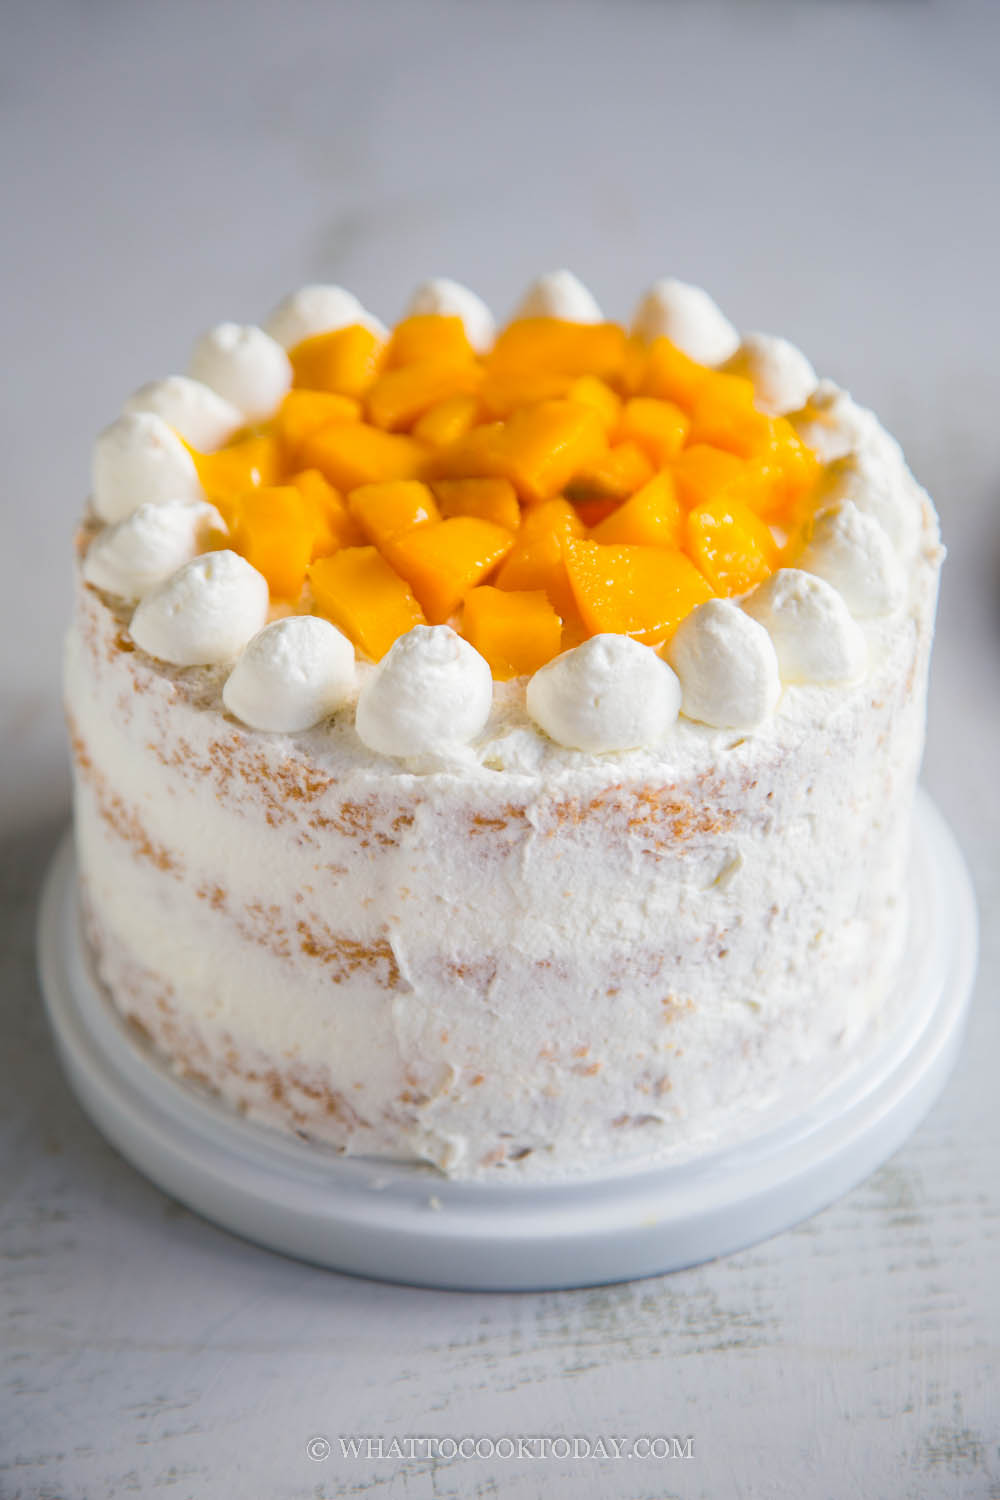
I’m a sucker for soft fluffy sponge cake frosted with lightly sweetened homemade whipped cream. I like homemade whipped cream because I can control the sweetness level. This cake is similar to the Chinese fruit sponge cake I made a while ago. The sponge cake was baked using the egg separation method, however. This version in this post is actually much easier to handle.
How to make mango sponge layer cream cake
1. Bake the cake using this recipe. You can bake on the same day you need it too, but it’s better and less hectic if you prepare it the day before. Just let the cake cools down completely and then wrap it up in a cling wrap to preserve moisture

2. Prepare simple syrup (this is to keep the cake moist): Put the sugar and water in a small saucepan. Boil until the sugar melts and let it cools down before using

3. Whip the heavy cream: Chill the bowl and the whisk in a fridge for about 30 minutes if you have the time. Make sure the heavy cream is chilled in the fridge too.
4. Pour the heavy cream into the bowl. Add icing sugar. Use a whisk attachment to start whipping the cream on medium speed. Whip until very soft peak. It’s easier to frost the cake and it spreads better on the cake too. I used to whip until stiff peak and now I know not to do so. Cover and chill the whipped cream in the fridge

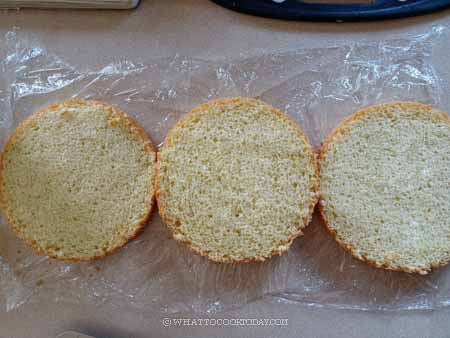
5. Assembling the cake: Slice the cake into three layer horizontally. Tried to slice as evenly as possible using a serrated knife. Leveling off the dome top, if any
6. Lay the first piece of cake on a spinner/turntable (if you have one, I don’t) or on a plate. Brush the surface of the cake slice with the simple syrup. The simple syrup is to help keep the cake moist

7. Spread with some whipped cream frosting
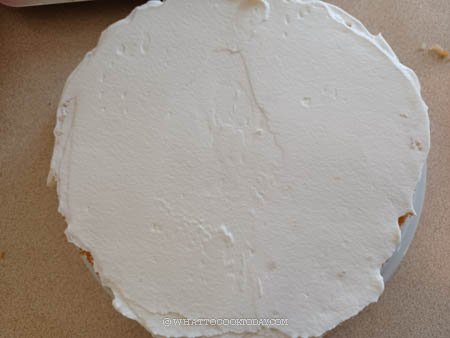
8. Arrange some mango cubes on top.

9. Cover with more whipped cream
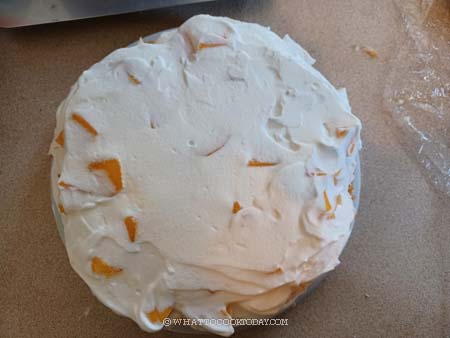
10. Top with another slice cake. Brush the surface of the cake slice with the simple syrup and repeat the same process again, spread whipped cream, arrange mango cubes, cover with more whipped cream
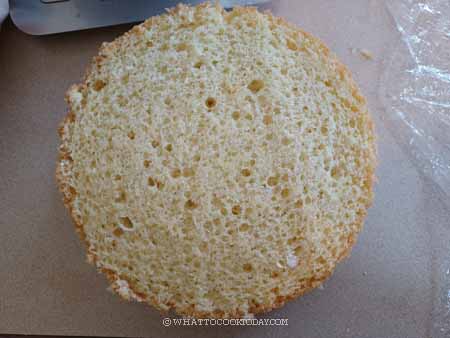
11. Top with the last slice of cake. Brush with simple syrup again. Cover with whipped cream frosting on top

12. Frost the side. I’m going for a semi-naked look, so I didn’t frost the side all entirely. Use an offset spatula or palette knife to tidy things up

13. Transfer some of the whipped cream into a piping bag fitted with a nozzle of your choice. Pipe some pattern around the edge of the cake.

14. Chill the cake for at least 3-4 hours or overnight to let the cream set and hardened. Just before serving the cake, finish off decorating by arranging more mango chunks on top.

I actually forgot to put a nozzle in my piping bag LOL! But, it still turned out quite presentable (I think!). I feel like the semi-naked style of frosting it’s very forgiving for a novice like me. It looks unfinished but in a more “fashionable” way if I may put it that way.

Tips for success
1. Don’t do everything on the same day. Bake the cake the day or a few days before. They can be kept at room temperature for up to 3 days. For longer storage, the cake freezes well too. I just wrap it in a double layer of cling wrap and then put it inside the freezer bag and you can keep it this way for up to one month
2. Don’t skip the simple syrup. I know it’s an extra step, but an easy one, and it really helps to keep the cake moist
3. Whip the heavy cream until just a soft peak. It’s so much easier to decorate and to frost the cake when the whipped cream is not whipped to stiff peak consistency
How to store frosted cake like this
1. Put the cake in the freezer until the frosting is frozen, about 1 hour or so
2. Then wrap tightly in a cling wrap, I would do 2-3 layers. It can be kept frozen like this for one month. I won’t do three months for the best result
3. You can also put it in a cake box or container. Cover the box/container with cling wrap and then put it in the freezer
4. Simply thaw the frosted cake loosely covered at room temperature a few hours before serving
This cake really looks harder than it actually is. It looks fancy enough for any celebration and it does not require an advanced level for cake decorating. I have minimal experience when it comes to cake decorating. I think this one turned out pretty decent.
Did you make this mango sponge layer cream recipe?
I love it when you guys snap a photo and tag to show me what you’ve made 🙂 Simply tag me @WhatToCookToday #WhatToCookToday on Instagram and I’ll be sure to stop by and take a peek for real!
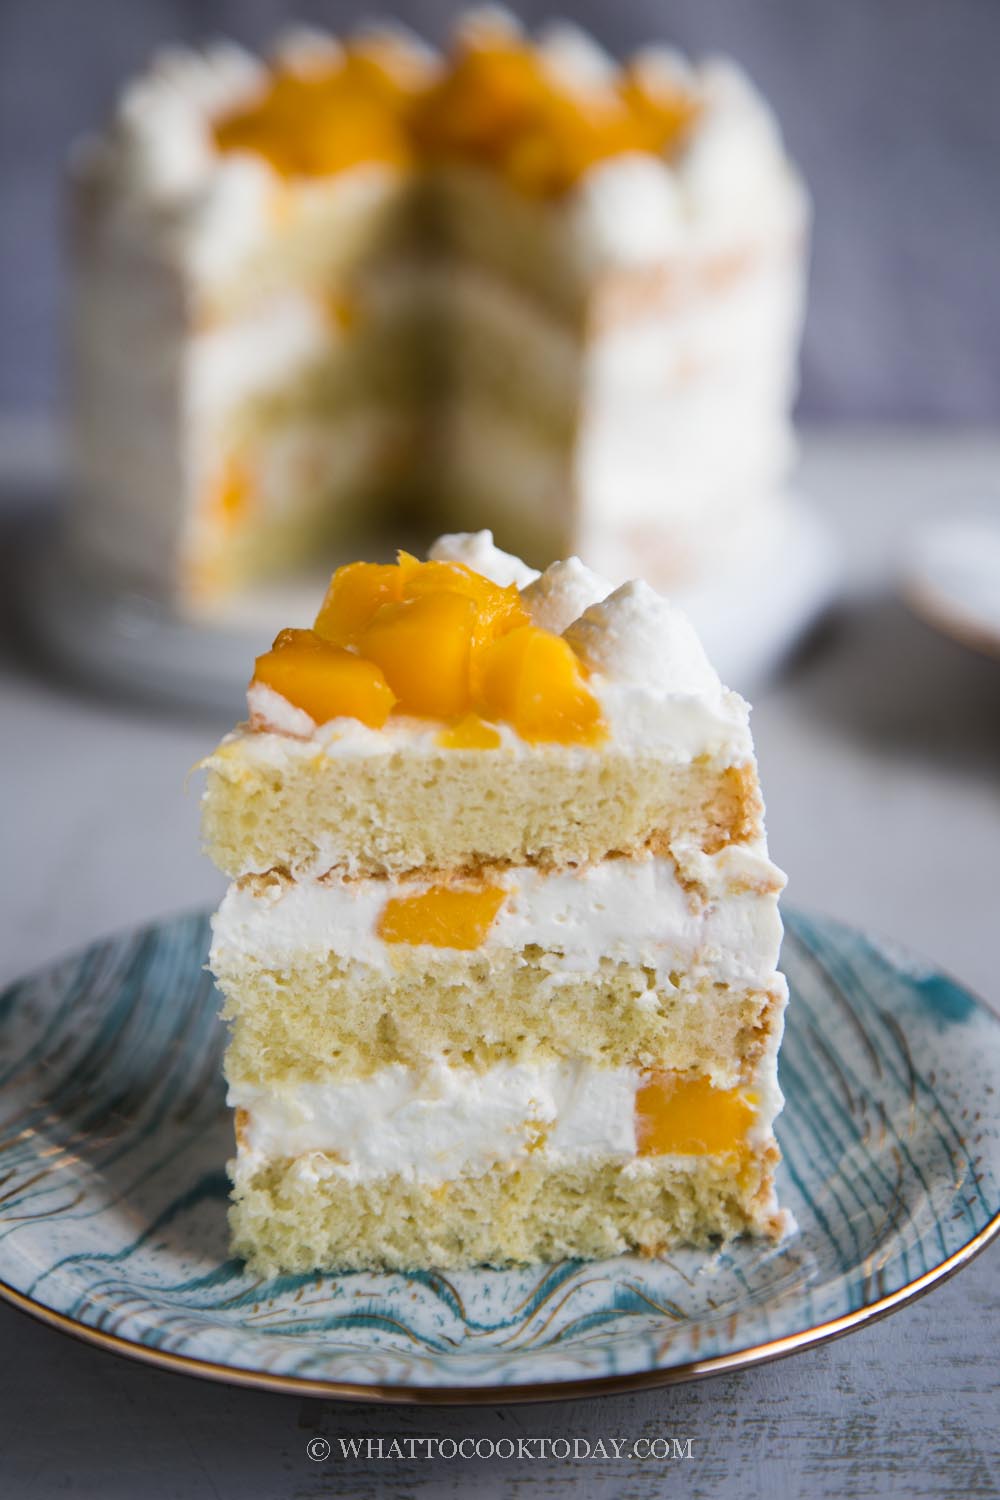
You may also like this Chinese Fruit Sponge Cake
How To Make Mango Sponge Layer Cream Cake
Ingredients
- 1 recipe basic genoise sponge cake
Simple syrup:
- 50 gr granulated sugar
- 100 ml water
Whipped cream:
- 500 gr heavy whipping cream
- 3 Tbsp powdered sugar
- 1 Tbsp cornstarch
- 1 tsp vanilla extract
Mango chunks:
- 350 gr ripen mango
Instructions
Bake the cake the day before:
- Bake the cake using this recipe. You can bake on the same day you need it too, but it's better and less hectic if you prepare it the day before. Just let the cake cools down completely and wrap it up in a cling wrap to preserve moisture
Prepare a simple syrup:
- Put the sugar and water in a small saucepan. Boil until the sugar melts and let it cools down before using
Whip the heavy cream:
- Chill the bowl and the whisk in a fridge for about 15 minutes if you have the time. Make sure the heavy cream is chilled in the fridge too. Pour the heavy cream, powdered sugar, cornstarch, and vanilla extract into a mixing bowl of a standmixer. Use a whisk attachment to start whipping the cream on medium speed until it's creamy and firm. It can hold its peak. Do not overwhip the cream because the texture will be grainy Cover and chill the whipped cream in the fridge
Assembling the cake:
- Slice the cake into three layer horizontally. Tried to slice as evenly as possible using a serrated knife
- Lay the first piece of cake on a spinner/turntable (if you have one, I don't) or on a serving plate. Brush the surface of the cake slice with the simple syrup. The simple syrup helps to keep the cake moist. Spread with some whipped cream frosting. Arrange some mango cubes on top. Cover with more whipped cream
- Top with another slice cake. Brush the surface of the cake slices with the simple syrup and repeat the same process again, spread whipped cream, arrange mango cubes, cover with more whipped cream
- Top with the last slice of cake. Brush with simple syrup again. Cover with whipped cream frosting on top and also frost the side. I'm going for a semi-naked look, so I didn't frost the side all entirely. Use an offset spatula to tidy things up. Transfer some of the whipped cream into a piping bag fitted with a nozzle of your choice. Pipe some pattern around the edge of the cake.
- Chill the cake for at least 3-4 hours or overnight for the best result
- Just before serving the cake, finish off decorating by arranging more mango chunks on top.


2 comments
Why do we need to brush the syrup?
It’s to keep the cake moist.