This post may contain affiliate links. Please read our disclosure policy.
Light, airy, and rich honey cheesecake decorated with a homemade chocolate honeycomb cake topper and bees are simply so adorable.

I don’t consider myself a good cake maker. I don’t have the patience (though getting better!) and I’m just not so good at those tiny details (as you can see in the result ha..ha.). The cake looks presentable as long as I don’t zoom too close 😉 BUT, I love to make cakes regardless! I made this no-bake chocolate honeycomb cheesecake sometime last year and I have almost forgotten to share. It looks more complicated than it actually was. I know I always say that, but it’s true! When I saw this video, I knew immediately that I wanted to make this cake for my kids!
The cheesecake itself is pretty straightforward to make. The chocolate honeycomb is easy to make too using the bubble wrap hack and melted white chocolate! what a brilliant idea! If you ever want to impress someone, well, give this a try! I had so much fun making this cake though. The look on my kids’ faces when they saw the cake was priceless! 🙂

How to make no-bake honey mousse cake with honeycomb topper
1. Process the crackers/biscuits into fine crumbs by using a food processor or manually crush them by putting them in a zipper plastic bag, push all the air out, seal the bag and use a rolling pin to crush them finely. Mix with the melted butter (no longer warm) and mix until the texture resembles a wet sand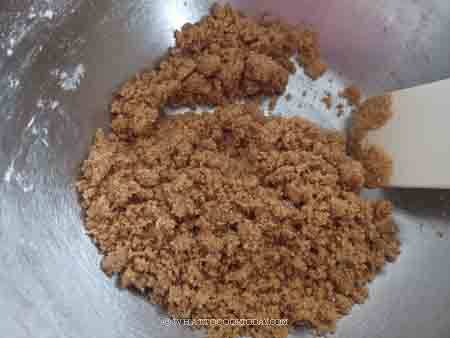
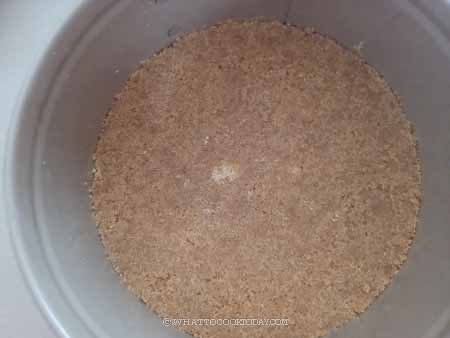
2. I use a 6-inch springform pan about 3 inches high and line the base with a parchment paper. You can also use a 6-inch cake ring, with a parchment paper at the bottom, on top of a baking sheet. Press the crumb mixture onto the base firmly. Put in the fridge to let it hardened while you prepare the filling
3. Combine gelatin powder with 50 grams of water. Let it sit for 10 minutes to soften and bloom. If you use gelatin sheets/leaf, do the same. Soak in water for 10 minutes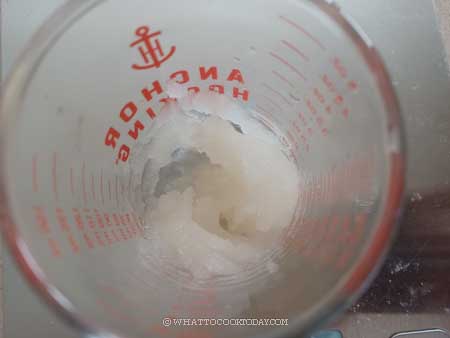
4. Put egg yolk, honey, mascarpone cheese, lemon juice in a heat-proof bowl that can sit on top of a saucepan. We are going to set up a double boiler. Fill up the saucepan with about 1-2 inches of water, make sure the bottom of the bowl won’t touch the water. Bring the water to a simmer over low-medium heat. Set the bowl on top and keep whisking until the cheese and sugar melt. Add the bloomed gelatin and keep stirring until dissolves. Remove from the heat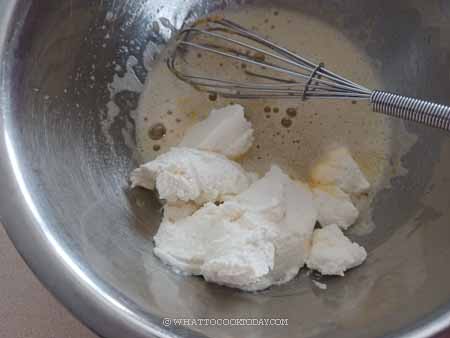

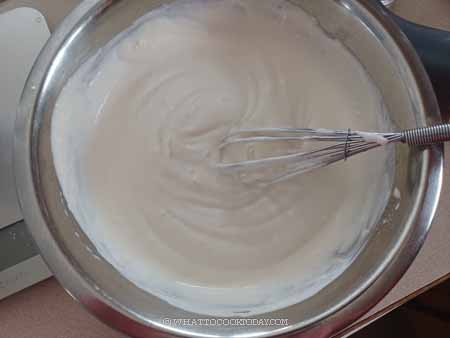
5. Pour heavy whipping cream into a bowl and use a whisk or hand mixer to whip until about 60% thick, which is still a very soft and creamy consistency. It barely holds the peak. Don’t whip until stiff. Add the whipped cream into the cheese mixture and whisk to combine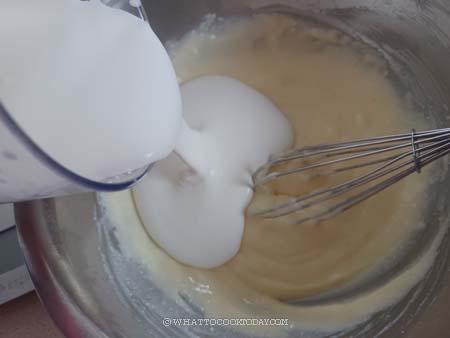
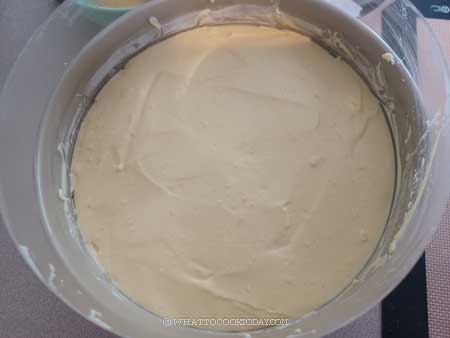
6. Pour about 400 grams of the cheese mixture into the cake pan and chill for 30 minutes in the fridge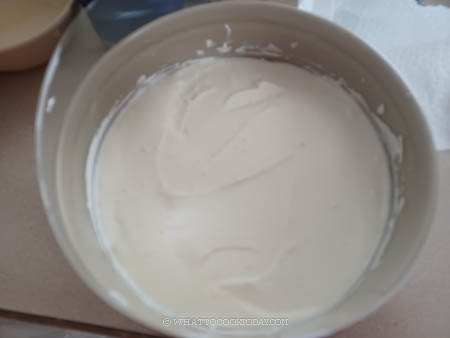
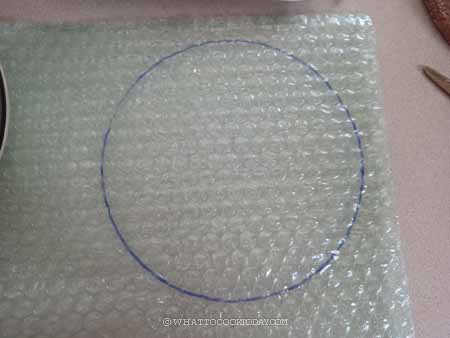
7. Cut out a bubble wrap, a tiny-bit smaller than 6-inch in diameter. I wash the bubble wrap with a dish soap and wipe it dry before using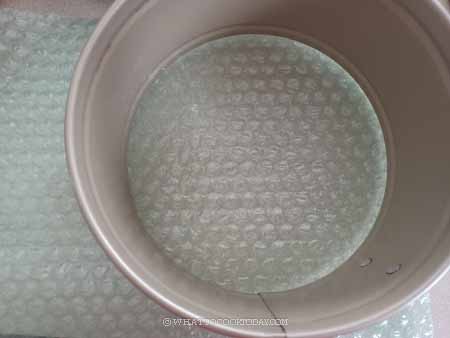
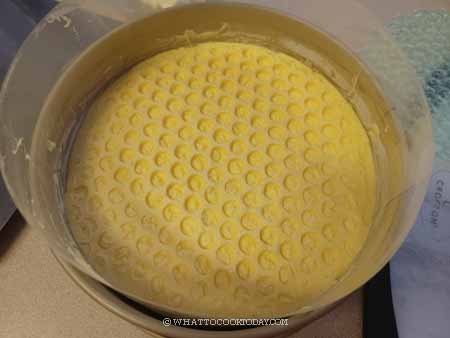
8. Put a drop or two of yellow food coloring into the rest of the cheese mixture. When the white mousse layer has hardened, pour the yellow layer on top. 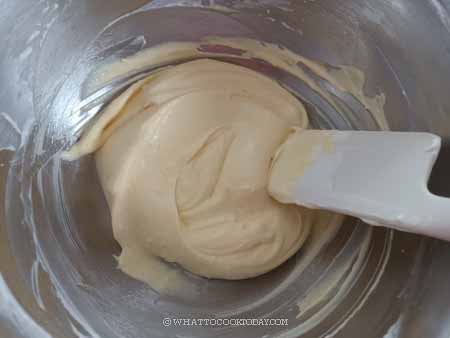
9. Gently put the cut-out bubble wrap, the bubble side facing down, the smooth side facing you. Very gently press it on top of the yellow mousse. Just a gentle touch!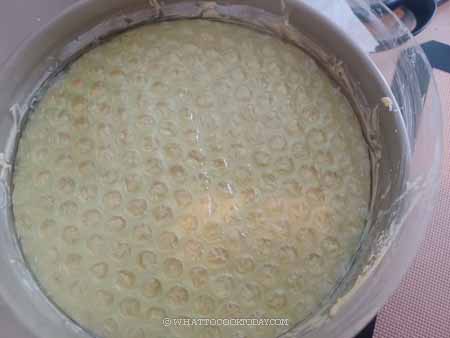
10. Put this in the fridge for at least 3 hours or overnight to let the mousse cake firm up.
11. When ready to decorate, cut out about 20 inches long of bubble wrap, about 4-5 inches tall. Wash this clean with soapy water and wipe really dry. I recommend doing this the day before you plan to decorate. Put white chocolate or candy melts in a heat-proof bowl and microwave on medium of 50% power for 20-30 seconds and stir in between until melts and smooth.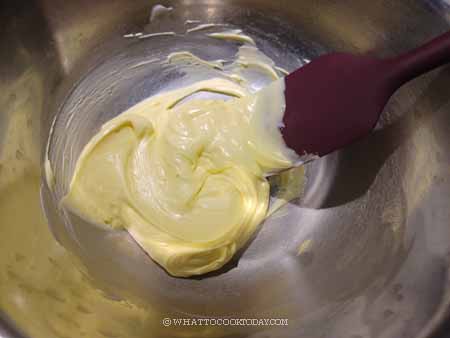
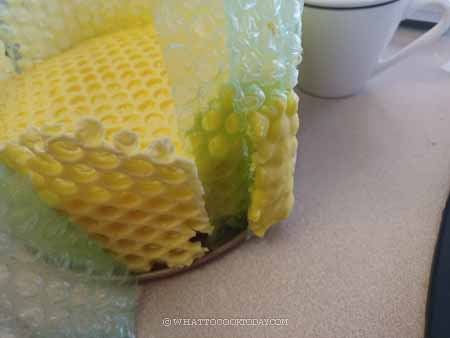
12. Place the bubblewrap on a flat surface, the bubble side up. Pour the candy melts on top of the bubble wrap and use an offset spatula to spread it across the wrap. You don’t want to spread it too thin as it may break easily. If you can see the bubbles after spreading, you spread a bit too thin (like the example I have here, it’s a bit too thin)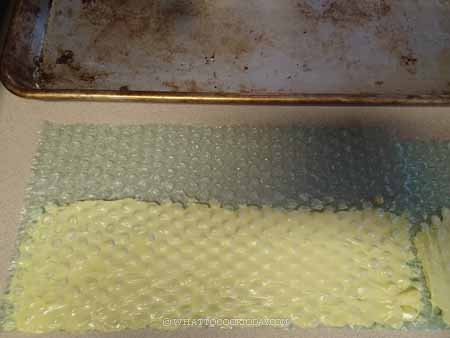
13. Let this sit for about 5 minutes so it won’t be flowy and drip anymore but it shouldn’t set completely hard too. Try to lift the bubble wrap at the corner and see if it has firm up, no longer dripping but still pliable. If it is, it’s ready to be used, if it’s still dripping, let it sit for another minute and check again closely. You don’t want it to set firm completely then you won’t be able to mold the honeycomb around the cake anymore
14. Get the cake out from the fridge and gently peel off the bubble wrap you put on top of the cake earlier. Release the springfoam ring and the acetate sheet (if using)
15. Carefully lift the bubble wrap up and wrap it around the side of the cake. Press it gently so that it sticks to the cake. Put it in the fridge to let the candy melts set firm completely. This shouldn’t take long, about 15-20 minutes or less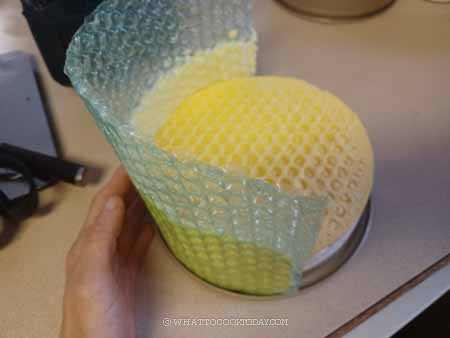
16. Carefully peel the bubble wrap off the cake. Any extra broken honeycomb shards can be used as cake toppers too. Keep the cake chilled in the fridge until ready to serve
17. I use ready-made fondant to make the bees and flowers the day before and let them dry overnight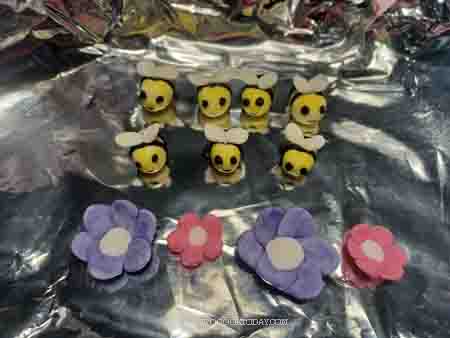
18. Arrange the bees and flowers on the cake as you wish. The fondant won’t survive in the fridge. They will turn soft and sticky. That’s why I only put the bees on the cake on the day I plan to serve it. To add more realistic feature to this, I drizzle some honey on the honeycomb just before serving and there you have it

How to store the cake
The cake needs to be kept in the fridge all the time. It is recommended to keep it in the fridge for no more than 3 days. The fondant may not survive in the fridge. So I have my kids eat the fondant on the same day I decorated and served the cake. I don’t recommend freezing the cake as it changes the texture of the mousse.
Did you make this no-bake chocolate honeycomb mousse cake recipe?
I love it when you guys snap a photo and tag it to show me what you’ve made. Simply tag me @WhatToCookToday #WhatToCookToday on Instagram and I’ll be sure to stop by and take a peek for real!

The mousse cake recipe is adapted from here.
No-Bake Chocolate Honeycomb Honey Cheesecake
Ingredients
For the base:
- 70 g graham crackers or digestive biscuits of your choice
- 35 g melted unsalted butter
For the filling:
- 1 egg yolk
- 65 g honey
- 150 g mascarpone cheese
- 5 g lemon juice
- 10 g unflavored gelatin powder or 6 g gelatin sheets/leaves
- 300 g heavy whipping cream
For chocolate honeycomb:
- 200 g white chocolate chips you can use white or yellow candy melts too
- yellow gel food coloring omit if use yellow candy melts
- Bubble wrappers
For bees:
- white fondant I use store-bought
- food coloring
Instructions
Prepare the base:
- Process the crackers/biscuits into fine crumbs by using a food processor or manually crush them by putting them in a zipper plastic bag, push all the air out, seal the bag and use a rolling pin to crush them finely. Mix with the melted butter (no longer warm) and mix until the texture resembles a wet sand
- I use a 6-inch springform pan about 3 inches high. You can also use a 6-inch cake ring, with a parchment paper at the bottom, on top of a baking sheet
- Press the crumb mixture onto the base firmly. Put in the fridge to let it hardened while you prepare the filling
Prepare the filling:
- Combine gelatin powder with 50 grams of water. Let it sit for 10 minutes to soften and bloom. If you use gelatin sheets/leaf, do the same. Soak in water for 10 minutes
- Put egg yolk, honey, mascarpone cheese, lemon juice in a heat-proof bowl that can sit on top of a saucepan. We are going to set up a double boiler. Fill up the saucepan with about 1-2 inches of water, make sure the bottom of the bowl won't touch the water. Bring the water to a simmer over low-medium heat. Set the bowl on top and keep whisking until the cheese and sugar melts. Add the bloomed gelatin and keep stirring until dissolves. Remove from the heat
Assembling:
- Pour heavy whipping cream into a bowl and use a whisk or hand mixer to whip until about 60% thick, which is still a very soft and creamy consistency. It barely holds the peak. Don't whip until stiff. Add the cheese mixture into the whipped cream and whisk to combine
- Pour about 400 grams of the cheese mixture into the cake pan and chill for 30 minutes in the fridge
- Cut out a bubble wrap, a tiny-bit smaller than 6-inch in diameter. I wash the bubble wrap with a dish soap and wipe it dry before using
- Put a drop or two of yellow food coloring into the rest of the cheese mixture. When the white mousse layer has hardened, pour the yellow layer on top. Gently put the cut-out bubble wrap, the texture side facing down, the smooth side facing you. Very gently press it on top of the yellow mousse. Just a gentle touch!
- Put this in the fridge for at least 3 hours or overnight to let the mousse cake firm up
To decorate:
- Cut out about 20 inches long of bubble wrap, about 4-5 inches tall. I don't have such a long bubble wrap at the time I made this cake, so I just use the size I have and made two separate honey combs to wrap around the cake. Wash this clean with soapy water and wipe really dry. I recommend doing this the day before you plan to decorate
- Put white chocolate in a heat-proof bowl and microwave on medium of 50% power for 20-30 seconds and stir in between until melts and smooth. Add the yellow food gel and stir to combine
- Place the bubble wrap on a flat surface, the bubble side up. Pour the melted chocolate on top of the bubble wrap and use an offset spatula to spread it across the wrap. You don't want to spread it too thin as it may break easily. If you can see the bubbles after spreading, you spread a bit too thin
- Let this sit for about 5 minutes so it won't be flowy and drip anymore but it shouldn't set completely hard too
- Try to lift the bubble wrap at the corner and see if it has firm up, no longer dripping but still pliable. If it is, it's ready to be used, if it's still dripping, let it sit for another minute and check again closely. You don't want it to set firm completely then you won't be able to mold the honeycomb around the cake anymore
- If there is extra wrap hanging after wrapping it around the cake, just leave it. We can break that into large shards for decorating on top later
- Get the cake out from the fridge and gently peel off the bubble wrap you put on top of the cake earlier. Release the springfoam ring and the acetate sheet (if using)
- Carefully lift the bubble wrap up and wrap it around the side of the cake. Press it gently so that it sticks to the cake. Put it in the fridge to let the candy melts set firm completely. This shouldn't take long, about 15-20 minutes or less
- Carefully peel the bubble wrap off the cake. Any extra broken honeycomb shards can be used as cake toppers too. Keep the cake chilled in the fridge until ready to serve
To serve:
- I use ready-made fondant to make the bees and flowers the day before and let them dry overnight
- Arrange the bees and flowers on the cake as you wish. The fondant won't survive in the fridge. They will turn soft and sticky. That's why I only put the bees on the cake on the day I plan to serve it
- To add more realistic feature to this, I drizzle some honey on the honeycomb just before serving and there you have it 🙂
