This post may contain affiliate links. Please read our disclosure policy.
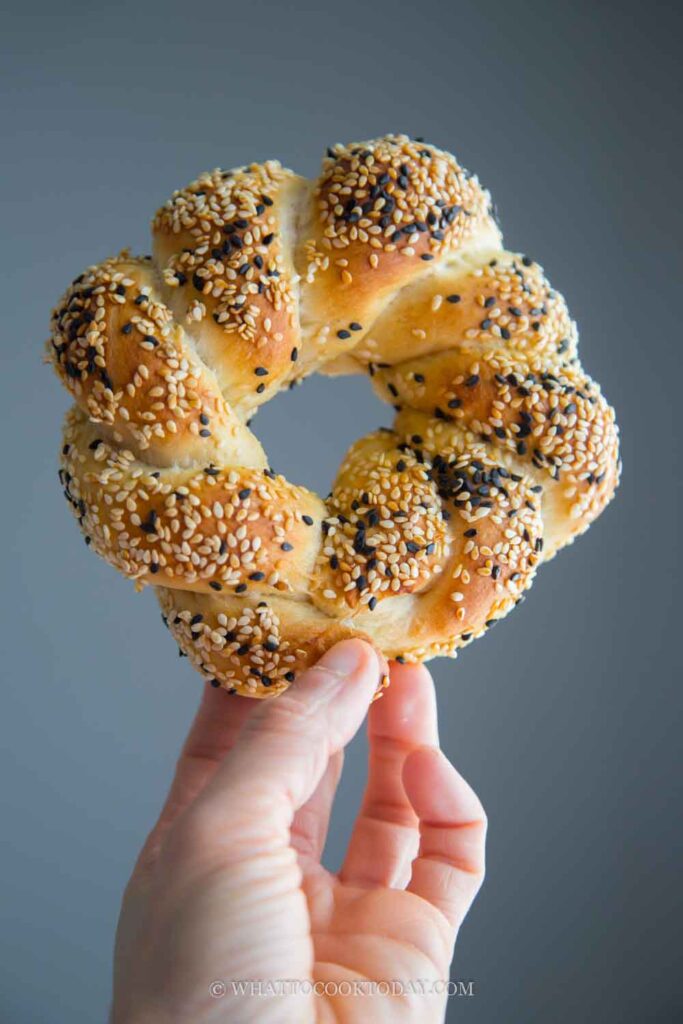
Learn how to make this easy and tastiest Turkish simit bread in your very own kitchen. Turkish simit is crispy on the outside and covered in sesame seeds, while the inside is soft and with just the right amount of chewiness. This combination of textures makes it very satisfying to eat. Both Yeast and Sourdough Simit recipes are included.

Why I love Turkish simit SO MUCH!
I can’t say enough good things about this Turkish simit bread I made the other day. They were so incredible. I don’t think I can settle with just eating regular bagels anymore. Turkish simit is like a bagel in some way but not exactly too. I think it’s way better than American bagels.
New York bagels are praised for their chewiness but I’m never a fan of a chewy bagel. I mean I like chewy stuff (think mochi bread), but never really a fan of chewy bagels. I like a soft and just slightly chewy bagel made with yudane/tangzhong method. The crust is thin and it’s not dense. The inside is soft and with the right amount of chewiness.
Now enter this Turkish simit into my life!! This stuff is so light and airy, crusty on the outside with that sesame seeds crusted all over and the inside is shreddy, soft, and slightly chewy, enough of that bite to satisfy that craving for a soft yet slightly chewy bread! It has that hint of sweetness from the molasses and an amazing nutty aroma from the sesame seeds. It’s so addicting to me! Now I know why there are lots of people who love Turkish simit a lot more than American bagels.

No boiling
Turkish simit is not boiled in a water bath like bagels. Simit is dipped in molasses solution and then coated with sesame seeds. Which I really like because I can be a bit lazy thinking about having to boil bagels lol! The molasses gives simit that very slight hint of sweetness, which is so awesome!
My version of Turkish simit with sponge method or using a sourdough
I don’t like overly chewy bagels, so for this Turkish simit, I wrote the recipe in a way to make sure that it has that right balance of softness and chewiness. I usually like to use tangzhong/yudane too, but this time I decided to do the sponge method. I also tried out the sourdough version using sweet stiff starter. Both methods work beautifully. Both the sponge method and sourdough version help to prolong the shelf life of the bread, it produces a thin crust with a soft, shreddy texture on the inside. It also adds depth of flavor to the bread.
Ingredients and substitutions
1. Bread flour
I use King Arthur Flour’s bread flour, which has 12.7% protein content. You can use all-purpose flour but you need to cut down on the liquid
2. All-purpose flour
I also mix a bit of all-purpose flour into the recipe. You can use all bread flour or all all-purpose flour.
3. Instant yeast
You can also use active dry yeast if that’s what you have
4. Water
I use warm water because it’s winter here. If it’s warm where you are, use room-temperature water
5. Oil
I use grapeseed oil. You can use any oil of your choice
6. Sugar
I only use a bit of sugar here. You can skip it if you prefer not to use any sugar
7. Salt
I don’t recommend omitting salt altogether. I usually use fine sea salt
8. Molasses
Grape molasses is traditionally used for Turkish simit. I didn’t have any and I just use unsulphured molasses
9. Sesame seeds
I use an untoasted black and white sesame seeds combination. Usually, only white sesame seeds are used. It’s up to you what you want to use
How to bake Turkish simit bread
1. Prepare the sponge: Combine all the ingredients for the sponge in a mixing bowl of a stand mixer (if you don’t plan to use it for other things). Use a whisk to whisk for about 2 minutes. The consistency is like a thick batter. 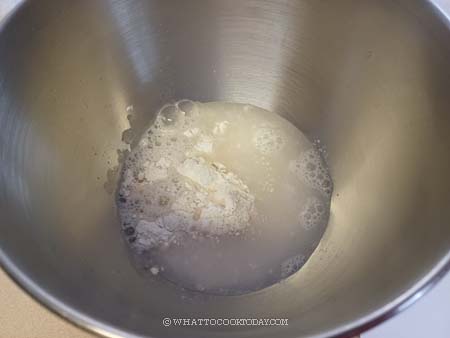

2. Cover tightly and let it ferment until doubles in volume and bubbly at a warm place for at least 1 hour or up to 4 hours if you plan to bake on the same day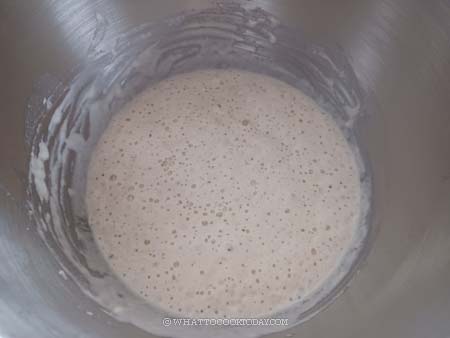
3. Combine all the ingredients for the dough. Add this to the bowl where you have your sponge. Stir the mixture with the dough hook to combine roughly so the dry ingredients won’t start flying when you turn on the machine. 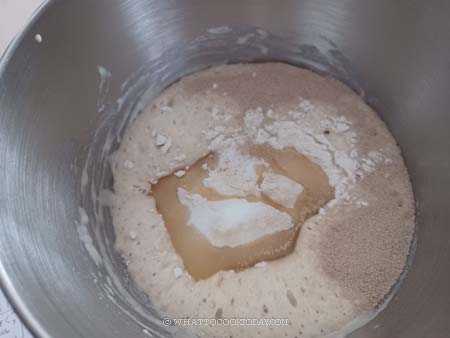
4. Start mixing at speed 2 for about 1 minute and then increase to speed 4 and continue to knead for 7-8 minutes to get a soft dough that will clear the side of the bowl. The dough will be soft and sticky to the touch. There’s no need to reach a windowpane stage here. If the dough feels dry, add a bit more water, teaspoon by teaspoon. If the dough is overly sticky, add a bit more flour, one tablespoon at a time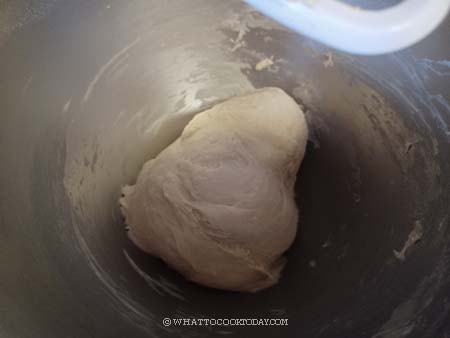
5. Lightly oil your fingers and round it up into a smooth dough. Place the dough in a lightly oiled bowl. 
6. This is optional but I like to put it in a round container, about 1 quart-size so I can monitor when it doubles in volume. Gently press the dough down so it’s flat and fill up the container. I will mark the side of the container with masking tape where the dough would double in volume. This may take about 30 minutes to 45 minutes at a warm place. It may take longer if your room temperature is cooler
7. Once the dough has doubled, transfer it to a work surface. Deflate the air by pressing and folding the dough a few times. Divide into 6 equal portions. Cover and let them relax for 10 minutes so they are easier to roll out later
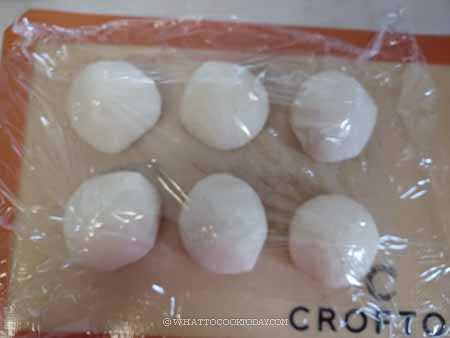
8. Line a large baking sheet with a parchment paper. Work with one dough at a time, without kneading the dough anymore, roll the dough out into about 30 inches (76 cm) long rope. I bent the rope into U shape. Repeat with the rest of the dough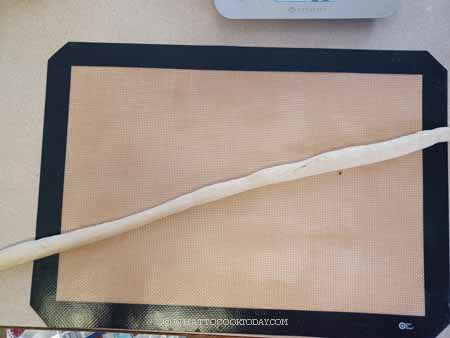
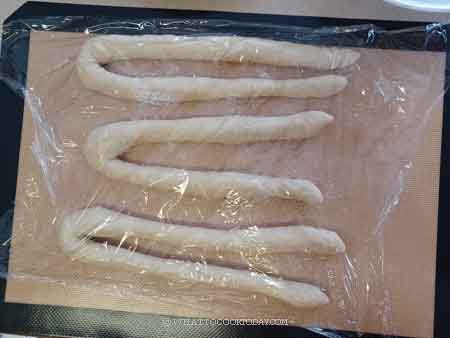
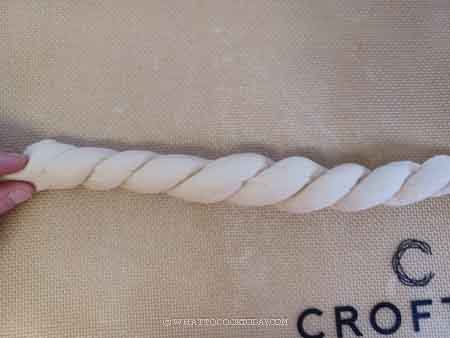
9. Go back to the first rope. Gently roll out the rope a bit longer and then twist the rope to form a spiral and then bring the two ends together to form a ring. Pinch the end tightly to seal so it won’t come undone during final proofing


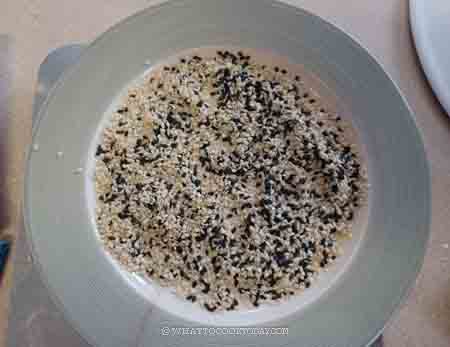
10. Combine molasses with water and whisk to combine. Put the sesame seeds on a shallow plate. 
11. Dip the shaped dough into the molasses on both sides and then put on top of the sesame seeds on both sides. Place on a baking sheet. Repeat with the rest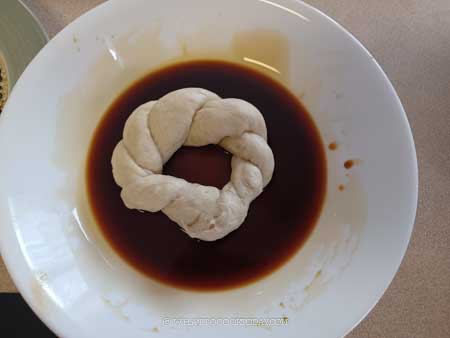

12. Cover with a clean towel and let them proof at a warm place until really puffy, but they won’t double in size. This may take 30-45 minutes depending on the temperature. 10 minutes before the end of proofing time, preheat the oven to 400 F (205 C) for a conventional oven, 380 F (195 C) for a convection oven

13. Place the baking sheet on the middle rack and bake for 18 minutes or until golden brown. I rotate the pan halfway through baking. Let the bread cool down on a cooling rack for 5 minutes and they can be served warm

Turkish Simit Bread (Sponge Method and Sourdough Version)
Ingredients
Sponge:
- 150 g bread flour (12.7% protein content)
- 215 g water see notes
- 3 g instant yeast
Main dough:
- 160 g bread flour (12.7% protein content) plus more as needed
- 20 g all-purpose flour
- 15 g sugar
- 6 g salt
- 4 g instant yeast
- 20 g cooking oil
If using sourdough starter:
Sweet stiff starter: (peak in 4-5 hours)
- 95 g active starter (100% hydration)
- 95 g bread flour (12.7% protein content)
- 30 g water
- 20 g sugar
Main dough:
- 168 g bread flour (12.7% protein content)
- 20 g all-purpose flour
- 15 g sugar
- 6 g salt
- 20 g cooking oil
- 120 g water
Toppings:
- 200 g sesame seeds white and/or black sesame seeds
- 45 g grape molasses or use regular molasses
- 40 g water
Instructions
Prepare the sponge:
- Combine all the ingredients for the sponge in a large bowl. Use a whisk to whisk for about 2 minutes. The consistency is like a thick batter. Cover tightly and let it ferment until doubles in volume at a warm place for at least 1 hour or up to 4 hours if you plan to bake on the same day
- If you want an even greater flavor, once the sponge has doubled, cover it tightly and put it in the fridge for 24 hours (no longer than that)
If using sourdough starter, prepare sweet stiff levain (SSS):
- Mix all ingredients for sweet stiff starter. Cover loosely with plastic wrap or a lid. It takes about 4-5 hours to triple at a warm place
Prepare the dough:
- Combine all the ingredients for the dough. Add the sponge OR sourdough starter (depending on which one you are using). Stir the mixture with the dough hook to combine roughly so the dry ingredients won't start flying when you turn on the machine. Start mixing at speed 2 for about 1 minute and then increase to speed 4 and continue to knead for 7-8 minutes to get a soft dough that will clear the side of the bowl. The dough will be soft and sticky to touch. There's no need to reach a windowpane stage here. If the dough feels dry, add a bit more water, teaspoon by teaspoon. If the dough is overly sticky, add a bit more flour, one tablespoon at a time
- Lightly oil your fingers and round it up into a smooth dough. Place the dough in a lightly oiled bowl. This is optional but I like to put it in a round container, about 1 quart-size so I can monitor when it doubles in volume. Gently press the dough down so it's flat and fill up the container. I will mark the side of the container with masking tape where the dough would double in volume. This may take about 30 minutes to 45 minutes at a warm place. It may take longer if your room temperature is cooler
- For sourdough, bulk proof for 2 hours at a warm place. It doesn't have to double, about 50% rise in volume is fine
Shaping:
- Once the dough has doubled, transfer it to a work surface. Deflate the air by pressing and folding the dough a few times. Divide into 6 equal portions. Cover and let them relax for 10 minutes so they are easier to roll out later
- Line a large baking sheet with a parchment paper
- Work with one dough at a time, without kneading the dough anymore, roll the dough out into about 30 inches (76 cm) long rope. I bent the rope into U shape. Repeat with the rest of the dough
- Go back to the first rope. Gently roll out the rope a bit longer and then twist the rope to form a spiral and then bring the two ends together to form a ring. Pinch the end tightly to seal so it won't come undone during final proofing
Apply toppings:
- Combine molasses with water and whisk to combine. Put the sesame seeds on a shallow plate. Dip the shaped dough into the molasses on both sides and then put on top of the sesame seeds on both sides. Place on a baking sheet. Repeat with the rest
Final proofing:
- Cover with a clean towel and let them proof at a warm place until really puffy, may not necessarily doubles. This may take 30-45 minutes depending on the temperature
- For sourdough, it takes about 2 to 2 1/2 hours to be puffy (at a warm place)
- 10 minutes before the end of proofing time, preheat the oven to 400 F (205 C) for a conventional oven, 380 F (195 C) for a convection oven
Baking:
- Place the baking sheet on the middle rack and bake for 18 minutes or until golden brown. I rotate the pan halfway through baking
Cooling:
- Let the bread cool down on a cooling rack for 5 minutes and they can be served warm
To store leftovers:
- Let the bread cool down completely. Put them inside a zipper bag, push all the air out and seal. They can be kept at room temperature for 3 days. The bread will lose its crispness once it cools down and that's normal. Heat it up or toast it in the toaster and it's like new again
- For longer storage, transfer the already cooled-down bread to a freezer-safe bag and put in the freezer for up to one month. Simply thaw at room temperature and toast before serving
RECOMMEDED TOOLS
Marv’s Recipe Notes
*Nutrition facts are just estimates and calculated using online tools*


4 comments
I made this tonight, but unfortunately the bottoms got slightly burnt. I think it’s because of the molasses, but I should have placed a couple of cookie sheets underneath the one they were on. Also, I made them using the sourdough starter, which makes the whole process too long, so I will try these again using yeast instead and extra cookie sheets underneath to make sure they don’t burn. They were in the middle of the oven too and I turned it halfway. Maybe my oven runs too hot. I might try lowering the heat by 20 degrees next time as well. What I could taste was good, so will definitely not give up yet!
Hi Laila, good idea to double up on the baking pan to prevent the bottom from getting too brown. Light color pans help too. Mine always get too dark when I bake on a dark-colored baking pan (lesson learnt!). Lowering the temperature might help too. I hope the next round turns out better for you!
So I’ve not tried this version but I plan on trying it. I’ve not seen one recipe that mentions using any oil. Fingers crossed it works. I thought about the stone but I live in New York lol space issues. It’s only come out okay once.
I hope it turns out great for you *fingers crossed*. This is one of my favorites!