This post may contain affiliate links. Please read our disclosure policy.
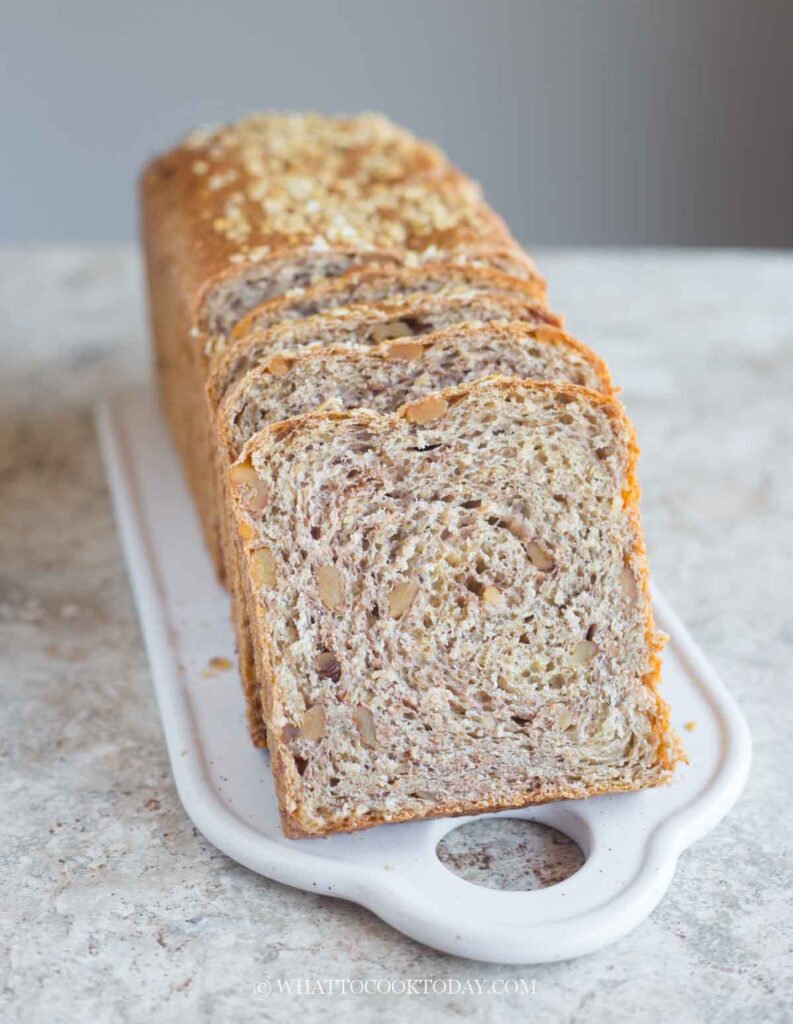
Soft and hearty honey nut oat bread made with whole wheat flour and oats. Perfect for sandwiches, toast, and everyday baking.
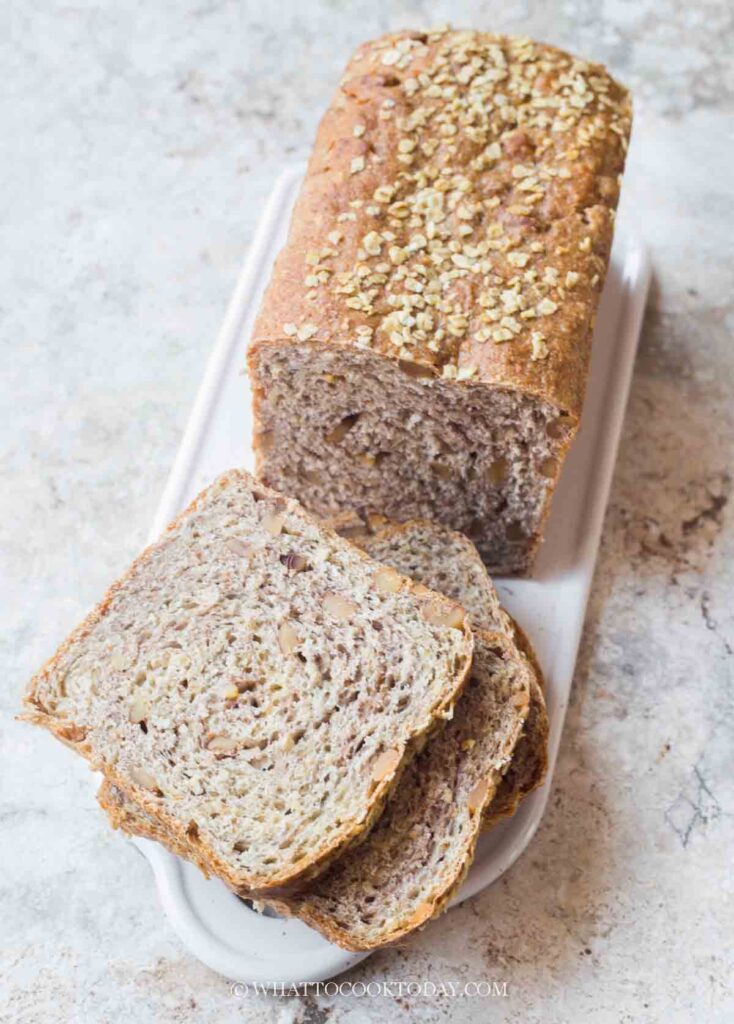
This honey oat nut bread and honey cranberry walnut bread have been on repeat in our kitchen for a while now. It’s one of those loaves that just works for everything. Sandwiches? Yes. Toast with butter in the morning? Absolutely. Even just a warm slice on its own is so good. It has this soft, hearty texture from the oats and whole wheat flour, a subtle sweetness from honey, and little bits of toasted walnuts in every bite that make it extra special. If you’re looking for a dependable everyday bread that feels just a little bit more wholesome and flavorful, this is it.
Why You’ll Like This Recipe
- It has the perfect balance of soft and hearty—great texture without being dense
- The toasted walnuts add a delicious nutty crunch in every bite
- Lightly sweetened with honey, so it’s not overly sweet
- Works for both sweet and savory uses (toast, sandwiches, or just snacking)
- Stays soft and enjoyable for days
Ingredients and Substitutions
- Walnuts – You can swap with pecans, sunflower seeds, or pumpkin seeds if needed
- Bread flour – Gives structure and chew; I don’t recommend using all-purpose flour as the texture may be crumblier.
- Whole wheat flour – Adds a hearty flavor; you can replace it with more bread flour if you prefer a lighter loaf
- Quick-cooking oats – Provides texture; do not use instant oats, but you can pulse rolled oats briefly to mimic quick oats
- Instant yeast – Can be substituted with active dry yeast (you’ll need to bloom it first)
- Salt – Enhances flavor; do not skip
- Honey – Adds sweetness and moisture; maple syrup or brown sugar can be used as alternatives
- Oil – Keeps the bread soft; you can use melted butter or any neutral oil
- Water – Adjust slightly depending on dough consistency
What to Serve This With
- Butter and a drizzle of extra honey for a simple breakfast
- Peanut butter or almond butter for a protein-packed snack
- Avocado and eggs for a savory toast option
- Turkey, ham, or chicken for sandwiches
- Cream cheese and fruit preserves for a slightly sweet treat
Frequently Asked Questions
- Can I use only all-purpose flour?
Yes, but I don’t recommend it as the texture may be crumblier. - Why can’t I use instant oats?
Instant oats are too fine and will affect the texture of the dough. - Can I make this without nuts?
Absolutely. Just leave them out or replace them with seeds. - How do I know when the dough is kneaded enough?
It should be smooth, elastic, and pass the windowpane test. - Can I make this into rolls instead of a loaf?
Yes! Just divide the dough, into 9-12 pieces, and place them in 9 x 9 inch pan and reduce baking time to 25-30 minutes or until they reach an internal temperature of 190 F.
This is one of those breads that quietly becomes a staple without you even realizing it. It’s reliable, flavorful, and versatile enough to fit into any meal of the day. I always find myself coming back to it, especially when I want something homemade that feels just a little bit special without being complicated. If you try it, don’t be surprised if it ends up in your weekly rotation too
Honey Oat Nut Bread
Ingredients
- 113 g walnuts toasted and finely chopped, or use nuts of your choice
- 240 g bread flour
- 85 g whole wheat flour plus more as needed
- 134 g quick-cooking oats NOT instant oats, plus more for topping
- 2 ½ tsp instant yeast
- 1 ¼ tsp salt
- 70 g honey
- 57 g oil
- 240 g water plus more as needed
Instructions
- If the walnuts are not toasted yet, toast them in a dry pan over medium-low heat for 5 minutes or until they are aromatic. Let them cool completely and then cut into fine pieces
Prepare the dough:
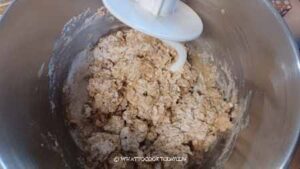
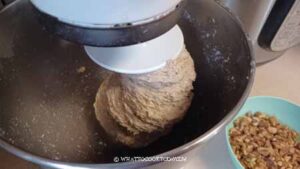
- Place the bread flour, whole wheat flour, quick oats, instant yeast, salt, honey, oil, and water in a mixing bowl of a standmixer. Use a dough hook to roughly stir them to combine.

- Turn the mixer to low and knead for about 2-3 minutes and then increase to speed 4 and knead for another 5 minutes. Scrape the sides of the bowl halfway through the kneading.The dough should come together, but not smooth yet. The dough is kinda sticky and that's normal.
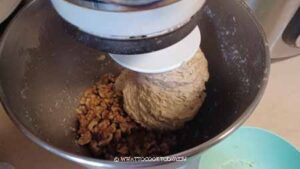
- Then add the chopped walnuts and continue kneading for another 3-5 minutes or until the dough is elastic and clear the sides of the bowl. You may need to reposition the dough and scrape the bottom of the bowl to make sure the nuts are evenly distributed. The dough is still sticky to the touch and that's normal
First proofing:
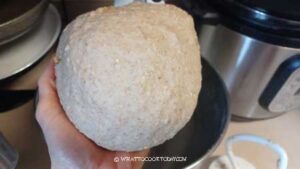
- Grease a large container. Oil your hands lightly and pick up the dough and round it up into a dough ball
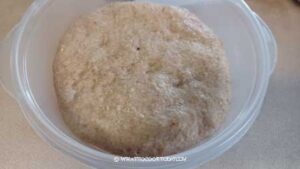
- Put the dough ball in the container and flatten the dough into the container. You can easily tell when the dough has doubled in volume. Keep it covered and proof at a warm place. It may take 1 – 1 1/2 hours, depending on the temperature
Shaping:
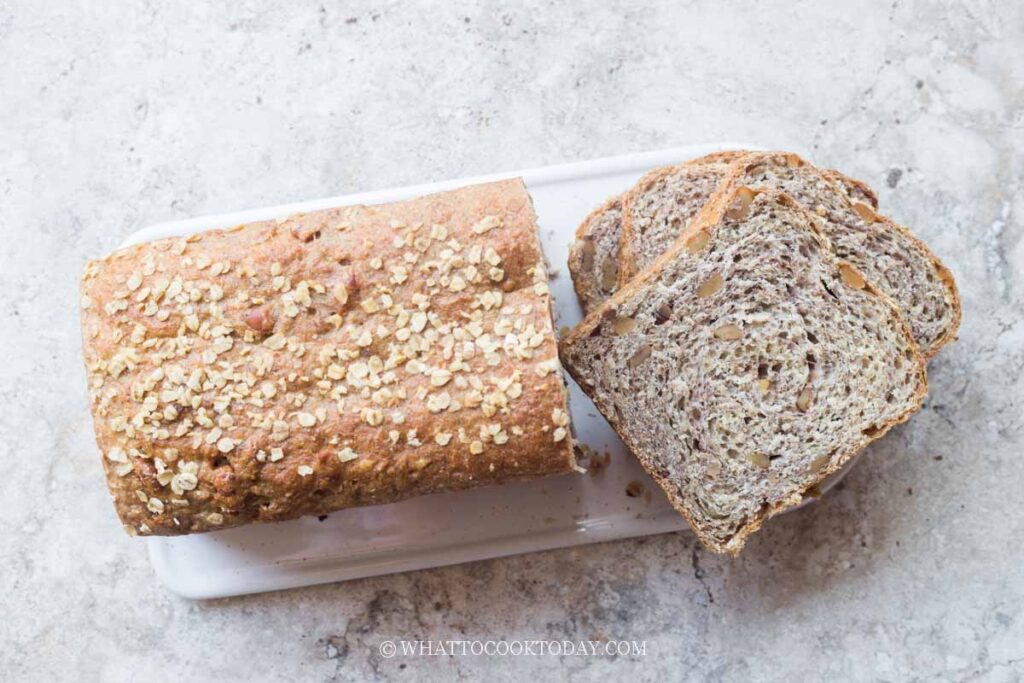
- You can use standard 9 x 5 inch loaf pan, which will yield shorter and wider loaf or use a small pullman pan which is 9 x 4 x 4 inch loaf pan, which yield taller loaf
- Lightly grease the loaf pan on all sides. Line with parchment paper on the long side of the pan, overhanging on the side if you want to.
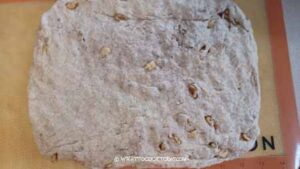
- Transfer the dough to a lightly floured surface. Don't use too much flour as it can dry out the bread. The dough isn't sticky and pretty easy to work with, so you shouldn't need much flour at all
- Flatten the dough while releasing the air bubbles. Pat into a rectangular shape, roughly about 12 x 8 inches.
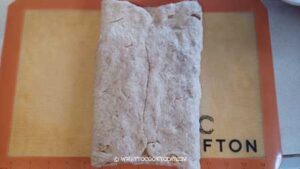
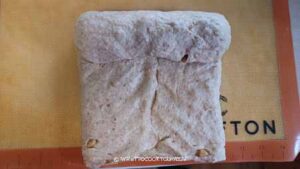
- Fold the two short side to meet at the center
- The roll down to form a tight log

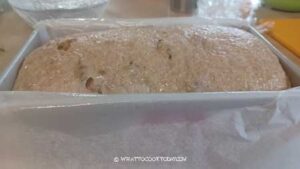
Final proofing:
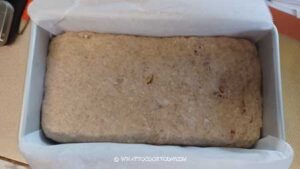
- Place the log in a prepared pan. Pat the dough down to fill up the pan evenly.
- Cover the pan with lightly greased plastic wrap, and allow the dough to rise for 1 to 1 1/2 hours, or until it crests 1 to 2 inches over the rim of the pan
- OPTIONAL: Brush with some egg whites on top of the loaf (you can use mist with water too, but the oats stick better with egg white). Sprinkle with some oats
Baking:
- 15 minutes before the end of the final proofing, preheat the oven to 350 F (180 C) for conventional oven. For a convection oven, lower the temperature by 20 F (15 C)
- Bake the bread in a preheated 350F oven for 40-45 minutes. Start checking at around 40 minutes. The 9 x 5 inch loaf pan took about 40 minutes and the 9 x 4 x x inch loaf pan took about 45 minutes in my oven. If the bread appears to be browning too quickly, tent it with aluminium foil for the final 10 minutes of baking
Cooling:
- Remove the bread from the oven and loosen the bread with an offset spatula and gently grab the parchment paper and lift the bread out and place on cooling rack. This is optional, but you can brush with some melted butter on top while the bread is still warm. Let the bread cool down completely before slicing. DO NOT slice it while it's still warm. It will crumble badly

4 comments
yummy bread looks soft and crumbly
I have never made an oatmeal bread before, but I don’t think I’ve found a bread I don’t like yet 🙂 This is definitely a keeper recipe! Congrats on your first loaf!
Love the recipe! Looks yum 🙂
Fantastic looking bread, that surely wouldn’t last long in our house! I can almost smell it through my computer screen :o)