This post may contain affiliate links. Please read our disclosure policy.
If you are looking for soft and fluffy milk bread without having to knead the dough, you should try this easy no-knead bread recipe. It is seriously easy! It is so much fun and easy to shape the dough like a turkey, making it perfect for a Thanksgiving centerpiece. The recipe can be made using commercial yeast or sourdough starter.
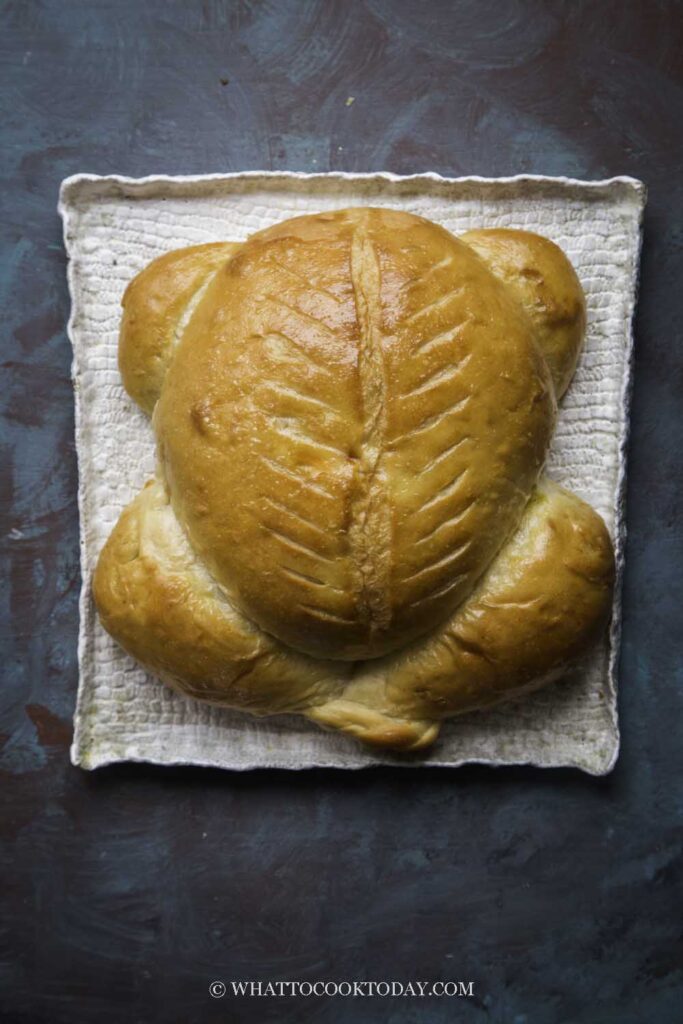
I saw some images on Instagram where people baked turkey-shaped bread and I thought that was such a fun idea! If you have guests or family members who are vegetarian or vegan, this is just perfect as they won’t feel “left out” 🙂 My kids love this idea too and requested that I made mini version next time lol!
Why I like this recipe
Absolutely easy and versatile
This is an absolutely easy no-knead bread that you need in your life. It’s a very basic enriched dough recipe that can be adapted into different shapes, tastes and flavors if you like. It can be made vegan if you wish or load it with more inclusions like nuts, dried fruit, etc. It can be made into rolls and whatnot!
Soft and fluffy
The bread stays soft even after the next day when you properly wrap and store it
No butter
The recipe doesn’t use butter, which is great if you are conscious about your health. It uses oil instead. I usually use odorless oil such as avocado oil.
A brief science behind a no-knead bread
1. Autolyse/Fermentolyse
All you need to do is stir everything in a bowl, let it rests for 30 minutes. It is during this rest that magic happens! The autolyse, or I should say fermentolyse is doing the work for you. When you mix only water and flour it is called an autolyse. If you mix everything all at once, it is usually called fermentolyse. The enzymes in the flour are activated once you mixed the flour with water. When this happens it makes the dough easier to work with and you don’t need to knead the dough.
2. Some stretches and folds
Instead of kneading the dough, I just did a couple of stretches and folds on the dough to strengthen the gluten and that’s all! The dough goes through bulk fermentation (first proofing), then shaping and then final proofing like typical breadmaking. Ever since I learned how to bake sourdough country bread 4 months ago, it has truly made me understand the basic principle of bread baking and how these simple stretches and folds can be so powerful when it comes to breadmaking.
Important tips
1. The flour you use and hydration
I use bread flour with about 12.7% protein content (King Arthur’s bread flour to be exact). I do not recommend using all-purpose flour as it is too weak and the bread won’t hold its shape well. Every flour can be different when it comes to hydration. Some need more liquid, some don’t. Don’t dump the liquid all at once, reserve about 10-20 grams of water when preparing the dough
2. Do not skip the resting period
Miracles happen during this resting period, so you cannot skip this step
How to bake no-knead turkey-shaped milk bread
Are you ready to make some turkey-shaped bread? Let’s go then!
1. About 8-10 hours before you plan to make the bread, combine all ingredients for the stiff starter in a bowl. Stir a bit to roughly combine and then use your clean hand to knead it. This is a stiff starter, it’s like a dough. Make sure no pockets of dry flour are visible. Transfer to a large see-through container (plastic or glass is fine, preferably wide-mouth so you can get it out easier later). Loosely cover with the lid and let it ferment until triple in size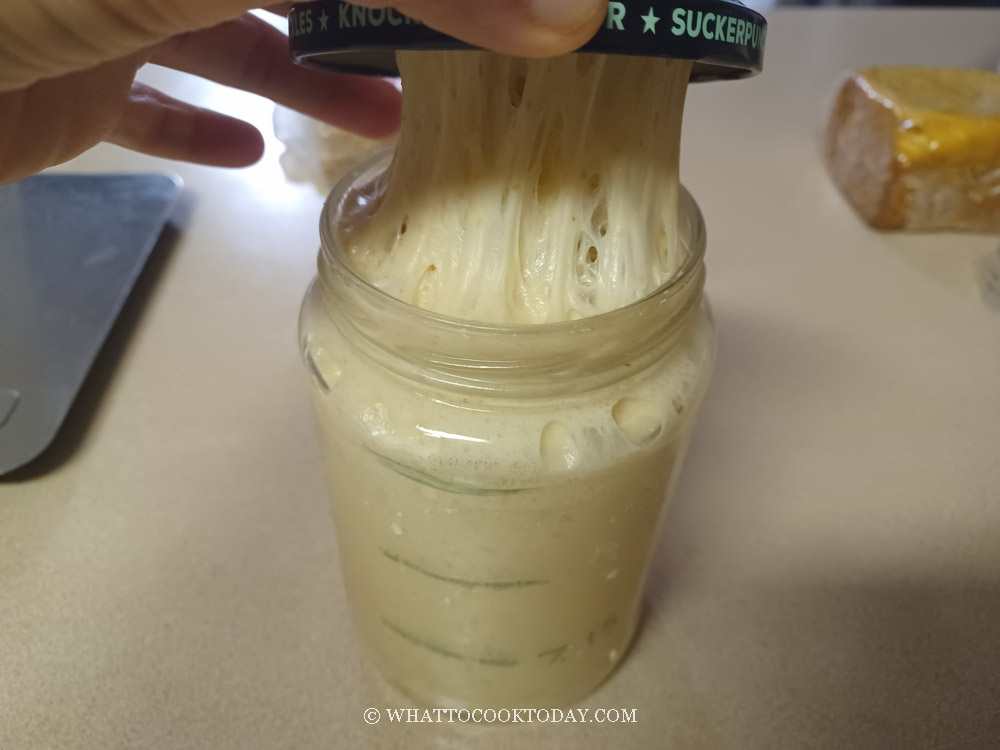
2. If you use sourdough, tear the sweet stiff starter into smaller chunks. It’s easier to mix that way. If you use active dry yeast instead of instant yeast, dissolve the yeast in 1 tablespoon of milk (from your total amount of milk in the recipe). Let it sit for 10 minutes to soften and turns foamy
3. Reserve about 10 grams of the milk first. Add all of the ingredients for the dough in a mixing bowl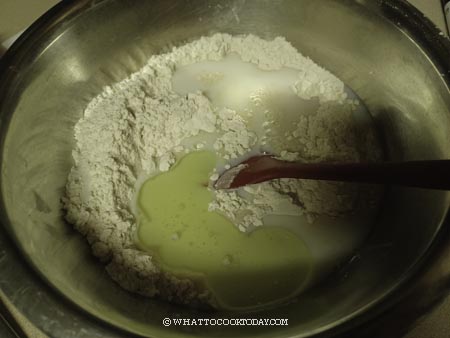
4. Use a dough whisk or a very sturdy spatula to mix everything. Make sure no more dry flour bits. If the dough seems to dry, add the milk that you reserved earlier (or more as needed) and continue to mix into a shaggy-looking dough. It will still be slightly sticky at this point. Cover and let it rest for 30 minutes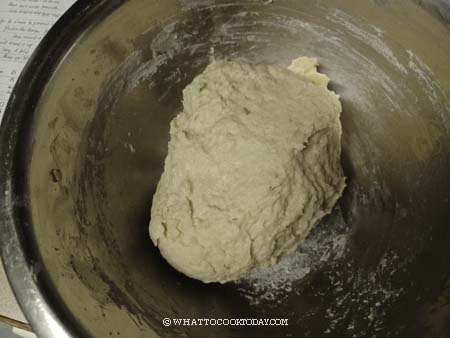
5. After 30 minutes used your spatula to fold the edge of the dough to the center. Do this all around the dough, about 12-18 times. You will notice that the dough is stronger and a lot smoother now, but still slightly wet and sticky. Cover again and let it rest for another 15 minutes. Repeat this folding action one more time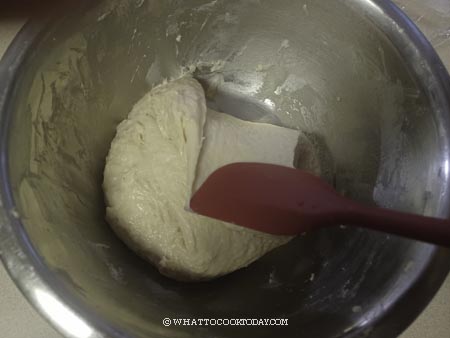
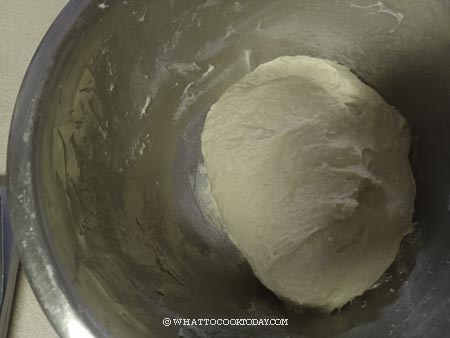
6. Oil your hands lightly and then just give the dough a few kneads and it should be soft and smooth now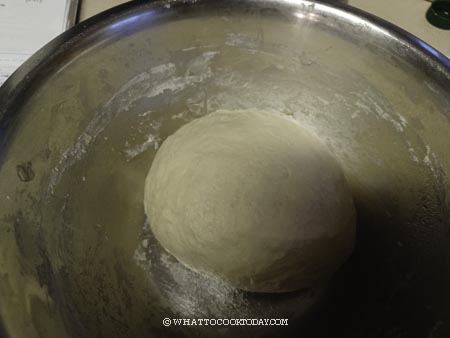
7. Cover the dough and let it proof until it doubles in size. For commercial yeast, it takes about 45 minutes to one hour at a warm place. If using a sourdough starter, this takes around 2- 3 hours depending on the strength of your starter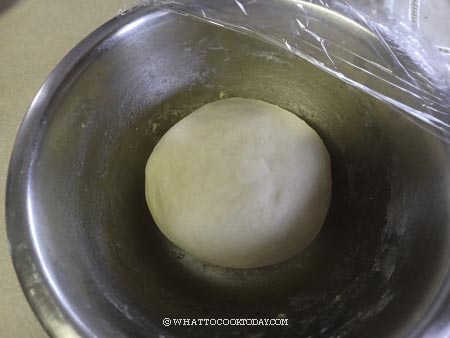
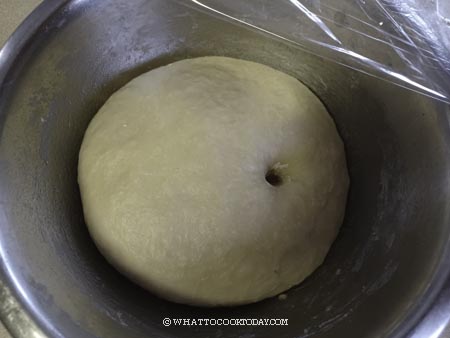
8. When the dough is done with the first proofing, punch down the dough to release air bubbles. Divide the dough into two of 50 grams of dough for drumsticks, and two 20 grams of dough for the wings, and the rest will be for the body. Round them up into balls, cover and let them rest for 15 minutes so the gluten relaxes and won’t fight you back when you try to shape. You can also shape the dough like I did in the video (I found that method easier, but it’s up to you)
9. Take the largest dough out. Roughly flatten the dough with your palms to release any air bubbles if any. Fold the edge towards the center to form a tight round shape dough, slightly of a “V” shape. Place this on the center of the baking pan lined with parchment paper
10. Next, take out one of the dough for drumsticks and shape it to look like a drumstick. Place the drumstick near the main dough, and repeat with the other drumstick. For the wings, I didn’t really do any particular shape. I just flatten the dough a bit and shape it like a very simple outline of chicken wings. You can be as detailed as you wish, but most of the details won’t last long once the dough puffs up after final proofing. Arrange the wings where they suppose to be

11. Arrange the wings and drumsticks where they suppose to be
12. If you are filling fancy, you can set aside about 10 grams of dough before shaping to shape into a kitchen twine to”tie” the legs
13. Mist the turkey-shaped dough with some water so they ferment easily. Cover with a clean and slightly damp kitchen towel and place in a warm place for proofing. This takes about 45 minutes to 1 hour with commercial yeast. For sourdough starter, this may take about 2 1/2-3 hours with a strong starter. The dough will puff up doubled in size. When you gently push on the dough, it bounces back very gradually and leaves a bit of indentation. If it bounces back immediately, proof another 10 minutes and check again
14. 10 minutes before the end of proofing, preheat the oven to 350 F (180 C) for a conventional oven. For the convection oven, lower the temperature by 20 F or 15 C. Brush the bread with some egg wash (or non-dairy milk wash for vegan). This is optional: Use a very very sharp knife or use a bread lame to score the body. I scored one in the middle, about 1/2 inch deep. Feel free to add another decorative scoring if you want
15. Bake for about 35-40 minutes or until the bread is nicely golden brown, rotate the pan halfway through baking. If you brush with milk wash, you won’t get much color. If you brush with egg wash, the crust will be shiny and golden brown. When it’s out of the oven, brush it with some oil. This helps to soften the crumbs. Transfer to a cooling rack. Optional: I like to cover it with a clean tea towel for about 15-20 minutes. This keeps the bread crust really soft as the moisture is locked in 
16. Serve them warm or if you plan to keep them for the next day, let the bread cool down completely, keep it in a bread bag or ziplock bag, push all the air out and seal tightly to prevent drying out. It can be kept at room temperature for 2-3 days. I use whole milk for the bread and it stays soft for about 3 days, which I find pretty reasonable for a loaf of bread this simple and not using lots of oil. Keep in mind that if you use skim milk, the bread won’t stay soft as long.
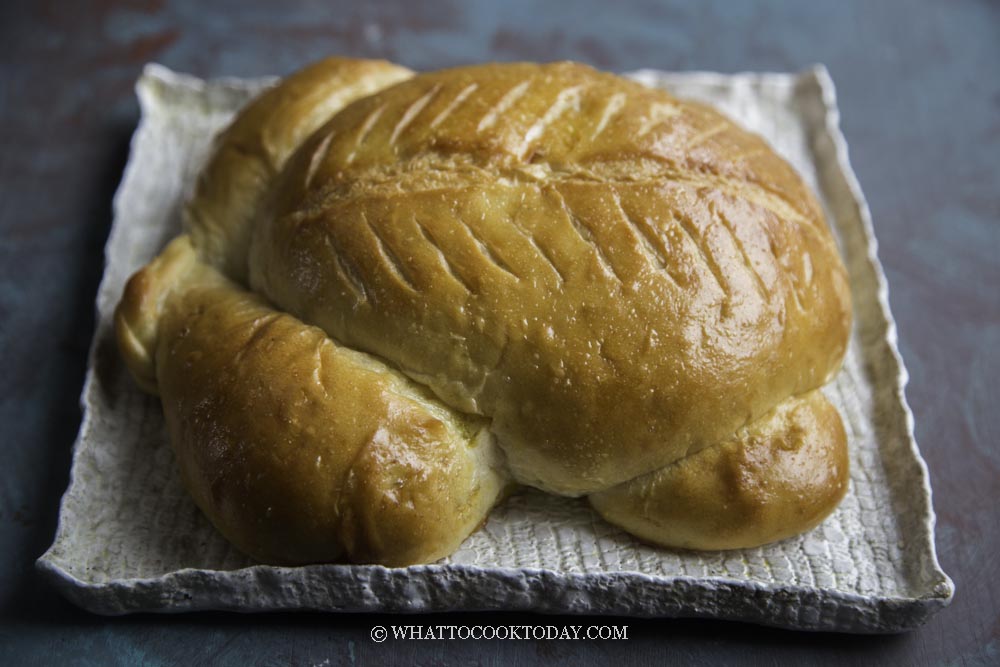
My son asked me “Mom, why are you roasting a turkey now? It’s not Thanksgiving yet!” as he walked by the kitchen. I guess it must have looked pretty similar to a roasted turkey at a glance LOL!
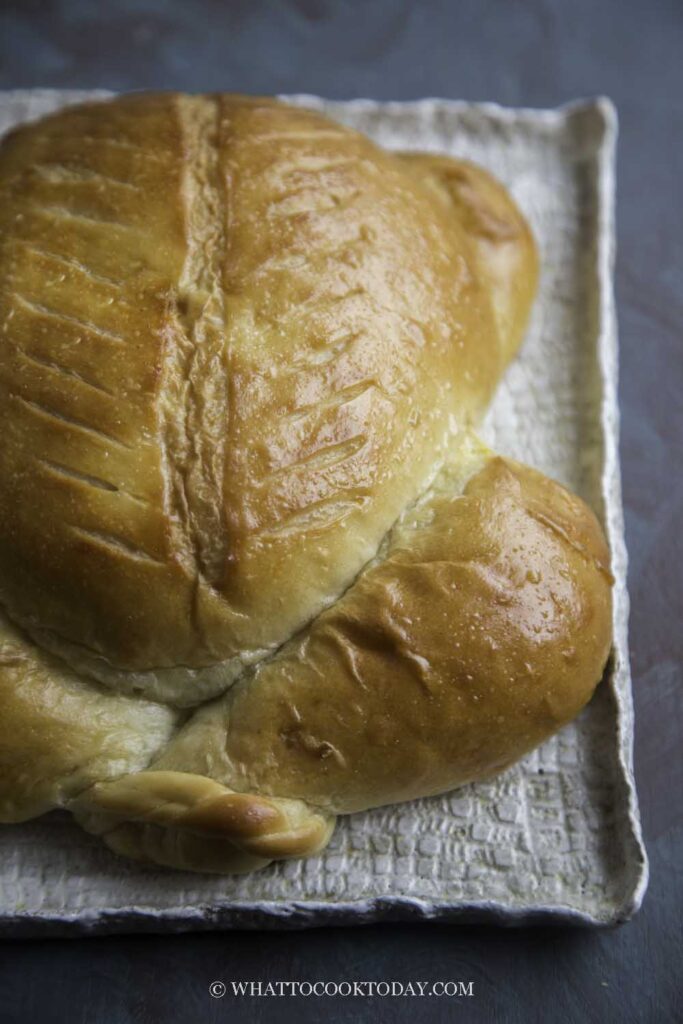
Easy No-Knead Soft Turkey-Shaped Milk Bread (with Sourdough option)
Ingredients
If using commercial yeast:
- 325 gr bread flour (12.7% protein content) plus more for dusting
- 227 gr milk it can be dairy or non-dairy
- 30 gr sugar
- 3 gr instant yeast
- ½ tsp salt
- 25 gr cooking oil any neutral-tasting oil
If using sourdough starter:
Prepare sweet stiff levain:
- 40 gr active starter (100% hydration)
- 120 gr bread flour
- 50 gr water
- 20 gr sugar
Dough if using sourdough starter:
- 198 gr bread flour (12.7% protein content) plus more for dusting
- 125 gr milk it can be dairy or non-dairy
- 30 gr sugar
- ½ tsp salt
- 25 gr cooking oil
Egg wash: (use non-dairy milk for vegan)
- 1 egg
- ¼ tsp water
Instructions
- Just to clarify: You DON'T NEED both sourdough starter and commercial yeast to make this recipe. You only use either one (NOT both)
If using sourdough starter:
Prepare sweet stiff levain:
- I recommend using a starter that is at least one month old and consistently doubles or triples in 4-6 hours when you feed it at 1:1:1 ratio. Young starter will not give the best result
- About 8-10 hours before you plan to make the bread, combine all ingredients for the stiff starter in a bowl. Stir a bit to roughly combine and then use your clean hand to knead it. This is a stiff starter, it's like a dough. Make sure no pockets of dry flour are visible. Transfer to a large see-through container (plastic or glass is fine, preferably wide-mouth so you can get it out easier later). Loosely cover with the lid and let it ferment until triple in size
Prepare the dough: (for both commercial and sourdough)
- If you use sourdough, tear the sweet stiff starter into smaller chunks. It's easier to mix that way. If you use active dry yeast instead of instant yeast, dissolve the yeast in 1 tablespoon of milk (from your total amount of milk in the recipe). Let it sit for 10 minutes to soften and turns foamy
- Reserve about 10 grams of the milk first. Add all of the ingredients for the dough in a mixing bowl. Use a dough whisk or a very sturdy spatula to mix everything. Make sure no more dry flour bits. If the dough seems to dry, add the milk that you reserved earlier (or more as needed) and continue to mix into a shaggy-looking dough. It will still be slightly sticky at this point. Cover and let it rest for 30 minutes
- After 30 minutes used your spatula to fold the edge of the dough to the center. Do this all around the dough, about 12-15 times. You will notice that the dough is stronger and a lot smoother now, but still slightly wet and sticky. Cover again and let it rest for another 15 minutes. Repeat this folding action one more time. Oil your hands lightly and then just give the dough a few kneads and it should be soft and smooth now
Bulk fermentation (first proofing):
- Cover the dough and let it proof until it doubles in size. For commercial yeast, it takes about 45 minutes to one hour at a warm place. If using sourdough starter, this takes around 2- 3 hours depending on the strength of your starter
Shaping:
- When the dough is done with the first proofing, punch down the dough to release air bubbles. Divide the dough into two of 50 grams of dough for drumsticks, and two 20 grams of dough for the wings, and the rest will be for the body. Round them up into balls, cover and let them rest for 15 minutes so the gluten relaxes and won't fight you back when you try to shape
- Take the largest dough out. Roughly flatten the dough with your palms to release any air bubbles if any. Fold the edge towards the center to form a tight round shape dough, slightly of a "V" shape. Place this on the center of the baking pan lined with parchment paper
- Next, take out one of the dough for drumsticks and shape it to look like a drumstick 🙂 Place the drumstick near the main dough, repeat with the other drumstick
- For the wings, I didn't really do any particular shape. I just flatten the dough a bit and shape it like a very simple outline of chicken wings. You can be as detail as you wish, but most of the details won't last long once the dough puffs up after final proofing. Arrange the wings where they suppose to be
- You can also do the shaping like I did in the video (much simpler I think!)
Final proofing:
- Mist the turkey-shaped dough with some water so they ferment easily. Cover with a clean and slightly damp kitchen towel and place at a warm place for proofing. This takes about 45 minutes to 1 hour with commercial yeast. For sourdough starter, this may take about 2 1/2-3 hours with a strong starter. The dough will puff up doubled in size.
- When you gently push on the dough, it bounces back very gradually and leaves a bit of indentation. If it bounces back immediately, proof another 10 minutes and check again
- 10 minutes before the end of proofing, preheat the oven to 350 F (180 C) for conventional oven. For convection oven, lower the temperature by 20 F or 15 C
Baking:
- Brush the bread with some egg wash (or non-dairy milk wash for vegan). This is optional: Use a very very sharp knife or use a bread lame to score the body. I score one in the middle, about 1/2 inch deep. Feel free to add another decorative scoring if you want
- Bake for about 30-35 minutes or until the bread is nicely golden brown, rotate the pan halfway through baking. If you brush with milk wash, you won't get much color. If you brush with egg wash, the crust will be shiny and more golden brown
- When it's out from the oven, brush with some butter. This helps to soften the crumbs. Transfer to a cooling rack. Optional: I like to cover it with a clean tea towel for about 15-20 minutes. This keeps the bread crust really soft
Storing:
- Once it has cooled down completely, keep it in a bread bag or ziplock bag, push all the air out and seal tightly to prevent drying out. It can be kept at room temperature for 2-3 days. I use whole milk for the bread and it stays soft for about 3 days, which I find pretty reasonable for a loaf bread this simple and not using lots of oil. Keep in mind that if you use skim milk, the bread won't stay soft as long.
- For longer storage, keep it in the freezer. I like to double bag the baked bread to prevent freezer burn. Simply thaw at room temperature for few hours just before serving. You may reheat in the oven by misting the bread with some water and then wrap the bread in aluminum foil to keep the soft. Reheat at 350 F (180 C) for 10-15 minutes
RECOMMEDED TOOLS
*Nutrition facts are just estimates and calculated using online tools*



4 comments
Hi, this will be the first time I am trying to make Turkey bread, I am not sure if I have this right, you would make a stiff stater, wait for 10 hours then combine the list of flour ingrediants and aad the stiff starter to the flour mixture. I am just not sure, I just dont want to mess it up.
Hi Ann, you are correct! You build the stiff starter first, wait for it to double or triple, which takes about 10 hours (depending on temperature). Then you mix it with the rest of the ingredients.
Do you make the stuff starter even when housing commercial yeast?
Hi Shelby, No, you only use either one. You choose if you want to make the bread using sourdough or if you want to use commercial yeast, NOT both! I hope that helps to clarify!