This post may contain affiliate links. Please read our disclosure policy.
What better way to celebrate year of snake with these snake-themed decorated sugar cookies? They are as delightful to eat as they are to look at, making them a perfect addition to any festive gathering or as thoughtful gifts for loved ones.

Why the Snake?
The snake in the Chinese zodiac is associated with wisdom, intuition, and transformation. It’s a symbol of renewal and adaptability. Celebrating the Year of the Snake with themed treats is a meaningful way to embrace these qualities and honor the traditions of the lunar calendar. My son was born in the year of the snake and he is excited for the upcoming Chinese New Year 🙂
A Creative Take on Sugar Cookies
At their core, these cookies are classic round sugar cookies: buttery, soft, and with just the right amount of sweetness. But what sets them apart is the snake-themed decoration. Using colorful icing, each cookie becomes a canvas for artistry. Snakes are drawn coiling and slithering. These designs not only reflect the grace and symbolism of the snake but also offer a fun and creative way to get into the festive spirit.

Year of Snake Sugar Cookies
Ingredients
- 85 g unsalted butter
- 25 g egg
- ½ tsp pure vanilla extract
- 160 g all-purpose flour plus more for dusting
- ⅛ tsp fine sea salt
- 75 g granulated sugar
- ½ Tbsp lemon zest
Easy white icing for decorating: (consistency should be slightly thinner than the colored version)
- 125 g powdered sugar
- ½ tsp vanilla extract
- 2 ½ tsp milk or more as needed
Easy colorful icing for decorating: (consistency should be a bit thicker but still flowy)
- 125 g powdered sugar
- ½ tsp vanilla extract
- 1 ½ tsp milk or more as needed
- Gel food coloring
Instructions
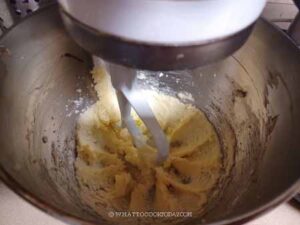
- Softened at room temperature for about 45 minutes before you start making cookies. Whisk the flour and salt in a small bowl. Place the softened butter, sugar,and lemon zest on low speed until the sugar is incorporated. Raise the speed to medium and beat another 2-3 minutes until the color is lighter and fluffy . Cream on high speed until fluffy for about 4 minutes.

- Add the egg and vanilla and continue beating until just combined.

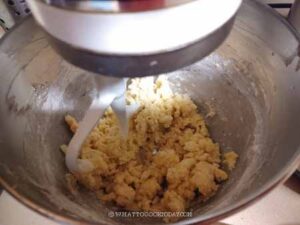
- Reduce the speed to low and gradually add in the flour mixture

- Beat until just combined

Chill the dough:
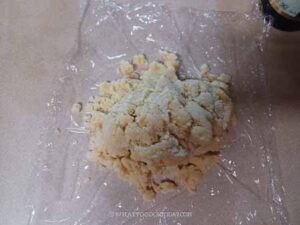
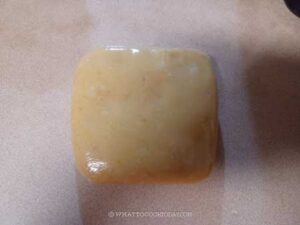
- Transfer the dough to a sheet of plastic wrap and use your hands to push it together to form a dough. Don't knead it.

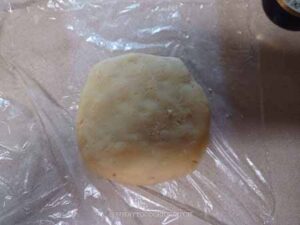
- Flatten into a thick disc.

- Wrap them up and refrigerate for at least 2 hours. I left mine overnight in the fridge

When ready to bake and shape:
- When ready to bake the cookies, remove the cookies from the fridge and let it sit at room temperature for about 10 minutes to soften a little bit. Preheat oven to 350 F (180 C) for conventional oven, 330 F (165 C) for convection oven, and position rack in the middle of the oven
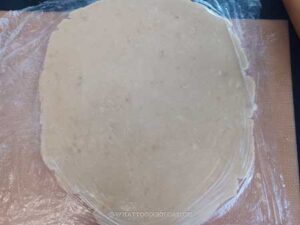
- Set the dough on a lightly floured dough mat or a plastic wrap. Lightly flour the dough and your rolling pin. Cover the dough with a plastic wrap to prevent it from cracking when you roll it out. Roll it into about 1/4-inch thick.

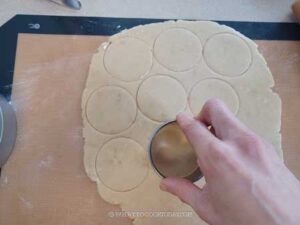
- Use a 3-inch round cookie cutter dipped in flour, to cut it out into a round shape

- I gather all the cut-out bits here and there and roll it out again and I manage to make few more cookies from that.
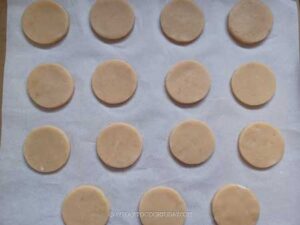
- Arrange on ungreased baking sheets, about 1-inch apart

Bake the cookies:
- I recommend baking one tray at a time. Keep the unbaked tray in the fridge while waiting for the oven. Bake in the oven for 12-14 minutes. The cookies won't color much

Cool the cookies:
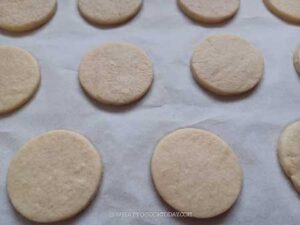
- Let the cookies cool on the pan for 5 minutes and then transfer to a rack and let them cool completely before decorating

Prepare the white icing:
- Combine all the ingredients for icing and stir until smooth and to the consistency that is flowy but not too runny for the white icing.

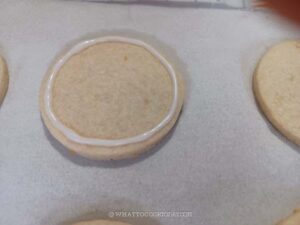
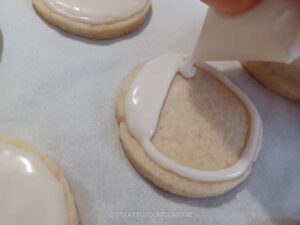
- Transfer to a piping bag. Cut off the tip and start drawing a border on the cookie and then flood the surface of the cookie with the rest of the icing


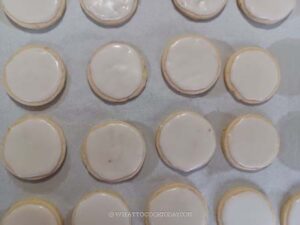
- Let this white layer set completely before decorating with colored icing for the snake. This is to prevent the colors from bleeding into each other

Prepare the colored icing and decorate:
- Combine all the ingredients for icing and stir until smooth and to the consistency that is flowy but slightly thicker than the white icing you prepared earlier.
- Portion out into several different bowls (depending on how many colors you want to make). Add the gel food color into each bowl and stir to combine

- Start drawing the snake using the colored icing.


Let the icing dry:
- Let the icing set completely on a cooling rack. I left them for 3-4 hours on a cool dry place. You can even leave them overnight

*Nutrition facts are just estimates and calculated using online tools*

Tips for success
1. Don’t Overmix: When combining wet and dry ingredients, mix until just combined. Overmixing can make the cookies tough.
2. Chill the Dough: After mixing, wrap the dough in plastic wrap and chill it for at least 30 minutes. This prevents the cookies from spreading too much during baking and helps maintain their shape.
3. Baking: Bake one tray at a time in the center of the oven for the most even results.
4. Icing: For outlining the snakes, the icing should be thick enough to hold its shape. For flooding (filling in the design), it should be runnier but should be too runny
5. Practice First: Test your snake designs on parchment paper before piping directly onto the cookies.
6. Use the Right Tools: Piping bags with fine tips or squeeze bottles gives you better control over intricate designs.
7. Let the Icing Dry Completely: Allow decorated cookies to dry for several hours, or overnight if possible, to avoid smudging when stacking or storing.
8. Keep cookies in an airtight container to preserve freshness. If stacking, place parchment paper between layers to protect the decorations.
How to store the decorated cookies
1. Allow the icing to set for several hours, or preferably overnight, before storing. This prevents smudging or sticking.
2. Gently touch the icing to check if it’s completely dry—it should feel firm and no longer tacky.
3. Place the cookies in an airtight container to keep them fresh and prevent them from drying out. They can be kept at room temperature for about one week.
4. Keep the container in a cool, dry spot away from direct sunlight or heat, which could cause the icing to melt or discolor.
5. Avoid storing in humid environments, as moisture can soften the icing and make the cookies less crisp.
6. To Freeze Decorated Cookies: Place cookies in a single layer on a baking sheet and freeze until the icing is firm. Then, transfer them to a freezer-safe container with parchment paper between layers. Decorated cookies can be frozen for up to 3 months.
7. To Thaw: Let the cookies thaw in their container at room temperature. Avoid opening the container while thawing to prevent condensation from affecting the icing.

