This post may contain affiliate links. Please read our disclosure policy.
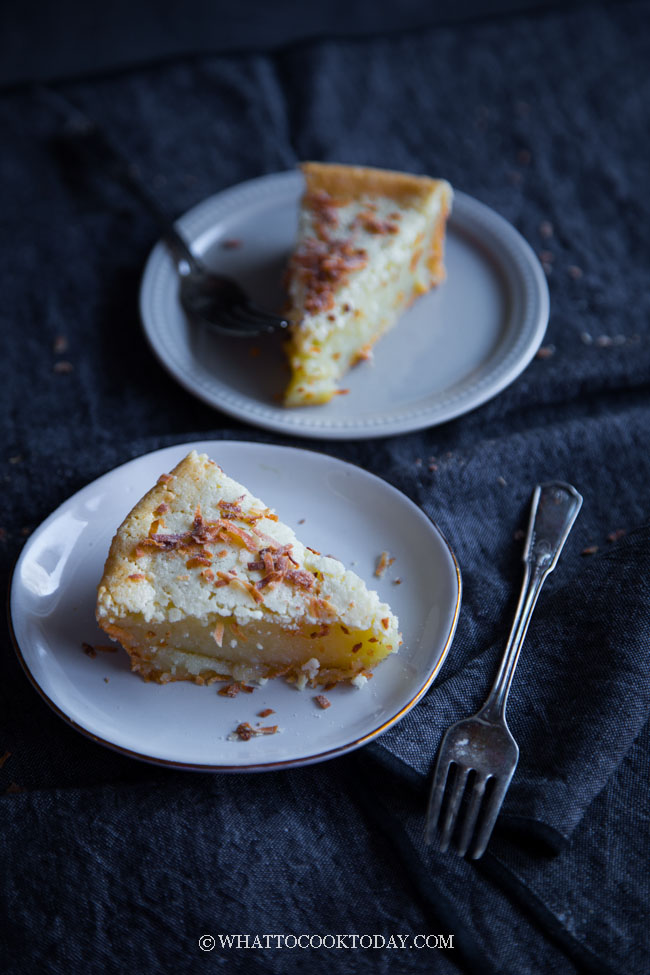
Learn how to make this super easy yet amazingly delicious gluten-free baked Chinese sticky rice cake (nian gao). Crusty top with soft and chewy middle will seriously knock your socks off!
Baked Chinese New Year Sweet Nian Gao
BAKED CHINESE STICKY RICE CAKE (BAKED MOCHI CAKE)
My life is seriously changed forever after I tried this baked nian gao. All these years, I’ve been making steamed nian gao and it’s a must in our house to celebrate Chinese New Year. The Chinese wants to start the year (nian) high (gao) 😉 I decided I need to try the baked version.
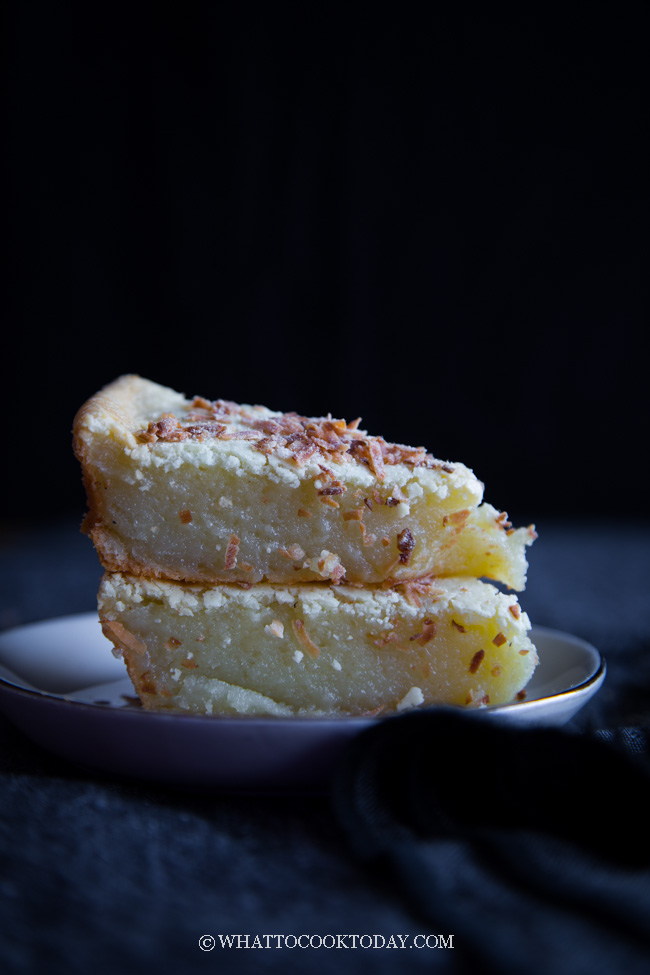
This baked nian gao, YOU MUST TRY! I mean it! Even if you don’t celebrate Chinese New Year, this naturally gluten-free cake with its crusty top, soft, chewy, and stretchy middle is just so addicting! If you have eaten mochi before, that’s exactly how the texture is like, only that this has a crusty top for that amazing contrast of texture!
INGREDIENTS
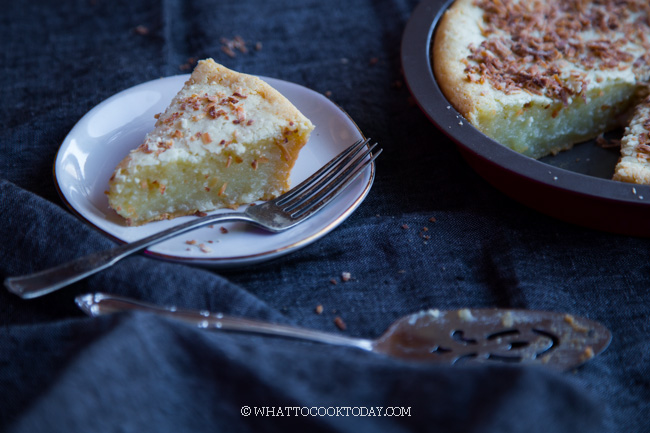
It is so easy to make and I must say the cake is impossible to fail. For real! The cake is made with 6 common ingredients: glutinous rice flour (sweet/sticky rice flour), coconut milk (or you can use cow’s milk), sugar, eggs, butter, and sweetened toasted coconut. You can easily find glutinous rice flour in non-Asian grocery store too these days.
HOW TO MAKE BAKED NIAN GAO (IN FEW SIMPLE STEPS)
1. TOAST THE COCONUT
Toast the shredded coconut on a dry pan over medium heat until golden brown or you can to this in the oven. Place the coconut on a baking sheet and bake at 350 F for 5 minutes or until just lightly golden brown

2. MIX DRY INGREDIENTS
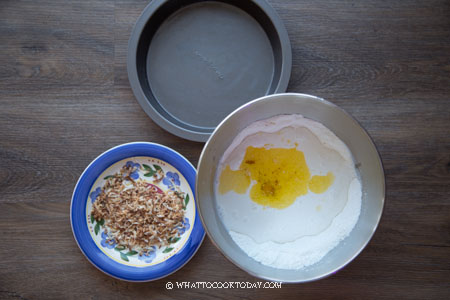
Mix the glutinous rice flour, salt, and sugar. Make a well in the middle

3. ADD WET INGREDIENTS
In this case: coconut milk, eggs (lightly beaten), melted butter. Grease the baking pan with solid butter on the bottom and side of pan
4. STIR UNTIL BATTER IS SMOOTH AND RUNNY
Use a sieve to strain the batter if necessary, to get rid of any lumps

5. BAKE AT PREHEATED OVEN AT 350 F
Pour the batter into a baking pan and bake at 350 F for 30 minutes

6. TOP WITH TOASTED COCONUT
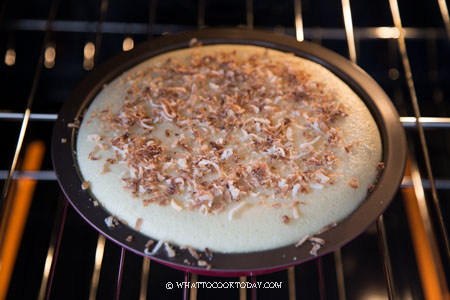
The cake will rise a little bit after 30 minutes of baking

Top with toasted coconut on top of the cake and bake again for another 30-40 minutes until slightly golden brown on the edge and toothpick inserted into the middle of the cake comes out clean
7. COOL DOWN
Transfer to a cooling rack to let it cool down for at least 1 hour before cutting

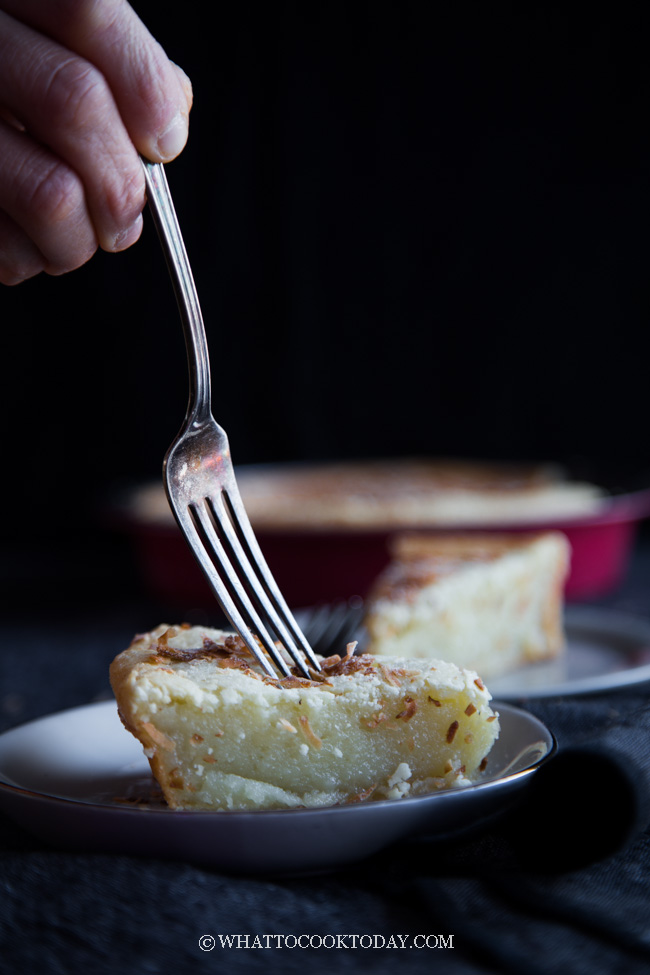
The minute I sliced this cake, my two kiddos ate two slices each!! They love baked nian gao a lot! They say “So soft and chewy and crispy (referring to the crusty top!)”
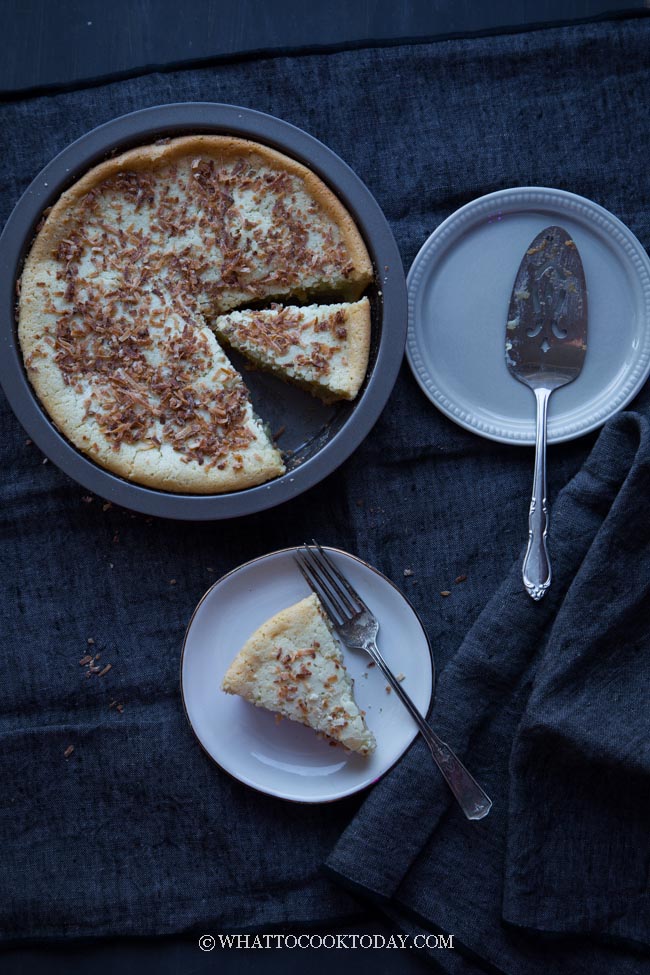
GREAT ALTERNATIVE TO TRADITIONAL STEAMED NIAN GAO
If you can’t be bothered to make traditional steamed nian gao, this baked nian gao is truly a great alternative to celebrate Chinese New Year. Sure it’s a bit unorthodox, but it is also a nian gao (year high ;)) and can be eaten as is. Most people don’t eat traditional steamed nian gao as is. They will make Sweet Potato Nian Gao Sandwich or fry the nian gao with eggs.
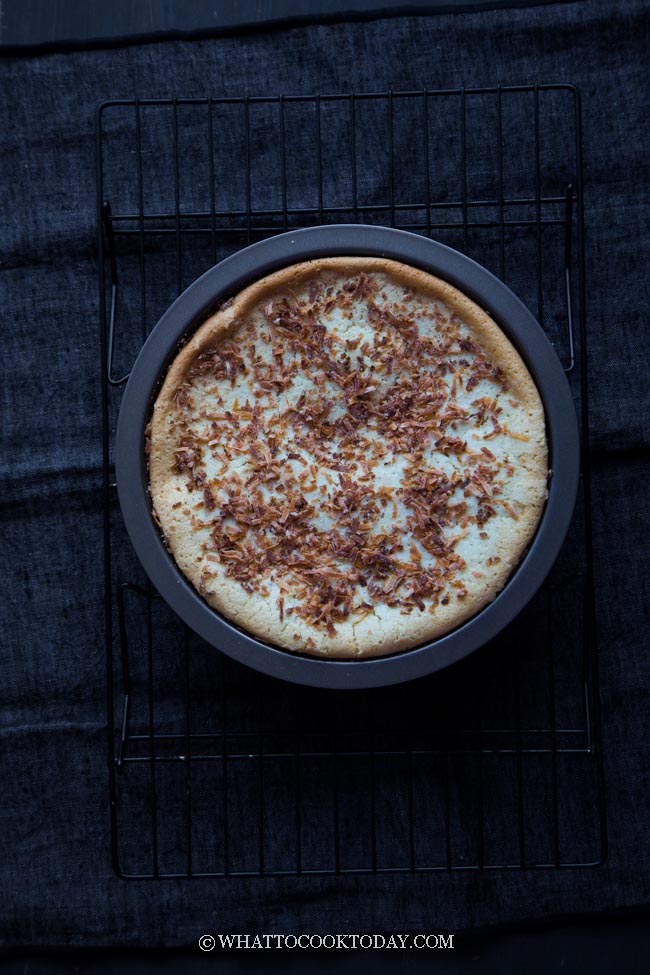
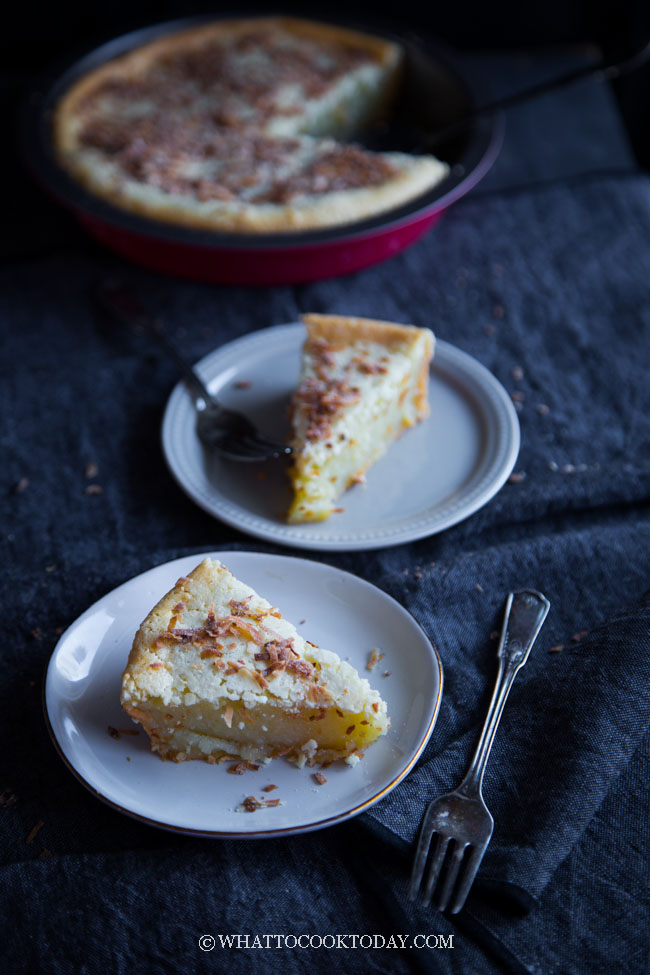
HOW TO STORE LEFTOVER
1. Room temperature: they can be kept at room temperature for about 2 days
2. Refrigerator: Store the rest in the fridge in an air-tight container or wrap it up in cling wrap for about one week in the fridge
3. Freezer: Wrap it up nicely in a cling wrap and put it in a freezer bag. It can be kept frozen for up to 3 months. Simply thaw in the fridge before serving and then warm it up in the microwave or toaster oven/oven at 350 F for 5-8 minutes until they are warm and back to its soft and chewy texture
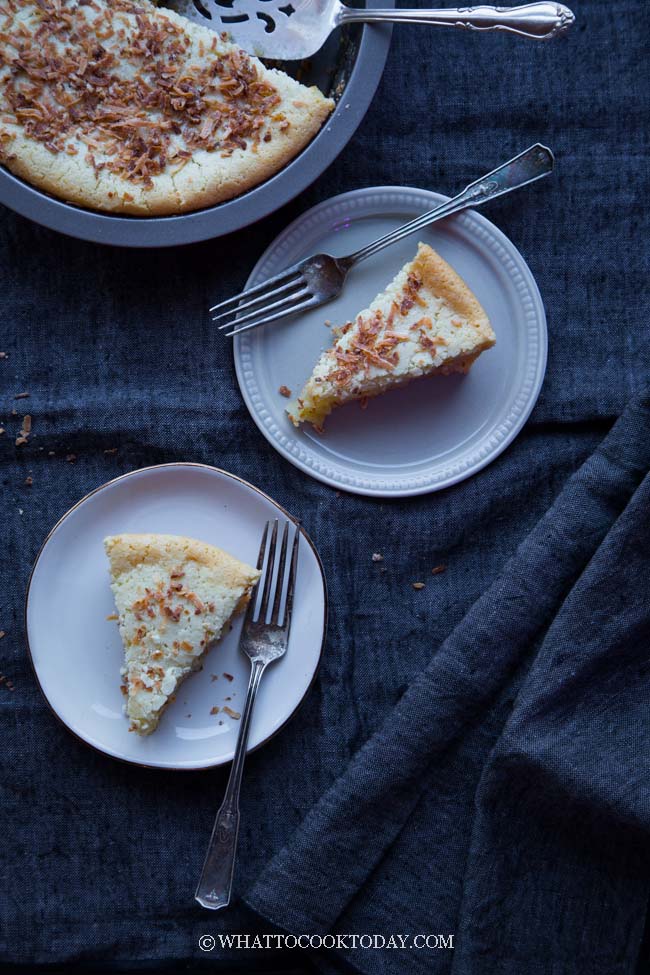
I think this is one of the things I’m going to make every year now to celebrate Chinese New Year 🙂
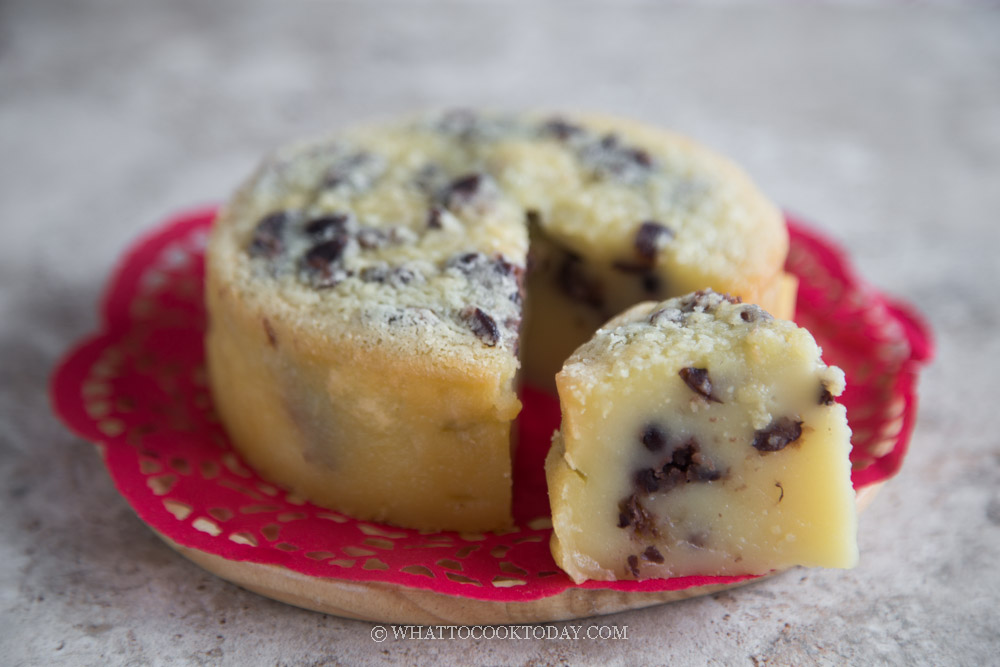
You may want to try this baked red bean nian gao with an orange scent too.
Did you make this easy baked nian gao recipe?
I love it when you guys snap a photo and tag to show me what you’ve made 🙂 Simply tag me @WhatToCookToday #WhatToCookToday on Instagram and I’ll be sure to stop by and take a peek for real!
Recipe is adapted from here. I used coconut milk instead of cow’s milk, reduce the sugar amount, and standardized the recipe for easier measuring.
Baked Chinese New Year Sweet Nian Gao
Ingredients
- 5 gr sweetened shredded coconut
- Butter to grease the pan
Dry ingredients:
- 225 gr glutinous rice flour
- 270 gr sugar I cut down to 180 gr (14 Tbsp)
- ⅛ tsp salt
Wet ingredients:
- 2 large eggs
- 350 gr coconut milk
- 20 gr butter melted
Instructions
Toast the coconut:
- Place the coconut on a dry pan over medium heat and toast until lightly golden brown. Remove from the heat and set aside
Make the batter:
- Preheat oven to 350 F. Melt 20 gr of butter on a small pan, let it cool down a bit. Lightly whisk 2 eggs and add in coconut milk and melted butter and whisk again to mix
- Mix all the dry ingredients in a large mixing bowl. Make a well in the center and pour in the wet ingredients while mixing with a spatula until you get a smooth runny batter. Strain this batter if you see any lumps. The batter should be smooth and runny
Baking:
- Use a small amount of solid butter to grease the bottom and the side of the baking pan
- Pour the batter into the pan and bake in the preheated oven, 3rd rack from the top for 30 minutes
- After 30 minutes, the cake should have risen up a little bit. Gently sprinkle the toasted coconut you made earlier on the surface of the cake. Bake again for another 20 minutes (took a total of about 50 minutes for mine)The side of the cake will be lightly golden brown and the middle of the cake will no longer be jiggly. If you insert a toothpick in the middle of the cake, it may have some sticky crumbs but it shouldn't be wet
- Let the cake cool down for at least 1 hour before attempting to cut
Storing:
- The cake can be kept at room temperature for about 2 days. After the cake has cooled down completely, you can wrap it up with plastic wrap and keep in the refrigerator for up to one week. They won't be as soft as when it was first made, but it won't be tough either and still nicely chewy. You can warm it up in the microwave for few seconds and it will be softer if that's what you prefer




30 comments
Do you recommend any substitutes for the eggs/butter if I wanted to make this a vegan version?
Hi Jenn, I haven’t tried making the vegan version. The butter can be replaced with vegan butter or just use your choice of cooking oil. I know people like to use flax egg as substitute! 2 Tbsp of ground flax seeds +6 Tbsp of water to replace the two eggs in the recipe if you want to try it out. I haven’t personally tried it yet though, but I will probably experiment with this soon to see how it turns out!
Thank you for your quick reply Marvellina!! Have you heard of people using applesauce as a replacement for the egg? Does the eggs serve more as a binder or moisture, or something else?
I’ve seen recipes using applesauce in vegan mochi. So I bet it works somehow? The applesauce must have acted as a binder and provide moisture. I know applesauce is used to replace fat for low-fat baking. Eggs also act as binder, provide emulsion, moisture and often times give a lighter texture compared to eggless bake.
So yummy, and most importantly so quick and easy to put together! My changes: no shredded coconut, and I only had half the amount of coconut milk so added 2% milk to make up the volume, and used 180 grams brown sugar.
Hi Fiona, I’m glad you enjoyed it! I love this easy cake too! I’m glad your substitutions worked out well too!!
Hi! I was just wondering how this would work if I swapped to dark brown sugar? Would I need the same amount? Or slightly less?
Hi, you can use the same amount, it will still be less sweet compared to regular sugar
This turned out great! Super simple, straightforward recipe. The reduced sugar amount achieved the perfect sweetness level for my friends and I. I had a 9″ pan so the cake ended up a bit thinner; I reduced the baking time by ~10 minutes in the first half to compensate. The coconut isn’t traditional but adds a nice bit of texture on top of the crispy baked top. Will definitely make again
That’s good to know Julian. You are right that the coconut isn’t traditional but I love that contrast of texture too 🙂