This post may contain affiliate links. Please read our disclosure policy.
Cookie/biscuit dough is sweetened and infused with fermented red bean curd for that savory umami taste at the same time. The dough is fried until crispy. They made such a pleasant snack. They can be baked or air-fried for a healthier version.

The other day I went to an Asian store and I saw many of the Chinese New Year cookies, goodies, and decorations were already everywhere in the store. It’s less than two weeks before Chinese New Year. It does make me feel homesick when I see all those festivities inside that store. Usually, Chinese New Year is just like another day over here unless we celebrate it at home, which we usually do because I want my kids to be familiar with Chinese New Year. Not a huge celebration but we do celebrate with food and me baking all these cookies and stuff,the kids get some ang bao (red pockets filled with $$), and we all wear new clothes on the first day of Chinese New Year!
Cow’s Ear Cookie VS Pig’s Ear Cookie
So, back to the topic, I saw this bag of umbrella cookies at the store and I was like hmm…they look so familiar but I didn’t know them by umbrella cookies, they are something else. So I googled around and discovered that these are similar to what the Vietnamese call pig’s ear cookies (Banh Tai Heo) and the Chinese call them cow’s ear cookies/biscuits. The pig’s ear cookies seem to be more on the sweet side while the cow’s ear cookies are more on the savory side because there is fermented red bean curd used in the cookie. Do they look like pig’e ear? or cow’s ear? or an umbrella? LOL! I thought the name umbrella cookies sound a bit better though LOL!

Pig ear cookies
The recipe rundown
Taste: Savory and sweet with a nice aroma from five-spice powder and the fermented red bean curd
Texture: The fried version is crispy and light. The baked and air-fried version is crispy too but a bit “drier” compared to the fried version (mine were probably a bit overcooked), but still pleasant considering how much fewer calories they are
Level: Medium
Pros: I simplified the recipe as much as I can but still want that “authenticity” as much as possible. The recipe doesn’t use butter, lard, or shortening. If you don’t like to deep-fry, you can bake or air-fry
Cons: They can be a bit time-consuming to make

Ingredients
1. All-purpose flour
You can also use self-raising flour and simply omit the salt and baking powder in the recipe
2. Icing sugar
3. Cooking oil
You can use any neutral-tasting oil
4. Red fermented bean curd
This is available at an Asian grocery store. If you can’t find any, you can use regular fermented bean paste to substitute, though they aren’t really exactly the same. The red fermented bean curd has a pleasant sweetness to it instead of just being salty

Fermented red bean curd (nam yu)

Fermented red bean curd (nam yu)
5. Chinese Five-spice powder
6. White sesame seeds
7. Baking powder
8. Salt
9. Water
How to make cow’s ear cookie/biscuit
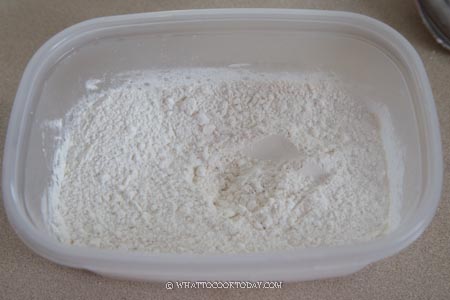
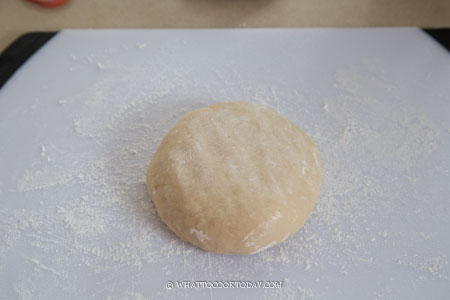
1. Prepare the sweet dough: Mix flour, baking powder, icing sugar, and salt. Whisk to combine
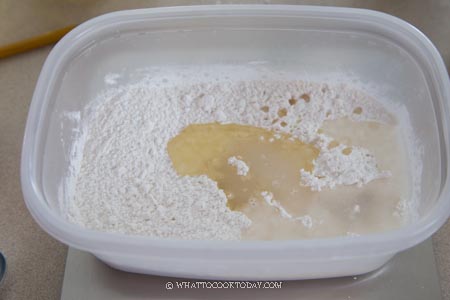
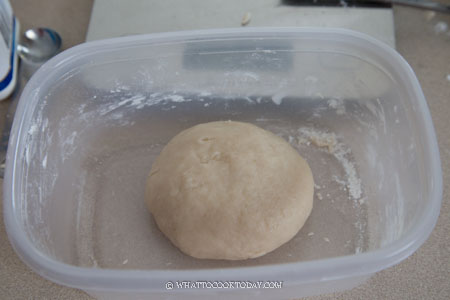
2. Add water and oil and knead into a soft non-sticky dough. Wrap it up while you prepare the savory dough
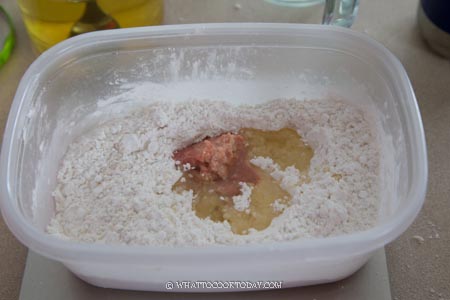
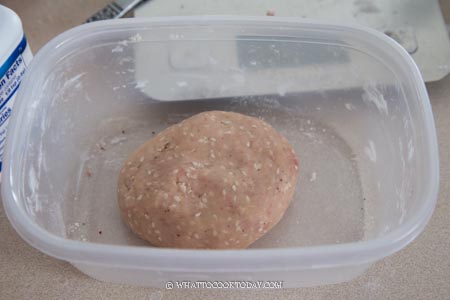
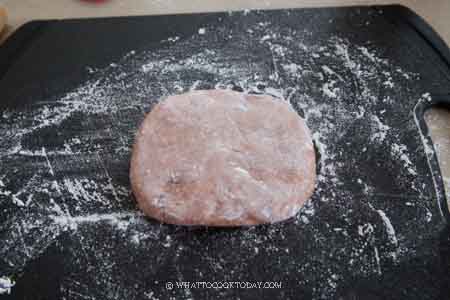
3. Prepare the savory dough: Mix the flour, sugar, baking powder, five-spice powder, and sesame seeds. Whisk to combine
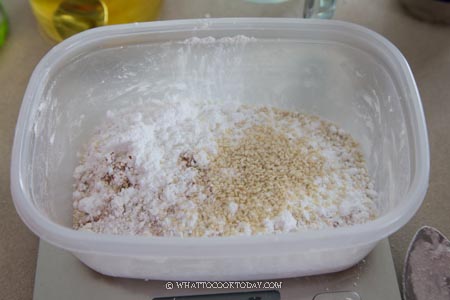
4. Add the mashed fermented red bean curd and oil. Knead into a dough. If it’s too dry, add the liquid that comes in the jar from the fermented red bean curd, teaspoon by teaspoon until you can get a soft non-sticky dough
5. Lightly dust your working surface with some rice flour. Using rice flour adds extra crispiness to the cookie/biscuit when you fry it later
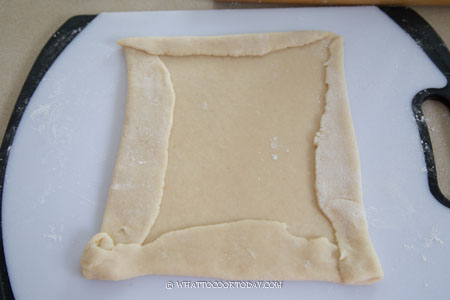
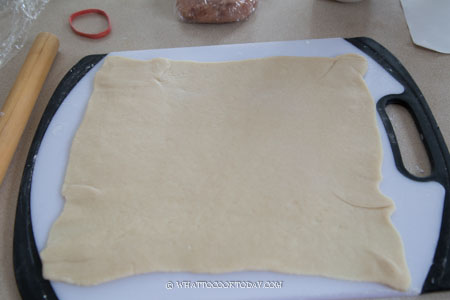
6. Roll out the sweet dough into a 10 x 12 inches rectangle, about 1/4-inch thick. You can always fold the extra dough on the four sides over to make it looks more like a neat rectangle (as shown in the photo above). Lightly dust with rice flour as needed
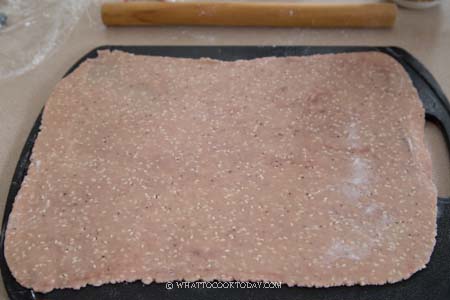
7. Roll the savory dough into a 10 x 12 inches rectangle separately too. Try to make both doughs as similar in size as possible
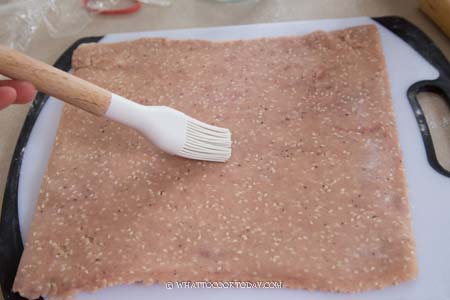
8. Brush the top of the sweet dough with some water, not too much, just enough so when yous stack the savory dough on top, they will stick together
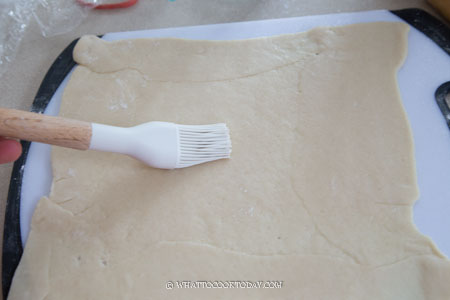
9. Carefully stack the savory dough on top and gently press and smooth it out. Brush the top of the savory dough with some water too
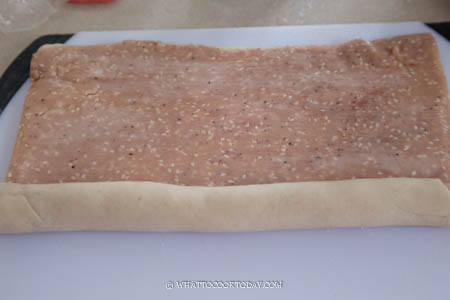
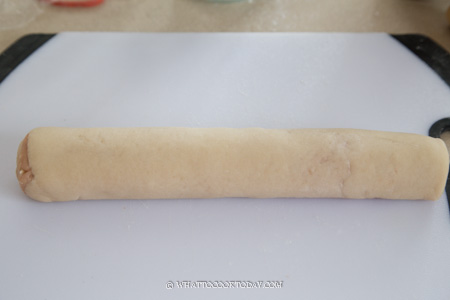
10. Then starting from the side near you, roll it up tightly into a log (like a Swiss roll)
10. Wrap the dough up and chill in the freezer for 20 minutes. The purpose is so that the dough is firm enough and you can cut it into thin slices. Thin slices will make the cookie/biscuit crispy when you fry or bake them
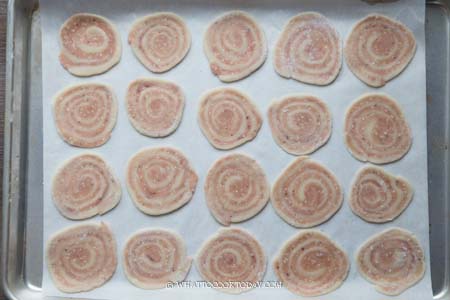
11. Remove from the freezer and use a sharp knife to thinly cut the dough to about 1/8 inch thickness
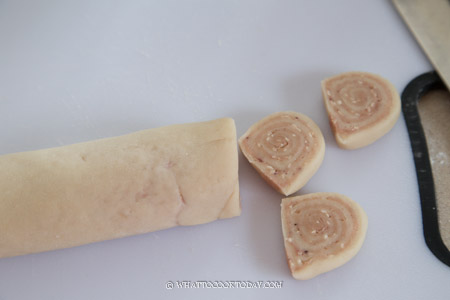
12. If it’s not thin enough, you can always use a rolling pin to roll it out a bit thinner too

13. Arrange on a baking sheet lined with a parchment paper
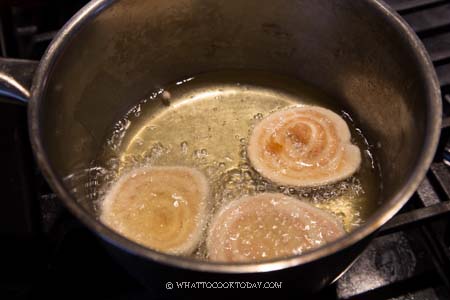
14. Preheat about 2 inches of oil in a heavy-bottom saucepan or pot. When you put a skewer or chopstick in the oil and there are bubbles around it, the oil is ready. Lower the heat to low and wait for 1 minute and then add few slices at a time and fry for about 2 minutes or so and you can increase the heat a bit to medium-low and continue to fry until they are golden brown and crispy. Remove from the oil to an absorbent paper towel to drain off the excess oil. They will crisp up further when they have cooled down completely
15. Store them in an air-tight container after they have cooled down completely. The cookies stay crispy for at least one week in my case (because they didn’t last more than a week LOL)
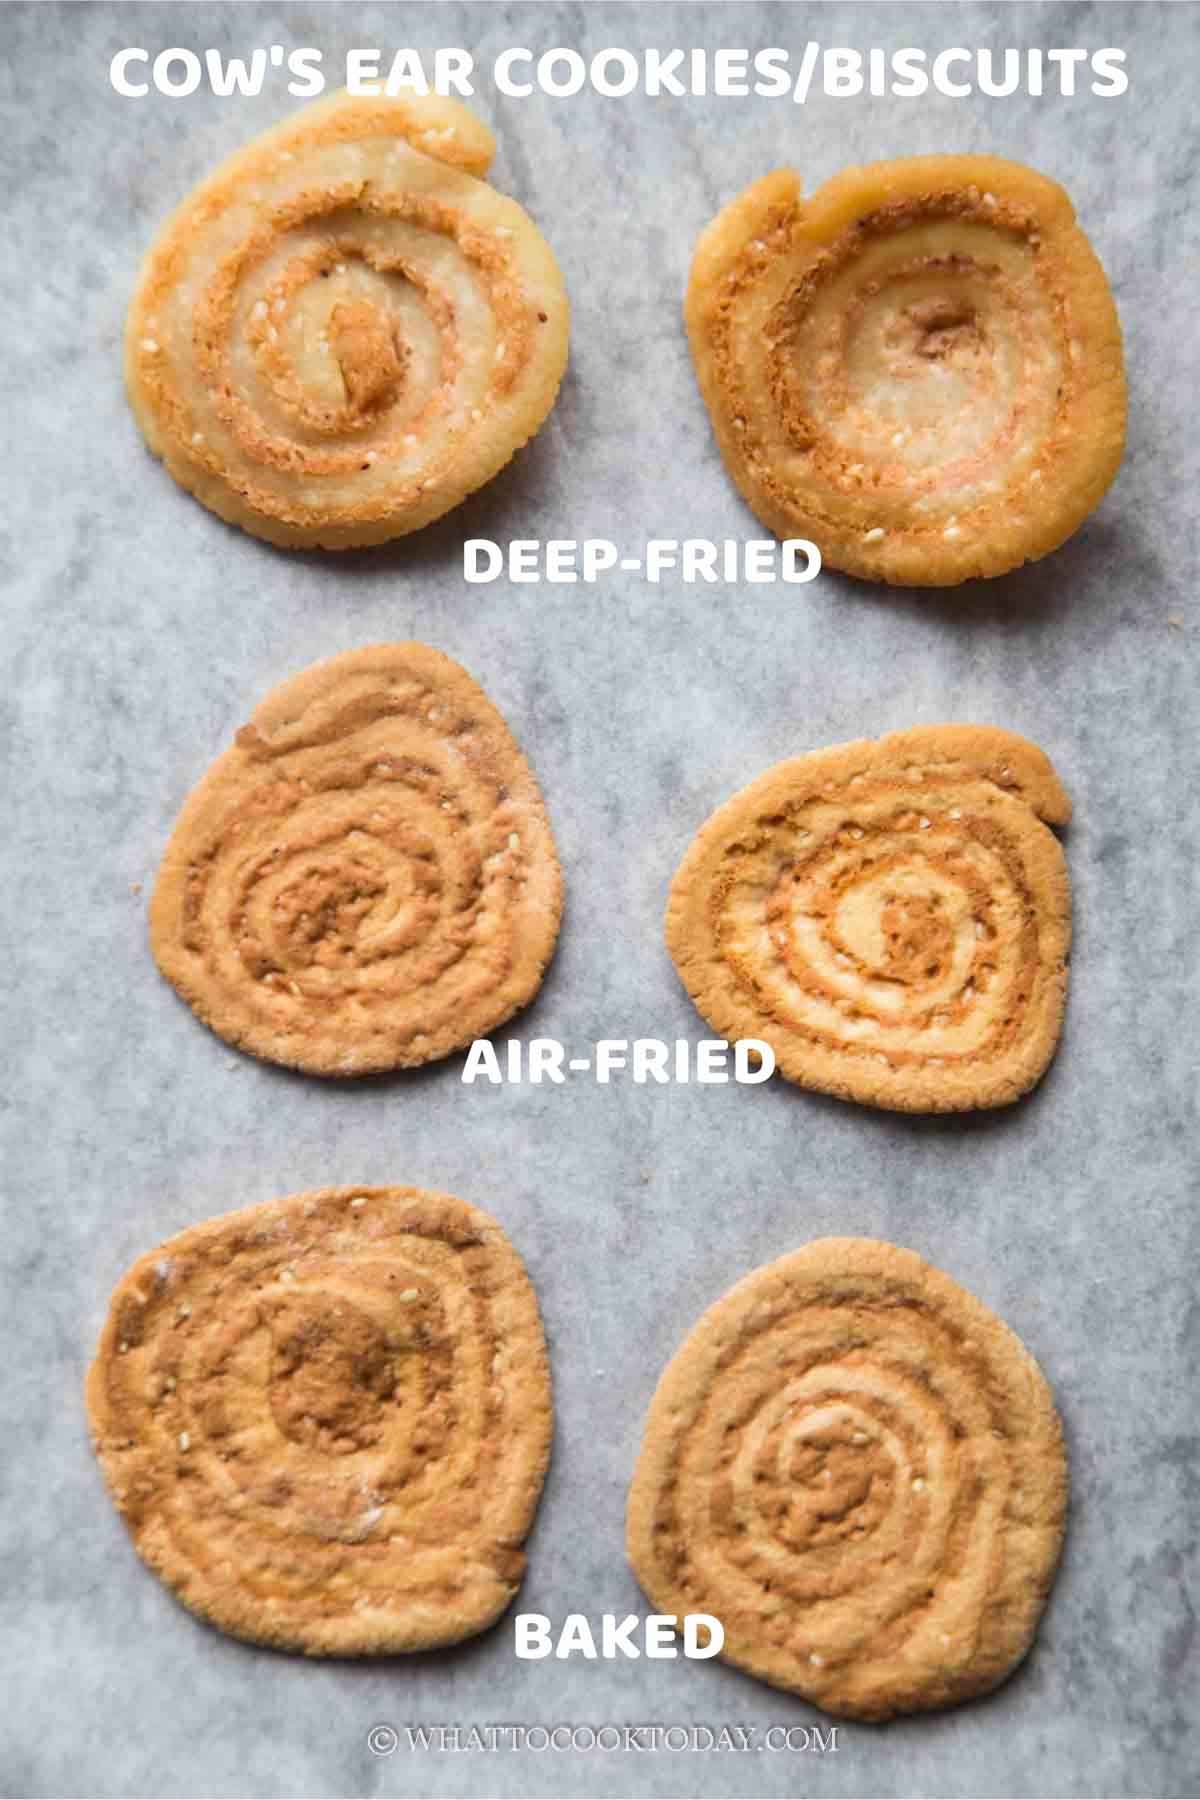
My air-fried and baked version were a bit overcooked. The color shouldn’t be as brown. They may not appear to be crispy when you pull them out from the oven or air fryer but as you cool them down, they will crisp up. So don’t bake them until they are too brown like mine. They are ultra-crispy, but they were dried out because of the overcooking too. My husband said they were good to dunk into a coffee LOL! The fried version was really crispy and light though.

Did you make this cow’s ear cookie/biscuitrecipe?
I love it when you guys snap a photo and tag to show me what you’ve made 🙂 Simply tag me @WhatToCookToday #WhatToCookToday on Instagram and I’ll be sure to stop by and take a peek for real!

You may like these similar recipes

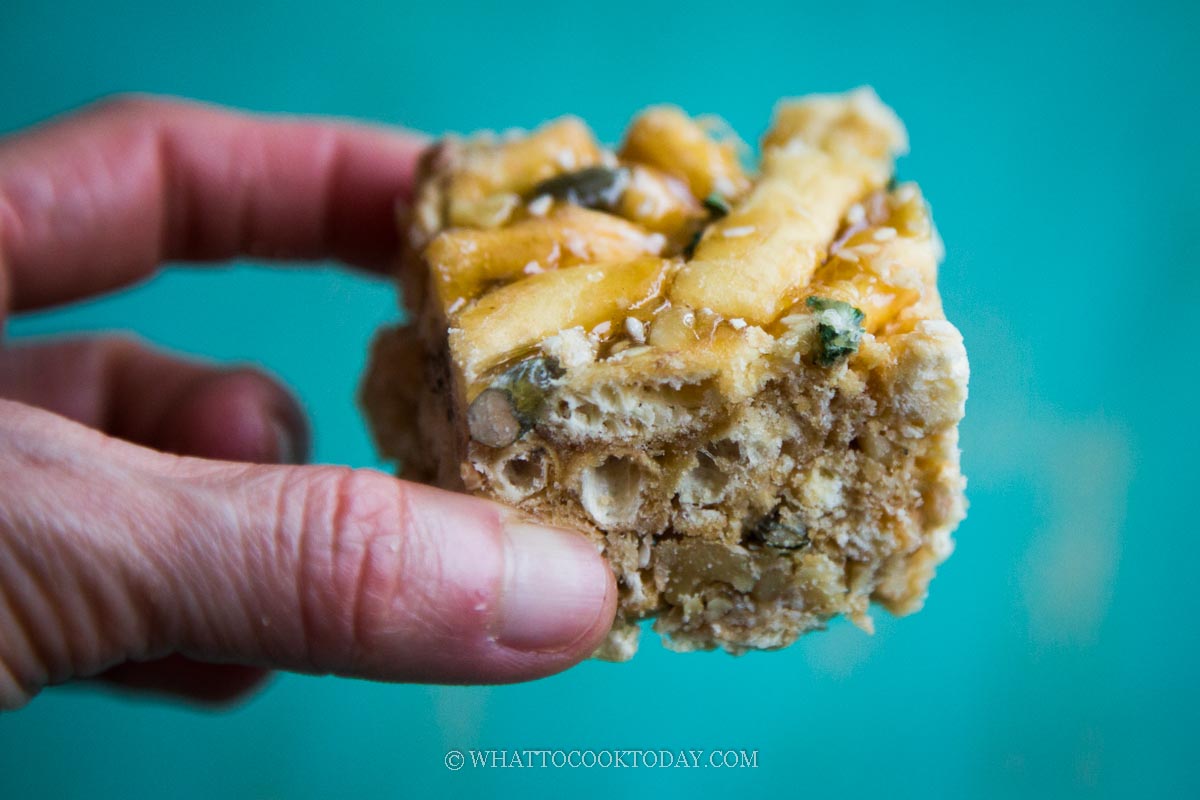
Crispy Sesame Ribbon Biscuits (Sesame Ribbon Cookies)
Chinese Cow's Ear Cookie/Biscuit
Ingredients
Sweet dough:
- 100 gr all-purpose flour
- ¼ tsp baking powder
- ¼ tsp salt
- 50 gr icing sugar
- 15 gr cooking oil
- 30 ml water or as needed
Savory dough:
- 30 gr fermented red bean curd Mashed
- 90 gr all-purpose flour
- 50 gr icing sugar
- ¼ tsp baking powder
- ½ tsp five-spice powder
- 10 gr sesame seeds
- Liquid from the fermented red bean curd (as needed)
- 15 gr cooking oil
For dusting:
- 100 gr rice flour you won't need all
Instructions
Prepare the sweet dough:
- Mix flour, baking powder, icing sugar, and salt. Whisk to combine. Add water and oil and knead into a soft non-sticky dough. Wrap it up while you prepare the savory dough
Prepare the savory dough:
- Use a fork to mash the fermented red bean curd. Mix the flour, sugar, baking powder, five-spice powder, and sesame seeds. Whisk to combine. Add the mashed fermented red bean curd and oil. Knead into a dough. If it's too dry, add the liquid that comes in the jar from the fermented red bean curd, teaspoon by teaspoon until you can get a soft non-sticky dough
Roll the doughs:
- Lightly dust your working surface with some rice flour. Using rice flour adds extra crispiness to the cookie/biscuit when you fry it later
- Roll out the sweet dough into a 10 x 12 inches rectangle, about 1/4-inch thick. You can always fold the extra dough on the four sides over to make it looks more like a neat rectangle (as shown in the photo above). Lightly dust with rice flour as needed. Roll the savory dough into a 10 x 12 inches rectangle separately too. Try to make both doughs as similar in size as possible.
- Brush the top of the sweet dough with some water, not too much, just enough so when yous stack the savory dough on top, they will stick together. Carefully stack the savory dough on top and gently press and smooth it out. Brush the top of the savory dough with some water too and then starting from the side near you, roll it up tightly into a log (like a Swiss roll)
Chill the dough:
- Wrap the dough up and chill in the freezer for 20 minutes. The purpose is so that the dough is firm enough and you can cut it into thin slices. Thin slices will make the cookie/biscuit crispy when you fry or bake them
Cut and bake:
- Preheat oven or air fryer to 340 F (170 C) if you plan to use oven or air fryer. Remove from the freezer and use a sharp knife to thinly cut the dough to about 1/8 inch thickness. If it's not thin enough, you can always use a rolling pin to roll it out a bit thinner too. Arrange on a baking sheet lined with a parchment paper
If you plan to deep fry:
- Preheat about 2 inches of oil in a heavy-bottom saucepan or pot. When you put a skewer or chopstick in the oil and there are bubbles around it, the oil is ready. Lower the heat to low and wait for 1 minute and then add few slices at a time and fry for about 2 minutes or so and you can increase the heat a bit to medium-low and continue to fry until they are golden brown and crispy. Remove from the oil to an absorbent paper towel to drain off the excess oil. They will crisp up further when they have cooled down completely
If you plan to bake or air fry:
- Brush the top side of the cookie with a bit of cooking oil. Put in the middle rack of the oven and bake for 15 minutes and then flip to the other side and brush with a bit of oil and bake for another 10 minutes or until they are just a bit slightly golden on the edge (mine were a bit overbaked or over air-fried LOL). They will crisp up further when they have cooled down completely. Remove to a cooling rack to let them crisp up further
- For air-fryer, line the bottom of the basket with parchment paper then arrange the dough slices on top, brush with a bit of oil and air fry for about 2-3 minutes and then check to see if they are firmed enough for you to flip over to the other side. If they aren't, continue for another minute and then check again. If they are firm enough, flip to the other side and brush with a bit of oil and air fry for another 1-2 minutes or until crispy and just slightly golden brown. Remove to a cooling rack to let them crisp up further
Storing:
- Store them in an air-tight container after they have cooled down completely. The cookies stay crispy for at least one week in my case (because they didn't last more than a week LOL).


2 comments
Thank you for the recipe, it’s the best one I’ve tried so far. Things I did differently: 1) rolled both doughs between 2 sheets of parchment paper, eliminating need for dusting with rice flour; 2) after slicing the dough, I flattened each piece with a tortilla press which I found made almost-perfect rounds; 3) baked in 350F convection oven for 9 minutes, rotating tray from front to back after 5 minutes. The results were light and crispy!
Thank you for sharing your tips Gina.I’m glad you like them! I should use a tortilla press too, I have one LOL! never thought of it ha..ha..brilliant idea!