This post may contain affiliate links. Please read our disclosure policy.
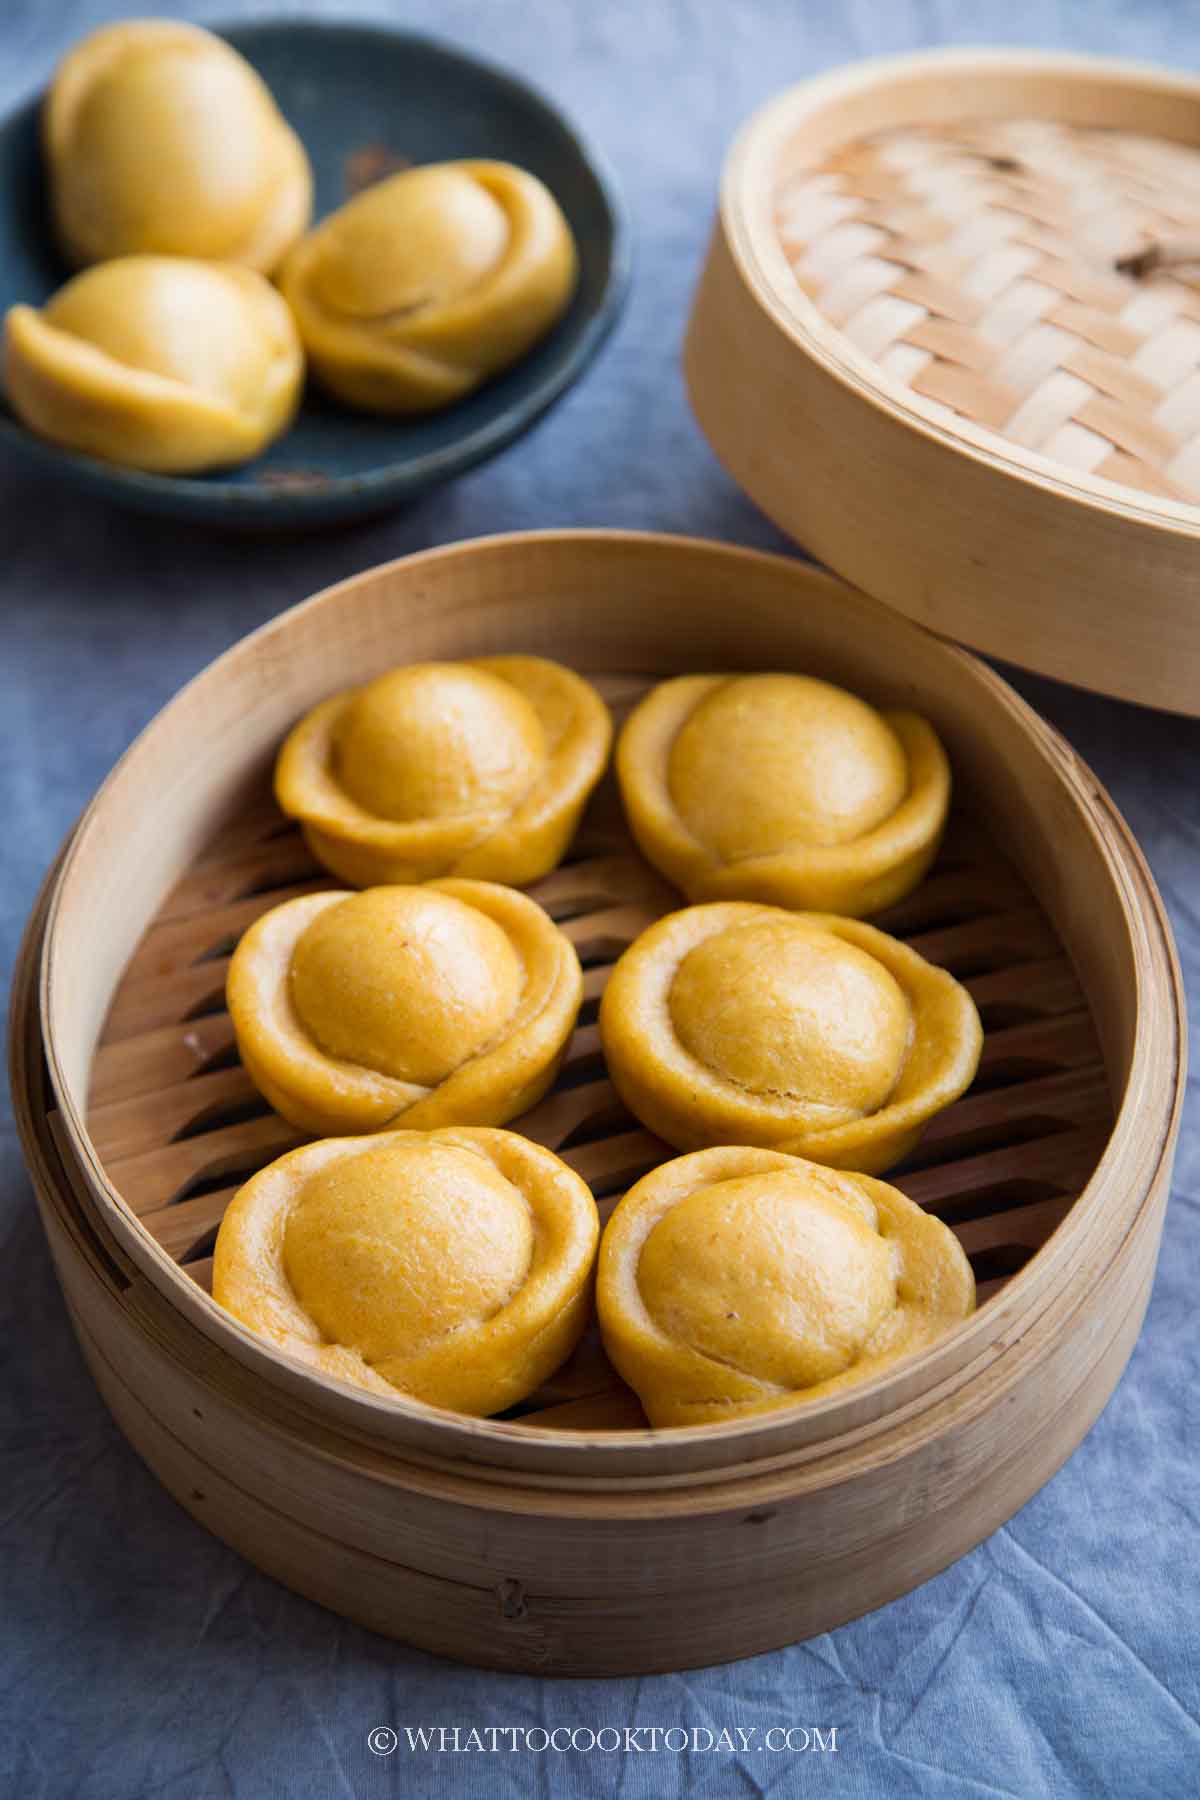
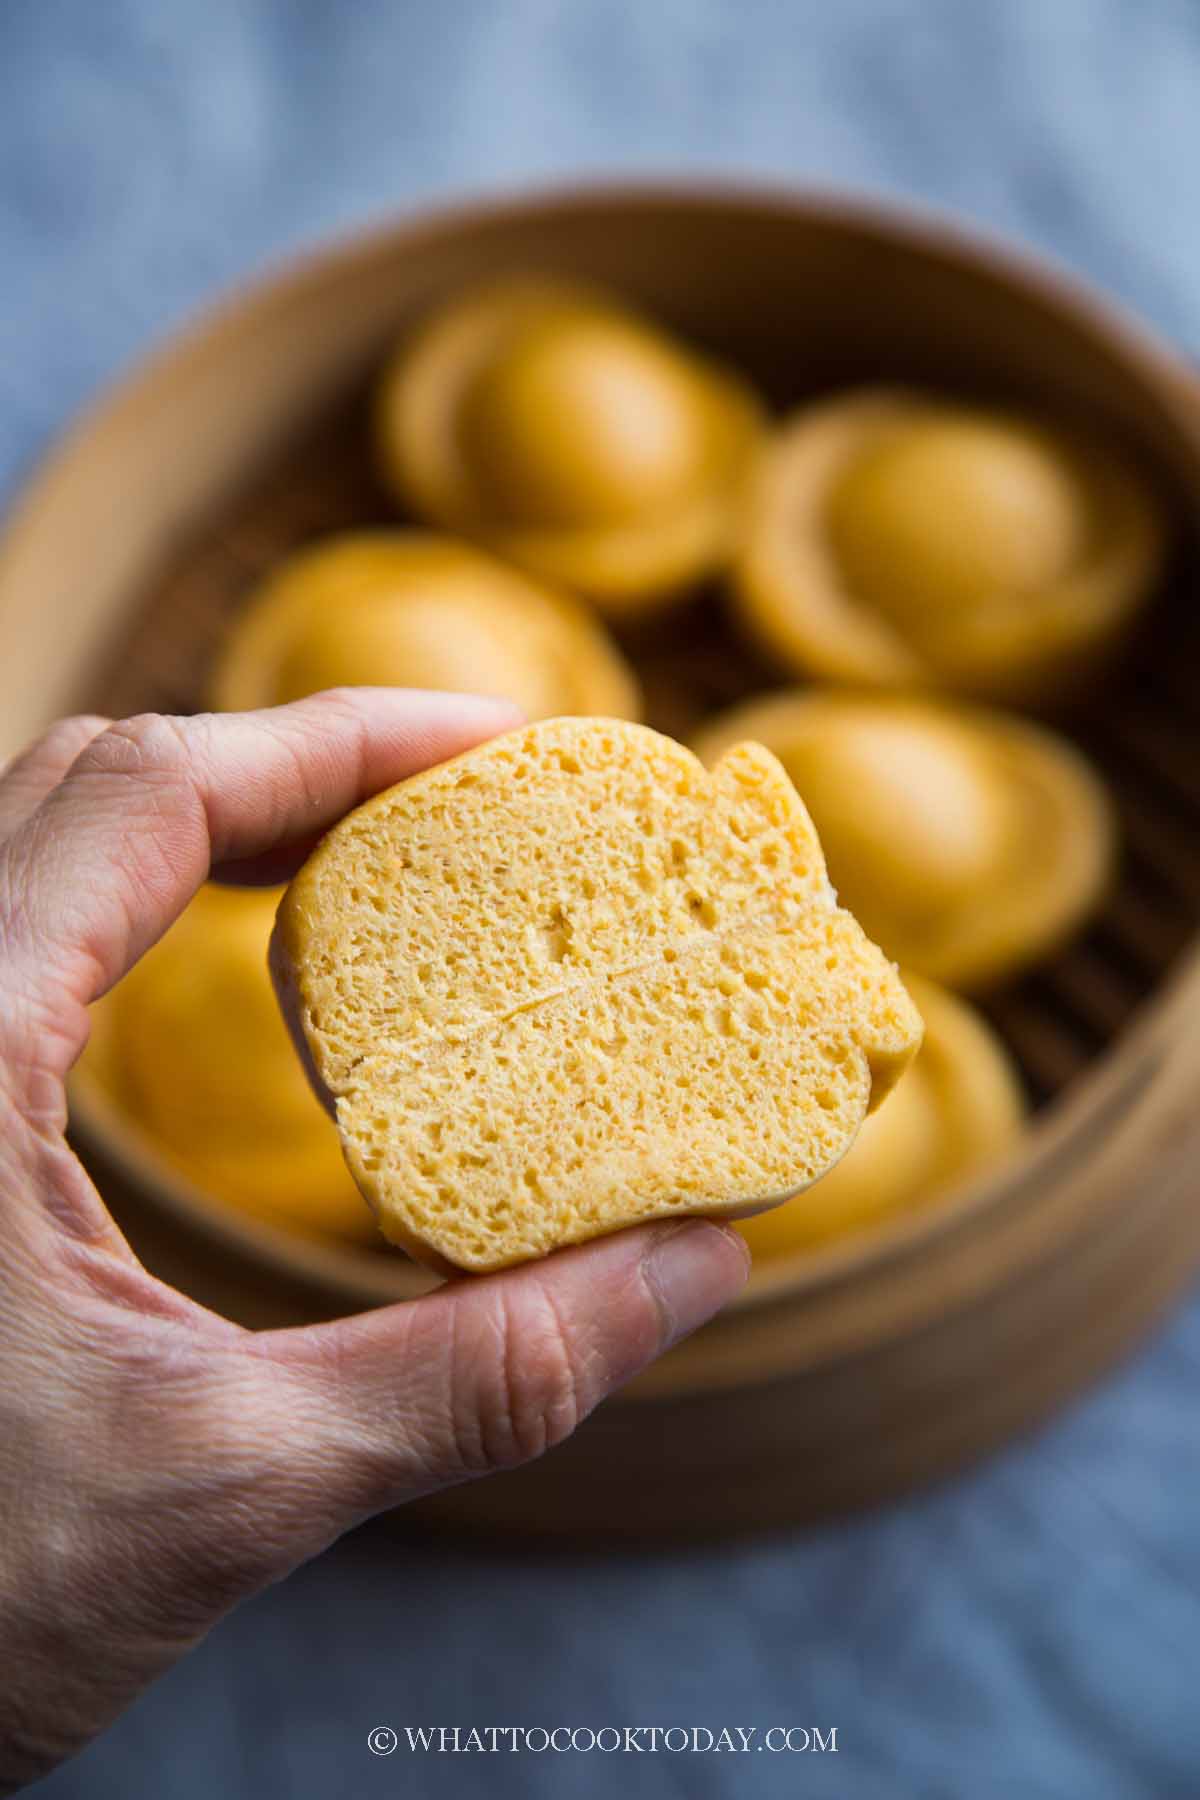
Soft fluffy steamed buns with natural color from pumpkin and shaped into Chinese gold ingot (jin yuanbao) that symbolize prosperity to welcome the Chinese New Year
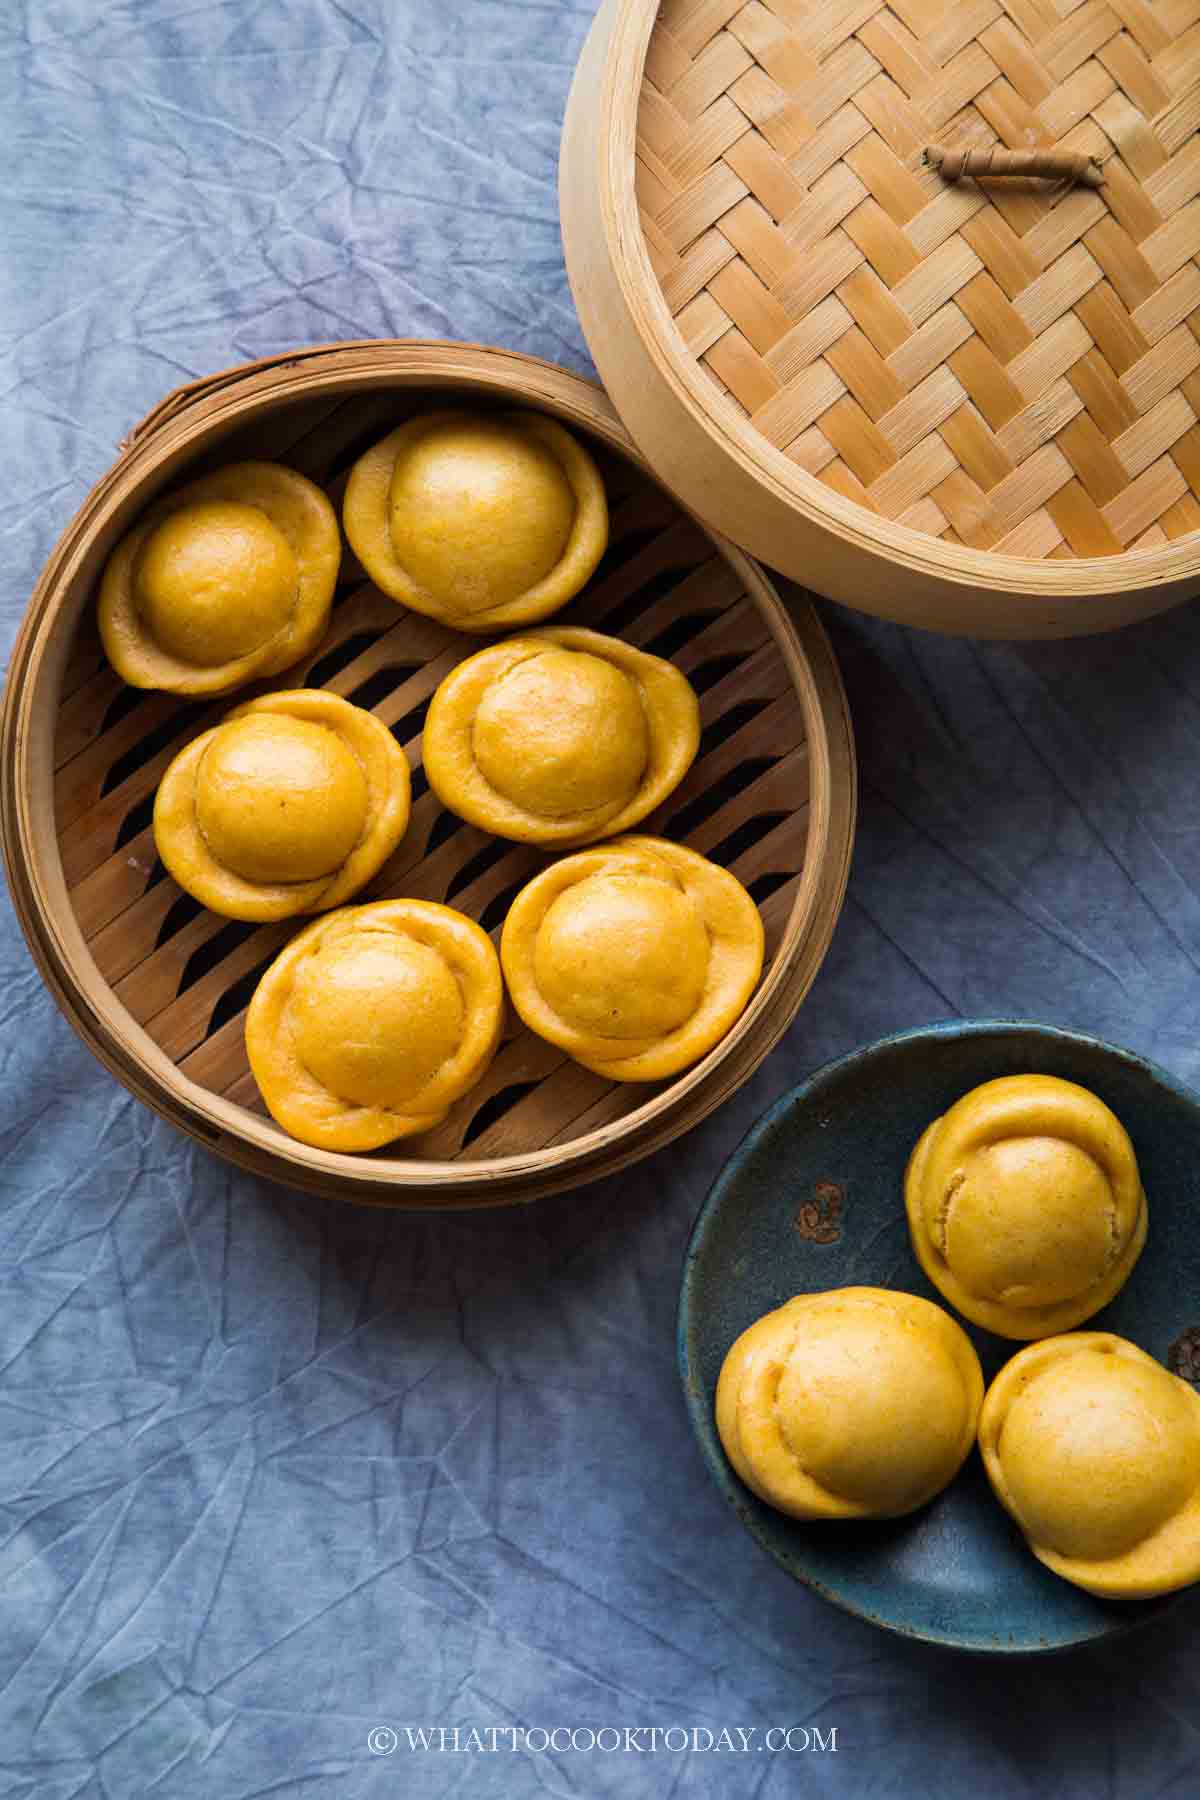
I’m still in the Chinese New Year mood. Two years ago I made the piggy steamed buns. Last year I made the rat steamed buns. This year I made this Chinese gold ingot steamed buns. They look like ancient Chinese gold ingot. An edible gold ingot 🙂 I used my pumpkin hua juan recipe, which is based on my basic soft and fluffy steamed buns recipe
The recipe rundown
Taste: This is a basic plain steamed buns with hint of aroma from pumpkin. You can increase the sweetness level. They can be filled with savory or sweet filling of your choice
Texture: Soft and fluffy
Level: Medium
Pros: No artificial coloring. The buns only need one-time proofing
Cons: A little bit time consuming to shape the buns, but not too bad
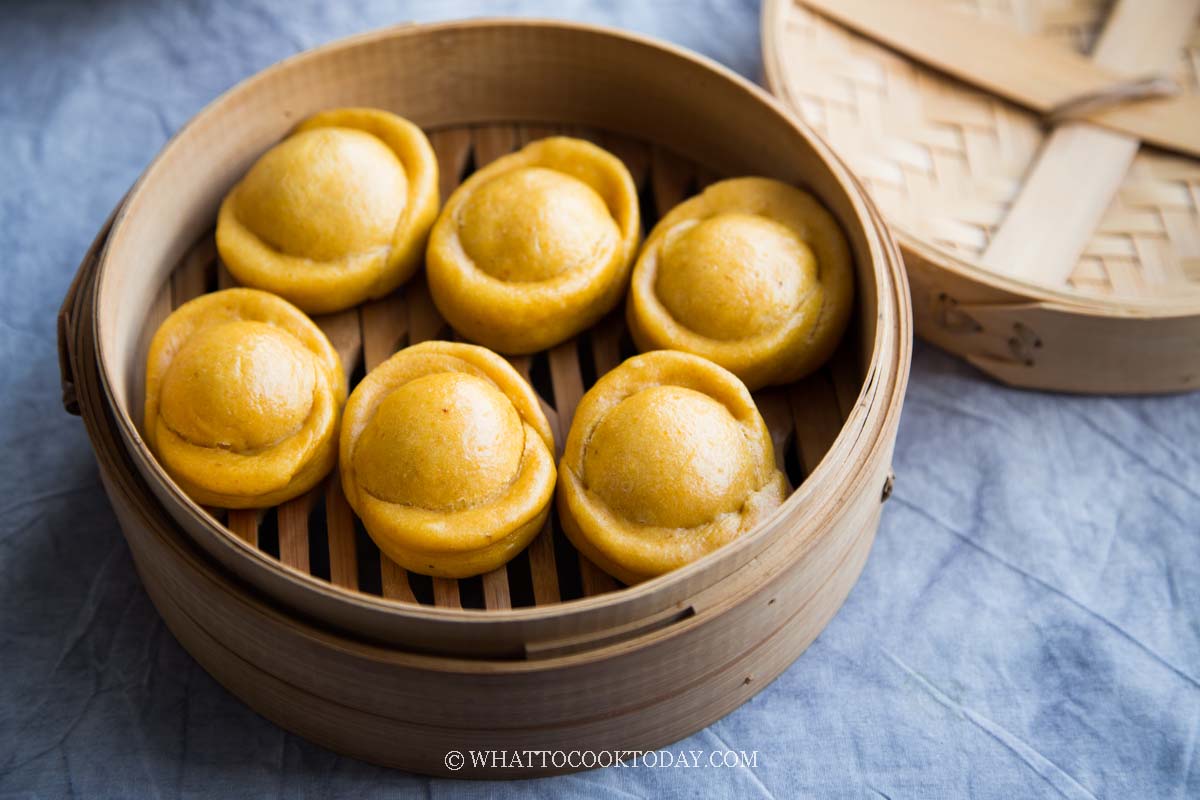
How to make soft fluffy gold ingot steamed buns
1. Place all ingredients for the dough in a mixing bowl, except for the water.
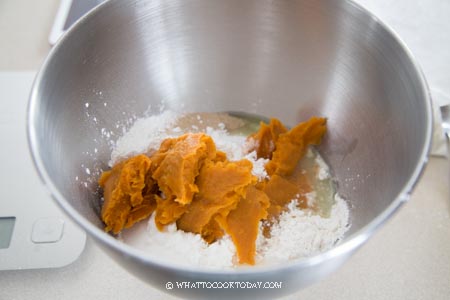
2. Use the dough hook attachment and start kneading the dough. Depending on how much liquid is in the mashed pumpkin, you may add a bit water, teaspoon by teaspoon if needed
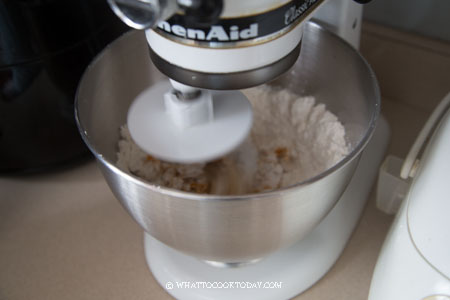
3. Knead the dough on medium speed for 5 minutes until it is smooth and rest the dough for 15 minutes. This is not to proof the dough. It’s to relax the gluten for easier shaping later
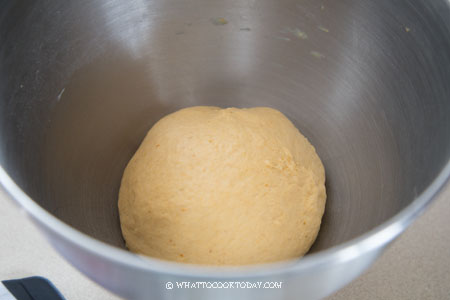
4. Divide the dough into 16 small equal portions. Lightly dust your working surface with a bit of cake flour if needed
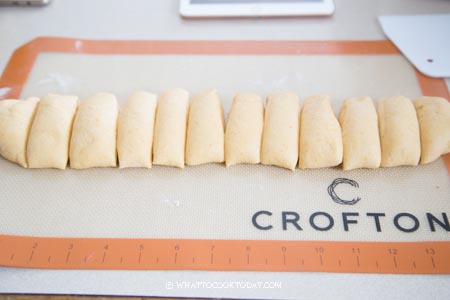
5. Keep them covered. Work with one at a time
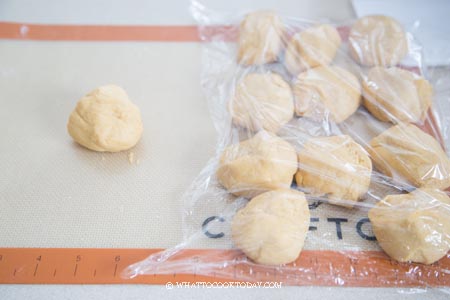
6. Take one dough and divide that one into two
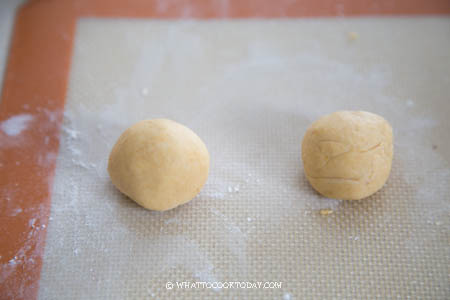
7. Roll one of them into a round ball. Roll the other one flat into about 2-inch round circle. Cut the circle in half.
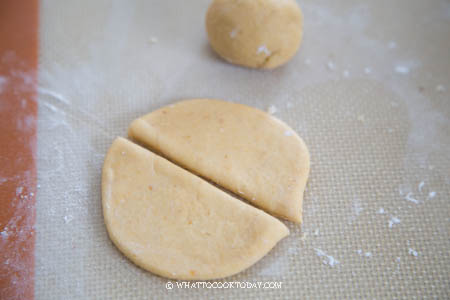
8. Wet the bottom edge with a bit of water and attach them to the round ball to form a gold ingot (refer to the step-by-step photo instructions above if you are unclear)
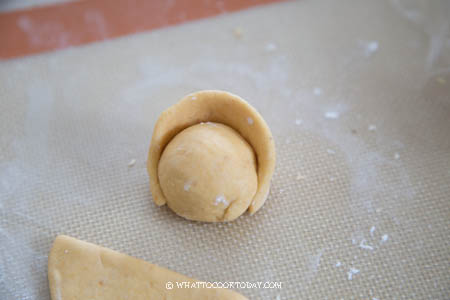

9. Place on a piece of parchment paper and place on a tray. Repeat with the rest of the dough
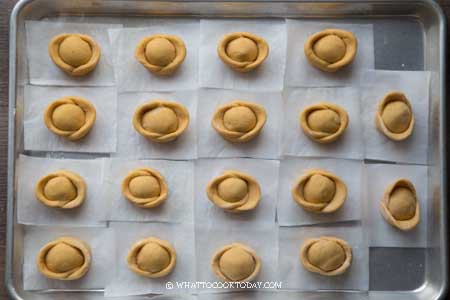
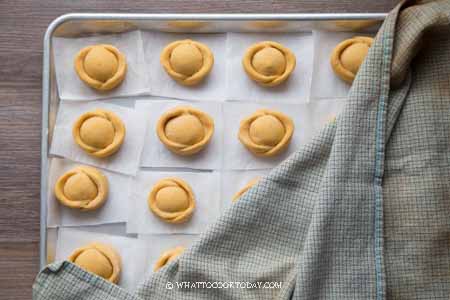
10. Cover the dough with a clean kitchen towel and let them proof in a warm place until they are 50% larger than the original size. This may take somewhere from 30 minutes to 1 hour depending on the temperature
11. Bring the water in your steamer to a rolling boil. Wrap the steamer’s lid with a cloth
LOWER THE HEAT TO MEDIUM. Place the buns in there, leaving about 1-inch space in between
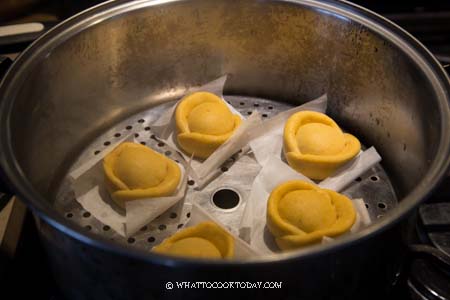
12. Cover with a lid but leaving it about 1/4-inch gap for some steam to escape and the buns will not wrinkle. Steam on medium heat for 8 minutes

13. After 8 minutes, turn off the heat and let them sit for another 1 minute so the steamed buns won’t shrink due to sudden temperature change
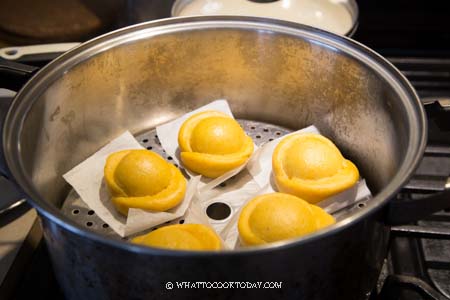
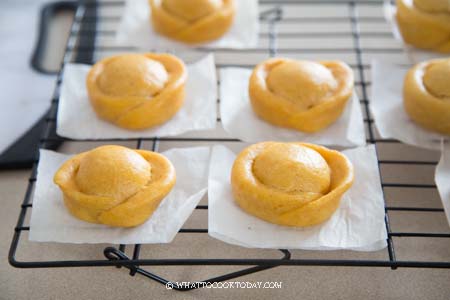
14. Remove from the steamer to a cooling rack so the bottom of the buns will not be wet and soggy

How to store steamed buns
1. Freshly steamed buns can be kept at room temperature for 2-3 days. Simply let them cool down completely and then individually wrap with a cling wrap and then put inside a zipper bag. They stay reasonably soft, but won’t be as soft as when they are warm. This is normal as we do not put any dough conditioner and other chemicals like the store-bought ones for longer shelf-life.
2. For longer storage, you can store individually wrap steamed buns in the freezer bag, push all the air out and seal. Keep in the freezer for up to one month for best result. You can reheat in the steamer without thawing. Steam for 5-8 minutes or until heated through
Did you make this Chinese gold ingot steamed buns recipe?
I love it when you guys snap a photo and tag to show me what you’ve made 🙂 Simply tag me @WhatToCookToday #WhatToCookToday on Instagram and I’ll be sure to stop by and take a peek for real!
Chinese Golden Ingot Steamed Buns (Jin Yuanbao Baozi)
Ingredients
- 180 gr all-purpose flour 1 cup + 5 Tbsp
- 180 gr cake flour 1 cup + 5 1/2 Tbsp, plus more for dusting
- 4 gr instant yeast about 1 1/4 tsp
- 60 gr sugar about 5 Tbsp, more if you want it sweeter
- 200 gr mashed pumpkin
- 1 tsp oil
- 50 ml cold/room temperature water start with this amount. You may or may not need more liquid
Instructions
Making the dough with a machine:
- Place all ingredients for the dough in a mixing bowl, except for the water. Use the dough hook attachment and start kneading the dough. Depending on how much liquid is in the mashed pumpkin, you may add a bit water, teaspoon by teaspoon if needed. Knead the dough on medium speed for 10-12 minutes until it is smooth and very stretchy
Making the dough by hands:
- Place all ingredients for the dough in a mixing bowl, except for the water. Mix until you get a rough dough (it's not going to be smooth yet) and add water a bit by a bit as needed. Cover and rest it for 15 minutes. Then go back and knead it. You'll be surprised by how easier it is to knead it now. Knead until the dough is smooth and pliable, about 15-20 minutes. At any point during kneading, you can always stop and rest the dough if you find it hard to knead. This is to relax the gluten. Then go back to knead again and you'll be surprised by the difference it makes by just resting the dough before kneading again. It's easier for you too
Rest the dough:
- Cover and rest the dough for 15 minutes. This is not to proof the dough. It shouldn't double in size. This is to relax the gluten for easier shaping and rolling the dough
Shape:
- Divide the dough into 16 small equal portions. Keep them covered. Work with one at a time. Take one dough and divide that one into two. Roll one of them into a round ball. Roll the other one flat into about 2-inch round circle. Cut the circle in half. Wet the bottom with a bit of water and attach them to the round ball to form a gold ingot (refer to the step-by-step photo instructions above if you are unclear). Place on a piece of parchment paper and place on a tray. Repeat with the rest of the dough.
Proof the dough:
- Cover the dough with a clean kitchen towel and let them proof in a warm place until they are 50% larger than the original size. This may take somewhere from 30 minutes to 1 hour depending on the temperature
Test the dough:
- When you gently press on the dough, it should slowly bounce back. If it bounces back immediately, it needs to be proofed longer. Also, lift the dough up to feel if they are lighter. A nicely proofed dough will feel much lighter than before. They won't necessarily double in size, but will be at least 50% larger than the original size. When all these three are met, the buns are ready to be steamed
Steam the buns:
- Bring the water in your steamer to a rolling boil. Wrap the steamer's lid with a cloth
- LOWER THE HEAT TO MEDIUM. Place the buns in there, leaving about 1-inch space in between. Cover with a lid but leaving it about 1/4-inch gap for some steam to escape and the buns will not wrinkle. Steam on medium heat for 8 minutes
- After 8 minutes, turn off the heat and let them sit for another 1 minute so the steamed buns won't shrink due to sudden temperature change. Remove from the steamer to a cooling rack so the bottom of the buns will not be wet and soggy


3 comments
Do I need to leave about 1/4-inch gap for some steam to escape if I am using bamboo steamer?
Hi Kim, yes, I usually do the same with bamboo steamer too.
Thank you very much! This recipe was the best and I have tried many that were not to my liking.