This post may contain affiliate links. Please read our disclosure policy.
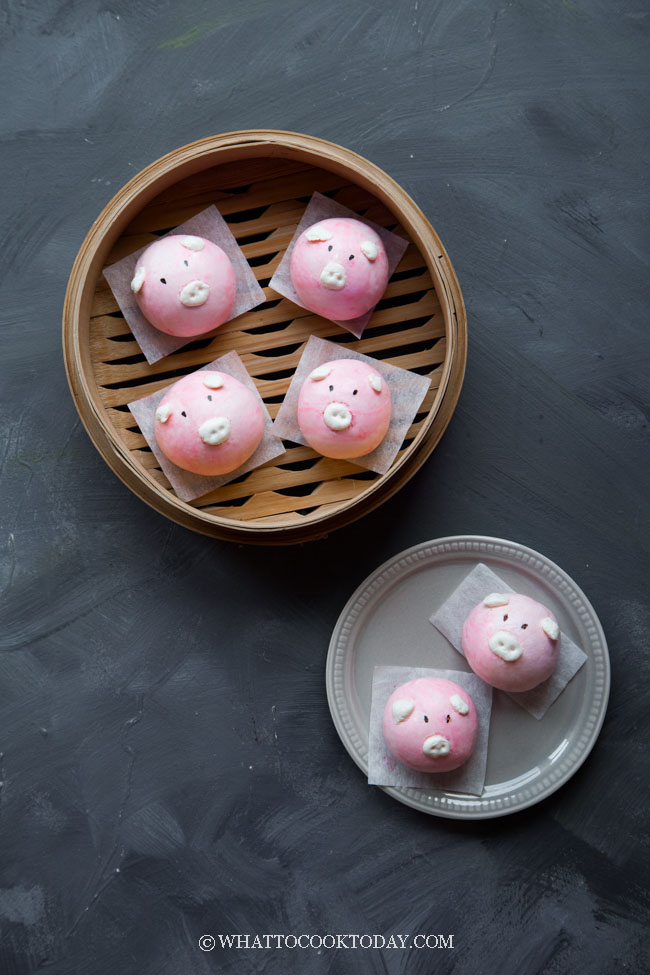
Soft fluffy basic mantou recipe are shaped into little piggies are sure to steal everyone’s heart. Making them is as fun as eating them. A video recipe is included for your reference.
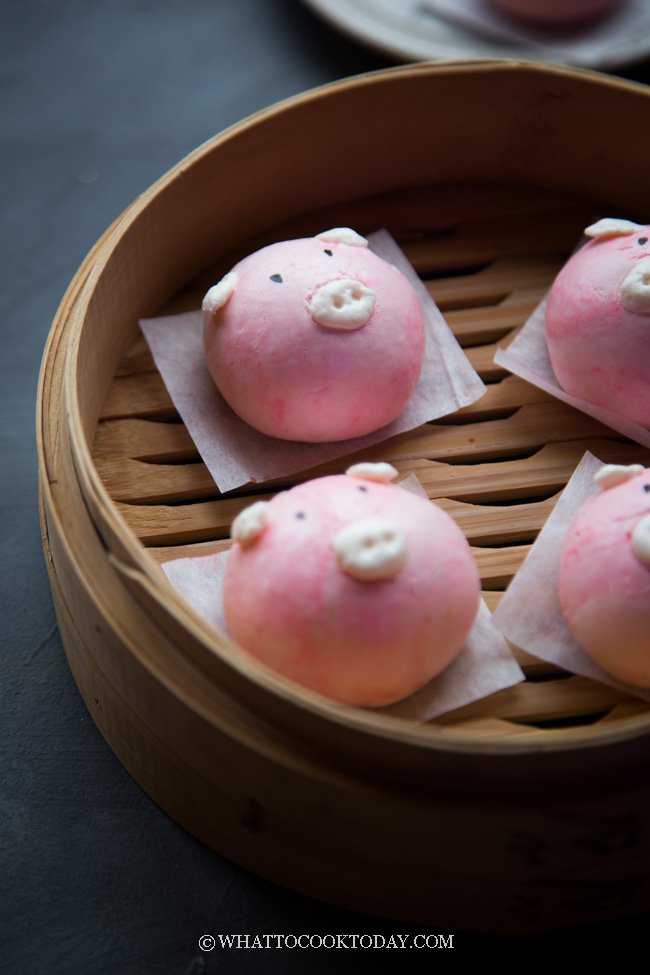
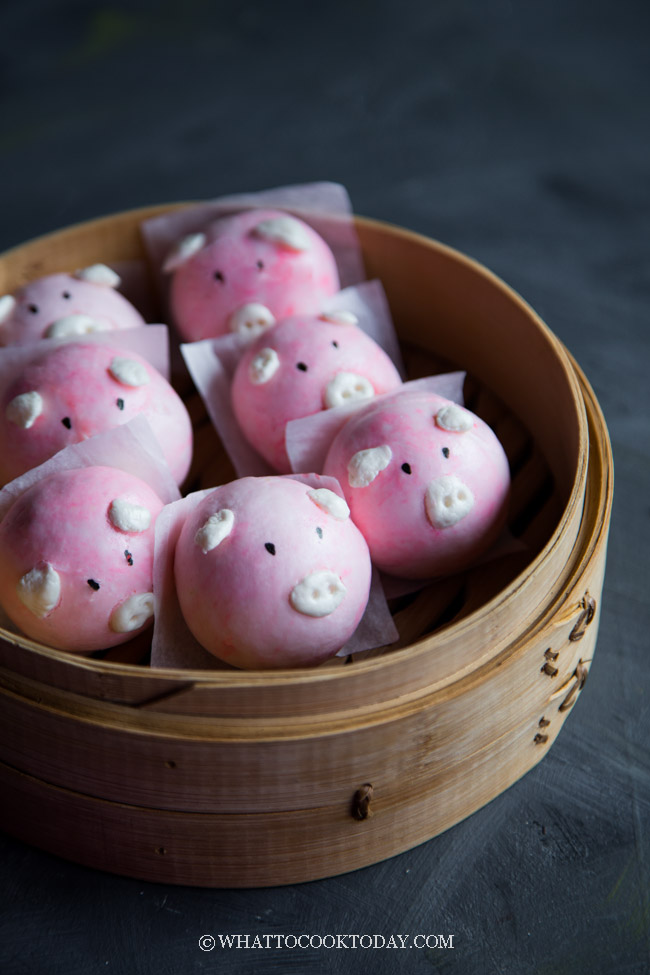
Easy Sweet Piggy Steamed Buns
THE YEAR OF THE PIG
Chinese New Year is coming up on and it is going to be the year of pig. Yeah…that’s where the inspiration is from 😉 I used my Soft and fluffy Chinese Steamed Buns recipe and sweetened it more as I did not put any sweet filling inside. These piggies are just basic lightly sweetened (sweeter than plain steamed buns) steamed buns. They are so fun to make though. Opening the lid of the steamer to reveal all these cute little pink piggies inside just melts my heart
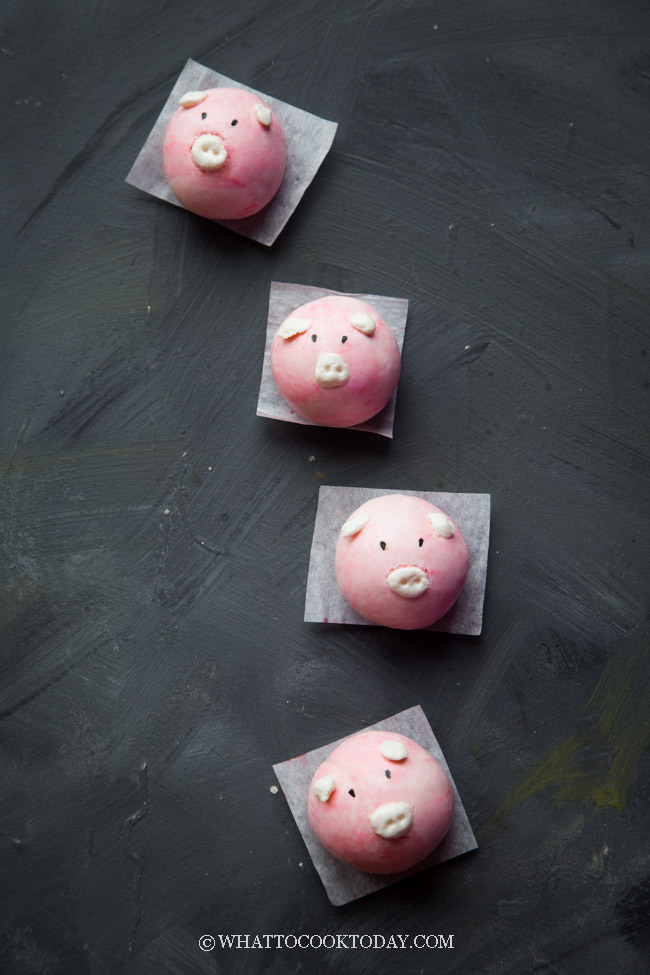
But, Chinese New Year or not..these piggy steamed buns are good anytime of the year. My son said “Mama, I want these piggies for my birthday next year”. I said “Piggy steamed buns for birthday? Are you sure?” He was like “Why not? Asian people eat steamed buns and we are Asian”. LOL! I couldn’t stop cracking up when I heard that! I’m sure he will change his mind again when something new comes up 😉
PERFECT WITH SAVORY OR SWEET FILLING TOO
I have made them just plain without filling and with a sweet filling like dou sha bao. But you can certainly filled them with savory filling like char siu bao
THE EYES, SNOUTS, AND EARS
The snouts and ears are made with dough.
The eyes are drawn with this black edible marker. You can always use black sesame seeds too.
*Tips if using edible marker: draw the eyes with an edible marker, do so only after the buns are steamed because the color may bleed a little bit when it’s steamed
How to make piggy steamed buns (mantou)
1. Start with my basic mantou recipe
Pinch of about 20 gr of the steamed buns to make the piggies’ snouts and ears. Wrap it with plastic wrap to prevent it from drying out. Drop the red food coloring on the rest of the dough to make a pink color and continue to knead until the color is even, about 3 minutes
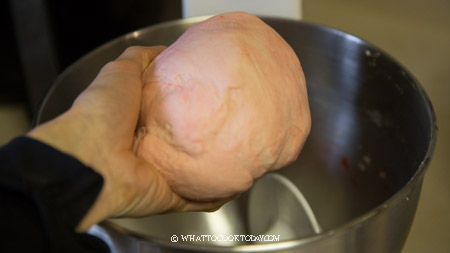
2. Divide the dough into 12 equal portions.
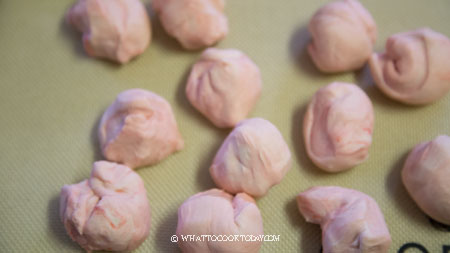
3. Work with one dough at a time and cover the rest. If you want to put a sweet or savory filling, shape the dough like a bowl (as shown in the photo and video)
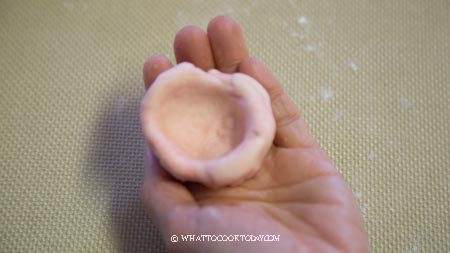
4. Place the filling in there
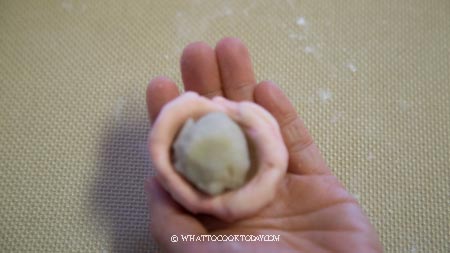
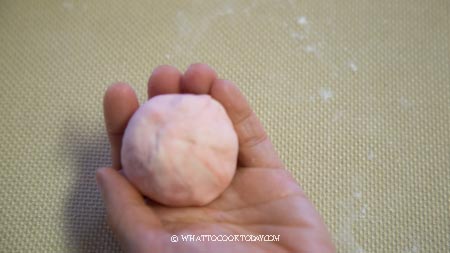
5. Stretch the dough to seal. Otherwise, you can just roll the dough into round if you don’t want to put any filling. Place on a parchment paper. Continue with the rest of the dough and keep them covered
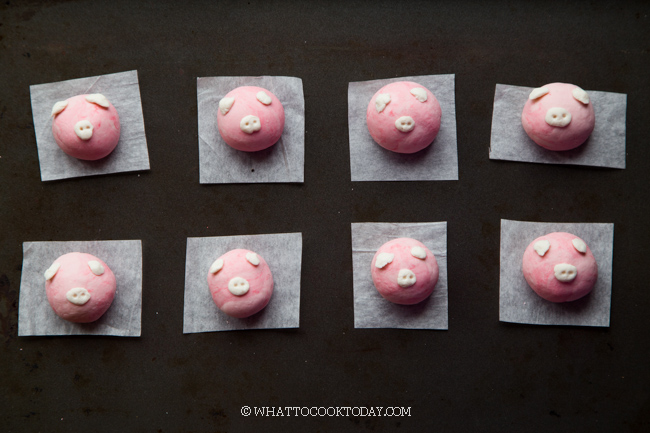
6. Use the white dough that you pinch off earlier and make 24 pigs’ ears and 12 snouts. Roll them into rounds and flatten to shape into flat pigs’ ears and use a toothpick to make two depressions on each snout. Place two black sesame seeds for the eyes
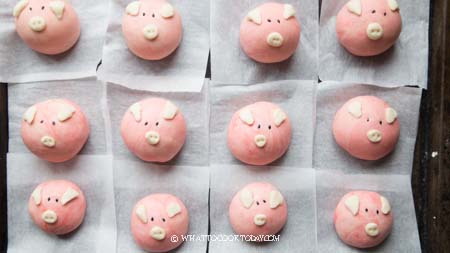
7. Let the dough proof at a warm place. If it’s winter where you are, you can use your oven “bread proof” function to let them proof in there, or simply turn on your oven to the lowest temperature and then turn off and after 15 minutes, place the shaped buns in there to let them proof. They won’t necessarily double in size, but at least puff up to about 50% of the original size. It may take somewhere between 30 minutes to 1 hour, depending on the temperature
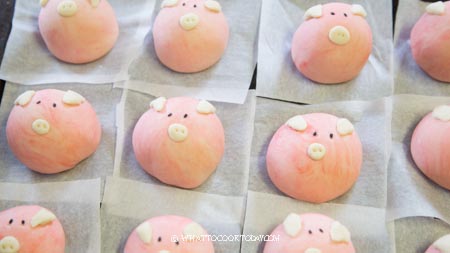
8. Bring the water in your steamer to a boil. Wrap the lid of your steamer with a kitchen towel to prevent moisture dripping back on the steamed buns as this will create “burn” spots
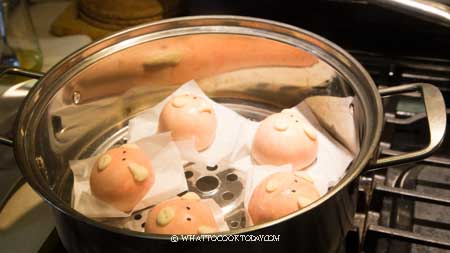
9. LOWER THE HEAT TO MEDIUM. Place the buns in there, leaving about 1-inch space in between. Cover with a lid but leaving it about 1/4-inch gap for some steam to escape. Steam on medium heat for 8 minutes
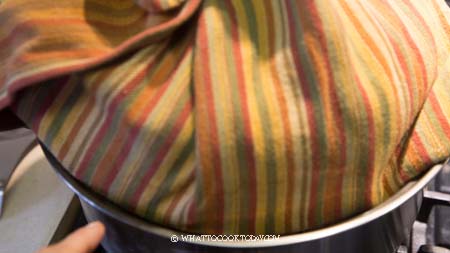
10. After 8 minutes, turn off the heat. DO NOT OPEN THE LID of the steamer. Let the buns sit there for 1 minute like this and then open the lid
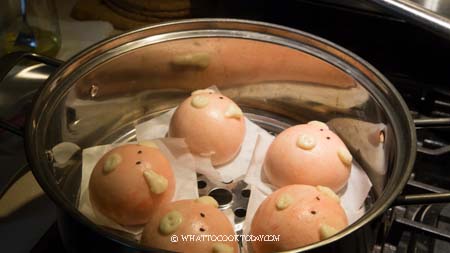
11. Remove the buns and place them on a cooling rack immediately so the bottom of the buns won’t be wet and soggy
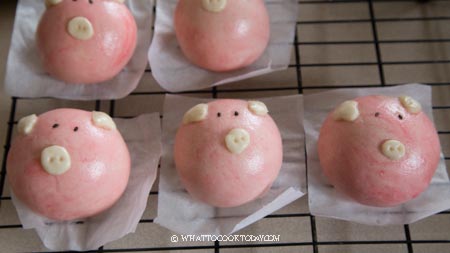
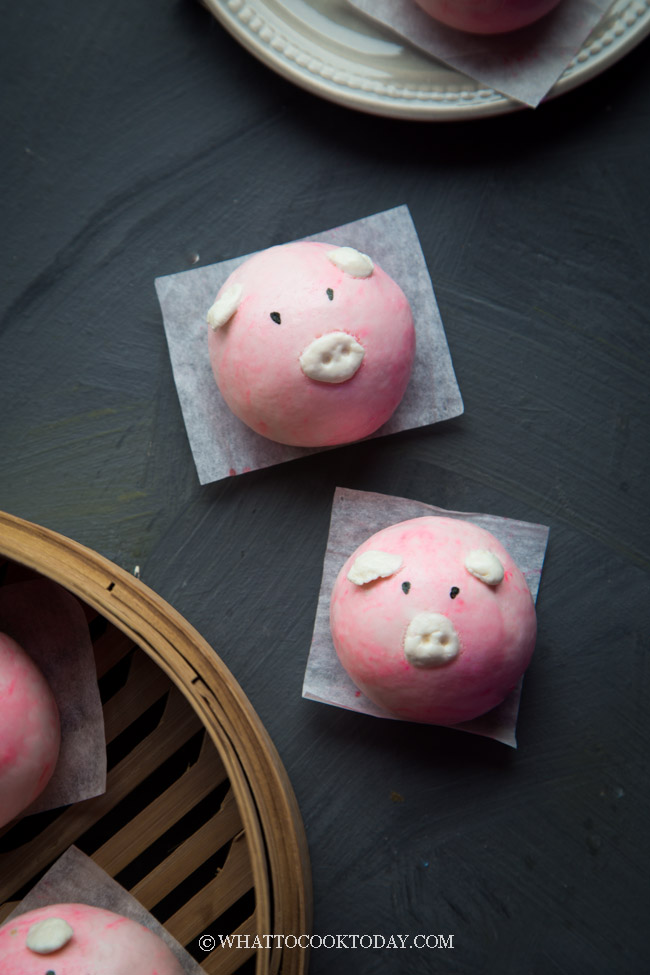
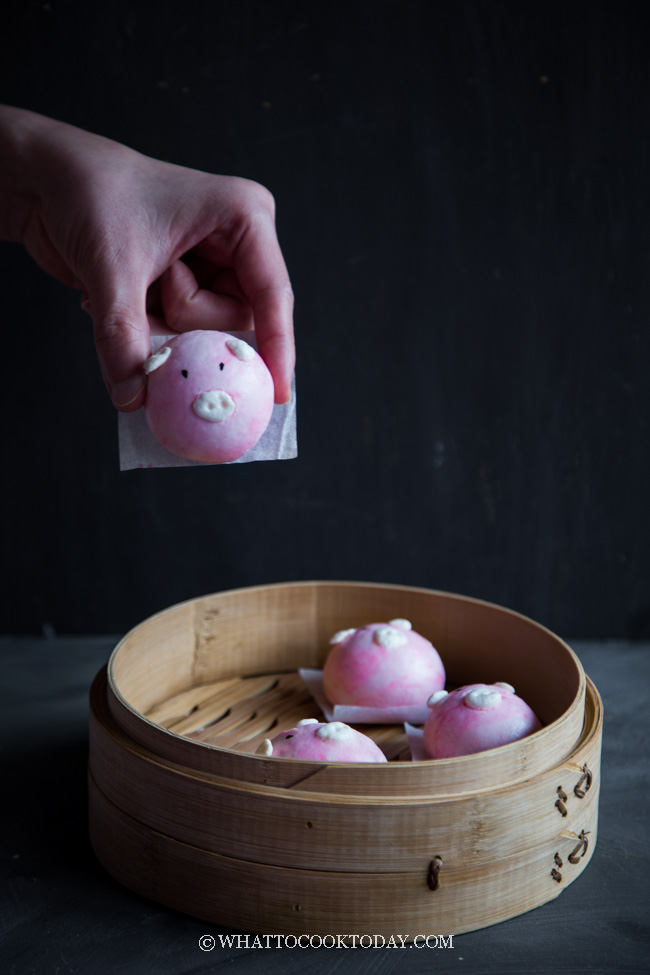
Too cute to eat? But again there’s no such things as too cute to eat at our house 🙂
All the tips you need to know about making nice smooth steamed buns are here
Pillow-Soft Piggy Steamed Buns (Mantou/Baozi)
Ingredients
Option 1:
- 300 gr all-purpose flour 2 cups + 2 Tbsp, plus more for dusting
- 60 gr wheat starch 10 Tbsp, or use potato starch or cornstarch
Option 2:
- 180 gr all-purpose flour 1 cup + 5 Tbsp, plus more for dusting
- 180 gr cake flour 1 cup + 5 1/2 Tbsp
For both options:
- 4 gr Instant yeast see notes 1
- 30 gr sugar
- 1 Tbsp cooking oil
- Start with 200 ml milk or water about 13 1/2 Tbsp, room temperature plus more to dab the buns later
- 2 drops gel red food coloring
For the eyes: (use either one):
- Black sesame seeds for the eyes
- Edible marker for the eyes if not using black sesame seeds
Filling ideas (use any one of these):
Instructions
Make the dough with a machine:
- Place the flour combination (either option 1 or 2), instant yeast, sugar, and cooking oil in a mixing bowl. If you are using a stand mixer, use a dough hook attachment. Gradually add in milk or water. You may need more than 200 ml most likely (or not). Add more teaspoon by teaspoon until the dough comes together and continue to knead for 5 minutes until the dough is very stretchy and smooth
- Pinch of about 20 gr of the steamed buns to make the piggies' snouts and ears. Wrap it with plastic wrap to prevent it from drying out. Drop the red food coloring on the rest of the dough to make a pink color and knead for another 8-10 minutes until the color is even and the dough should be smooth and very stretchy
Make the dough by hands:
- Place the flour combination (either option 1 or 2), instant yeast, sugar, and cooking oil in a mixing bowl. Mix until you get a rough dough (it's not going to be smooth yet). Cover and rest it for 15 minutes. Then go back and knead it. You'll be surprised by how easier it is to knead it now. Knead until the dough is smooth and pliable, about 10-15 minutes. At any point during kneading, you can always stop and rest the dough if you find it hard to knead. This is to relax the gluten. Then go back to knead again and you'll be surprised by the difference it makes by just resting the dough before kneading again. It's easier on you too.
- Pinch of about 20 gr of the steamed buns to make the piggies' snouts and ears. Wrap it with plastic wrap to prevent it from drying out. Drop the red food coloring on the rest of the dough to make a pink color and continue to knead until the color is even
SHAPING:
- Divide the dough into 12 equal portions. Work with one dough at a time and cover the rest. If you want to put a sweet or savory filling, shape the dough like a bowl (as shown in the photo and video). Place the filling in there and stretch the dough to seal. Otherwise, you can just roll the dough into round if you don't want to put any filling. Place on a parchment paper. Continue with the rest of the dough and keep them covered
- Use the white dough that you pinch off earlier and make 24 pigs' ears and 12 snouts. Roll them into rounds and flatten to shape into flat pigs' ears and use a toothpick to make two depressions on each snout. Place two black sesame seeds for the eyes
- If you choose to draw the eyes with an edible marker, do so only after the buns are steamed because the color may bleed a little bit when it's steamed
PROOFING:
- Let the dough proof at a warm place. If it's winter where you are, you can use your oven "bread proof" function to let them proof in there, or simply turn on your oven to the lowest temperature and then turn off and after 15 minutes, place the shaped buns in there to let them proof. They won't necessarily double in size, but at least puff up to about 50% of original size. It may take somewhere between 30 minutes to 1 hour, depending on the temperature
STEAMING:
- Bring the water in your steamer to a boil. Wrap the lid of your steamer with a kitchen towel to prevent moisture dripping back on the steamed buns as this will create "burn" spots
- LOWER THE HEAT TO MEDIUM. Place the buns in there, leaving about 1-inch space in between. Cover with a lid but leaving it about 1/4-inch gap for some steam to escape. Steam on medium heat for 8 minutes
- After 8 minutes, turn off the heat. DO NOT OPEN THE LID of the steamer. Let the buns sit there for 1 minute like this and then open the lid and remove the buns and place them on a cooling rack immediately so the bottom of the buns won't be wet and soggy
STORING:
- If you make extra and plan to store the cooked steamed buns, place them on a baking sheet, not touching each other, and then put the entire tray inside the freezer for about 1 hour. They will harden, but not completely frozen yet. Transfer to a freezer bag and they will not stick to each other anymore. Try not to keep for more than 1 month
REHEATING:
- They can go straight from freezer to steamer when you ready to eat them. Steam on high heat for 5 minutes and they are as good as new
RECOMMEDED TOOLS
Marv's Recipe Notes
- You can use active dry yeast, but make sure to rehydrate the yeast until it's foamy in warm water/milk and 1 tsp of sugar (not all 3 teaspoons) before mixing into the dough. You can add the rest of the sugar when mixing the dough later
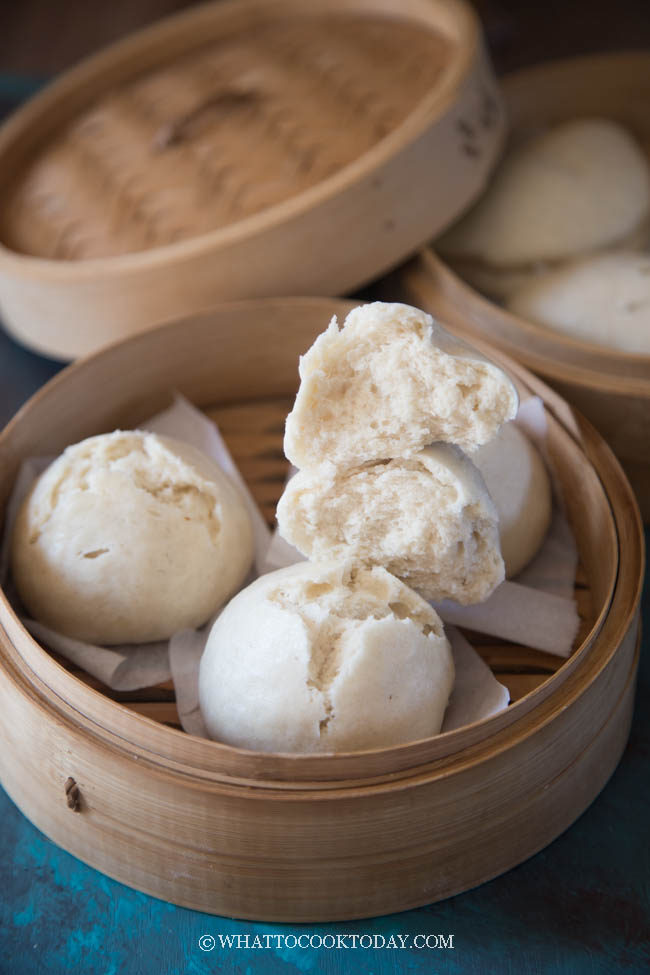
Check out this Soft and Fluffy No-Yeast Chinese Steamed Buns (Mantou). These are so good and super easy to make! You can use it to make this piggy steamed buns too 🙂


14 comments
If I’m storing them in the freezer is that in dough form, or has already been steamed form?
You will store them in already steamed form.
So bummed out. Just tried this recipe and it went so wrong. The dough was insanely dense and soo hard to knead by hand. I had to add way more water than the recipe stated and it was like no matter how much water I added, the dough sucked it right up. I weighed out the ingredients so I don’t know where I went wrong here. It was a shame to throw them away after so much effort 😫
Hi Alissa, so sorry to hear of your troubles. The amount of water is what you want to start with and add until you can form a dough. It is a bit hard to knead by hands then using a machine of course, but it shouldn’t be to the point of not being able to knead at all. Once you can form a “rough” dough, give it a rest and cover it for 15 minutes. This will relax the gluten. Then go back and knead again you’ll find it surprisingly MUCH easier to knead now. Knead it until it smooth. At any point when the dough starts to “resist” or hard to knead, give it a rest 5-10 minutes and go back to knead, you’ll be surprised by the difference it makes.