This post may contain affiliate links. Please read our disclosure policy.
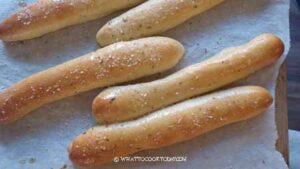
Make homemade soft garlic breadsticks that are fluffy, buttery, and full of flavor. Easy to make, freezer-friendly, and perfect with any meal!
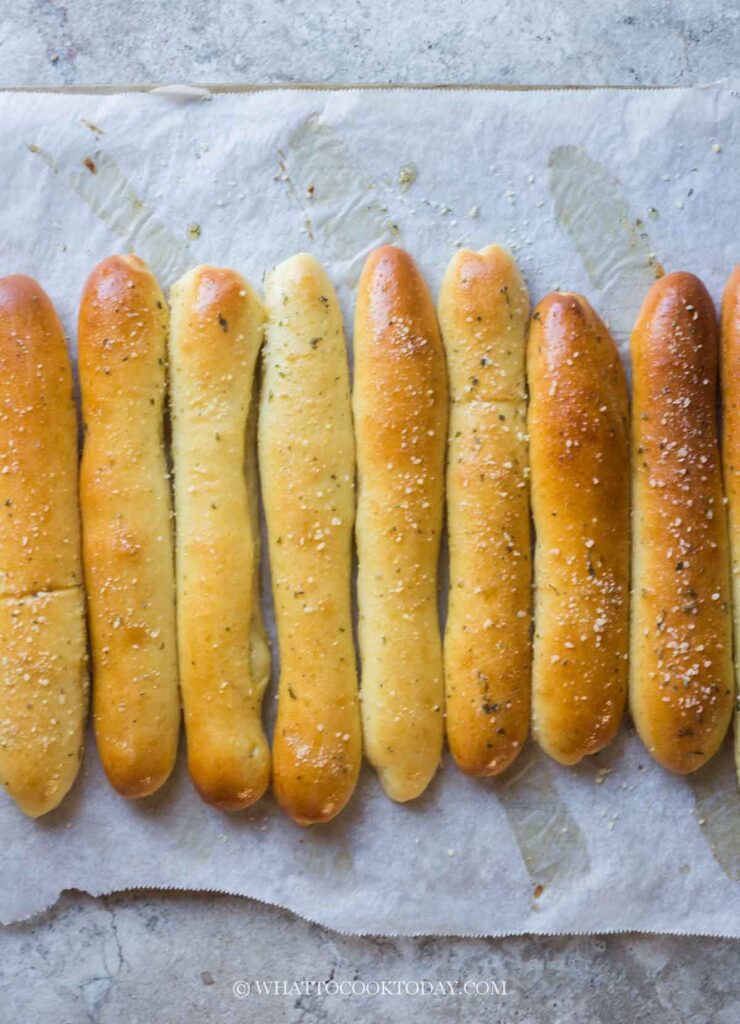
Homemade garlic breadsticks just make everyone happy! These soft garlic breadsticks are incredibly fluffy, buttery, and brushed with a flavorful garlic Parmesan butter right after baking. They are seriously so good, especially when served warm! These have become one of our absolute family favorites. My kids request them ALL the time, and I have been making them almost every week. LOL! I can’t really blame them, though. Who can resist freshly baked breadsticks with that buttery, garlicky aroma filling the kitchen?
The best part is that these breadsticks freeze beautifully. I usually make a big batch and freeze some so we can enjoy homemade garlic breadsticks whenever the craving hits. They are perfect alongside pasta, soups, salads, or honestly, just on their own!
Why you’ll love this recipe
- Soft and fluffy texture: These breadsticks are made with an enriched yeast dough, giving them a tender, pillowy interior.
- Delicious garlic Parmesan butter: Brushing the breadsticks with garlic butter right after baking adds so much flavor.
- Freezer-friendly: Make a large batch, freeze the extras, and reheat whenever you need them.
- Family-friendly: These are always a hit with kids and adults alike.
- Versatile: Serve them as a side dish, appetizer, or snack. They go with just about anything!
Ingredients and substitutions
- Bread flour: Gives the breadsticks their soft, fluffy, and slightly chewy texture. All-purpose flour can be substituted, though the breadsticks may be slightly less chewy.
- Salt: Enhances the overall flavor of the breadsticks and garlic butter.
- Sugar: Adds a subtle sweetness, helps with browning, and balances the savory flavors.
- Eggs: Add richness and tenderness to the dough. An additional egg is used for the egg wash to give the breadsticks a beautiful golden-brown finish. You can use milk for the egg wash instead, though the tops won’t be as shiny.
- Milk: Whole milk gives the breadsticks a richer flavor and softer texture. You can substitute low-fat milk or unsweetened plant-based milk.
- Instant yeast: Can be mixed directly into the flour without activating it first. Active dry yeast can also be used, but the dough may take slightly longer to rise and you need to bloom the yeast in a bit of water before adding to other ingredient to make the dough
- Unsalted butter: Used in both the dough and garlic butter topping. It adds richness, tenderness, and buttery flavor. Salted butter can be substituted, but adjust the added salt accordingly.
- Garlic powder: Provides a consistent garlic flavor throughout the butter topping. Freshly minced garlic can be used instead. Gently sauté it in the melted butter before brushing it onto the breadsticks.
- Dried parsley: Adds color and a mild herb flavor. Fresh parsley is a great substitute.
- Parmesan cheese: Adds a savory, nutty, and slightly salty flavor to the garlic butter. Pecorino Romano can be substituted, but it has a saltier and sharper flavor.
Tips for making the best soft garlic breadsticks
- Don’t add extra flour unnecessarily: This is a soft, sticky enriched dough. Adding too much flour can make the breadsticks dense instead of fluffy. Give the dough enough kneading time to develop its structure.
- Add the butter gradually: Allow each addition to incorporate before adding more. This helps the dough develop a smooth, elastic texture.
- Keep the breadsticks evenly sized: Divide the dough by weight so they bake evenly. Each portion should weigh approximately 56–57 g.
- Brush with garlic butter while hot: The warm breadsticks absorb the buttery flavor beautifully, giving them a delicious finish.
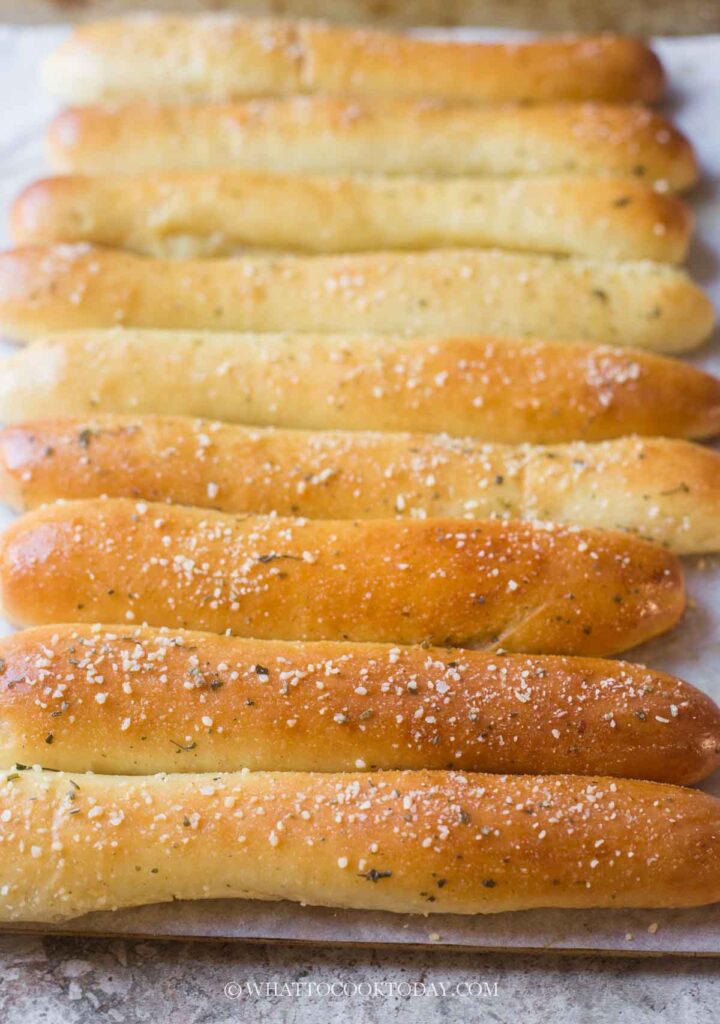
How to store, freeze, and reheat garlic breadsticks
- At room temperature: Allow the breadsticks to cool completely before storing them in an airtight container or resealable bag. They will keep at room temperature for about 2 days.
- In the freezer: Allow the baked breadsticks to cool completely. Arrange them in a single layer on a baking sheet and freeze until firm to prevent them from sticking together. Transfer to a freezer-safe bag or airtight container, removing as much air as possible. Freeze for up to 2–3 months for the best quality.
- Reheat in the oven: Preheat the oven to 350 F (175 C). Wrap the breadsticks loosely in aluminum foil and warm for about 8–10 minutes if thawed, or 12–15 minutes if frozen, until heated through. This is my preferred method for the best texture.
- Reheat in the air fryer: Reheat at 300°F (150 C) for about 3–5 minutes if thawed, or slightly longer if frozen. Check early to prevent them from drying out.
- Reheat in the microwave: Wrap a breadstick in a slightly damp paper towel and microwave for about 10–15 seconds if thawed. Add a few more seconds as needed. Be careful not to overheat, as the breadsticks can become tough or chewy.
What to serve with garlic breadsticks
- Pasta: Serve with spaghetti, lasagna, fettuccine Alfredo, or any pasta dish with a rich sauce.
- Soups: Perfect for dipping into creamy tomato soup, mushroom soup, or hearty vegetable soup.
- Salads: Pair with Caesar salad or a simple green salad for a light meal.
- Dipping sauces: Serve with warm marinara sauce, pizza sauce, or your favorite creamy dip.
- As a snack: Sometimes we just warm up a few breadsticks and enjoy them as an afternoon snack. No special occasion needed!
Frequently asked questions
- Can I make the dough ahead of time?
Yes! After kneading, place the dough in a lightly greased bowl, cover tightly, and refrigerate overnight, preferably for 8–12 hours. The dough will rise slowly in the refrigerator. The next day, divide and shape the dough while it is still slightly chilled. Allow the breadsticks to proof until noticeably puffy before baking. Because the dough is cold, the final proofing may take longer than usual. - Why are my breadsticks dense instead of soft and fluffy?
Dense breadsticks can result from insufficient kneading, underproofing, or adding too much flour. Make sure the dough is properly kneaded until elastic and allow it to rise sufficiently during both proofing stages. - Can I use fresh garlic instead of garlic powder?
Absolutely! You can use about 2–3 cloves of finely minced garlic. Gently sauté the garlic in the melted butter over low heat for about 30–60 seconds until fragrant, without letting it brown. Then stir in the remaining garlic butter ingredients. - Can I freeze the unbaked breadsticks?
I usually try not to freeze unbaked bread dough because I don’t want the risk of the yeast not working properly after that. It’s better to freeze the baked breadsticks because they reheat beautifully as I have mentioned in the details above. - Can I make these breadsticks without a stand mixer?
Yes, but be prepared for a sticky dough! Mix the ingredients until combined, then knead by hand until the dough starts developing some elasticity. Gradually incorporate the softened butter and continue kneading until smooth and elastic. You can use a dough scraper to help handle the dough. Avoid adding too much extra flour, as this will affect the final texture. - Can I make the breadsticks without the garlic butter?
Of course! The breadsticks themselves are soft and fluffy with a slightly rich, buttery flavor. You can brush them with plain melted butter or sprinkle them with a little flaky sea salt instead.
These homemade soft garlic breadsticks have definitely earned a permanent spot in our family’s weekly baking rotation. They are fluffy, buttery, garlicky, and just so comforting, especially when they are still warm from the oven.
I love that I can make a big batch and keep some in the freezer for busy days. With just a quick reheating, we can have warm homemade garlic breadsticks ready to enjoy with dinner. If your family loves garlic bread as much as mine does, I have a feeling these will become a regular in your kitchen too!
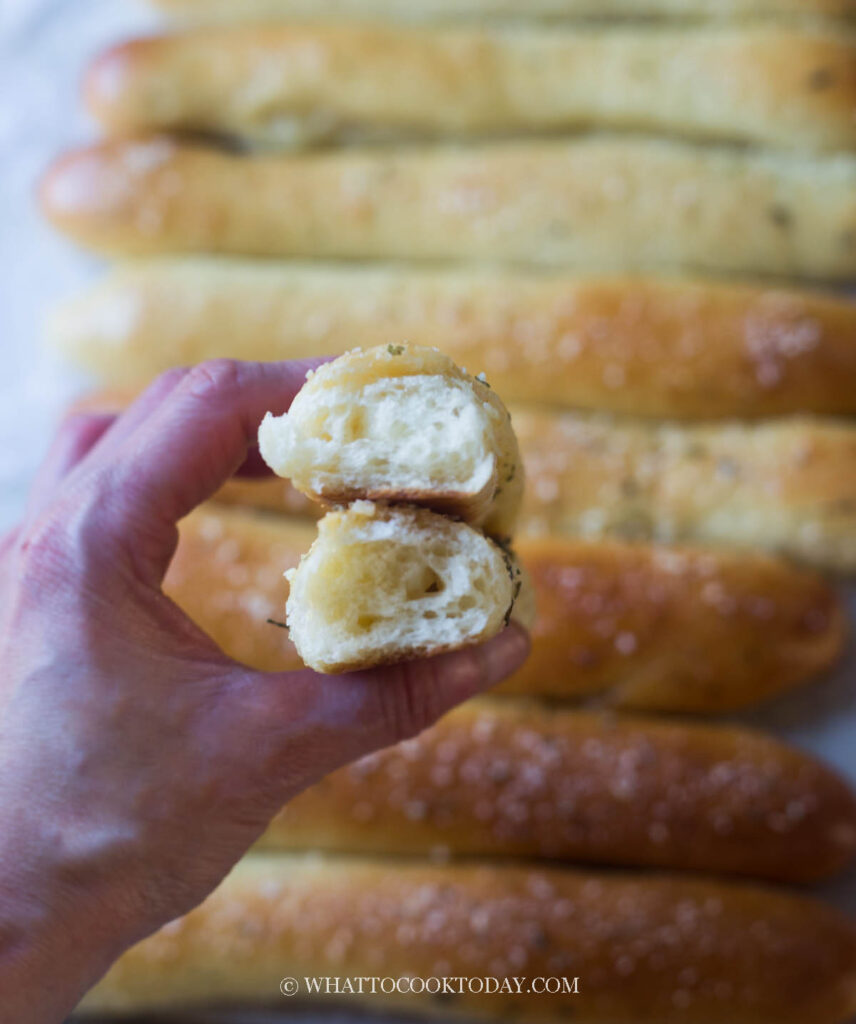
Homemade Soft Garlic Bread Stick
Ingredients
For the dough:
- 340 g bread flour
- ½ tsp salt
- 40 g sugar
- 50 g egg
- 160 g milk
- 2 tsp instant yeast
- 50 g unsalted butter softened
For egg wash:
- 1 large egg beaten
For garlic butter:
- 3 Tbsp unsalted butter melted
- ¼ tsp salt
- 1 tsp garlic powder
- 1 tsp dried parsley
- 1 Tbsp grated parmesan
Instructions
Prepare the dough:
- Add all of the ingredients for the dough, except for the butter, into the mixing bowl of a stand mixer fitted with a dough hook attachment. Start the machine and knead the dough on speed 2 until the dough starts to come together into one sticky mass, about 3 minutes340 g bread flour, 1/2 tsp salt, 40 g sugar, 50 g egg, 160 g milk, 2 tsp instant yeast
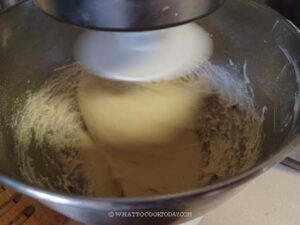
- Increase the speed to 4 and continue to knead until the dough is relatively smooth. You need to stop and scrape the dough off the hook and the bowl several times during this process
- Gradually add the butter, one pat at a time. It is a REAL sticky mess again because of the butter, just keep kneading and stop halfway and scrape the dough off the hook and bowl again and continue to knead until the butter is absorbed by the dough. Don’t add any flour.50 g unsalted butter
- You will get a shiny smooth dough that is very elastic and sticky. It may take 10-15 minutes of kneading with a machine on speed 4. The dough will clear the sides of the bowl but still stick to the bottom of the bowl and that’s ok.
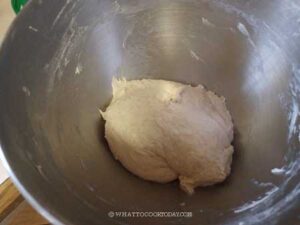
- If you gently stretch a small amount of the dough slowly, it shouldn’t break easily. This shows that the dough has good gluten development already and you can stop kneading
First proofing:
- Oil a bowl and put the dough in there. Cover with a damp towel or cling wrap. Let it proof in a warm place. It may take 1-2 hours or longer for the dough to double in size. This depends on the temperature. The colder it is, the longer it will take to proof
- When you poke your finger into the dough and the indentation stays, the dough is done proofing. If it bounces back almost immediately, it needs to proof longer
Shaping:
- Line one large or two medium-size baking pans with parchment paper. Deflate the dough and knead a few times to push out all the air
- Divide the dough into 12 equal portions. Keep them covered to prevent the dough from drying out
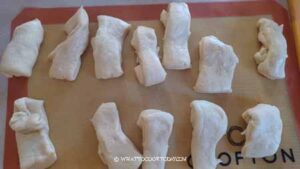
- Flatten the dough into a rectangle.
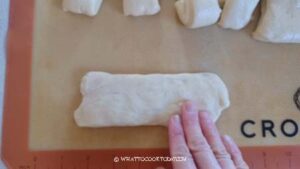
- Then fold the dough into half at the longer side and pinch the seams to seal and then roll them back and forth into a skinny log, about 8 inches long. This is just a simple and quick way to shape the bread stick
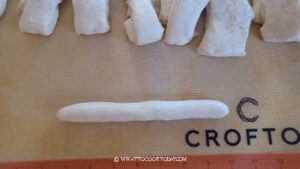
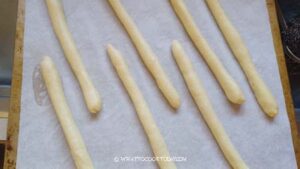
- Place it on the prepared baking sheet, seam side down. Repeat with the rest of the dough
Final proofing:
- Let the shaped dough proof again for another 45 minutes to 1 hour or until they puffy and when you gently push on the dough, it bounces back very slowly and leaves some indentation.
- 10 minutes before the end of final proofing, preheat the oven to 375 F (195 C) for conventional oven, 350 F (180 C) for convection oven
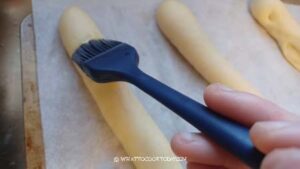
- To prepare the egg wash, whisk the egg. Brush the top of the dough with egg wash1 large egg
Baking:
- I recommend baking one pan at a time. Put the baking sheet on the middle rack and bake for 15 minutes or until the top is golden brown
Prepare garlic butter:
- While the bread is baking, melt butter and then remove from the heat. Add the garlic powder, salt, parsley flake, and Parmesan cheese3 Tbsp unsalted butter, 1/4 tsp salt, 1 tsp garlic powder, 1 tsp dried parsley, 1 Tbsp grated parmesan
Cool on the rack:
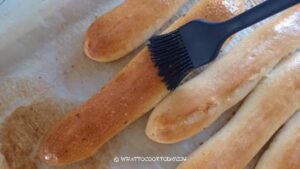
- Remove the buns from the oven and immediately brush the tops with the garlic butter.
- They can be served warm or transfer them to a cooling rack if not serving immediately