This post may contain affiliate links. Please read our disclosure policy.
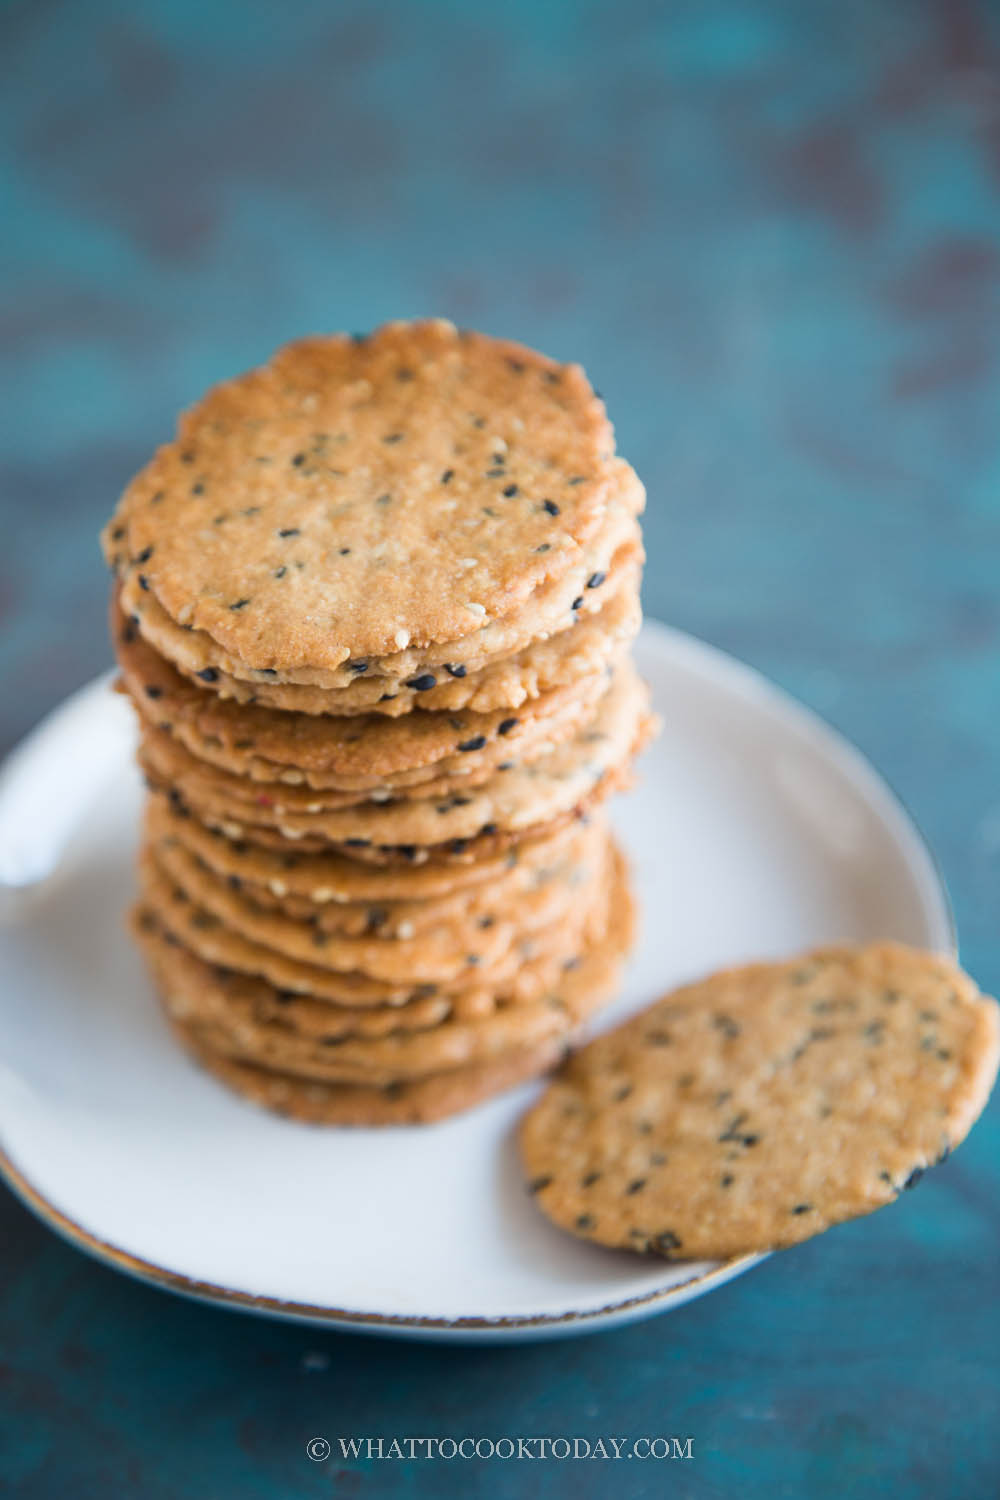
Thin and crispy chicken biscuits are distinctively aromatic, sweet, and savory. Despite the name, chicken biscuits, these cookies have no chicken in them. It’s hard to stop munching these cookies.

What is Kampar chicken biscuits/cookies?
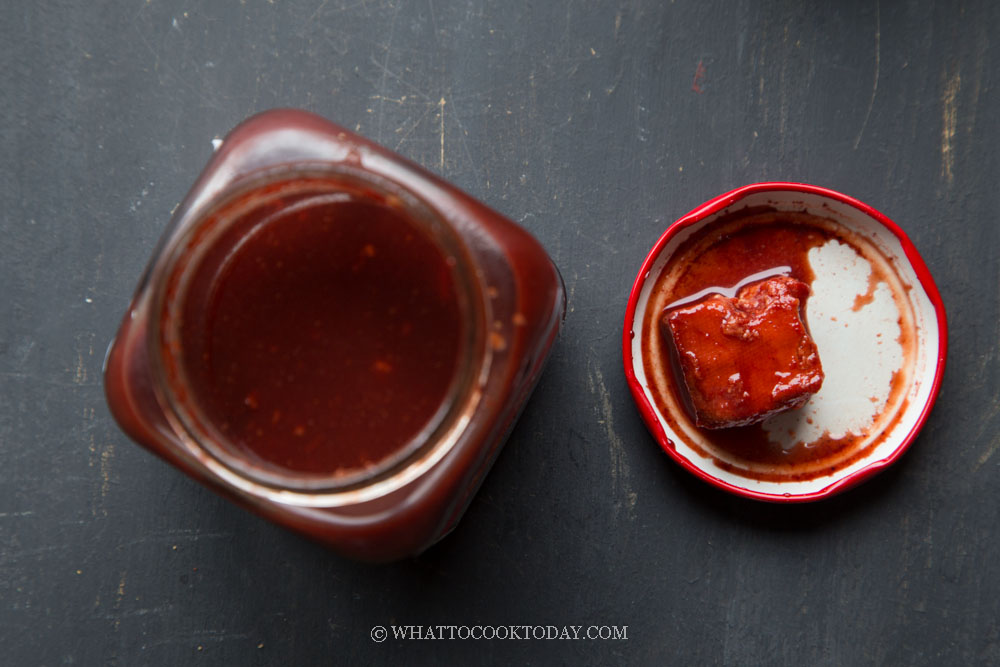
Some call them biscuits, some call them cookies. They are thin and crispy. These ultra-thin biscuits are originated in the town of Kampar, Malaysia. From what I heard, the original shape of the biscuits is shaped like chicken? and hence the name chicken biscuits even though these biscuits have no chicken whatsoever in them. The unique aromatic portion comes from five-spice powder, garlic, and fermented red bean curd (nam yue).

Nam Yue (red fermented bean curd)
The biscuits also have candied winter melon in them, which contributes to the sweetness. The dough is rolled very thin and then baked in the oven.
Kampar kai zai peng vs Cantonese kai zai peng
The Cantonese kai zai peng is more like a mooncake pastry with a filling inside. The ingredients are very similar to Kampar kai zai peng, but there is candied pork fat added into the filling. It’s a bit more elaborate to make compared to Kampar version. Kampar kai zai peng has all the ingredients mixed together and roll out into a sheet and then cut out. The two are definitely related but different in texture and presentation.

How to make Kampar kai zai peng
1. Put candied winter melon, garlic, red fermented bean curd and its sauce in a food processor and process into puree

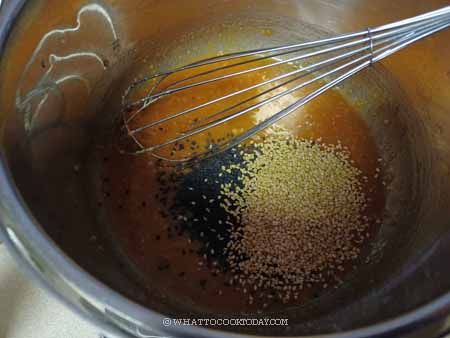
2. In a large mixing bowl, add egg, oil, honey, sugar, salt, five-spice powder, white pepper, black and white sesame seeds, and the puree mixture. Whisk to combine everything

3. Sift in the dry ingredients (group A) and use a spatula to mix into a slighty sticky dough. Cover and let it rest for 30 minutes. The dough will be easier to work with

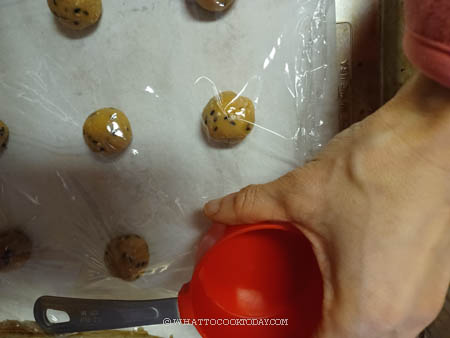
4. Preheat oven to 320 F (160 C) for a conventional oven. Lower the temperature by 20 degrees if using a convection oven. Position the oven racks, 3rd from the top and 3rd from the bottom. Line two baking sheets with parchment paper. After resting the dough won’t be as sticky anymore. Pinch off about 10 grams of dough and roll into a ball and place on a baking sheet, about 1 1/2 inch apart.

5. Cover the dough ball with a cling wrap and then use the flat bottom of a cup or measuring cup (like I did) and press on the dough to flatten until almost paper-thin. The cling wrap prevent the dough from sticking to the tool you use to flatten


6. Place the baking trays on the oven racks you have positioned earlier. Bake for 18-20 minutes. Rotate the trays, front to back, top to bottom, halfway through baking so they bake evenly. Let them cool down on the rack for 2-3 minutes and then transfer to a cooling rack to cool down completely. They should harden and really crispy once they cool down completely. If your kai zai peng are not crispy after they have cooled down completely, it means you may not roll the dough thin enough and they need longer baking time to make them crispy

Kampar kai zai peng has such a unique taste that I find it hard to stop munching on these LOL! But again, this may be a hit or a miss for some folks who aren’t used to the taste and aroma of fermented red bean curd. I love the umami that the red bean curd impart to these biscuits.

Did you make this Kampar Kai Zai Paeng recipe?
I love it when you guys snap a photo and tag to show me what you’ve made 🙂 Simply tag me @WhatToCookToday #WhatToCookToday on Instagram and I’ll be sure to stop by and take a peek for real!

The recipe is adapted from Shadajie with some modifications.
Kampar Crispy Chicken Biscuits/Cookies (Kai Zai Paeng/鸡仔饼)
Ingredients
Group A:
- 310 gr all-purpose flour
- 1 tsp baking powder
Group B:
- 100 gr candied winter melon candied pineapple can be used too
- 1 Tbsp minced garlic
- 20 gr fermented red bean curd
- 2 Tbsp fermented red bean curd sauce
Group C:
- 100 gr cooking oil
- 50 gr egg
- 1 Tbsp honey
- 90 gr granulated sugar
- ½ tsp salt
- ½ tsp five-spice powder
- ½ tsp ground white pepper
- 30 gr black sesame seeds
- 30 gr white sesame seeds
Instructions
Prepare the dough:
- Put ingredients for group B in a food processor or blender and blend into a puree
- Mix all ingredients for group C in a mixing bowl and whisk to combine. Add ingredients you just puree earlier (group B). Sift in the dry ingredients (group A) and use a spatula to mix into a sticky dough. Cover and let it rest for 30 minutes. The dough will be easier to work with
Shape the dough:
- Preheat oven to 320 F (160 C) for a conventional oven. Lower the temperature by 20 degrees if using a convection oven. Position the oven racks, 3rd from the top and 3rd from the bottom. Line two baking sheets with parchment paper. After resting the dough won't be as sticky anymore. Pinch off about 10 grams of dough and roll into a ball and place on a baking sheet, about 1 1/2 inch apart. Cover the dough ball with a cling wrap and then use the flat bottom of a cup or measuring cup (like I did) and press on the dough to flatten until almost paper-thin. The cling wrap prevent the dough from sticking to the tool you use to flatten
Baking:
- Place the baking trays on the oven racks you have positioned earlier. Bake for 18-20 minutes. Rotate the trays, front to back, top to bottom, halfway through baking so they bake evenly
Cooling:
- Let them cool down on the rack for 2-3 minutes and then transfer to cooling rack to cool down completely. They should harden and really crispy once they cool down completely. If your kai zai peng are not crispy after they have cooled down completely, it means you may not roll the dough thin enough and they need longer baking time to make them crispy
Storing:
- They can be stored in an air-tight container after they have cooled down completely for weeks and will stay crispy


4 comments
I’d been meaning to try these for AGES as another recipe to use fermented bean curd. It may “seem” intimidating, in terms of requiring special Asian ingredients, but it’s actually pretty easy and anyone who loves savory Asian snacks will LOVE these! (And that would be me, lol!) I think they’re as satisfying as Cheez-its hahaha! Pretty good for homemade huh?
I don’t have any candied melon, so I used the substitution as it was in the recipe for Roti bakso ayam, which was to replace 1 Tbsp of sugar per 20g of candied melon. I can’t say how it compares to the original, but I found the sweetness to be “just right” in a savory snack. I also forgot to move the sheets around during baking, so a lot of mine came out too dark. They’re still good though, but the darker they get, the less you can taste the bean curd.
Yes, the Asian version of cheez-it! My kids love cheez-it! They actually like these too! I forgot to mention that I recently discovered that candied winter melon (which can be very difficult to find here in the U.S.) can be substituted with candied pineapple. It gives the same sweetness and texture.
It’s kind of funny that some years ago I had a pack of candied winter melon floating around my kitchen… it (probably) came from an old-school Vietnamese guy who’d give my parents leftovers from Tet and it’d eventually come to me. They were sweet but not much else, and I didn’t think to look online for what other uses they’d have (and after sitting around so long, ended up in the trash *sad face*). At least I was confident that using sugar wouldn’t effect the flavor in this recipe hahahaha
I have to agree that there’s not much use for candied winter melon really! I still have two bags sitting in the fridge that my mom brought me! LOL!