This post may contain affiliate links. Please read our disclosure policy.
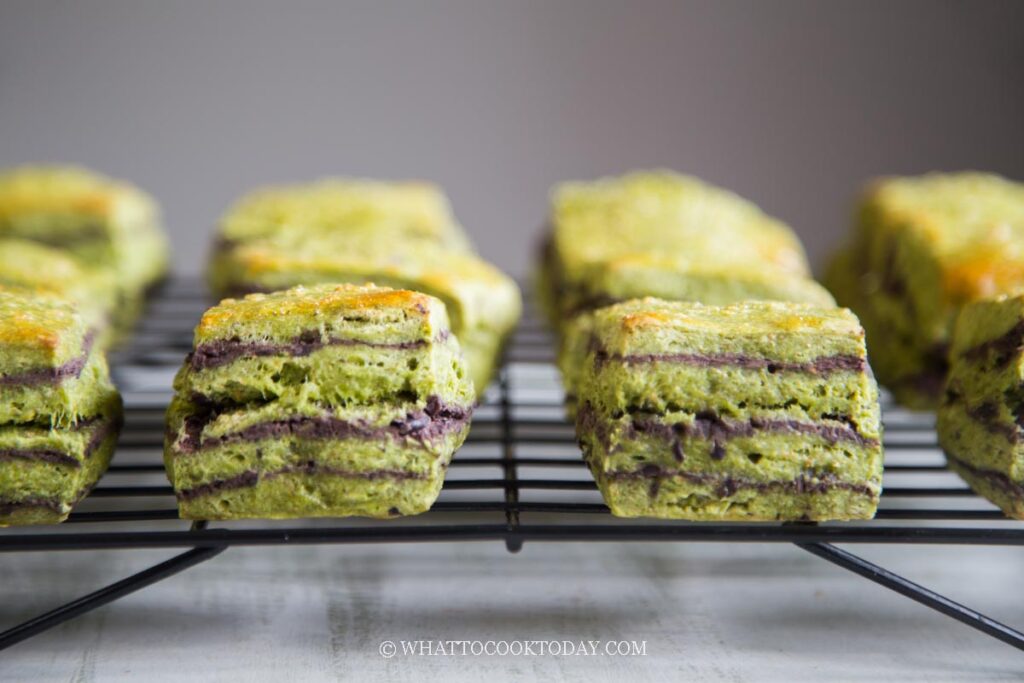
Soft and flaky scones are flavored with matcha and layered with sweet red bean paste as a filling. They are delicious as is or with some butter and more sweet red bean paste.
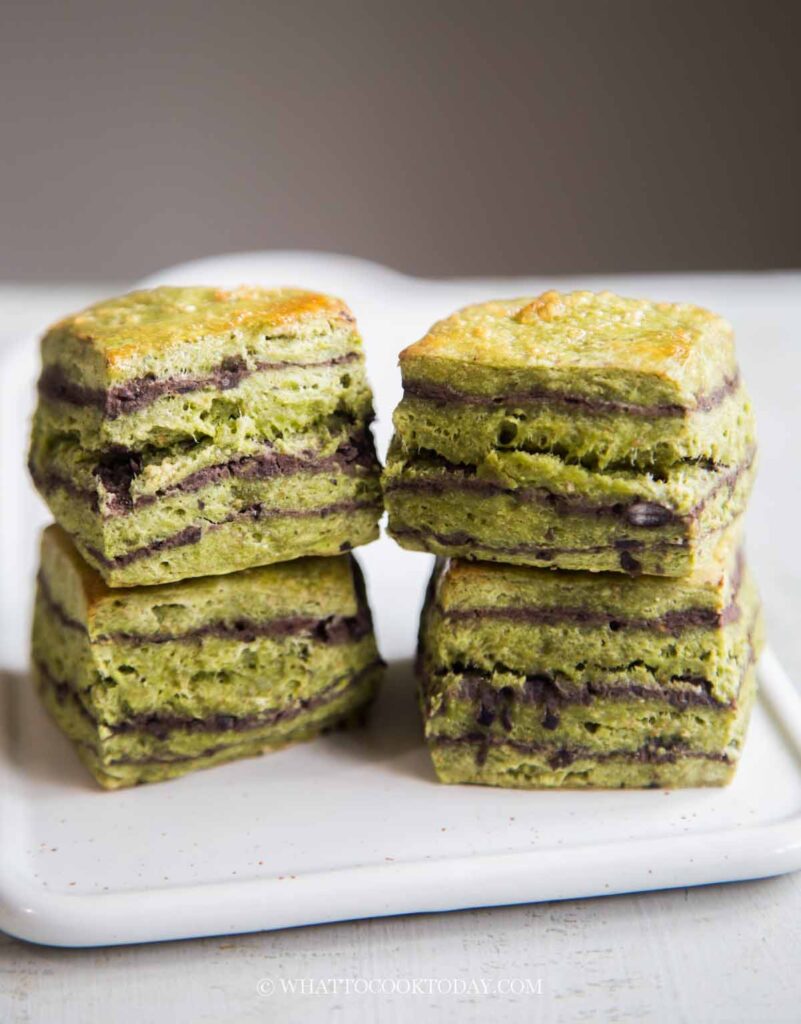
I’m a huge fan of scones! They are buttery, flaky and tender at the same time. The part that I like about making scones is that it calls for cold butter. Believe it or not, I find it a hassle when recipe calls for softened butter LOL! (first-world problem!). Scones are quick to make and heavenly good when they are still warm!
I’m a huge fan of matcha. I bake quite a bit with matcha powder. The earthy matcha with lightly sweet red bean paste is a match-made in heaven if you ask me. It’s one of my favorite combinations. To incorporate this combinations into a buttery flaky scones is even better! Try it and let me know what you think 🙂
Layered Matcha Red Beans Scones
Ingredients
- 113 g unsalted butter cold
Dry ingredients:
- 330 g all-purpose flour plus more for dusting
- 50 g sugar
- ¾ tsp salt
- 1 Tbsp baking powder
- 7 g ceremonial-grade matcha powder
Wet ingredients:
- 100 g eggs
- 113 g whole milk plus more as needed
Filling:
- 200 g red bean paste
Toppings:
- milk
- Turbinado sugar
Serve with: (optional)
- butter
- red bean paste
Instructions
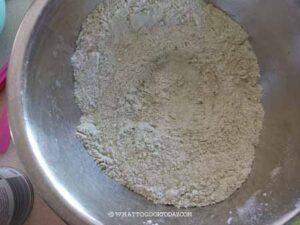
- Combine all the dry ingredients in a bowl.

- Add the diced butter

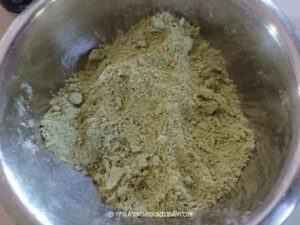
- Use your hands or a pastry cutter to mix the flour mixture with butter to get an uneven crumbly mixture. You can also use a food processor to pulse a few times to get a crumbly mixture. Don't overwork the mixture. Keep this in a fridge to keep it cold

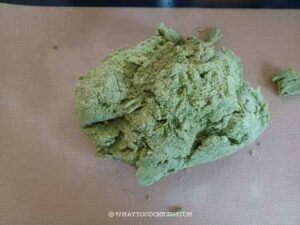
- Whisk eggs with 113 grams of milk. Add this to the flour mixture. Use a dough scraper to help you combine the ingredients until they hold together. Don't knead the dough. We don't want any gluten development. If the dough feels to dry and won't come together, drizzle a teaspoon more of milk as needed
Shaping:
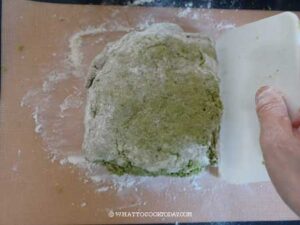
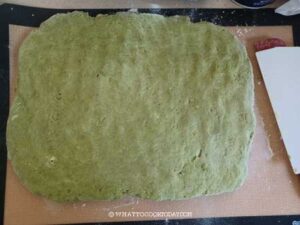
- Prepare a large parchment paper or silicon mat. Dust the top with a bit of flour and scrape the dough on top of the parchment or mat.

- Lightly dust your hands with some flour and use the dough scraper to help you pat and shape the dough into about 10 x 12 inches rectangle, about 1/2 inch thick, roughly


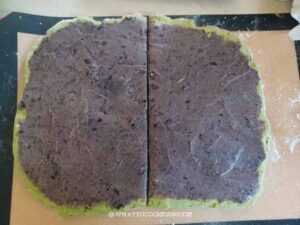
- Spread the red bean paste on top of the rectangle, corner to corner.

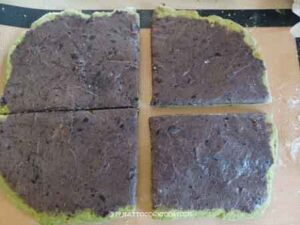
- Use a dough scraper (spray lightly with a bit of cooking spray to prevent sticking) to cut the dough in half, and then quarter


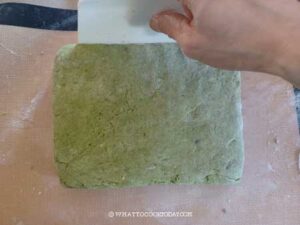
- Stack on top of each other, with the dough side facing up when you stack.

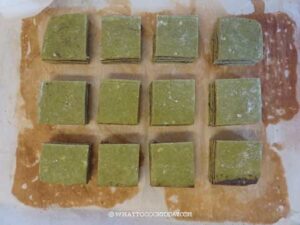
- Use a bench scraper to help you tidy up the four edges. Place this on a baking sheet and put this inside a freezer for 15 minutes. This is to ensure when we cut, we get a clean cut and the edges won't get squeezed, which will compromise the rise during baking

- Use a serrated knife to trim off the four edges. Then cut the dough into 12 equal pieces. Arrange this on a baking sheet, about 2 inches apart. You can gather the trimmings and just shape into a ball. It's an extra scone you can do taste testing of 🙂

- Brush the top of the scone with some milk and sprinkle with some turbinado sugar (optional, but highly recommend)
- Put the baking pan back into the freezer for 30 minutes. The reason why we do this is so that the butter is cold and it gives you flaky layers. This also ensures that the scones get a tall rise during baking and the rest allows the gluten to relax, which yield tender scones. So, do not skip chilling the dough
Baking:
- While chilling the dough, preheat the oven to 425 F (218 C) for conventional oven, 400 F (200 C) for convection oven. Place the oven rack in the upper 3rd of your oven
- Bake the scones for 20-23 minutes or until the tops are lightly golden brown. Rotate the pan halfway through baking. Remove from the oven and let them cool down on the pan for 5 minutes
To serve:
- Serve the scones warm as is or with some butter and more red bean paste if you have extra 🙂 they are delish!
Marv’s Recipe Notes
*Nutrition facts are just estimates and calculated using online tools*
How to bake good scones
1. Make sure the butter is cold
The cold butter gives flaky scones
2. Do not overwork the dough
I use dough scraper to help me form the dough. Don’t knead the dough because kneading develops gluten, which makes the scones tough
3. Chill the dough in the freezer before cutting
When you try to cut the dough when it’s still soft and sticky, the cutting motion drags the dough and this compromise the rise The sides of the scones need to have clean cut so they can rise higher
4. Use a serrated knife to cut
Once the dough is half-frozen, it’s easier to cut using a serrated knife to ensure we get clean cuts
5. Chill the dough again before baking
This ensure that your scones rise high and the resting allows gluten to relax, hence yields tender scones
How to store and reheat baked scones
1. Let the scones cool down completely on a cooling rack
2. Store them in an air-tight container for 2-3 days
3. To reheat, wrap the scones in foil and reheat in a preheated oven at 350 F (180 C) for 8-10 minutes or in the air fryer at 330 F (165 C) for 5 minutes or until warm
Make-ahead scones
1. Follow the instruction in the recipe card above until the step where you have cut the dough into 12 pieces, brush with milk and topping, and put them in the freezer for 30 minutes, transfer them to a freezer bag, push all the air out and seal the bag. They can be kept frozen for up to one month
2. When ready to bake, preheat the oven as directed and bake. You may need to add an extra minute or two if needed
Did you make this matcha red bean layered scones recipe?
I love it when you guys snap a photo and tag it to show me what you’ve made. Simply tag me @WhatToCookToday #WhatToCookToday on Instagram and I’ll be sure to stop by and take a peek for real!

