This post may contain affiliate links. Please read our disclosure policy.
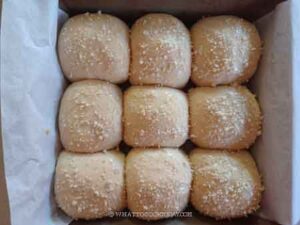
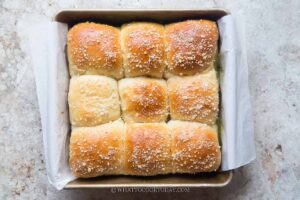
Pillowy soft and fluffy buns filled with matcha white chocolate ganache is perfect for breakfast or as snacks to go with that cup of coffee or tea.

What is matcha pan?
According to Wikipedia, “pan” (パン) means bread. The word originates from the Portuguese word pão, which also means bread. Portuguese traders introduced bread to Japan in the 16th century, and the Japanese adopted the word along with the food. Inspired by the popular Japanese Kare pan (curry bread) and also melon pan, I made this sweet matcha pan (matcha bread). It is a delightful fusion of flavors and textures. This recipe incorporates the tangzhong method for irresistibly soft buns, filled with creamy matcha white chocolate ganache and features a unique panko topping for added crunch. That’s like heaven inside the mouth if you ask me 🙂
Tips for the Best Results
1. Matcha Quality: Use high-quality culinary-grade matcha for vibrant color and flavor.
2. Use white chocolate bar instead of white chocolate chips: With their higher cocoa butter content and lack of stabilizers, bars melt more smoothly and evenly.This gives a smoother and creamier texture compared to using white chocolate chips
3. Sealing the Buns: Ensure the edges of the dough are tightly sealed to prevent the ganache from leaking.
4. Egg Wash Application: Brush the egg wash evenly for a glossy finish that helps the panko adhere.
5. Baking Time: Keep an eye on the buns; overbaking can dry them out.
Matcha Pan
Ingredients
Tangzhong:
- 30 g bread flour (12.7% protein content)
- 150 g whole milk
Final dough:
- 300 g bread flour (12.7% protein content)
- 5 g instant yeast
- 30 g milk powder
- 100 g whole milk
- 50 g egg
- 5 g salt
- 40 g brown sugar
- 40 g soft butter
Matcha white chocolate ganache:
- 72 g heavy cream
- 1 Tbsp matcha powder
- Small pinch of sea salt
- 180 g white chocolate bar finely chopped, make sure to use high-quality
Egg wash:
- 1 egg beaten
- ½ tsp water
For topping:
- Panko bread crumbs
Instructions
Prepare matcha white chocolate ganache: (need to be prepared ahead)
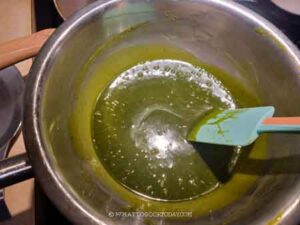
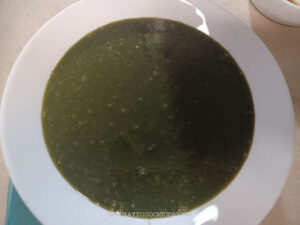
- Place the chopped white chocolate in a heat-proof bowl. Pour the heavy cream and add salt in a saucepan and bring to a gentle simmer. Add the matcha powder and whisk to combine until smooth. Add the chopped white chocolate and let it sit for about 3-4 minutes. Then whisk until the ganache is smooth and silky

- Cover and keep it chilled in the fridge for up to 3 days

Prepare tangzhong:
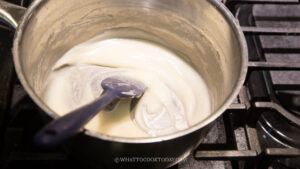
- Place milk and the bread flour in a small saucepan. Whisk until there is no more lumps. Cook this mixture over low-medium heat until it reaches 65 C (149 F) if you have a instant-read digital thermometer. Otherwise, it's about 1 1/2-2 minutes.

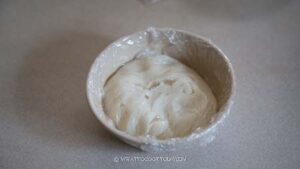
- Remove from the heat and cover with a plastic wrap, touching the tangzhong so the skin won't form. I highly suggest using this the next day instead of using it on the same day. Store this in the fridge

- If you decide to use it on the same day, let it cool down to lukewarm before mixing with the rest of the ingredients
Make the dough:
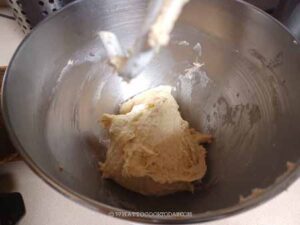
- Add the rest of the ingredients for the dough, except for the butter, into the mixing bowl of a stand mixer fitted with a dough hook attachment. Start the machine and knead the dough on speed 2 until the dough starts to come together into one sticky mass, about 3 minutes
- Increase the speed to 4 and continue to knead until the dough is relatively smooth. You need to stop and scrape the dough off the hook and the bowl several times during this process

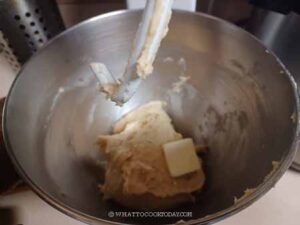
- Gradually add the butter, one pat at a time. It is a REAL sticky mess again because of the butter, just keep kneading and stop halfway and scrape the dough off the hook and bowl again and continue to knead until the butter is absorbed by the dough. Don't add any flour.

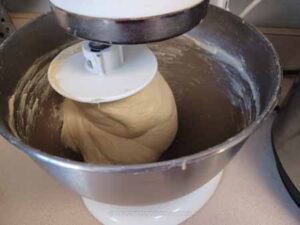
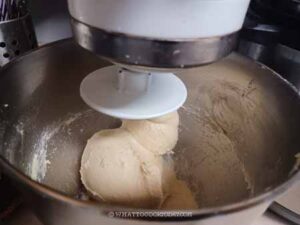
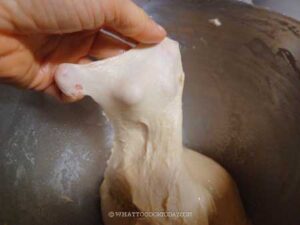
- You will get a shiny smooth dough that is very elastic and sticky. It may take 10-15 minutes of kneading with a machine on speed 4.

- The dough will clear the sides of the bowl but still stick to the bottom of the bowl and that's ok.

- If you gently stretch a small amount of the dough slowly, it shouldn't break easily. This shows that the dough has good gluten development already and you can stop kneading

First proofing:
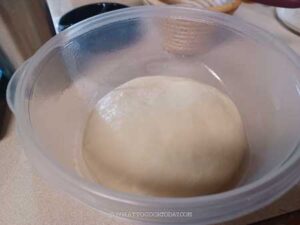
- Place this dough in a lightly oiled large bowl, cover it with a clean and damp tea cloth or plastic wrap and let it rise at a warm place for about 1 hour. The dough will puff up and double in volume.

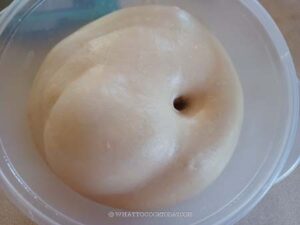
- When you poke your finger into the dough, the indentation stays and the dough won't deflate

Shaping:
- Lightly oil your pan, I used a 9 x 9 inch square pan and line with a parchment paper. Deflate the dough and knead a few times to push out all the air
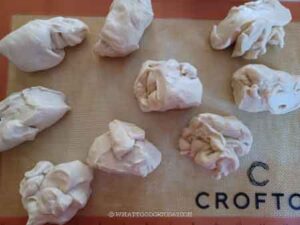
- Divide the dough into 9 equal portions.

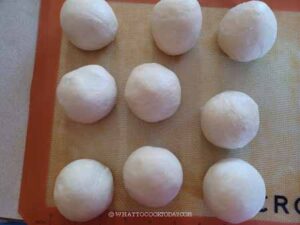
- Fold each dough onto itself to form a round dough ball. Keep them covered to prevent them from drying out and let them rest for about 5 minutes before you fill the dough with ganache

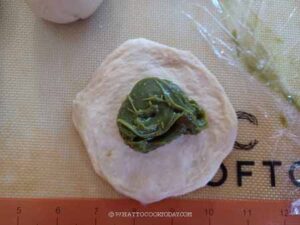
- Work with one dough at a time. Flatten one piece of dough into a disc, about 3-4 inches in diameter. Scoop a heaping spoonful of the ganache onto the center. Try not to stuff too much (I did and some of them leak out)

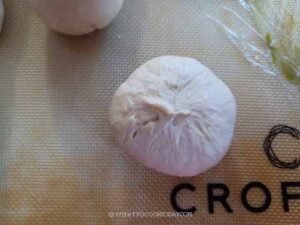
- Fold the dough over to wrap the ganache. Seal tightly to prevent the ganache from leaking out and roll and reshape the dough again into a round shape

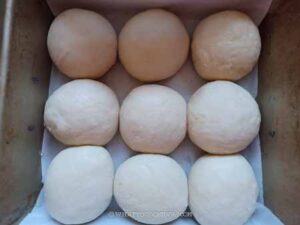
- Place it inside a prepared baking pan, seam side down. Repeat with the rest of the dough and filling

Final proofing:
- Let the shaped dough proof again for another 45 minutes to 1 hour or until they fill up the pan. Brush the top of the dough with egg wash. Sprinkle with panko bread crumbs on top

Baking:
- 10 minutes before the end of the final proofing, preheat the oven to 375 F (190 C) for conventional oven, 350 F (180 C) for convection oven. Position the oven rack in the middle of the oven
- Place the baking pan in the positioned rack. Bake for 15-18 minutes or until the top is golden brown. If you have an instant digital thermometer, it should read at least 190 F (88 C)
- Remove from the oven and let them cool in the pan set on top of cooling rack before serving. Some of the filling may leak out if you don't seal the dough properly, but no worries, once the buns have cooled down, the filling will set and won't be as messy to eat
- The buns are best at room temperature when the ganache has time to "set". Though you can served it warm too, it would just be messier and busy licking fingers (not that it's a bad thing!). The bread crumbs soften the next day but will crisp back up when you reheat the rolls

RECOMMEDED TOOLS
*Nutrition facts are just estimates and calculated using online tools*

Make ahead and bake later
Prepare the dough as directed in the recipe up to filling and shaping the dough. Cover tightly with a lightly oiled cling wrap and refrigerate after shaping. You can keep it in the fridge up to 24 hours. Bring to a room temperature and let it proof until they are puffy and fill up the pan. Proceed to baking as directed in the recipe
How to store leftovers
These matcha pan can stay soft for several days, making them perfect for meal prep or as leftovers. Once completely cooled, store them in an airtight container at room temperature for up to 3 days. For longer storage, wrap them with a cling wrap and another layer of foil and put them in a freezer bag, push all the air out and seal the bag. They can be kept in the freezer for up to one month.
How to reheat
Oven method : Preheat to 300°F (150°C), and warm the rolls for 5–8 minutes until soft and heated through.
Microwave: Warm individual rolls on low in a 10-second burst or until warm through

