This post may contain affiliate links. Please read our disclosure policy.
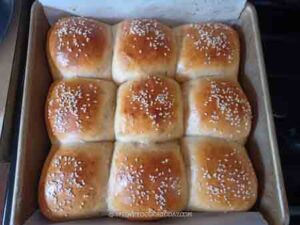
Super soft dinner rolls made with cottage cheese and require no kneading. So easy to put together and they are so delicious.

I love cottage cheese. I eat them for breakfast and sometimes for snacks. It is a great source of protein. So there is always a tub of cottage cheese in the fridge. So, one fine day, I was thinking what if I use this cottage cheese in a bread dough? Even better, how about making it a no-knead recipe? because I know some of you prefer no-knead bread and I’m trying to include more no-knead bread recipes.
So, there you go! We ended up loving these no-knead cottage cheese dinner rolls. They are so soft and fluffy! Not to mention it gives you a bit of a boost in the protein department.
No-Knead Cottage Cheese Dinner Rolls
Ingredients
Dry ingredients:
- 350 g bread flour (12.7% protein content)
- 6 g instant yeast
- ½ tsp salt
Wet ingredients:
- 150 g cottage cheese see my post below on what kind to use
- 150 g milk start with this amount
- 45 g oil
- 40 g sugar
Egg wash:
- 1 large egg
- 1 tsp milk or water
Instructions
Puree the cottage cheese:
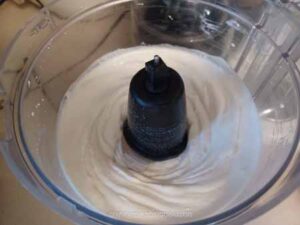
- Use cottage cheese with at least 2% milk fat for the best texture and softness. 4% milk fat is even better. Put this in a food processor and process until the cheese is smooth and creamy and you no longer see curds

Prepare the dough:
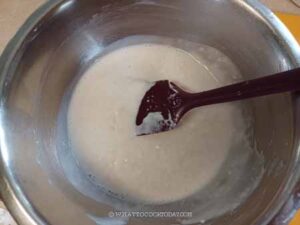
- Mix all the dry ingredients in a large mixing bowl and stir to combine. In another mixing bowl, whisk pureed cottage cheese with milk, and oil, sugar until combined

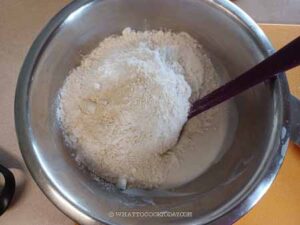
- Add the dry into the wet ingredients

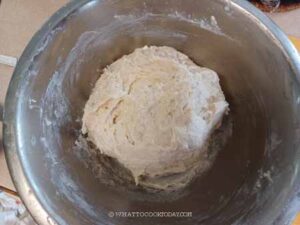
- Use a sturdy spatula (don't use your hands) to stir to mix until you get a mass of dough that is more sticky to the touch than usual. If the dough feels dry and won't come together, add more milk, 1 tablespoon at a time. The dough should feel sticky and moist, but it shouldn't be soupy wet. Cover and let the dough rest for 30 minutes

First stretch and fold:
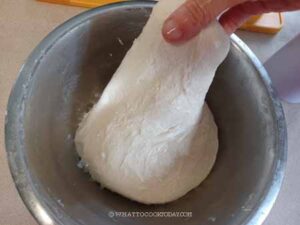
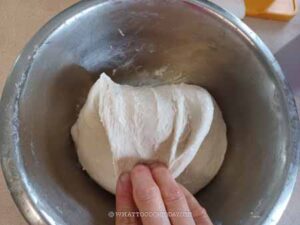
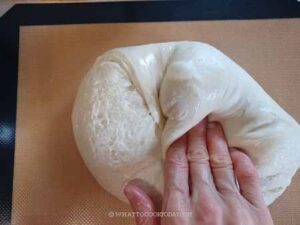
- After 30 minutes, perform the first stretch and fold. Lightly wet your fingers, scoop and grab the edge of the dough from the bottom and gently wiggle it up to stretch it as far as it allows you to (don't force it and tear the dough).

- Then fold over to the center. Repeat this with the next edge. You can probably do about 4 stretches and folds for this first round. You may not be able to stretch much, but don't worry. It will get more and more elastic as time goes

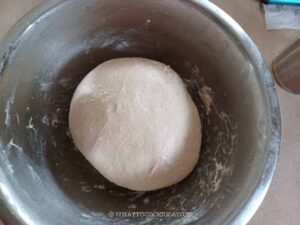
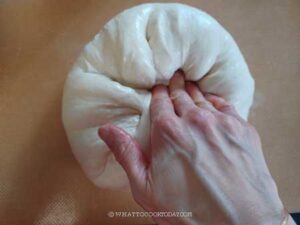
- Round it up into a dough ball with the smooth side up. Notice how much smoother the dough is now with some rest and just that first set of stretch and fold. Cover the dough again and rest for 20 minutes

Second stretch and fold:
- Perform the same stretch and fold with your wet fingers. Scoop and grab the edge of the dough from the bottom and gently wiggle it up to stretch it as far as it allows you to. Then fold over. You will notice that the dough is more taut and won't stretch as much. But you can probably still do about 3-4 stretches and folds. Round it up into a dough ball again.
Proof the dough:
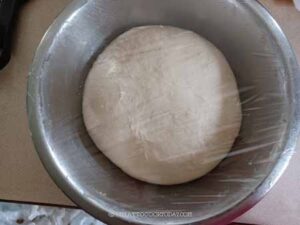
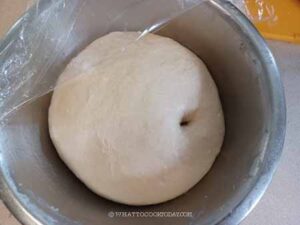
- Spray the side of the bowl with non-stick cooking spray or you can use a bit of oil to smear the side of the bowl. Cover and let the dough rise in a warm place for about 1-1 1/2 hours or until it doubles in size. It may longer too if the temperature is cooler. I use my oven "bread proof" function. If you don't have this option, turn the light bulb inside your oven and place the dough in there. The light bulb helps to warm the oven up in a controlled environment, or you can turn on your oven to the lowest temperature and then turn it off and open the door a little bit and wait for 15 minutes or so until it's warm and not hot before proofing the dough in there. We don't want to kill the yeast

Shaping:
- Line a 9 x 9 inch pan with parchment paper. Alternatively, you can grease the pan with some oil
- After first proofing, the dough should double in size, if not, let it proof a bit longer.

- Fold the dough towards itself to knock out all the air. Do this all around the edges.


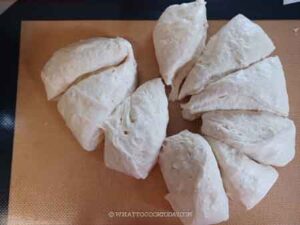
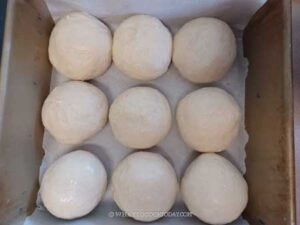
- Divide the dough into 9 or 12 smaller dough balls. Keep them covered.

- Work with one dough at a time. Gently flatten the dough and then pull and tuck the dough from the edge to the center to form a tight dough ball
- Place this inside a pan, seam side down. Continue with the rest of the dough

Second proofing:
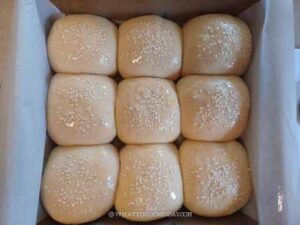
- Cover and let them proof again until it doubles in size. The dough should fill up the pan. This may take about 40 minutes to one hour or longer. If you gently press on the dough, it bounces back gradually and leaves a bit of indentation
Baking:
- For the egg wash, whisk the egg with milk and set aside.
- 10 minutes before the end of the second proofing, preheat your oven to 375 F (190C) for a conventional oven. For a convection oven, reduce baking temperature by 20 F or 15 C. Brush the proofed buns with egg wash and then sprinkle with white sesame seeds if you want or leave them out

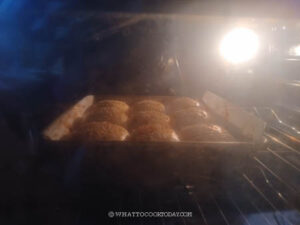
- Place this on the 3rd rack from the top (or middle of the oven) and bake for the next 20 minutes or until the top are golden brown. Remove from the oven and brush them with some melted butter if you like

- Transfer to a cooling rack to let them cool down and serve while they are warm or at room temperature. They are the best when served on the same day

Storing:
- Let the buns cool down completely. If it's not humid where you are, they can be kept at room temperature for about 3 days in an air-tight container
- For longer storage, after they cool down completely, wrap them up tightly in a cling wrap, then place in a freezer bag and they can be kept frozen for up to 1 month max
Reheating:
- You can thaw them at room temperature or overnight in the fridge or reheat them straight from the freezer. Loosely wrap them up in an aluminum foil and reheat in a preheated oven at 350 F (180 C) for 10 minutes or until heated through
RECOMMEDED TOOLS
*Nutrition facts are just estimates and calculated using online tools*

Ingredients and substitutions
1. Bread flour
I use King Arthur’s bread flour, which has about 12.7% protein content. You can try using all-purpose flour, but you may want to hold back on the milk by about 5-10% because they don’t absorb as much liquid as the bread flour
2. Cottage cheese
I use my favorite cottage cheese from Good Culture (not sponsored). It has 2% milk fat. You can use any of your favorite brands. If you use 4% milk-fat cottage cheese, you can expect the rolls to stay soft much longer because of the extra fat
3. Milk
I use whole milk, but you can also use low-fat milk. Just know that when you use everything low-fat, the rolls won’t stay as soft compared to the previous day
4. Instant yeast
I use SAF instant yeast. If you want to use active dry yeast, you need to dissolve the yeast in a bit of the milk and let it sit for 10 minutes until it is foamy before using it for the dough
5. Sugar
I use granulated sugar. This is not a sweet roll, but the addition of sugar adds that nice hint of sweetness. You can adjust the amount based on your preference. I don’t recommend omitting sugar altogether
6. Salt
I don’t use as much salt for this recipe since cottage cheese is salty, to begin with, but after making this a few rounds, I feel like I still need to add a bit of salt to enhance the taste of the rolls
7. Oil
The great thing about this recipe is you don’t need butter. If you want to use melted butter, you definitely can! I use neutral-tasting oil such as avocado oil
What if I can’t find cottage cheese?
If you are outside of the U.S. or Canada and have difficulties finding cottage cheese, you can use ricotta cheese, plain whole-milk Greek yogurt, sour cream, mascarpone cheese, or even cream cheese. You may have to adjust the milk amount a little, but it shouldn’t be too far off. Some of you may wonder if Farmer’s cheese can be used to substitute cottage cheese in this recipe. Even though they are similar, I understand that farmer’s cheese usually has a drier texture because no cream is added. So, I suggest not to use farmer’s cheese for this recipe.

